


Making a “tsuba,” Japanese for “guard,” is one of my favorite steps in sword making. You have a chance to build something as simple or as complicated and artistic as you like.
I first started making the tsuba (pronounced SUE-ba) way too thick and heavy, and learned over the years how to refine all of my sword parts. I hope this overview helps shed some light on the subject and gives you some ideas.
I have made tsuba from damascus, mild steel, high-carbon steel and antique wrought iron. Many traditional tsuba were made from folded Japanese steel called “tamahagane.” I used wrought iron for this demonstration.
Step One: Thin it Out
To begin, cut 3.5 inches of steel from an old wagon wheel. Forge it thinner and wider, and taper the edges thinner all the way around (Photo 1). If you leave the center a little thicker and taper the edges, it looks more balanced and is lighter. Wrought iron is soft and forges out easily and is simple to cut, sand, file and drill. Using the spray from a can of WD-40™, trace around your steel. Cut it out on a band saw and grind the shape round. Sand the tapers even, gradually progressing to finer-grit belts.

Before polishing, I drill the holes (Photo 2). I use a Dremel cut-off wheel to cut out the webbing between the holes. You can also try a jeweler’s saw. I use both.
Employing needle files, make the tang hole big enough to slide up to the “sepa” (washer) on the sword. At this point I polish the tsuba to an 800-grit finish.
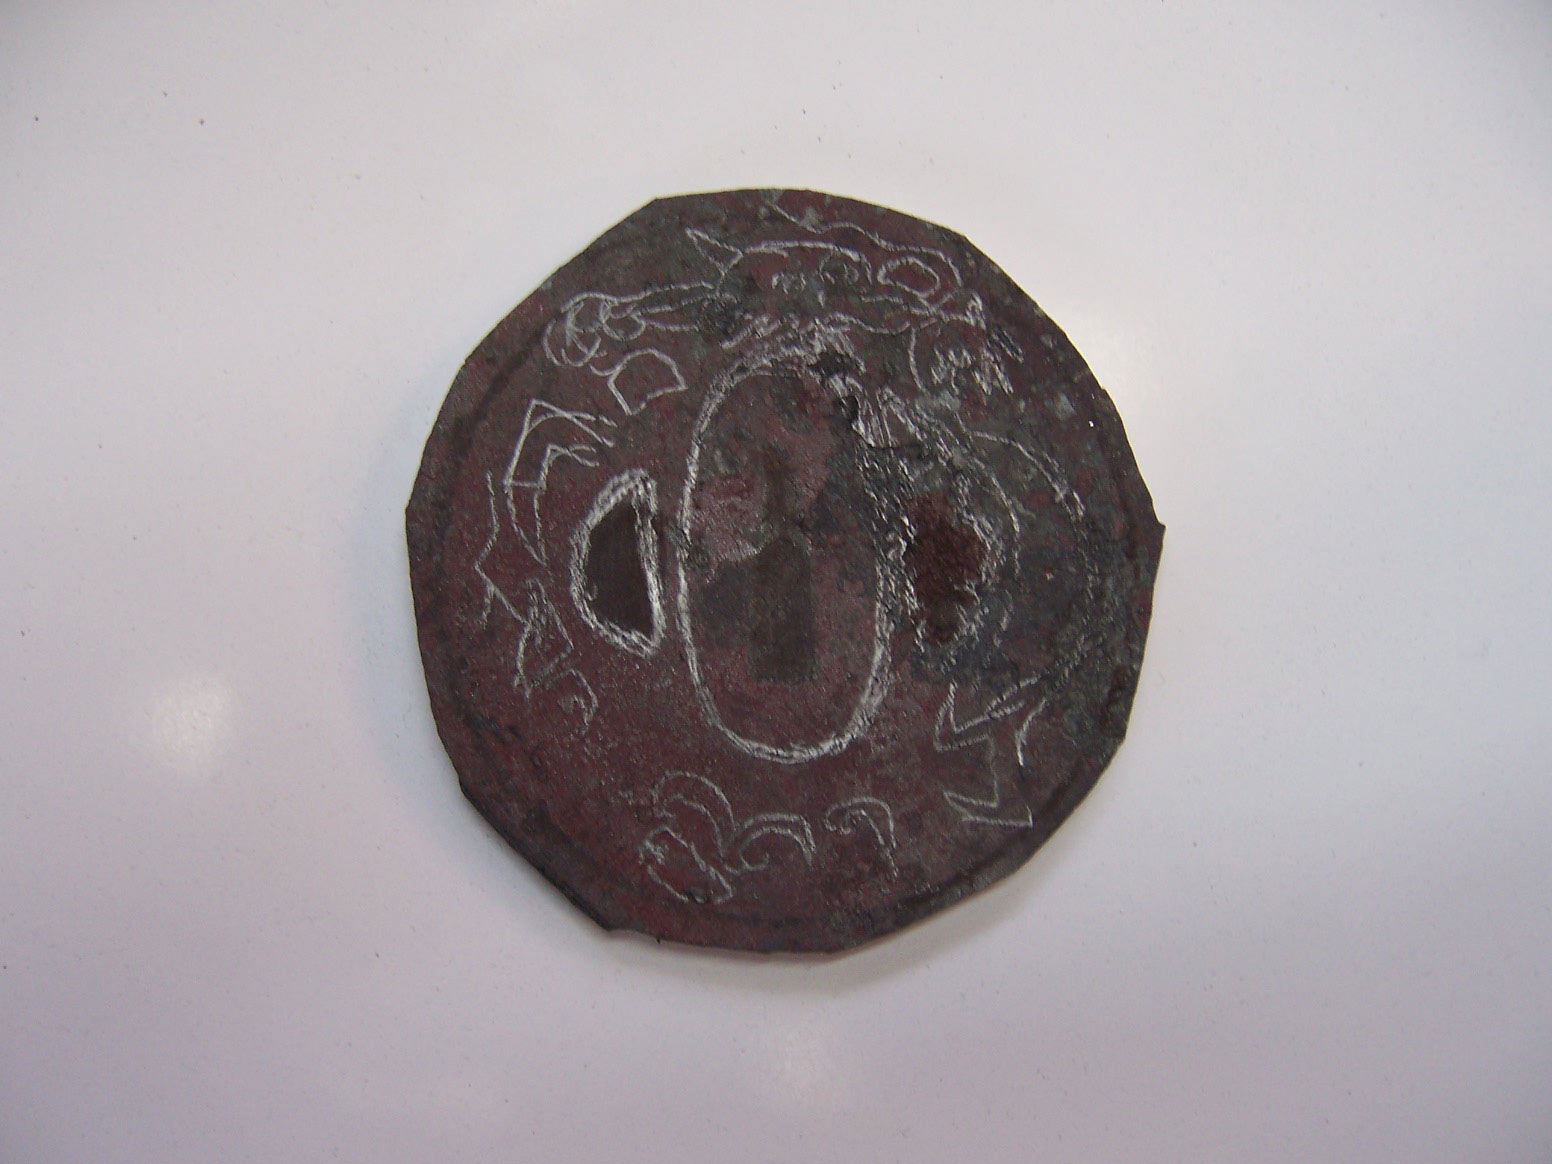
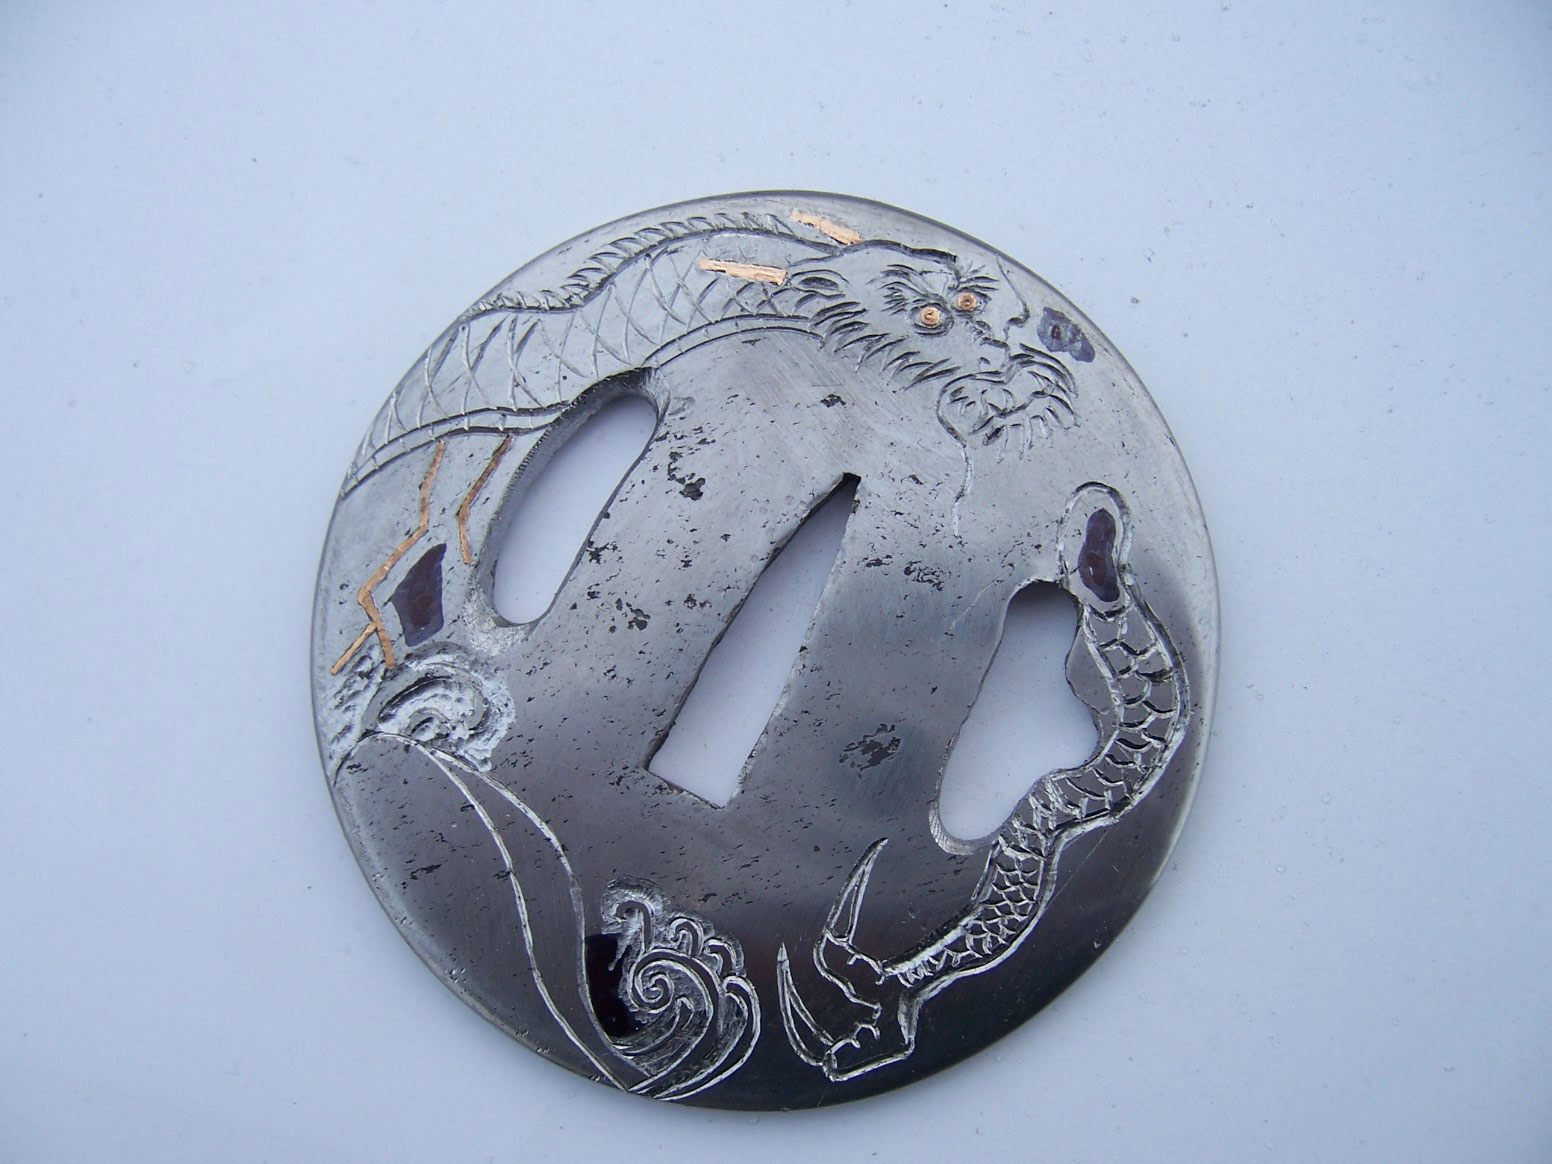
Depending on how detailed the engraving is, I draw my design on or transfer the design onto the tsuba (Photo 3). This one I drew the design on with a Sharpie® marker. I printed out some of my favorite design pictures to use as a reference.
Engraving and Etching
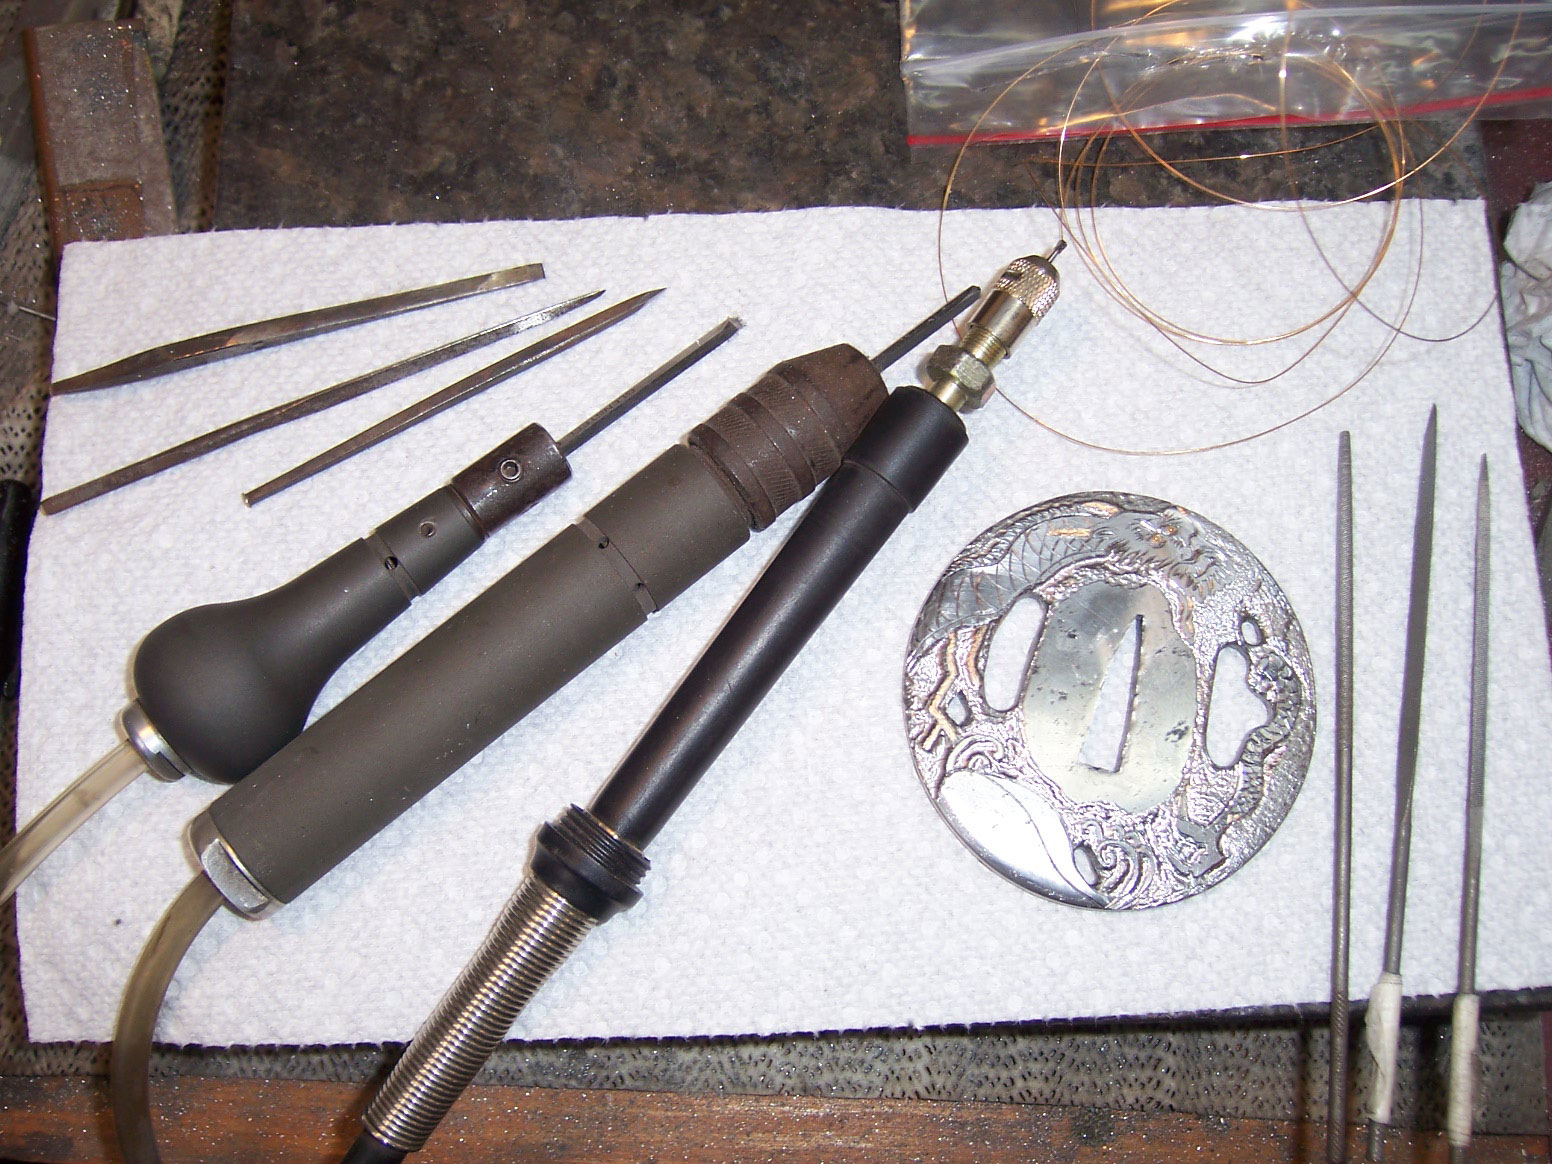
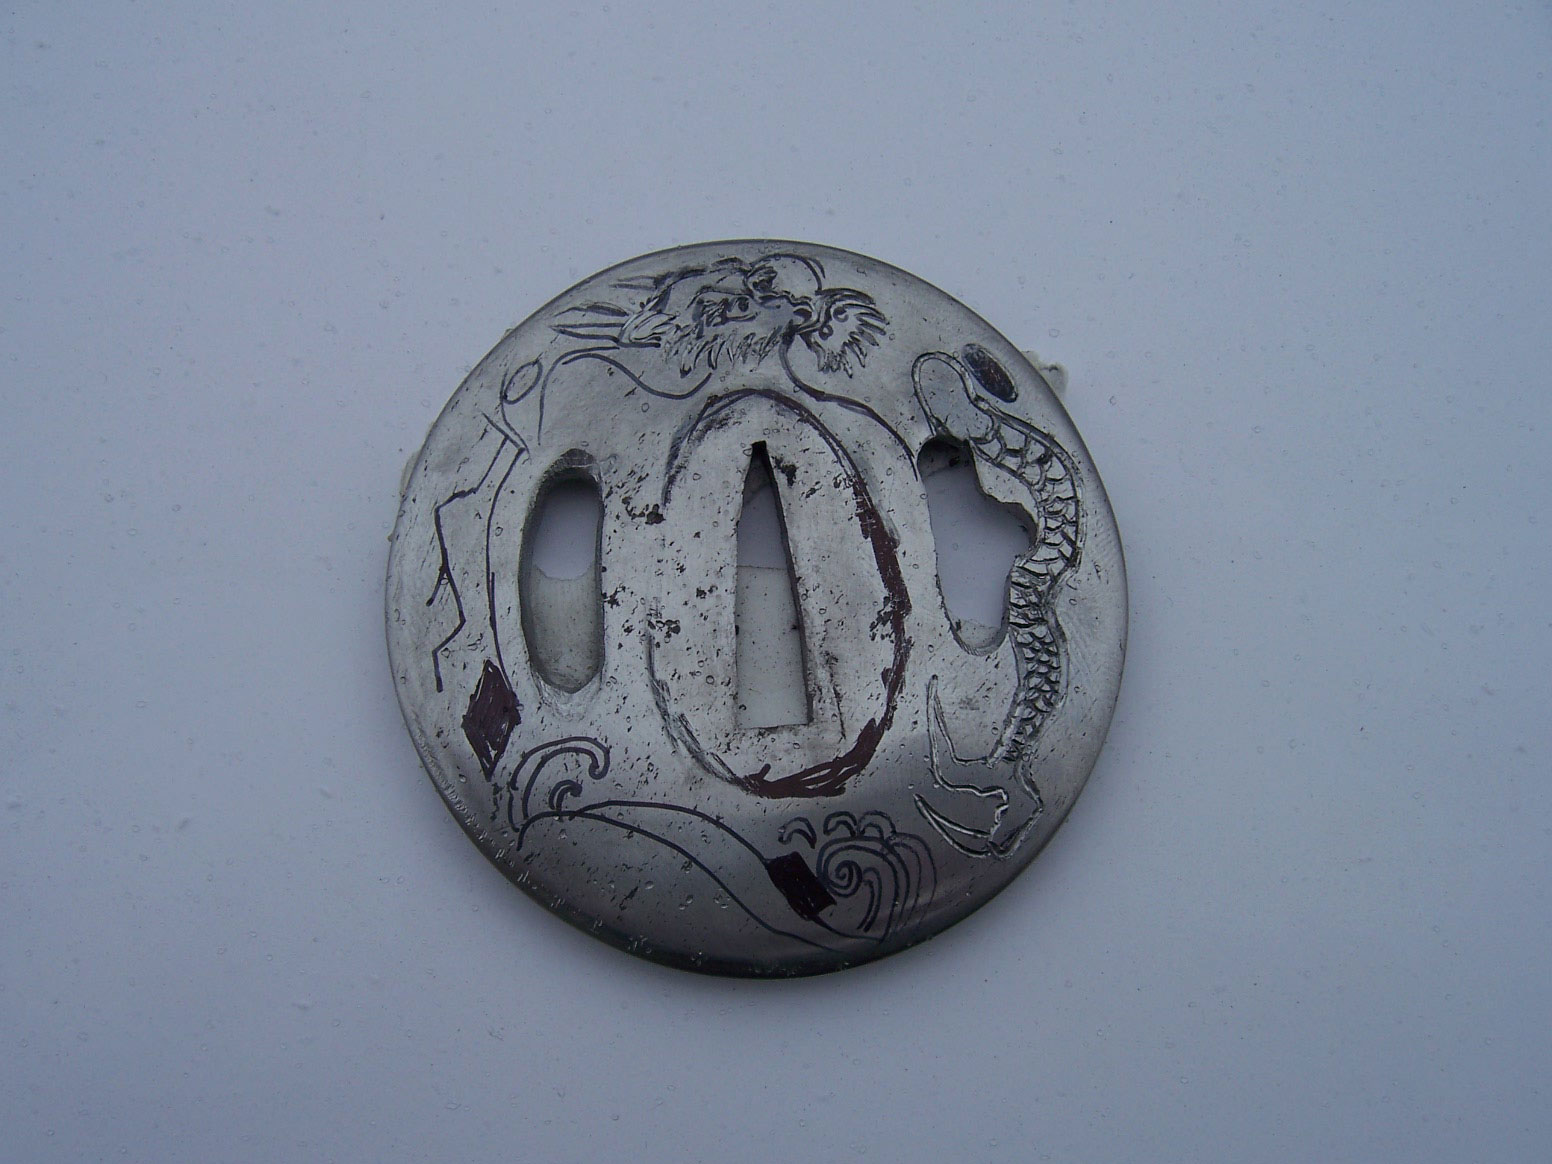
Now the fun begins: engraving the lines. I use square gravers from GRS and from engraver Steve Lindsey. The new gravers both work great and Steve’s Carbalt gravers got me back into engraving. The tips of standard high-carbon gravers break too often. The new gravers last a long time and take a real beating. I use a Dremel Tool and a high-speed air hand grinder to texture the background (Photo 4).
If you practice it a lot, gold inlay is easy (Photo 5). First, cut your line with a square graver, then take a small flat chisel and tap it perpendicular along the line to undercut the groove. Raise some burrs along the bottom of the groove, then tap in the 24k-gold wire.
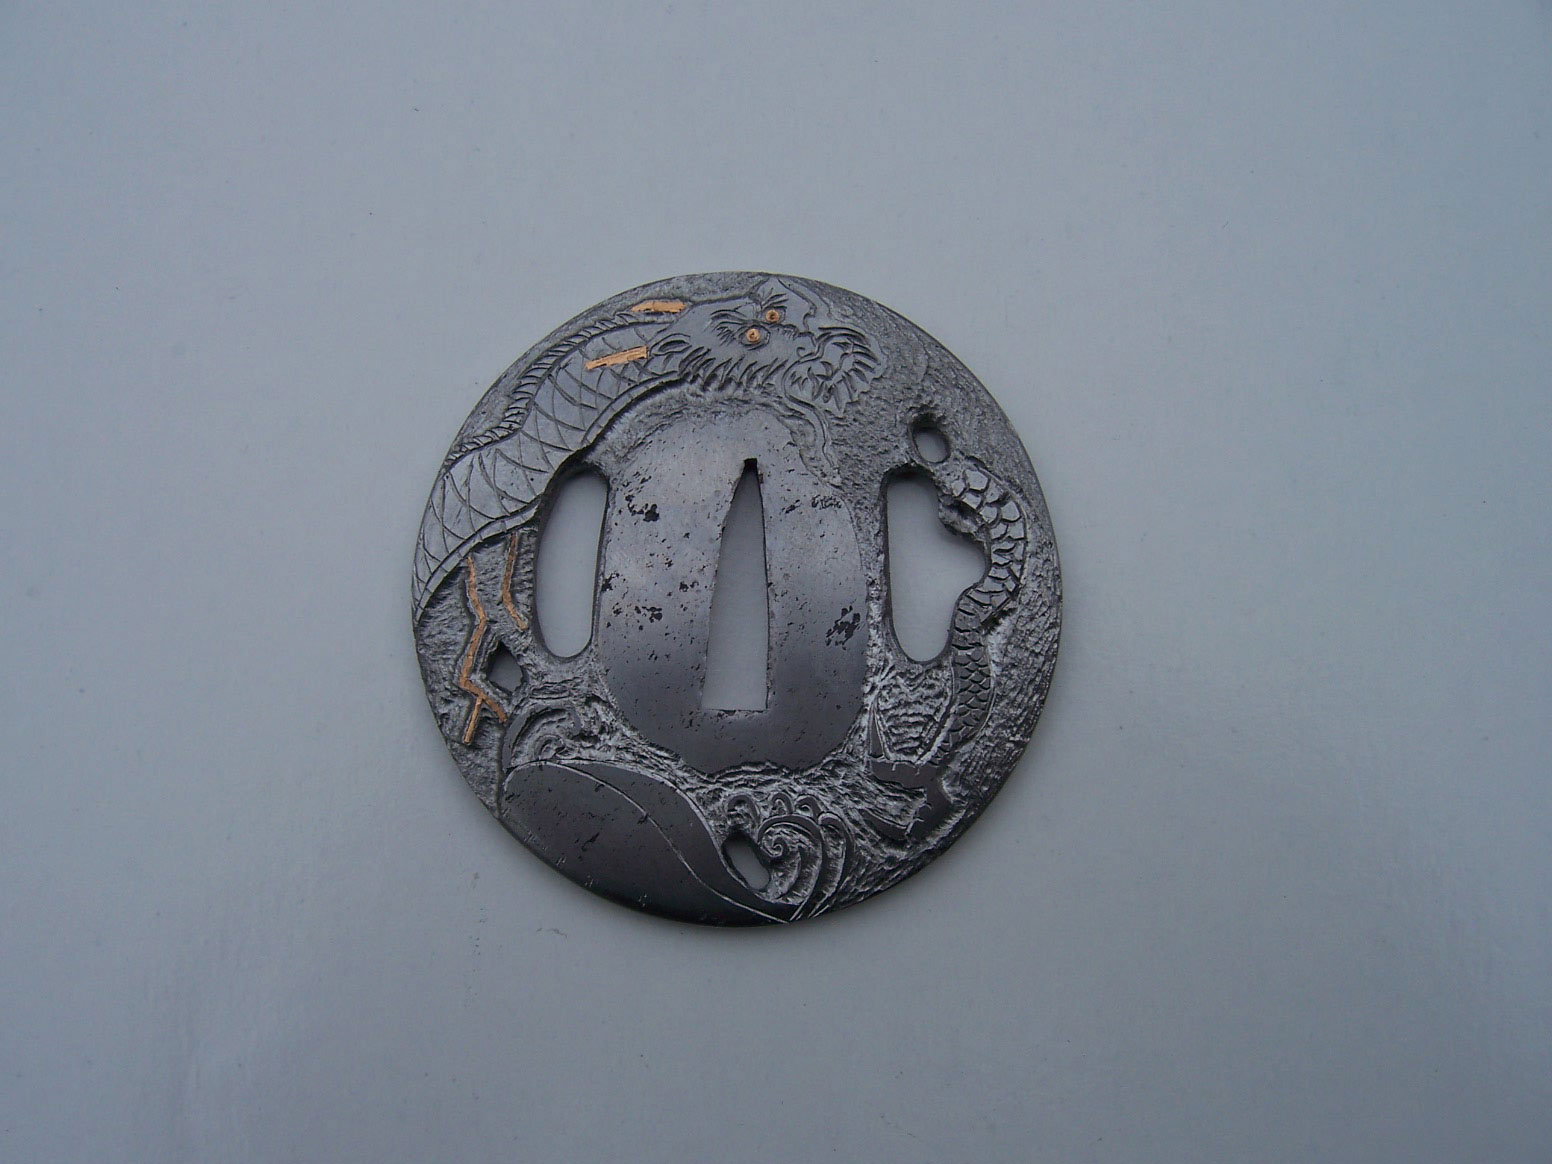
After engraving, I etch the tsuba in acid. This brings out the pattern in the wrought iron and resembles damascus somewhat. It gives an old look and feel to the piece. I mix four parts distilled water to one part muriatic acid or ferric chloride. I neutralize the etched steel with Windex® and then lube with WD-40. To bring out the highlights on the engraving, I use a small Cratex® rubber wheel and polish the surface by hand.
When done, I apply Renaissance Wax to keep the tsuba from rusting.


Keep Learning About Making Swords
 NEXT STEP: Download Your Free KNIFE GUIDE Issue of BLADE Magazine
BLADE’s annual Knife Guide Issue features the newest knives and sharpeners, plus knife and axe reviews, knife sheaths, kit knives and a Knife Industry Directory.Get your FREE digital PDF instant download of the annual Knife Guide. No, really! We will email it to you right now when you subscribe to the BLADE email newsletter.


