What is the purpose of stropping? Is it the same as sharpening a knife? We’ll answer those questions and more as we explore how to put the finishing touches on a blade.
Burr is a term used to describe the turned-over edge of a freshly sharpened blade. The burr can be seen as an ultra-thin, wire-like structure at the edge. When sharpening you are bringing one edge surface closer to the other edge surface with alternating and even strokes, left-right-right-left against an abrasive such as a sharpening stone or metal grade sandpaper or strop. By alternating sides you simultaneosly remove surface material from both of the sides forming that burr. Sharpen back-and-forth, one side and then the other, and the burr appears.
What Sharpening Does To A Blade
At first the two opposite sides are divided by the blade’s edge thickness and there is no burr. This is seen as that paper thin shiny line from tip to choil. As one side is brought closer to its opposite side (i.e. sharpened), one side or the other will eventually meet the other and the thin shiny line will disappear.
At that point there isn’t enough mass to support the edge against the hard-abrasive surface, and the super-thin edge rolls/curves over in the opposite direction, forming the burr. The burr can be seen with the unaided eye and felt with your thumb. The objective at this point is to switch and sharpen the edge from the other direction with a yet finer grit abrasive. This maneuver makes an even smaller and thinner burr on the opposite edge. After you sharpen several times like this in opposite directions, with finer and finer grit paper, the burr will be reduced microscopically and be difficult to see or feel but will still be there. This final use of fine grits of abrasive is considered, and is called, a hone.
What Stropping Does
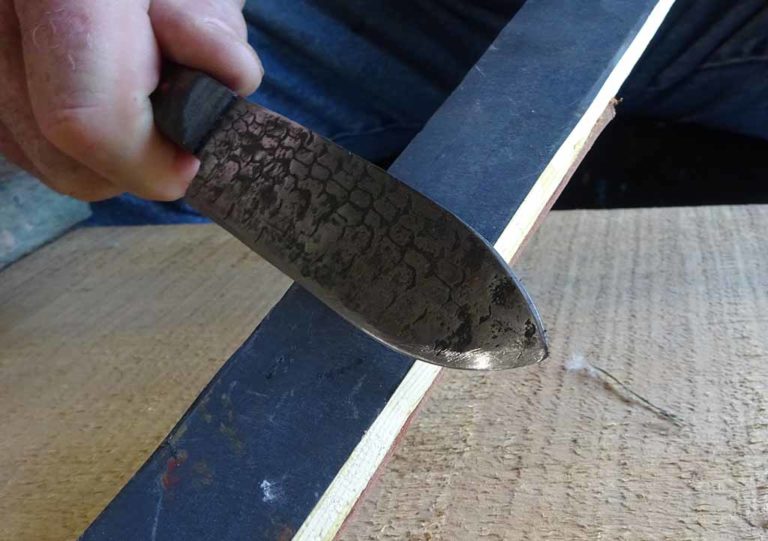
At this point switch from a superfine hone-grit paper (1500 plus grit) to a leather strap, belt, or section of a belt, called a strop. The fine sandpaper hones, and the leather strops. Strop with the same back and forth motion, strop the blade’s edge against the leather. This action bends the now unseen burr back and forth against the leather and the burr finally breaks free. The edge thickness is now just paper thin or less. So “paper thin” doesn’t sound like the edge would bear up during use, being this thin, right on the very pinnacle of the blade’s edge—but it does.
With removal of the burr the edge acquires maximum sharpness and can be re-honed repeatedly without subjecting the blade to recurring sharpening cycles with lower grit sandpaper. This maintains the thin-and-sharp element of your blade.
Choosing A Strop
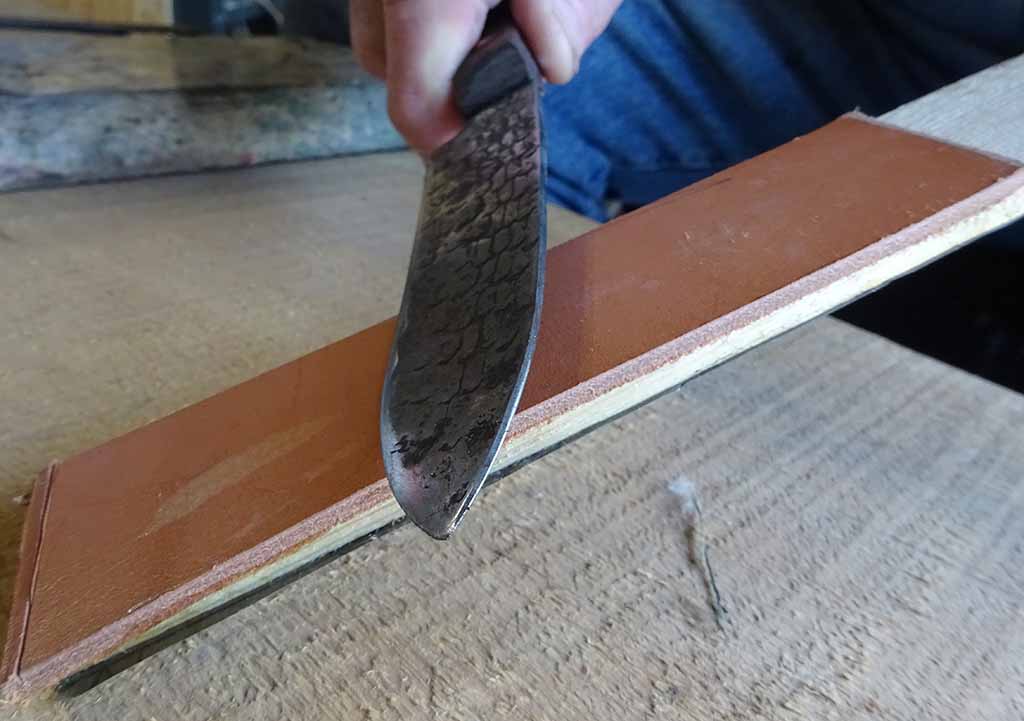
Make your strop from a strip of leather belt (10-inches long) glued to a bit of yardstick or lath material. Glue a strip of 800-1500 grit wet-n-dry sandpaper to the other side for a hone.
How To Strop
Stropping is a low-angle slap and slide motion. The leather actually sharpens the microstructure of the blade’s edge. It 1) bends the burr back to a sharp edge or 2) bends it back and forth till it breaks, like bending a wire coat hanger back-and-forth, revealing a new raw edge. Visualize a barber in an old-west, cowboy movie slappin’-n-slidin’ his straight razor on a big leather strop. Slap-n-slide your Frontier blade on the 800 to 1500 grit black W/D sandpaper 10 to 15 times then on the leather the same number of swipes. When your edge dulls you can often just strop with the leather, forgoing the hone altogether, in the restoration of a keen cutting edge.
After stropping, if your knife edge isn’t near razor sharp, go back to your wet-n-dry-sharpening action with the higher numbered sandpaper grits (400, 600, 800) then strop again.
Testing The Edge
Feel the edge with your thumb, perpendicular to the edge. Never run your thumb or fingers vertically up or down the blade. It will cut. With time you’ll be able to tell in an instant various level of sharpness with just your thumb. With time you will feel the burr and know the angle of any blade with just a touch of your thumb.
Another sharpness indicator is the use of an old leather belt or scrap of leather. Almost any “sharp” knife can cut a sheet of paper but stiff leather is the true challenge. First, use a knife of known sharpness. Cut a bit from the leather. Note the force needed to peel off a few pieces of leather. Use the same piece of leather on subsequent blade edges you sharpen in the future. By comparison, the quality of those blades’ sharpness can be gauged.
This article is an excerpt from Forged: Making A Knife With Traditional Blacksmith Skills available at ShopBlade.com.
Get More Knife Sharpening Info:
- 5 Angle-Guide Knife Sharpeners That Make The Cut
- How To Determine The Best Angle To Sharpen
- 5 Myths About Knife Sharpening
- How to Sharpen a Serrated Knife
- 5 Leading Sharpening Rods


