


Taking great photographs of knives is no easy task—unless you’re a professional, in which case you can stop reading. Essentially, you’re taking a highly detailed shot of something that fills the entire frame, not something small like a bee in the center of a background of blurred petals, but a long, thin item that needs to be in focus from point to butt. But there’s so much more. Every line must be fully revealed and a depth established to convey thickness or thinness. I know close to zero about the mechanics of the art. There are plenty of videos and online courses out there that’ll give you the science of the “study of light.” They can speak to you of aperture, ISO and shutter speed in infinite combinations. All I know is a good photo when I see one, and how I have tried to improve my own photography. Here are the 6 things BLADE looks for in a knife photo. It’ll be up to you to make it happen. Why? Because there are “5 Ways To Get Your Knives Featured In BLADE” and you want to be ready.
Hire A Professional
Knife manufacturers, like good real estate agents, know that great photos will close a sale. They understand that the investment in a professional photographer pays off. When BLADE asks for a photo of their latest release, for example, some even allow high-resolution downloads right from the consumer website without having to go through a media relations person. That can be a time-saver at deadline. I’ve even experienced a large company resubmitting photos with even better ones. There’s nothing that says a one-man-show can’t learn from that level of perfectionism. It’s the same effort you put into crafting your knives.
Hiring a professional photographer will cost you some money, and it’s worth every penny. But like all professionals, some are more versed in what we’re trying to accomplish than others. A portraitist, wedding photographer or photojournalist may or may not be able to give you the results you’re looking for. You want to make sure you chose someone who can show you a portfolio of knives, guns, tools or similar items that looks…well…perfect.
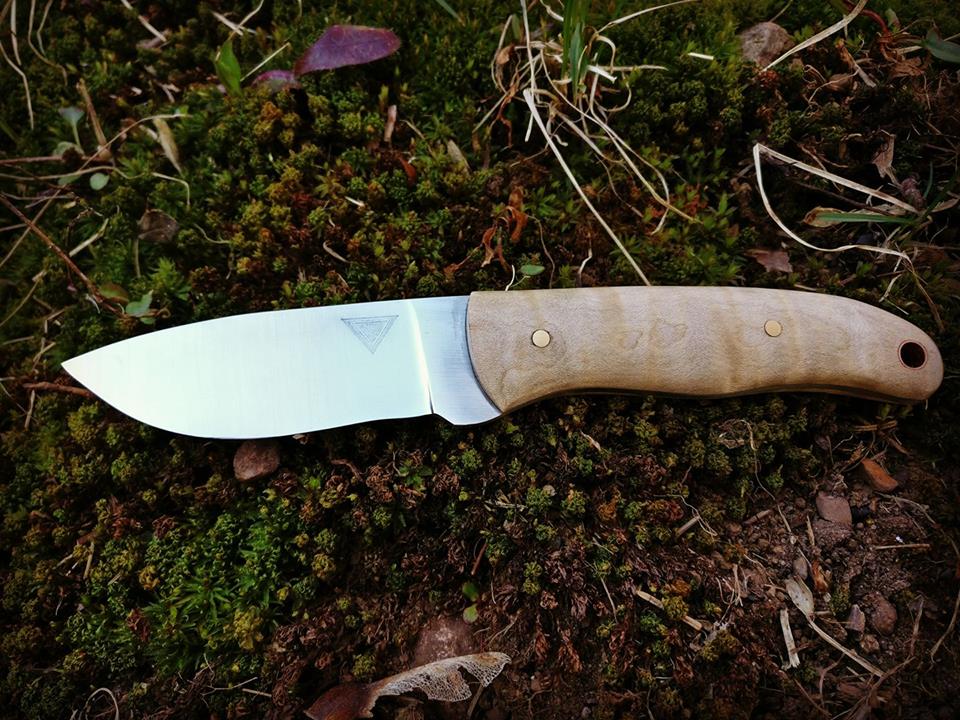
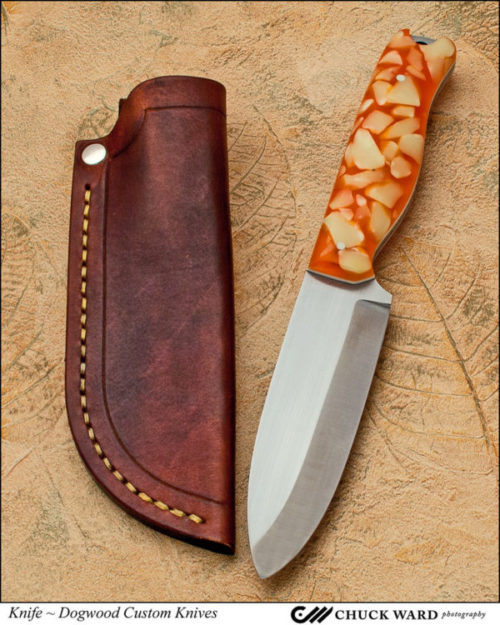
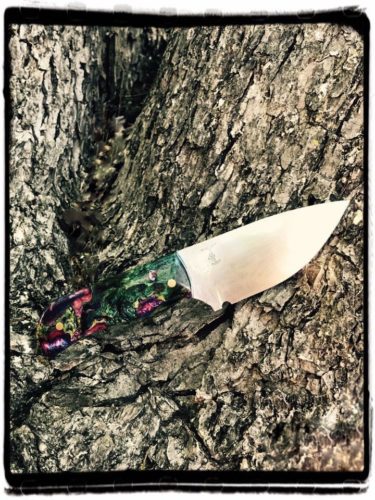
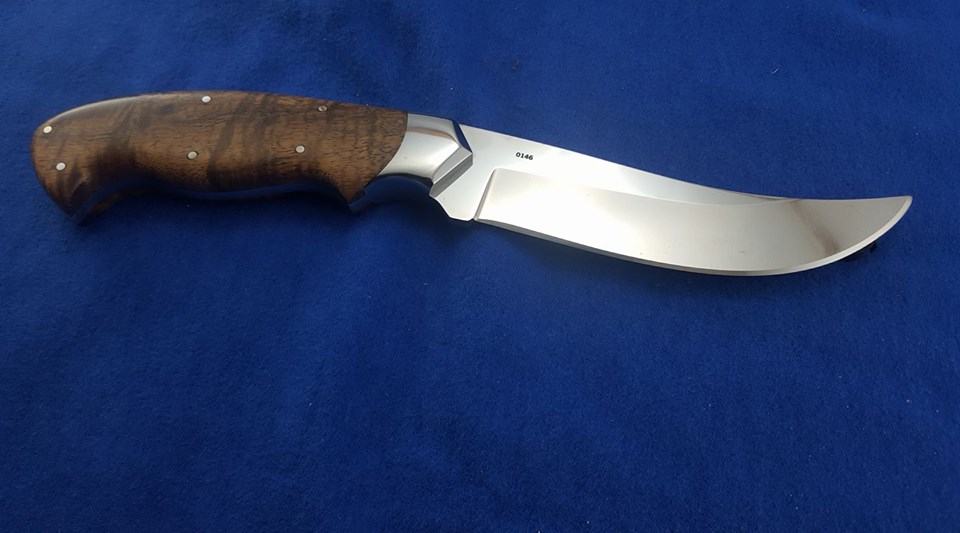
You will want two kinds of photos. Photos for your website and social media will create an emotion, an atmosphere. Instagram is full of examples of survival, bushcrafting and hunting knives being photographed outdoors and tactical knives being shot in gritty workshops or light-painted in darkness. Makers create everyday carry still lifes with folders, wallets and watches. Typical? Sure, but each one tells a story that has been told a thousand times before in a slightly different way. Nobody reads just one novel, and nobody looks at just one knife photo. They are all beautiful in their own way. The other kind of photos you will need are those of just the knife itself on a simple background, what is often referred to as glamour or beauty shot.
The question you have to ask yourself is: Are you willing to put as much study and effort into your photography as you are your knifemaking? Answer honestly. There’s no shame in shelling out cash for stunning work. Fill your website with those choice images and have them on hand for BLADE, and then you can practice your own photography skills for social media. Even on social media, though, take the time to post only your best images. Plenty of knife-related Facebook Groups out there are looking for banner photography and have to reject knifes they’d like to showcase because the image is, say, out of focus.
Do-It-Yourself
Let’s say you can’t justify the expenditure at this point in your knifemaking journey. Or, more likely, by the very nature of your interest in crafting, you’re determined to take quality photos of your knives yourself. You think, How hard can it be? Very. It can be very challenging to produce the kind of photos needed for a glossy magazine.
“Real” Camera Vs. Camera Phone
You can take the cost of a few sessions with a photographer and buy yourself a decent camera, for starters. Keep in mind, however, that lenses that come with a camera are usually not very good. Be prepared to buy a decent mid-range lens at a minimum.
Then again, there are some excellent photos being taken with newer camera phones. Do NOT attempt this with an older model. You will only frustrate us both because they do not allow for high enough resolution of the images. Be sure if you submit a photo from your phone that you email it at its largest size. If there are settings on your phone that need to be changed to allow for taking photos at higher resolution, then you’ll need to set those accordingly. Those settings will apply only to photos you take going forward; you cannot retroactively apply them to photos already taken. Whether you use your phone or a “real” camera, the same fundamentals of photography apply.
Tip: If you smoke or if you have your phone in your shop, there could be resin or dust on your lens. You’ll want to clean that—gently—before you begin.
Be sure to take great photos of all your work before they are sold, and to back them up, either in the cloud, through an online backup service or on a thumb-drive.
6 Things BLADE Looks For In A Knife Photo
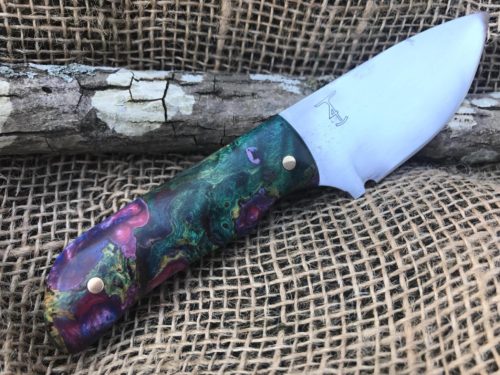
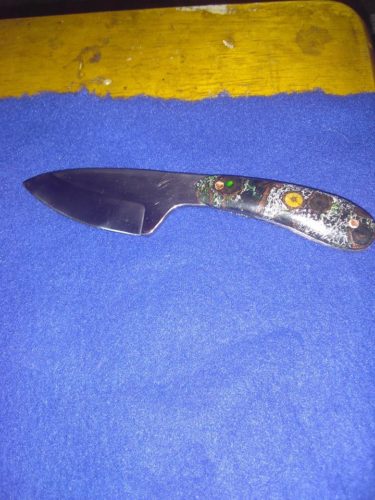
- Focus
The entire knife must be in focus, from point to butt. Are there some artsy shots of crystal clear blades and blurred handles or vice versa? Sure, but that’s not what we’re looking for in print. Online, we’re more open to considering some of those shots, provided we have some conventional full-focus shots to accompany the story as well.
If you are taking what we call a “using” shot where you’re photographing the knife in use for an online story or if we are working on a story together for print, be aware of where your camera is focusing. I have seen crystal clear shots of a leaves on the ground while the knife and the hand it’s in are both blurry. Focus is probably the single most important aspect of a good photo.
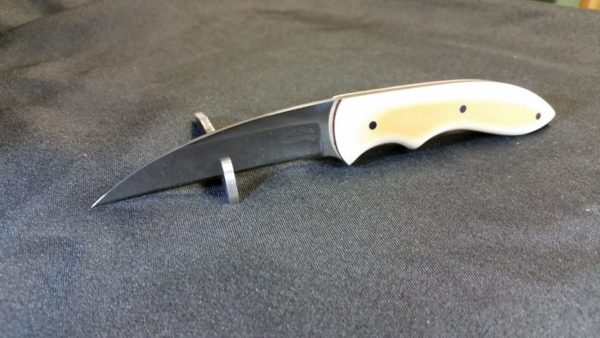
- Contrast
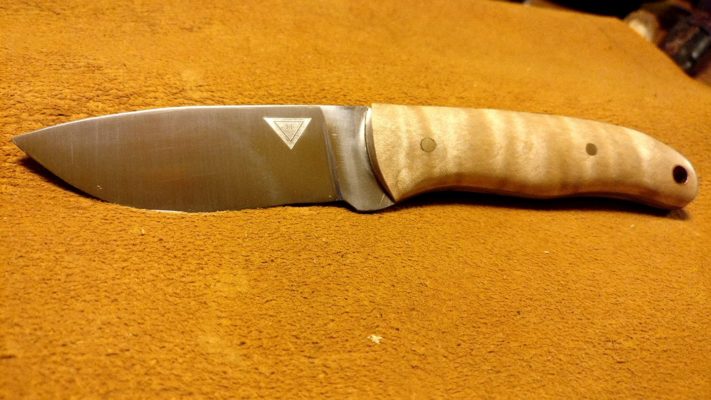
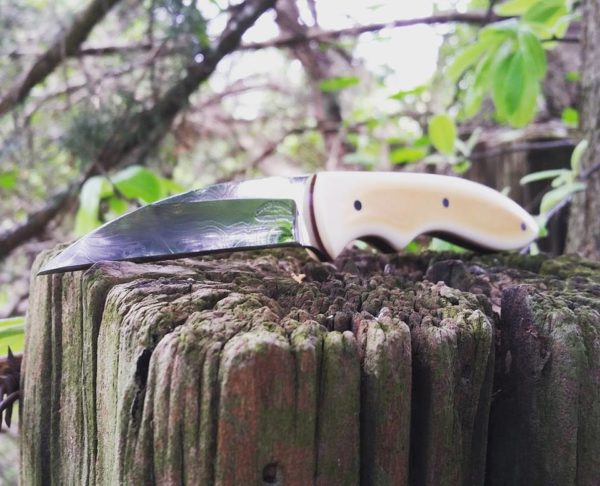
Be aware of the color of your background. A grey knife on gray pavement, a black knife on a blackened tree stump, camouflage your knife. It’s like a silver or gray car against gray pavement on a gray winter day—you can’t see it. No contrast. This applies to multicolored handles against multicolored backgrounds as well.
- Composition
For two of BLADE’s sections, “What’s New” and “Knifemaker Showcase,” only cutaway images of the knife are used. (See the “5 Ways To Get Your Knives Featured In BLADE.”) This means that you don’t need to worry about the background at all. In fact, white paper is fine, but watch for any shadows. It’s fine to have a slight shadow, provided the lines of the knife are clearly visible. If the edge or spine of your knife bleeds into the shadow to the point where you can’t tell where the knife starts and the shadow ends, that’ll need to be reshot. Our designers need to able to see those lines.
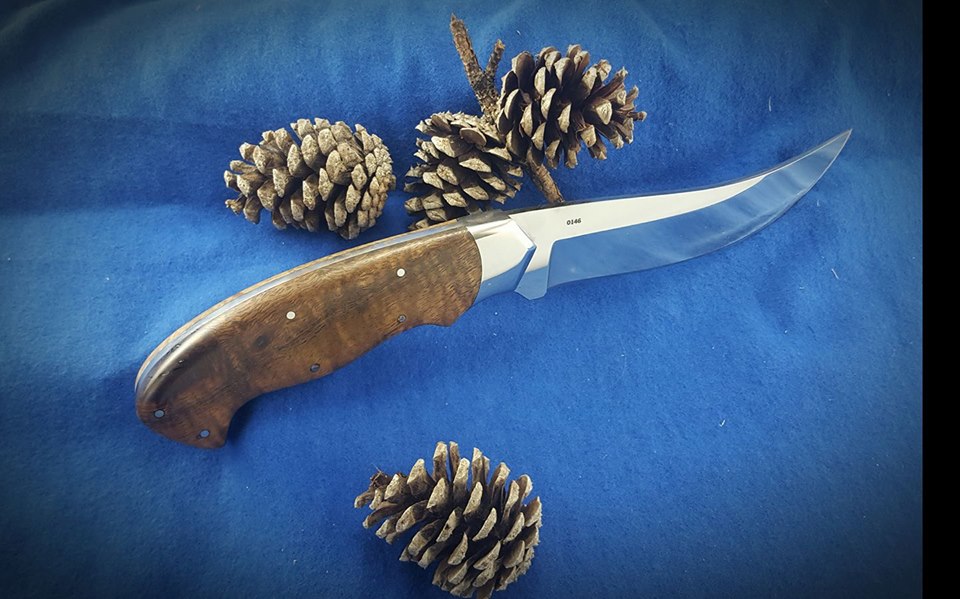
Mood images are fine for both a feature in print and for online stories. Feel free to get as creative as you want, but ensure that the knife is the main attraction. Photographing knives is one of those times when the rule of thirds really isn’t applicable. The knife is the main attraction and we’re not going for proportional sharing with a background. If the image you’re submitting for consideration is for a section of the magazine that uses cutaways and there’s moss or grass, fabric or fur encroaching on the blade itself, that’ll impede the designers in their work.
Make sure no part of the knife is cut off, and don’t crowd the point or butt. If you place the knife in a stand and that stand encroaches on the knife, it can’t be used for a cutaway, but it could possibly still be used for an online story or in print.
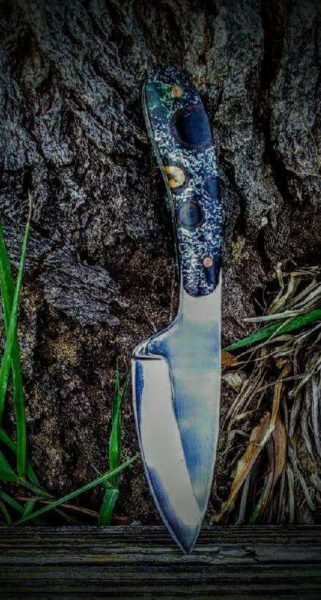
- Depth and Angles
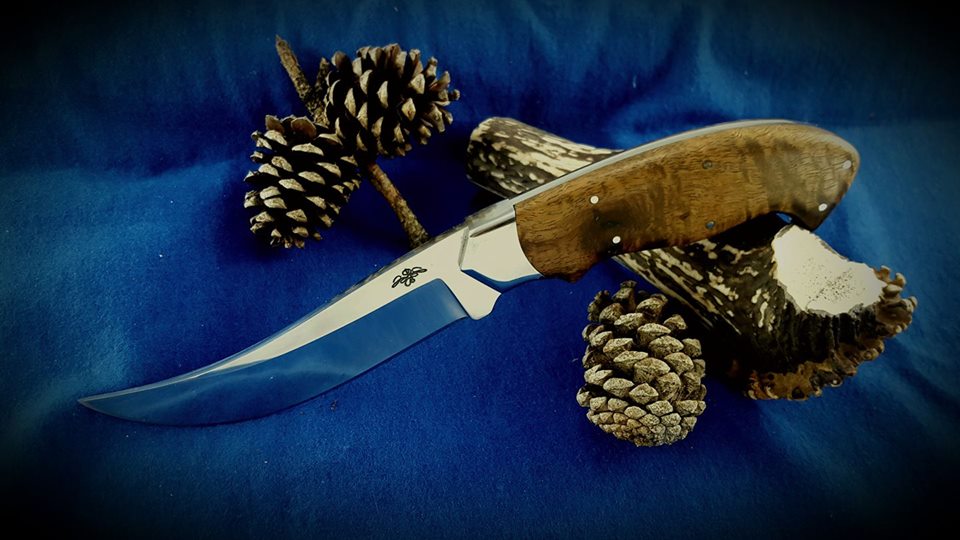
In layman’s terms, you need to ensure your knives don’t look flat. You’re trying to capture something that’s three-dimensional in a two-dimensional medium. This is where some knives can look disproportionate because you’re focusing on the handle and the blade is in the fuzzy background, so to speak. A shallow depth of field is fine as long as your knife is standing out crisply from point to butt.
Finding the right angle will also help prevent your knife from looking flat. Prop up your knife somehow. Even just leaning it against a pebble allows you to move and capture the thickness or thinness of the piece. Laying it on your hand can work as long as your flesh doesn’t obstruct any of the knife’s lines.
Tip: Take dozens of photos from many different angles and distances and pick the best one of the bunch. If you don’t nail it, don’t compromise, don’t settle, get back there and take dozens more. Pros will take hundreds of impressions to deliver 30. Seriously. Take more shots. No, more. Get a ladder and shoot down, circle your quarry and shoot multiple shots from each hour of the clock, and get down and shoot at eye level. Shoot at morning, noon and night, but mostly late afternoon, to see how different types of sunlight affect your knife images. It’s what the pros did when they were starting out. Now, after years of experience, they can judge the sun’s angle and know how to get what they need.

- Lighting
Natural light is easiest for the amateur to master. A cloudy day is good to reduce blade glare but sometimes it will dull colors. Try a sunny day, but shoot in the shade. Avoid glare on either the handle or the blade whether you’re shooting indoors or out. You also don’t want dappled light coming through the leaves of a tree to interfere with the hamon, for example, so try to find a solid overhang. You also don’t want reflection to make your blade look different than it is in reality.
Indoor lighting is infinitely more challenging. Low light, fluorescent light, light-painting in a dark room—they all have the potential to become “noisy,” grainy, soft. I will leave it to the articles and videos you’re going to pour over to explain why, but trust me, it’s not easy. Sometimes, in light-painting for example, the pins might absorb all the light and they take over the picture. Or the handle’s too dark, or the handle’s visible, but the blade looks dull. Changing the countless variables on this project will help you get the right shot out of your many attempts. It can help to take notes so you know what you’ve tried and whether or not it worked.
Avoid using the flash inside your camera. It will only give you an overlit image that makes your work look flat. An external flash, shot off a wall or ceiling or even a white T-shirt, or an extra light diffused with a white paper bag, may help, but now your knifemaking shop has turned into a spaceship and you’re behind in your orders.
- Specs
Images need to be 300 dpi for print with the photo at least 8 inches on the longest side, preferably 10. The image size should be at the very least 600 KB. It’s not that we’ll run it that large, but we need to have the option to do so, especially if we’re doing a cutaway and the knife doesn’t fill the frame.
We prefer .jpg format, and that you attach the image file rather than dragging it into the email. Sometimes that can make a difference in resolution quality, though it admittedly shouldn’t. Also, for similar reasons, submit originals and not versions scraped from Facebook or other social media platform, even for online stories.
Remember, it’s all about the knife here at BLADE. Oh, and makers and manufacturers, too. But without a fantastic photo of a knife as a starting point, how are we ever going to get to know you better?
Photos may be submitted for consideration in private message to “Erin at BLADE” on Facebook or via email to [email protected]. To learn more about how your photos could be published through BLADE, read “5 Ways To Get Your Knives Featured In BLADE.”
‘101 Knife Designs’ Will Inspire Even Seasoned Knifemakers

Knifemakers of all skill levels will enjoy comparing knife designs in this book by Murray Carter. The photographs by Hiro Soga are exquisite! There is even a discussion on the theory of knife design to help you better understand your craft. Save 35 percent off the cover cost of $29.99 for a total of $19.99.
 NEXT STEP: Download Your Free KNIFE GUIDE Issue of BLADE Magazine
BLADE’s annual Knife Guide Issue features the newest knives and sharpeners, plus knife and axe reviews, knife sheaths, kit knives and a Knife Industry Directory.Get your FREE digital PDF instant download of the annual Knife Guide. No, really! We will email it to you right now when you subscribe to the BLADE email newsletter.


