

Breathing life back into a damaged blade.
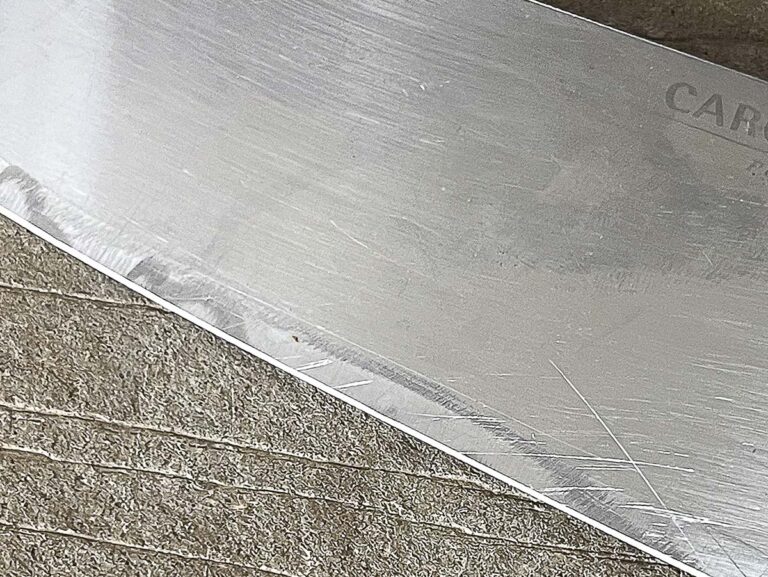
It happens. You use your kitchen knife and hit a bone and the edge chips out. Or the cutting edge of your pocketknife breaks or dulls as you lightly pry a paint can or some other stuck container. It’s just the dynamics of steel. Blades go dull through normal use or get damaged through misuse or extreme abuse (image 1). Sometimes it’s unavoidable, as the knife might be our only option for a tool at a given point. So, you have a damaged cutting edge, rendering the knife unusable. How do you rectify this minor catastrophe to restore the knife to service as a capable cutting tool?
In addition to knife writing, I run a knife repair and sharpening business. In the course of this venture, I have developed an edge-repair system that has breathed life back into what were otherwise inoperable knives. And at the risk of shrinking my customer base, I’m going to share with you my method of taking a blunted or broken blade and reapplying an edge so it’s as sharp—maybe sharper—than the day it came out of the box. This does require some specialized tools, but nothing so outlandish as to seem out of place in a common home shop or in possession of a serious knife collector or user.
Before we begin, there is something that needs to be said about this type of work. Regardless of the knife—kitchen knife, hunting knife, pocketknife, tactical folder, etc.—the edge repair technique I will guide you through is the same. Furthermore, and I cannot emphasize this enough, safety comes first, last and in between. Any type of knife-sharpening activity is inherently dangerous. Be sure to do this work in a well-lit area and undertake this work only when you can give it your full attention. Forcing yourself to repair a blade when you’re tired, stressed or distracted is a recipe for getting cut—perhaps badly. To this point, you should have a first aid kit handy; even with complete focus, accidents do happen. And, hold your celebratory beer or cocktail until after you’re done getting your knife in order.
Edge Repair Tools
If you have experience with sharpening, chances are you have the background for blade repair. I recommend using a belt sander or some sort of belt grinder for the process. You use this equipment to address the damaged portion of the blade and it makes life a lot easier, trust me on this. If you are in need of a sander, an economical choice is Harbor Freight’s 1 x 30 belt sander. It’s cheaper than many sharpening stones, around $50 minus tax, and worth every penny. While you’re at it, pick up a couple of packs of 80-grit belts, just so you don’t have to interrupt a project if the grit wears off one.
I recommend 80 grit, it’s coarse enough for fast stock removal but doesn’t heat the blade up too fast. I find 60 grit works and stays cooler, but eats steel much faster and isn’t advisable for a beginner. You can get in trouble fast at this grit size and larger. As for grit medium, zirconia and ceramic belts last longer but conversely are more expensive than aluminum-oxide belts. That said, aluminum oxide will work for these repairs.
As mentioned, heat is an issue in edge repair. Too much and you can ruin the temper of your blade. In turn, you need some way to keep the steel cool while working on your knife. A spray bottle or a jar of cool water will suffice for this task. I prefer a spray bottle because leaving an open jar of water on the workbench sometimes doesn’t work out as it’s easy to knock over and make a mess. So, I keep a spray bottle close to give a few spritzes almost immediately after each pass.
To do this project, you’ll also need some sort of angle guide sharpening kit, such as a Lansky Diamond Kit or Work Sharp Precision Adjust. Honestly, any brand of sharpener that holds the blade steady in a clamp and allows for angle adjustment while honing will do. The key here is angle consistency. You’re going to use the belt sander first to take out the damage as well as restart the cutting edge, then you’ll finish with the angled-guided sharpening system to refine your new cutting edge.
Fixing Chips
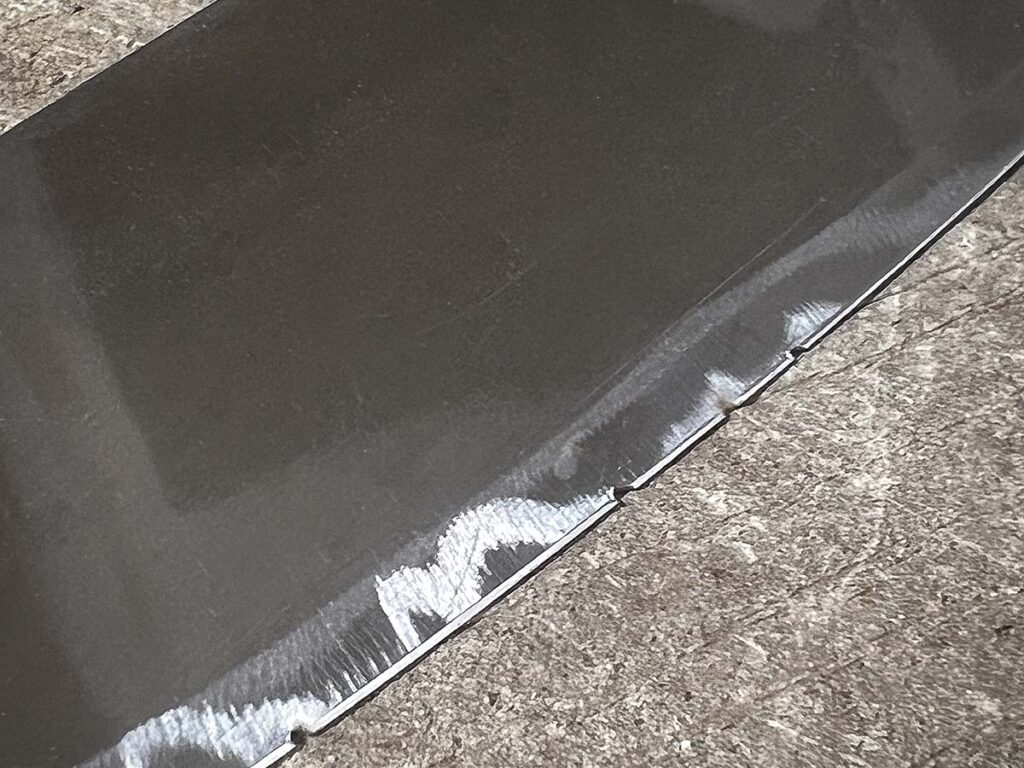
The first aspect of edge repair is evaluation and determining if a chip in the edge requires rigorous reshaping. Keep in mind, some minor dings come out with normal sharpening. If the damage is severe, you have to turn to the belt grinder and essentially remove the entirety of the edge just past the deepest point of the chip (image 2).
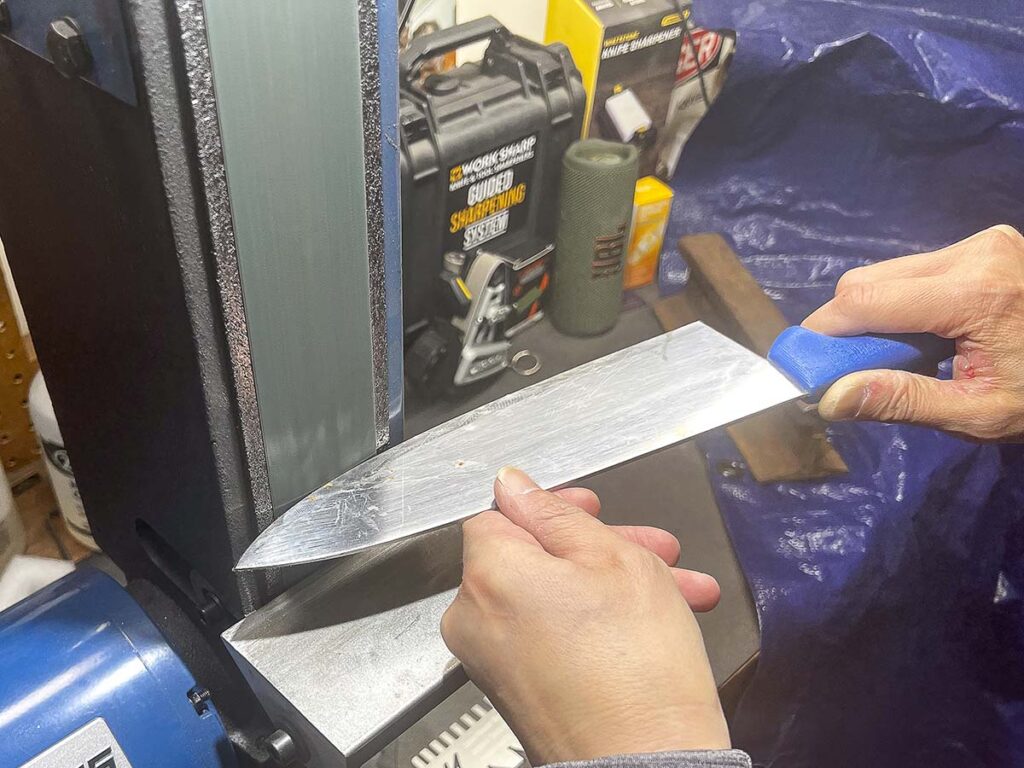
With the damage removed it’s time to restart your cutting-edge bevel on the grinder; think of it as the first draft of your final edge. It does not have to be perfect, simply a roughing in of the edge. Note, depending on the thickness of the knife’s steel, you may need to thin material behind the edge. Nearly all the knives I repair—be they pocket or kitchen—I put a 20-degree bevel (image 3). Further, I’ll sharpen them to the same angle. I know, there is some clinching of teeth out there among those who believe a more acute angle is required for culinary cutlery. That’s fine and you can apply it, if you wish. I’m explaining the system I use, and 20 degrees is a very durable, yet sharp edge. Note, 20 degrees are measured on each side of the blade, right and left; as a whole, the edge total of both sides will be 40 degrees.
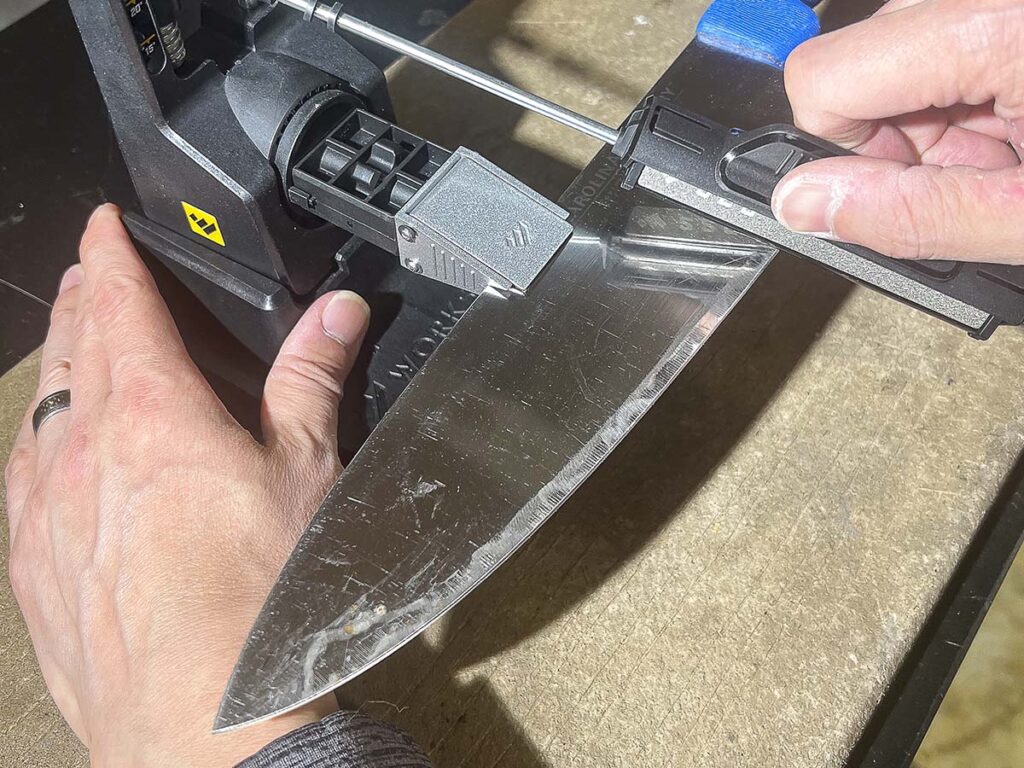
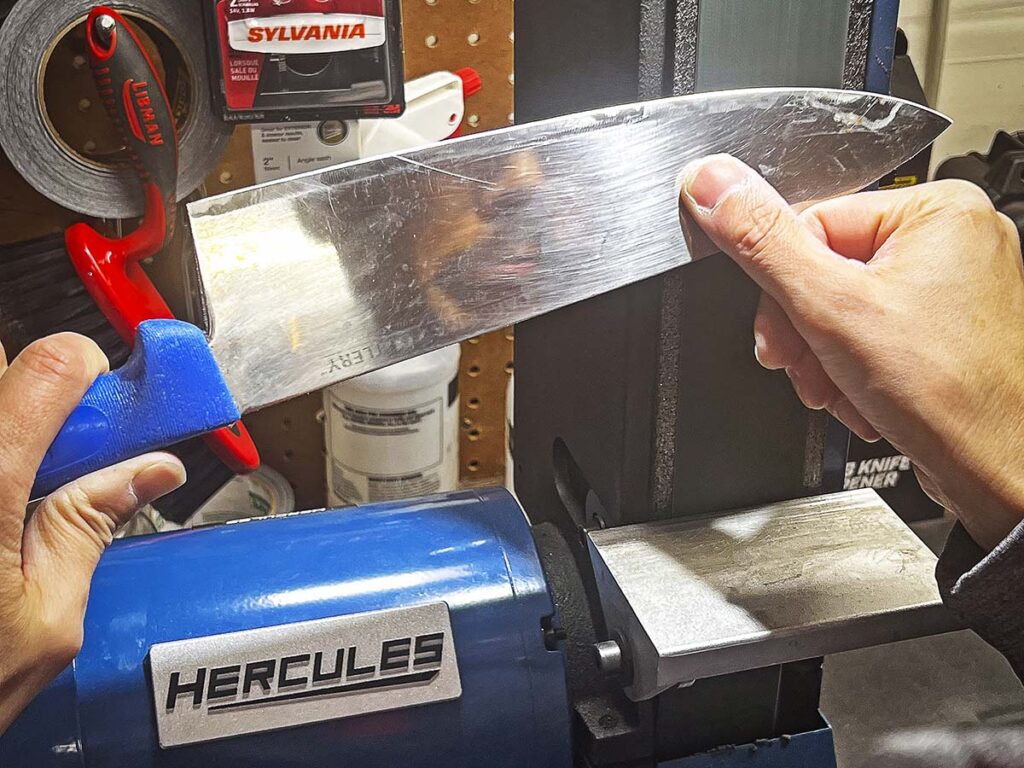
After you have the edge damage removed and the new cutting-edge ground in, it’s time to sit down with the angle guide sharpening kit and really shape the edge (image 4). This is where you want to take your time; you want the cutting edge right. Again, I personally use a 20-degree edge bevel on kitchen knives and pocketknives. However, this is a personal choice and what the steel in your knife can manage. Remember, softer steels will lose a more acute edge more quickly. Whatever sharpener you choose to use for this step, be sure to follow the manufacturer’s instructions for proper use so you can get the best edge possible.
After you have a sharp edge that is fully restored, be sure to give the blade a few passes on a leather strop. If you do not have a strop, a piece of cardboard or the backing of a legal pad should work as well.
Reapplying The Edge
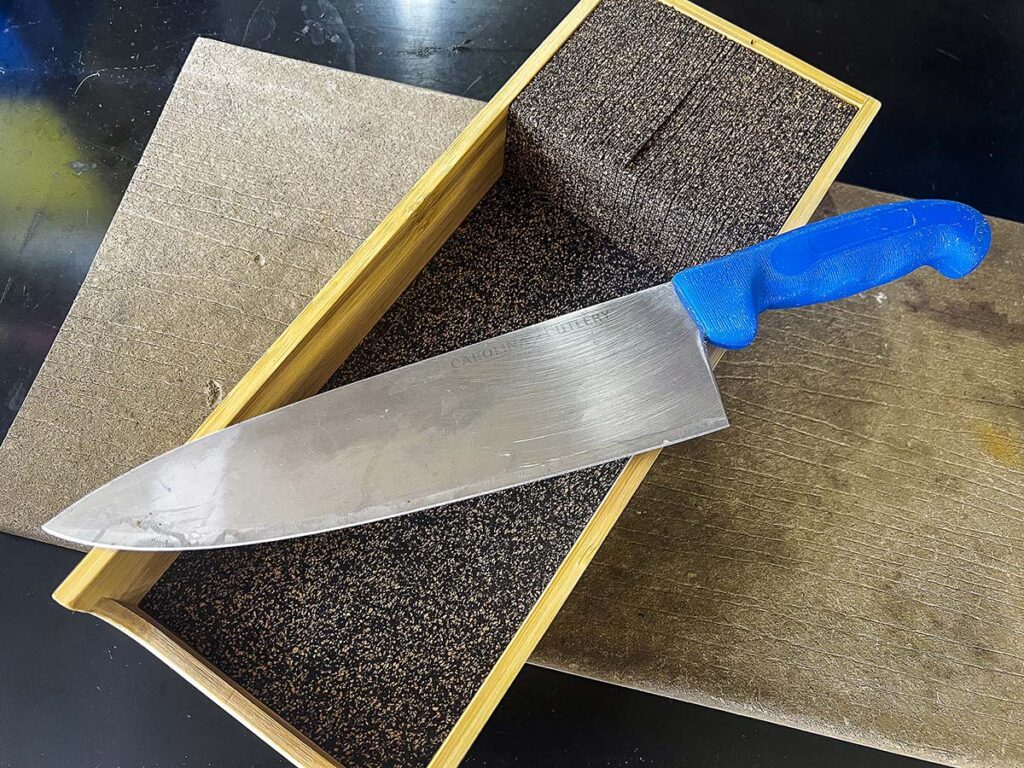
Congratulations! You have fully restored a damaged cutting edge (image 5). Most people consider edge damage the end of the road for their knife. This is especially hard in the event that the knife has sentimental value attached to it. By learning to restore damaged cutting edges, you develope the skills to revive a tool that was once useless, giving it a second life of service. Resharpening a dull edge is similar, but removing the aftermath of hard use and abuse is a few steps beyond and much more satisfying.
Learning how to restore a damaged knife and giving it new life is an incredibly gratifying experience. It’s also potentially a heroic skill. You never know when a friend’s cherished pocketknife might pick up a nasty chip or a family member might foul a favorite kitchen knife prepping Sunday dinner. Edge repair mastered, you can save the day.
More On Sharpening:
- Pros’ Secrets To Sharpening Knives
- Best Sharpening Stones To Keep Your Edge
- Stropping: What It Is And How It’s Accomplished
- How To Determine The Best Angle To Sharpen
 NEXT STEP: Download Your Free KNIFE GUIDE Issue of BLADE Magazine
BLADE’s annual Knife Guide Issue features the newest knives and sharpeners, plus knife and axe reviews, knife sheaths, kit knives and a Knife Industry Directory.Get your FREE digital PDF instant download of the annual Knife Guide. No, really! We will email it to you right now when you subscribe to the BLADE email newsletter.





