Shop Dump: Top makers reveal the key equipment that helps them get the job done
“Shop Dump” is a new BLADE® feature showcasing the special knifemaking equipment of some of today’s leading knifemakers and bladesmiths. The new feature kicks off with ABS master smith Rick Dunkerley and knifemaker Jason Fry.
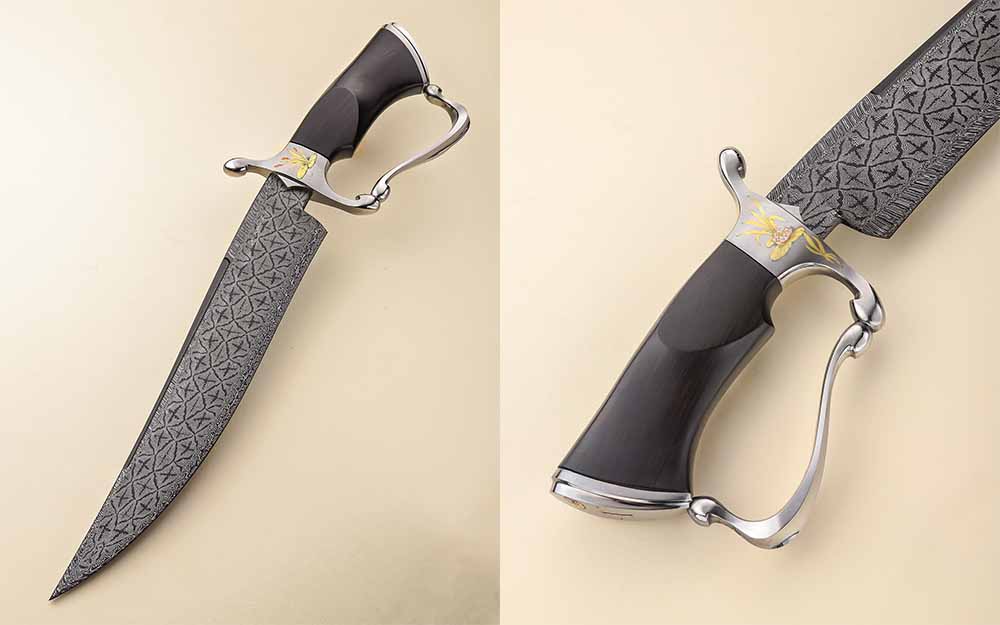
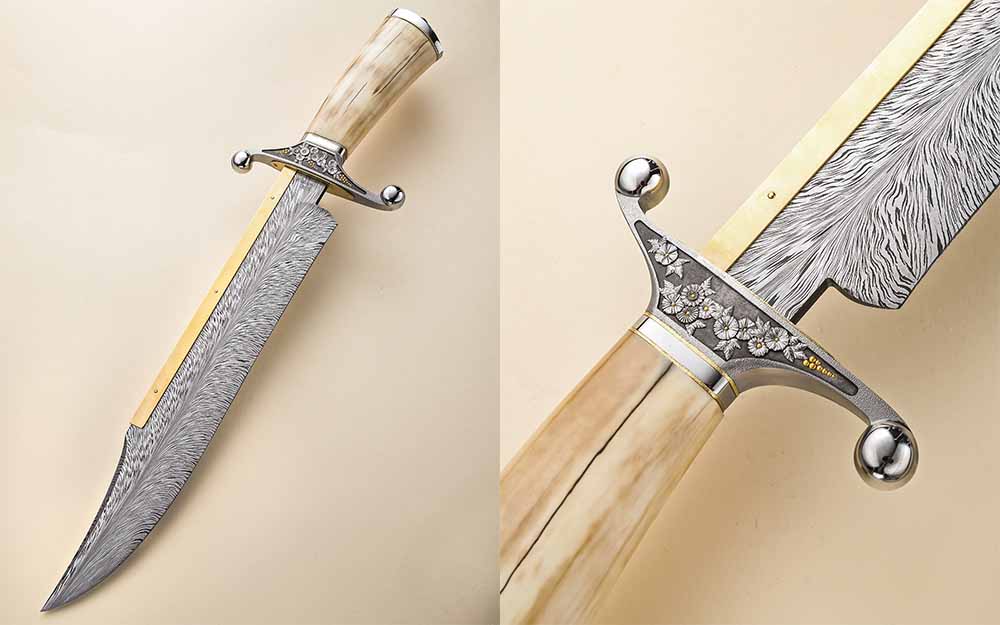
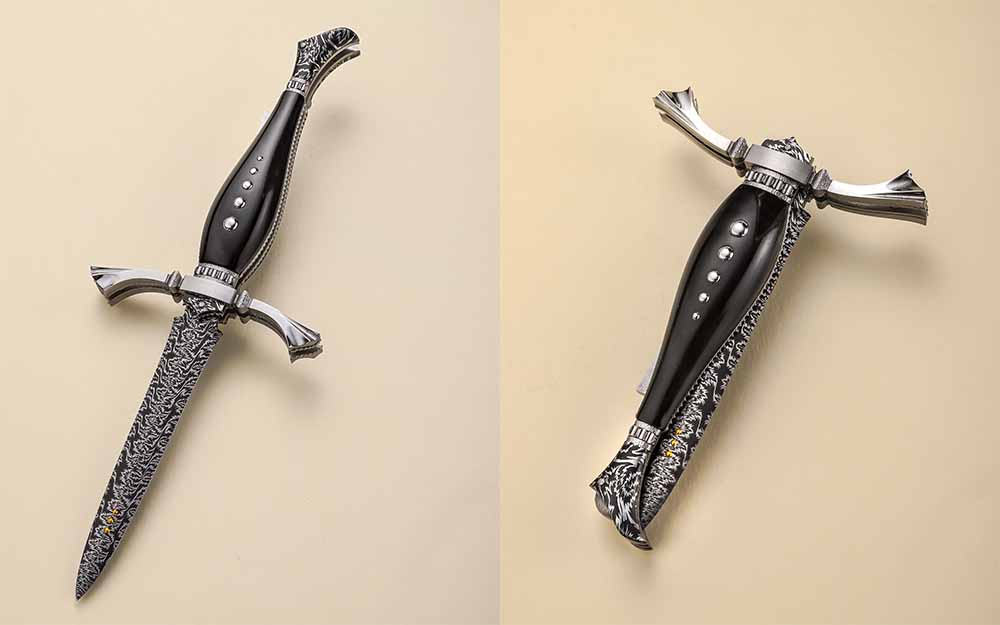
Rick Dunkerley
“I’ve been making knives for almost 40 years,” Rick Dunkerley observed, “and in that time I think I’ve developed a style that is recognizable as my own.” It’s specific equipment that plays a crucial role in him making knives in that style. There are many more tools that help along the way, but he uses seven in particular on every knife.
1. Propane Forge
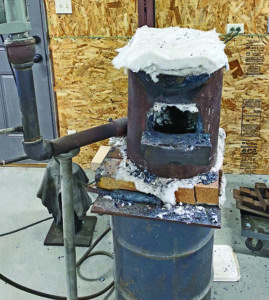
His propane forge is homemade and the burner is over 20 years old. “It’s a vertical Don Fogg design,”he commented, “lined with ceramic wool lining. Since 99 percent of my knives are damascus steel, they begin in this forge.” Dunkerley began using his hydraulic press built by Billy Bob Sowell to forge damascus in the early 1990s. It’s Rick’s third hydraulic press, incorporating a larger cylinder, motor and hydraulic pump than his earlier models. The press helps him finish the damascus he forges.
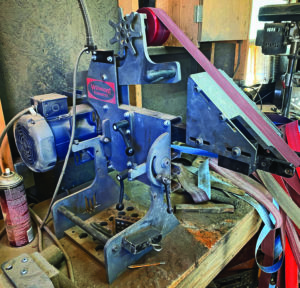
2. eBay Bargain Surface Grinder
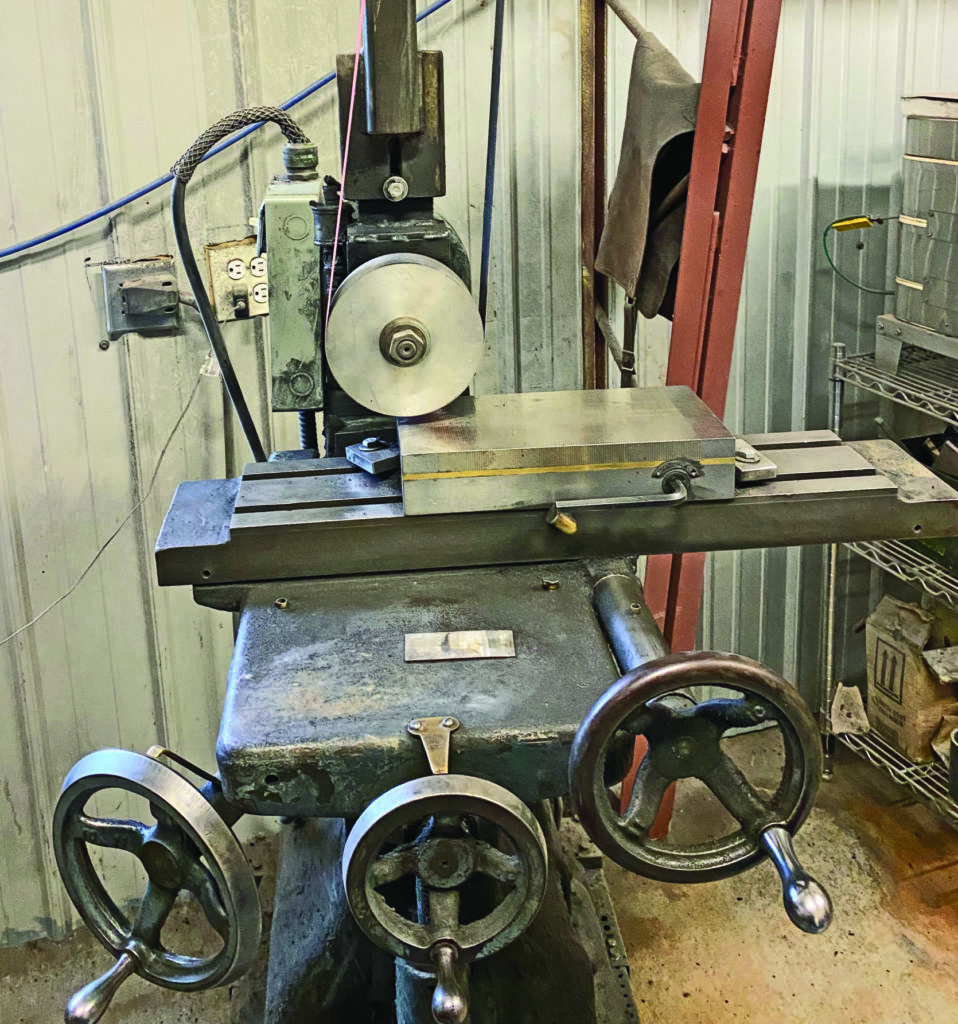
An eBay-bargain ($300) surface grinder has served Rick well for 20 years. “I don’t know the make or the model,” he said, “and I changed it to a single-phase motor and converted it to run 2×72 belts with an aluminum contact wheel. It works on the damascus as it’s being made, and then precision grinds the blade and back bar material for my folders.”
3. Craftsman Drill Press
Dunkerley’s small Craftsman drill press “has drilled the holes on almost every folder to come from my shop,” he declared. “It’s very accurate and small, which is convenient as I can place it on my bench right next to my disc sanders. I added a keyless chuck to speed up the bit changes.”
4. Tru-Grit Disc Sander
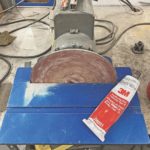
Rick’s 9-inch Tru-Grit disc sander is another machine he’s had for 20 years. “The disc is great for flattening material, dovetailing bolsters, shaping handles and grinding blades. It’s reversible and set up with a foot switch to allow me to place the material against the disc and then turn it on,” he explained. “I wouldn’t want to make knives without a disc sander. I actually have three in my shop and would like one more.”
5. TW-90 Belt Sander
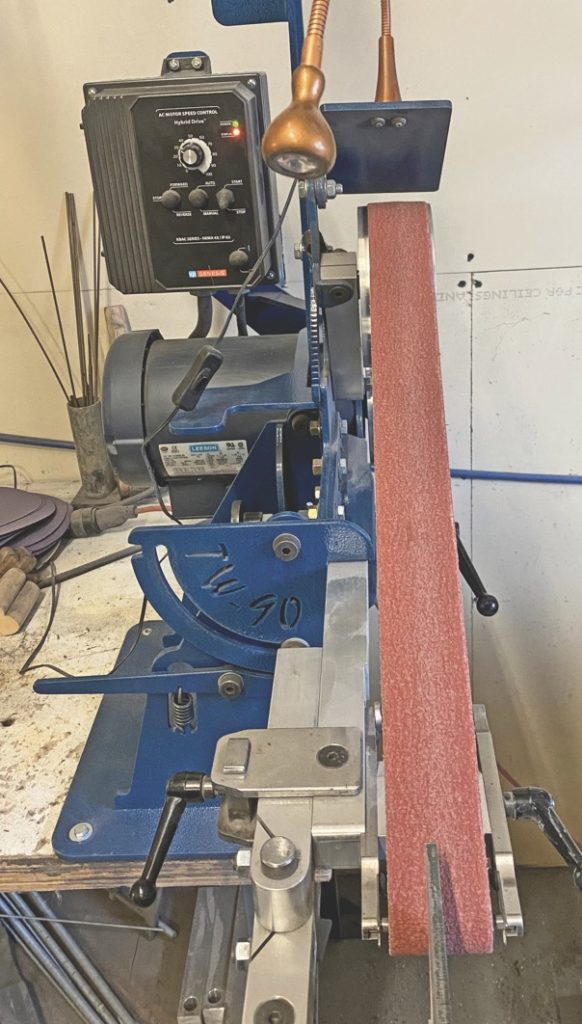
Dunkerley follows up with a TW-90 belt sander. “The versatility of this machine makes it one of the most used in my shop,” he remarked. “From rough grinding all types of material to fine finish work, this thing saves me huge amounts of time. The small wheel attachment and the fact that it turns into a horizontal grinder help me eliminate other machines that I would only use for specific jobs. The first time I saw one of these machines work, I knew it would make me a better knifemaker.
6. GRS Engraving Equipment
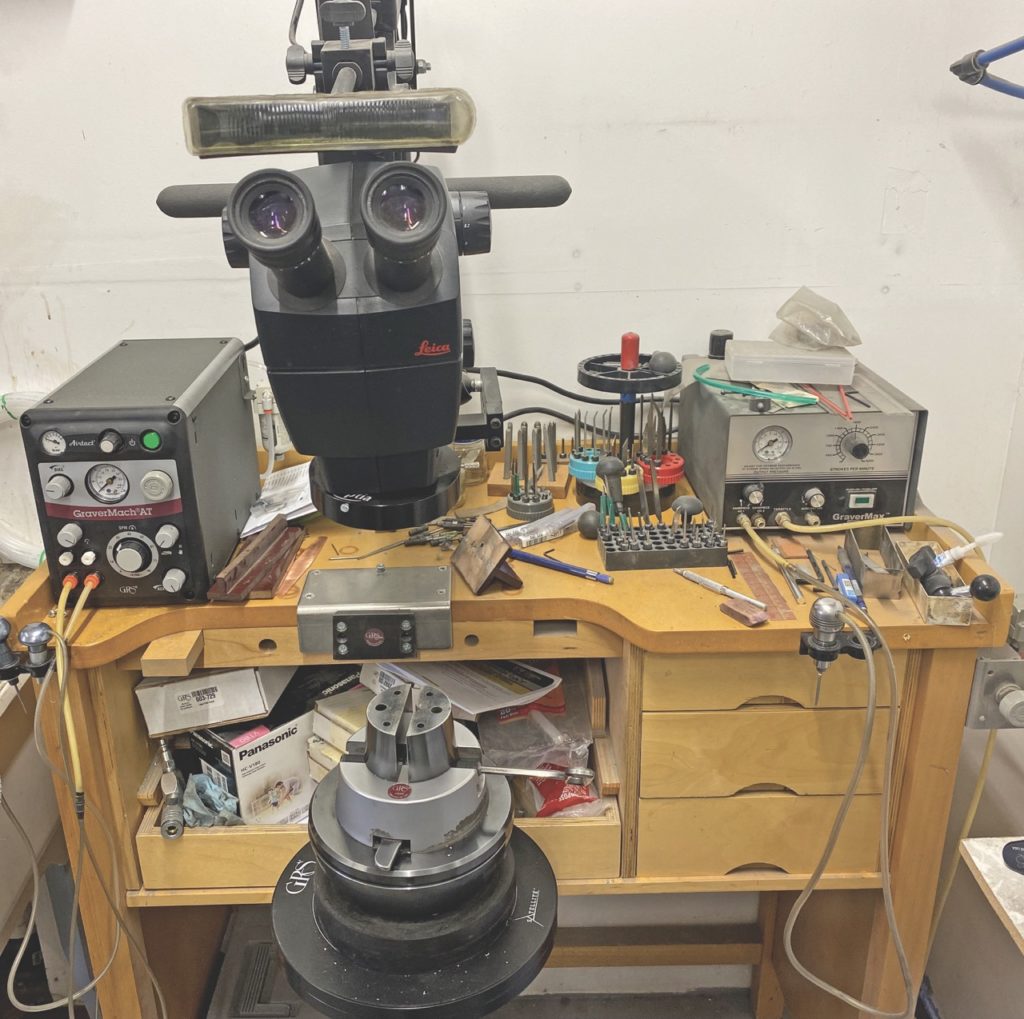
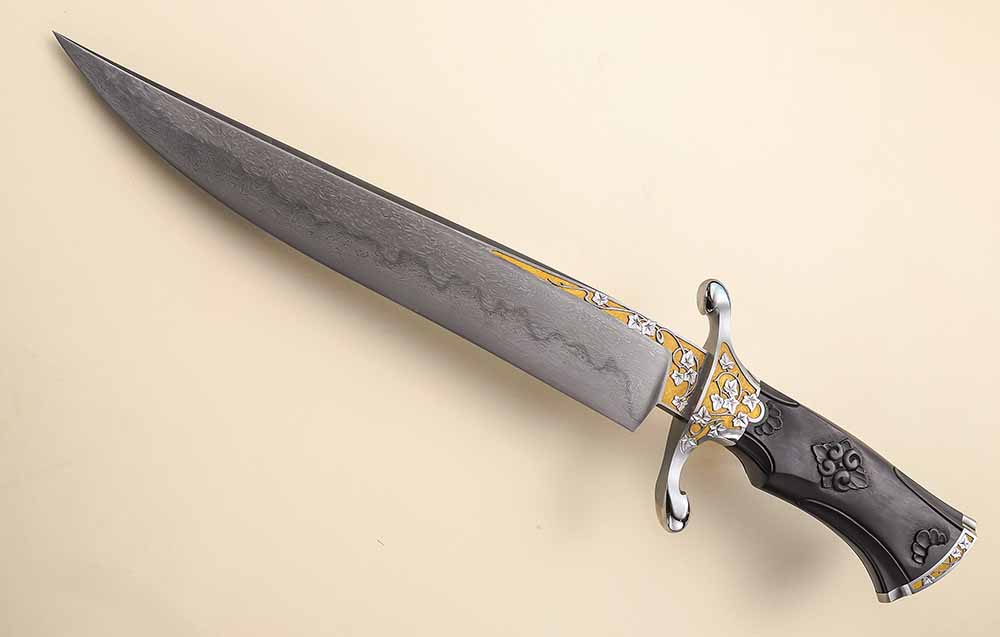
Rick uses his engraving equipment to give his knives an unmistakable quality and aesthetic. “Nearly every folder I make has engraving and some gold inlay,” he noted. “That happens here. My equipment was made by GRS and has served me very well. I continually think of new ways to use this equipment to add details to my knives.”
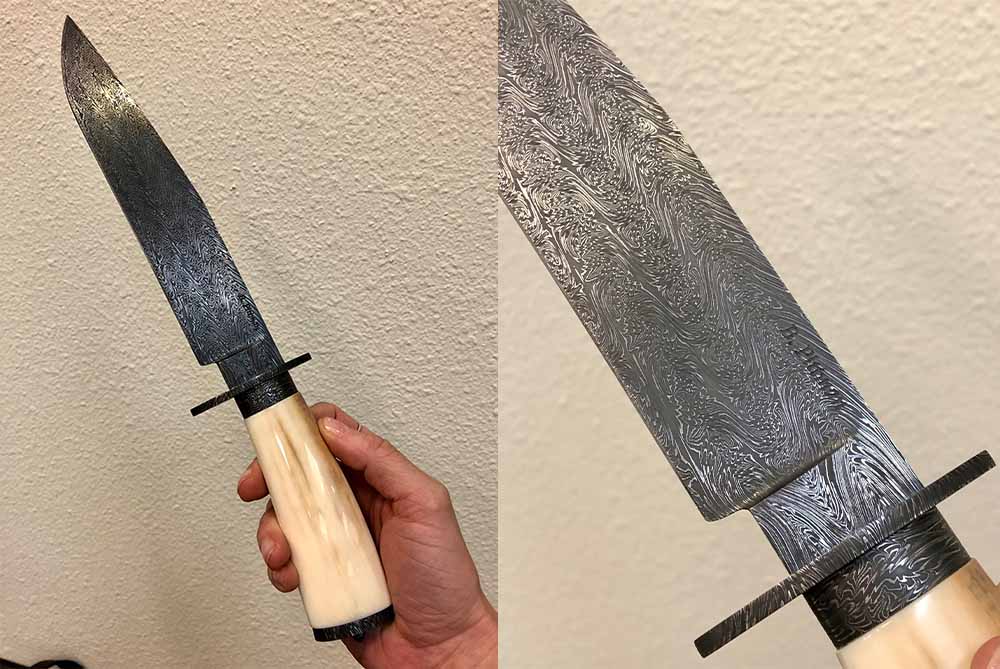
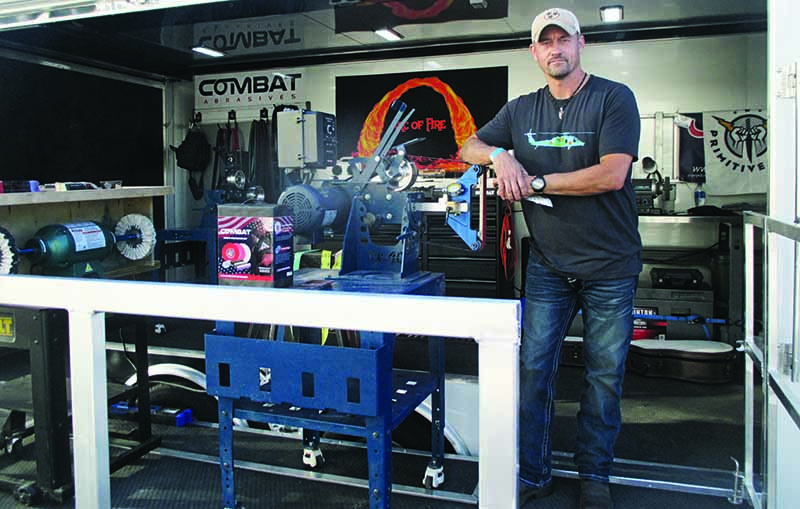
Jason Fry
Jason’s shop-proven equipment serves as a milestone along the way

Jason Fry follows a direct route to excellence and each of his shop-proven pieces of equipment serve as a milestone along the way.
1. Wilmont Grinder
“My number one machine is my 2×72 Wilmont grinder,” he explained. “After 13 years on a homemade machine, I recently upgraded to the Wilmont Quattro.
Most of the recent high-end grinders will have variable speed, horizontal tilt, adjustable tool rests and specialty fixtures. This is the only ‘brand new’ machine I have ever purchased.”
Fry adds a comparison of his heat-treat oven choice, relating, “You can argue Ford vs. Chevy or Evenheat vs. Paragon, but all the modern production ovens have digital temperature control. This gives the maker the ability to precisely dial in the heat treat of their chosen steels, and to heat treat stainless steels that require longer soaks at high temperatures.” Jason acknowledges that he bought a used Evenheat oven but he’s friends with all the folks at Paragon. “I got a good deal on the oven,” he smiled. “I had an old dental oven that I sold for three-fourths the price of my Evenheat, and it was a good upgrade.
2. File Guide
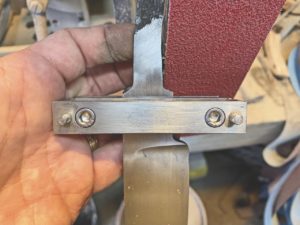
“Another important tool is the file guide. I use a Bruce Bump file guide with carbide inserts. Bruce was an inspiration to me with his epic WIP threads in the forum days before Instagram, so I wanted one of his file guides when it came available.
3. Power Hammer
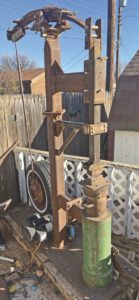
“My power hammer is a homemade ‘junkyard’ hammer in the ‘Appalachian’ or ‘Rusty’ basic design. It has a 40-pound head and hits at around 200 beats per minute. It makes the forging process faster and also allows me to efficiently make my own damascus. I chose the design because it was simpler to build from scrap than the tire hammer design.
“I competed on Forged in Fire back in May 2018 and my episode aired in September,” Jason added. “As I was preparing for the show, practicing forge welding and such, it came to mind to build a hammer. I prepared for Forged in Fire by building a hammer because even if I lost in the first round, I’d still have a hammer I could use for the rest of my career. This hammer took me about two months of intense weekends to build, and other than the initial test run, the first time I ran it was when I filmed the final [FIF episode] at my house. I still use it every forging session almost three years later, and having the hammer has made forging much more enjoyable and greatly expanded my capacity.”
Capitalizing on the right shop tools and equipment has made an enormous contribution in knifemaking, and listening to those who have been down the road gives others the opportunity to test, refine and choose what works best in their own shops. Meanwhile, the knife buyer can have an enriched ownership experience knowing more about the process and the pride that goes into each finished knife.