The Tools
The basic tools used in silver wire inlay are inlaying chisels. My fellow ABS master smith Jay Hendrickson has developed a well-designed, functional chisel that is easy to make.
First, acquire as many X-ACTO™ No. 1 aluminum-handle knives as needed for your kit. (The No. 1 X-ACTOs are the smaller ones with a 5/16-inch-diameter body and are available for about $2 each.) I find that three chisels are usually enough; you can always add more as needed. Each chisel comes with a blade that you will grind to the required size (more on that later). From a jewelry supply, purchase four mushroom-shaped hand-engraver handles at about $1.50 each.
Carefully remove the blades from the X-ACTO knives. Measure back 2 inches from in front of the knurled section of each aluminum handle and cut it off with a hacksaw. Using a 5/16-inch twist drill, drill a 1-inch-deep hole in the shank end of each engraver’s handle. This can be done using a three-jaw chuck and a Jacob’s chuck in the tail stock on a metal lathe. You also can do it with a drill press or drill motor. Just remember to keep the drill as close to parallel with the central axis of the engraver’s handle as possible. Epoxy an X-ACTO shank into each engraver’s handle.
Now make the inletting chisel blades from the X-ACTO blades you removed earlier. Insert the blades into the handles and grind off the point back to a half-inch in front of the widest part of the blade. Be careful not to overheat the blade and lose the temper, so you will need to cool the blade in water several times while grinding. Next, grind the blades to shape, making one each 1/16, 3/32 and 1/8 inch wide at the front end. Sharpen the blades and then strop them on a piece of leather coated with a polish (Simichrome or a similar type will do). They should be ready to go to work.
With the fourth engraver’s handle, make a push stick. Take an eighth-inch-diameter brazing rod 3 inches long and grind or file it until it looks like a small, straight screwdriver approximately 1/16-inch thick by 3/32-inch wide. Drill a 1-inch-deep hole in the end of the engraver’s handle and insert the brass rod.
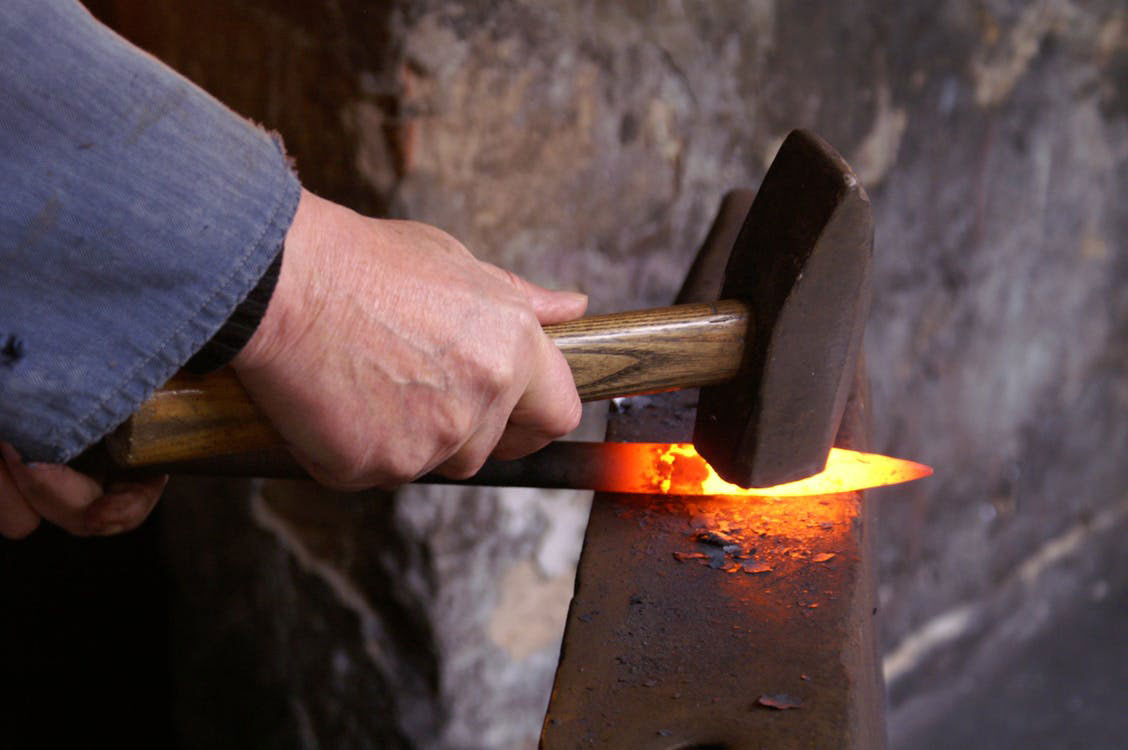
You will need a small hammer, too. A typical tack hammer is adequate to start with. You may want to make a fancier hammer of your own design later.
Other tools for your kit should include a small, flat single-cut file, round needle-nose pliers, a small pin vise, a soldering iron or soldering copper, hand drill, tracing paper and pencils. You also will need a small, diagonal side cutter available through a tool store or jewelry supply and, if you do not have young eyes, an Opti-Visor.
 NEXT STEP: Download Your Free KNIFE GUIDE Issue of BLADE Magazine
BLADE’s annual Knife Guide Issue features the newest knives and sharpeners, plus knife and axe reviews, knife sheaths, kit knives and a Knife Industry Directory.Get your FREE digital PDF instant download of the annual Knife Guide. No, really! We will email it to you right now when you subscribe to the BLADE email newsletter.


