
The secrets of the shop for pattern welding steel.
Although continuous improvement is baked into my nature, I’ve been on a journey lately to enhance my work, including learning more about forge-welding damascus steel. It’s in that spirit of improvement that I approach this article on the basics of making damascus, as I share with you the basic process and tips and tricks that I wish I had known from the beginning. I also reached out to American Bladesmithing Society master smiths Brion Tomberlin and Jerry Fisk for their input.
Steel Selection?
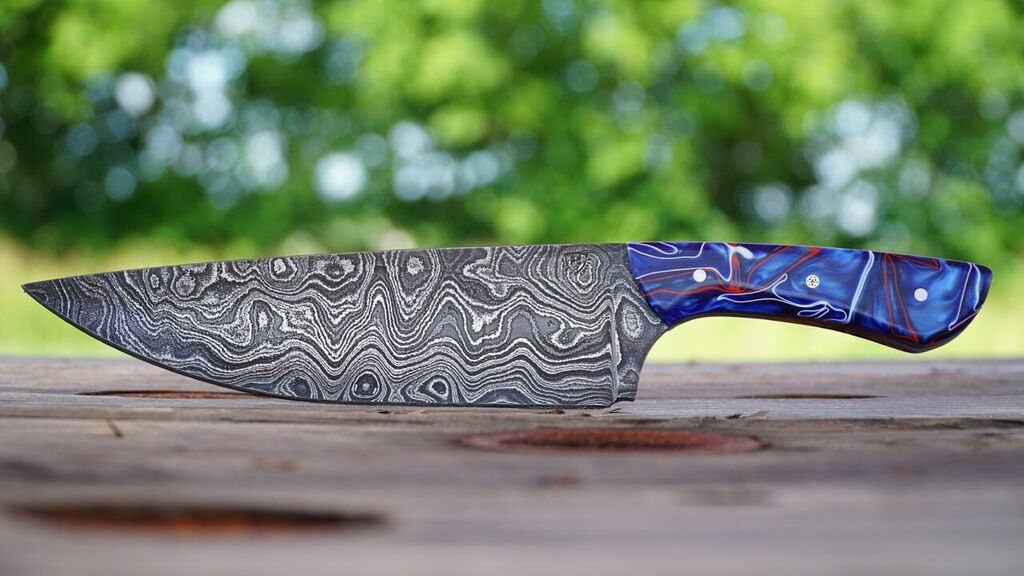
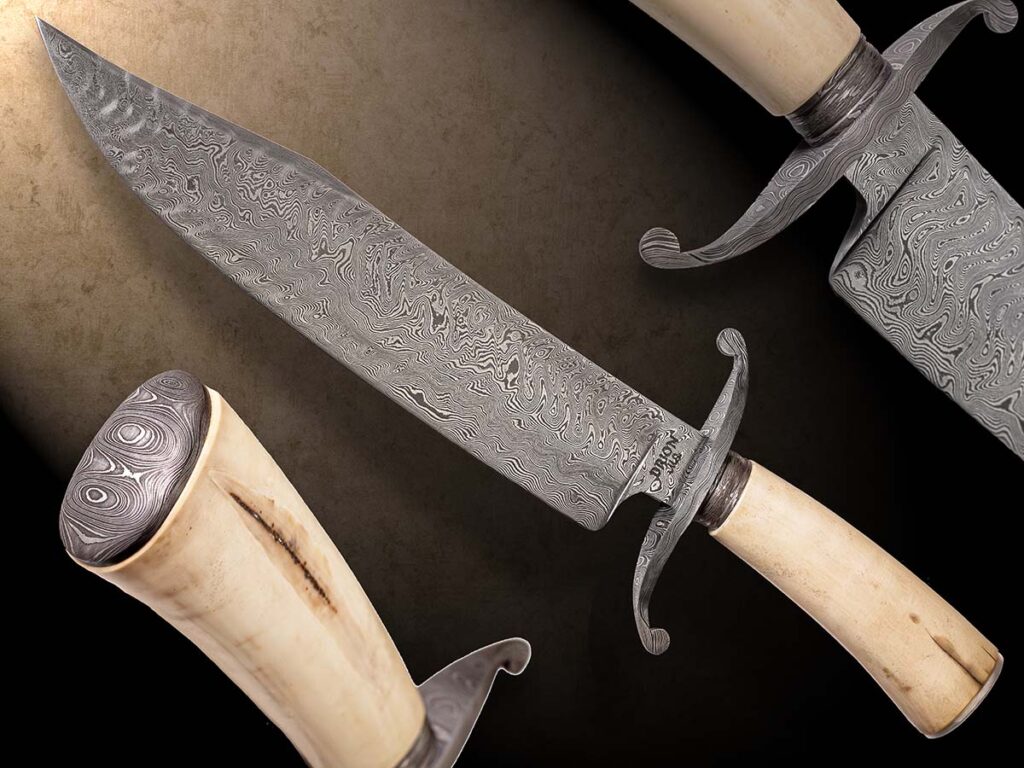
Modern pattern-welded steel, what we now commonly call damascus, is made of forge-welded layers of contrasting steels. The nickel in some steels makes them shine in the pattern, while the manganese in others makes them etch dark. When I talk about bright and dark, I’m parsing out 50 shades of gray. I expected more contrast as a beginner, since the pictures often highlight it in ways that improve the view.
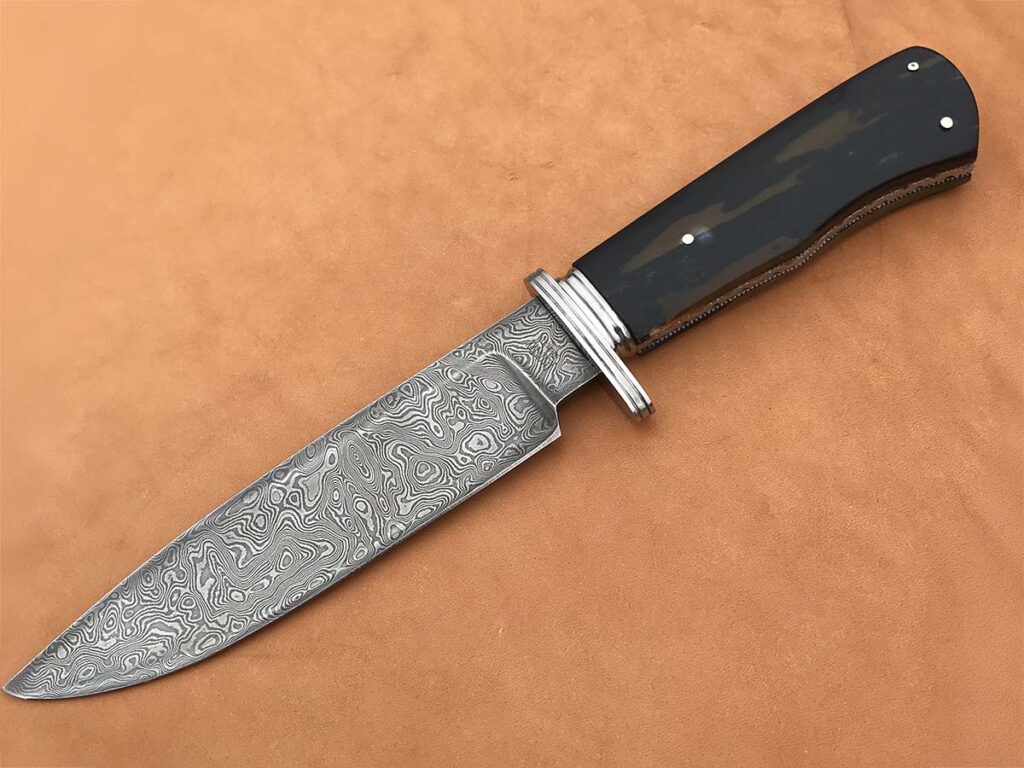
Brion Tomberlin says it’s important to choose two steels that want to weld. “5160 and 80CRV2 don’t like to stick as well because of their chromium content,” he points out. “If you’re starting from the beginning, go ahead and start with 1080/1084 and 15N20 steels. They’re readily available, weld together easily, make good contrast and heat treat reliably as a combination.” For these reasons, this combination has become pretty much the industry standard over the last 20 years.
Building Your Billet
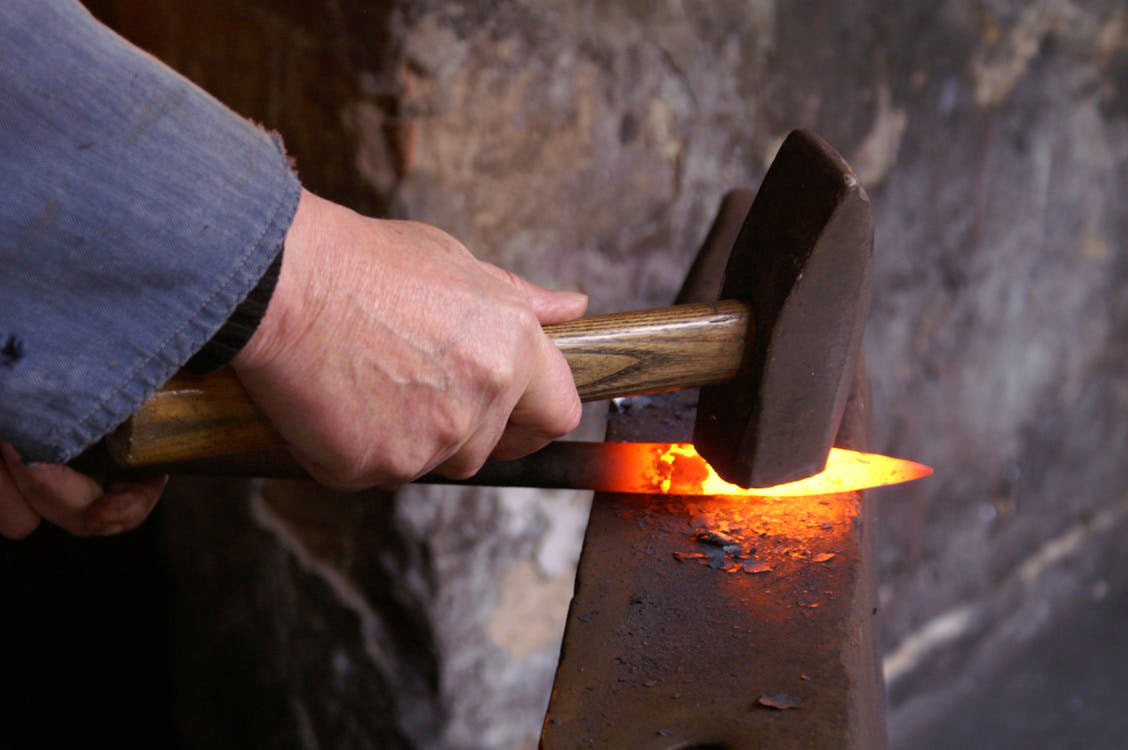
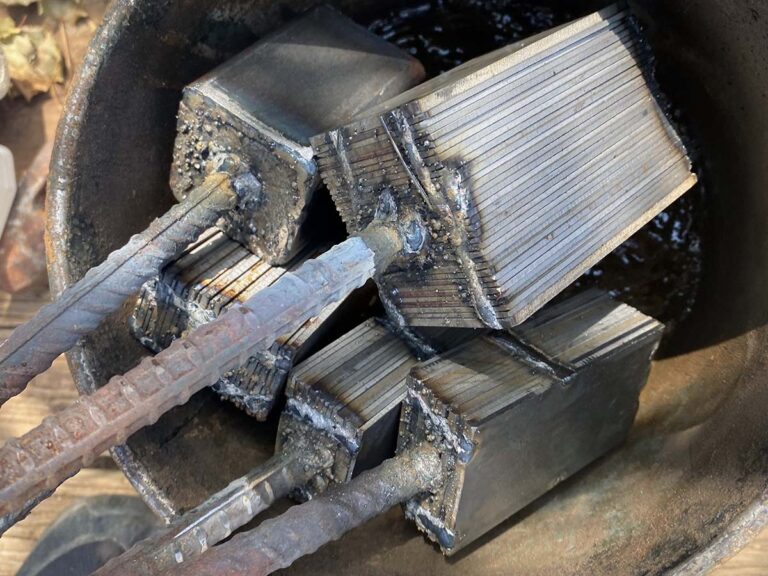
Your forge-welded block of steel is called a billet. Here’s the basic process to get there. First, you cut pieces of steel of equal length, usually 4 inches or so. You can start with thick steel in 6-10 layers or thin steel up to 25 layers, but your final billet height should be in the 2-inch range, maximum, as you start out. If you’re working with only a hand hammer, not a power hammer or press, start small.
A 1.5-inch-wide by 1-inch-high stack will take you plenty of time to draw out. Don’t make a damascus sword for your first project. In general, start with alternating 1084 and 15N20 in your stack. This simple alternating layered stack opens the door to many different patterns. Also, it helps to start with your steel ground free of scale (a hard oxide crust). While it’s true that some experienced smiths may forge weld straight from mill scale, that’s a place you get to with experience.
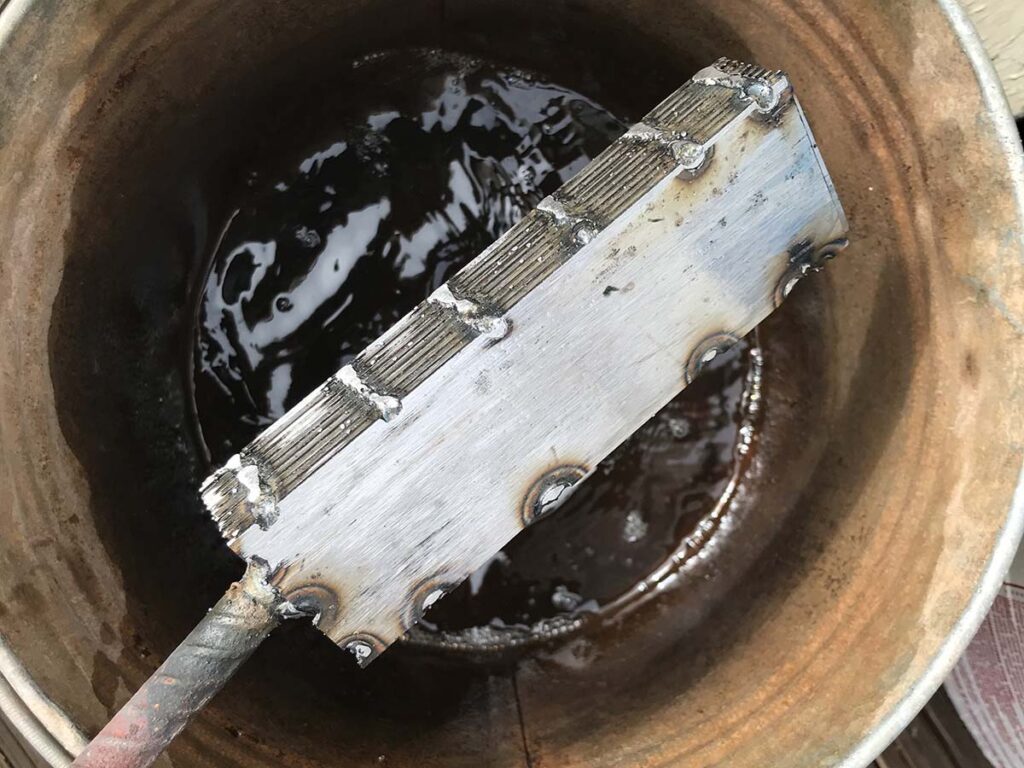
In the old days, your stack of steel was held together with iron wire until after the initial forge weld. Now a billet is most often tack welded together on the ends. A wire or stick welder is almost essential, and for this task even a 110v import flux-core wire welder will hold a billet together.
Some Like It Hot
Forge welding steel typically works best in the 2,100- to 2,300-degree range. While you can get consistent temperatures that high with coal forges, that’s not the way to go at the beginning—unless you have coal forging experience. Most modern damascus is made in propane forges. A well-made forge will reach welding heat regardless of whether the burner is venturi or forced air, but a forced-air forge gives you a bit more margin. The forge insulation, size and shape also play a factor.
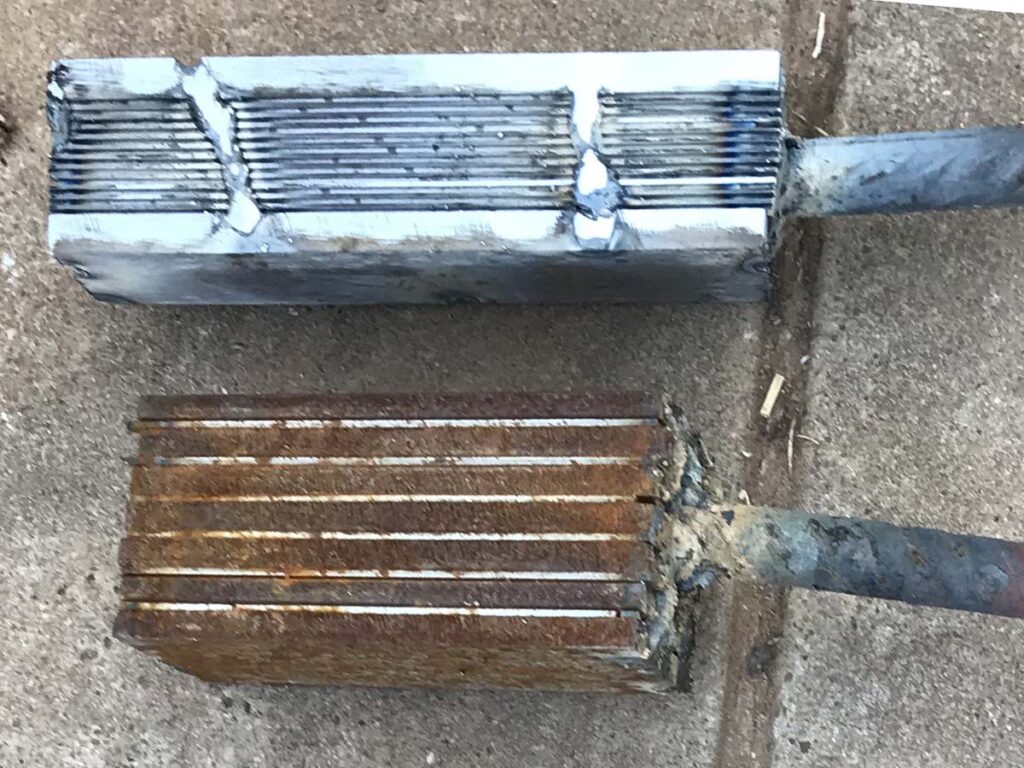
I personally find forge welding temperature comes out looking at least yellow or bright orange. If it doesn’t make you want to squint a little or get eye protection, you probably aren’t quite there yet. I’ve seen billets in the bright yellow to near-white range take a good weld, but that’s more than the beginner requires. Color is notoriously fickle and most of us don’t begin with a pyrometer to tell us our temperature. Fortunately, the behavior of the flux can tell us when it’s time to weld.
In Flux
Flux used in forge welding serves to limit the oxidation of the steel in the fire, clean the steel in preparation for welding and ultimately make the weld stick better. The traditional and most common flux is anhydrous borax, but regular old 20 Mule Team from the store will work as a starting point. To use borax, put your billet up to a red or orange heat, then add the white borax powder. Too little won’t work, but too much makes a bigger mess and will eat up your forge lining. In the beginning, a mess is better than failure.
While the use of kerosene as flux has made great inroads, I still suggest the beginner start with borax for one reason, mentioned in the last paragraph. Jerry Fisk put it this way, “You can see it start to boil and bubble when the temperature is right. You want the flux to run like warm honey or melted butter when you turn the billet. You’ll want to rotate the billet a few times during the soaking process to allow gravity to help you coat the billet well and get flux down in between the layers.”
The bigger error you’ll make will be getting excited and pulling the billet too early. There are few consequences to letting the billet “soak” a while at temperature. When you’ve had bubbling flux for a while, and your color is good and bright, it’s time to set the weld. Tomberlin added, “When you think it’s up to temperature, give it another 5 minutes.”
Use The Force
It’s tempting to start hammering with a big hammer, isn’t it? You know you’ll need to draw the billet out, so why not start ASAP? That’s not how it works.
To set the weld, use a medium hammer and light blows. Strike frequently, all over the top of the stack, with less than half force. You should be able to hear and feel the weld set, as it’ll go from sounding kind of squishy to sounding more solid. If you’re using a power hammer, again go for quick light blows. If you’re using a press, just give it a little squeeze on the flat dies. Watch out for flying flux!
Set the weld quickly, then re-flux and put it back in the forge. When you’re back up to temperature, flip the billet over and set the weld again from the other side. At this point, avoid hammering on the sides of the billet. If your weld set properly, you can begin to draw out the steel.
Layer Sweet Spot
If you have a few layers stuck together, you have made damascus, but the appeal isn’t in the accomplishment; it’s in the appearance of the final product. Personally, anything under about 50 layers I’d consider “low layer,” and 150-250 layers is a good goal for the beginner. Tomberlin says at least 120, but that 300-400 is a sweet spot for a good pattern.
If you start with five pieces of 1084 and six of 15N20, for example, that’s 11 layers. If you have both thick and layers, make sure there’s a thick layer on the outside, both top and bottom. Draw that out, cut the bar in three pieces and weld again, and you’re at 33 layers. If you do a three-stack again, you’ll be at 99, and so on. If you do simple folds or two-piece stacks, your layer count doubles every time. As you advance, you can do even five or six pieces on your restacks.
Random To Raindrop
What I’ve described so far will result in a billet of random pattern damascus. When you’ve stuck a few good welds, you may want to experiment with patterns.
Twist Pattern: If you have a vise, you can twist your billet. Use a pipe wrench if you have one. At your final layer count, round off the corners of your billet prior to twisting. It may take you more than one heat to get the billet twisted evenly. If you’re twisting by hand, twist as much as you can. Don’t just stop at a twist or two. After the twisting, flatten the billet out to final thickness, being careful not to get inclusions on the surface of the twists.
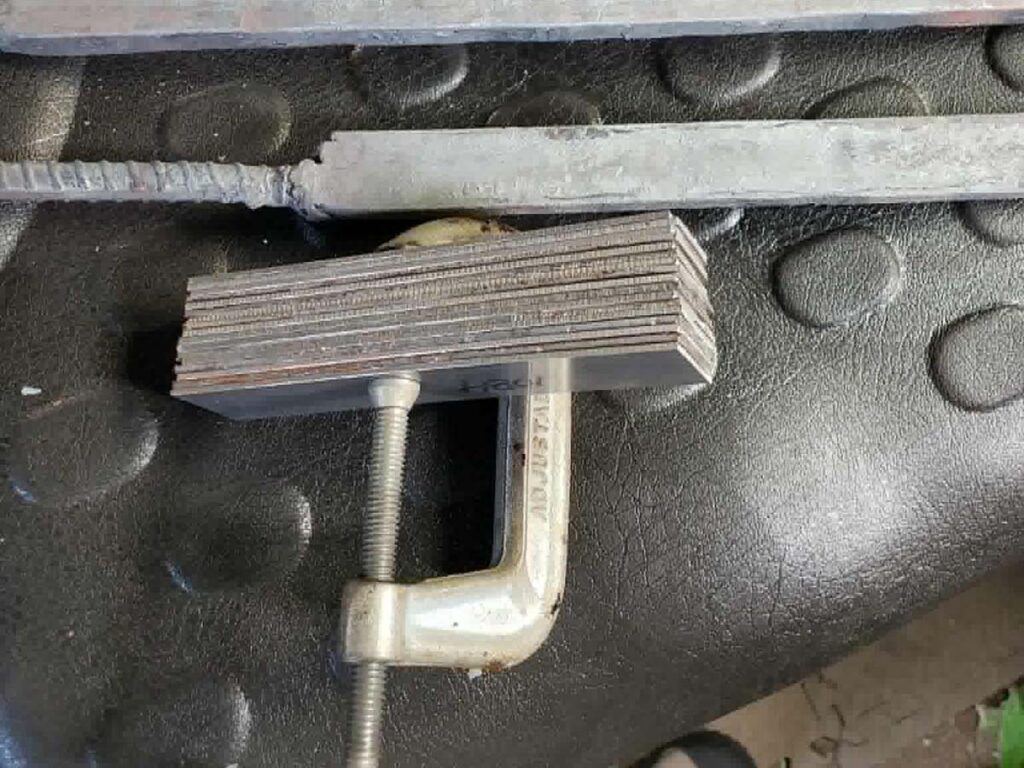
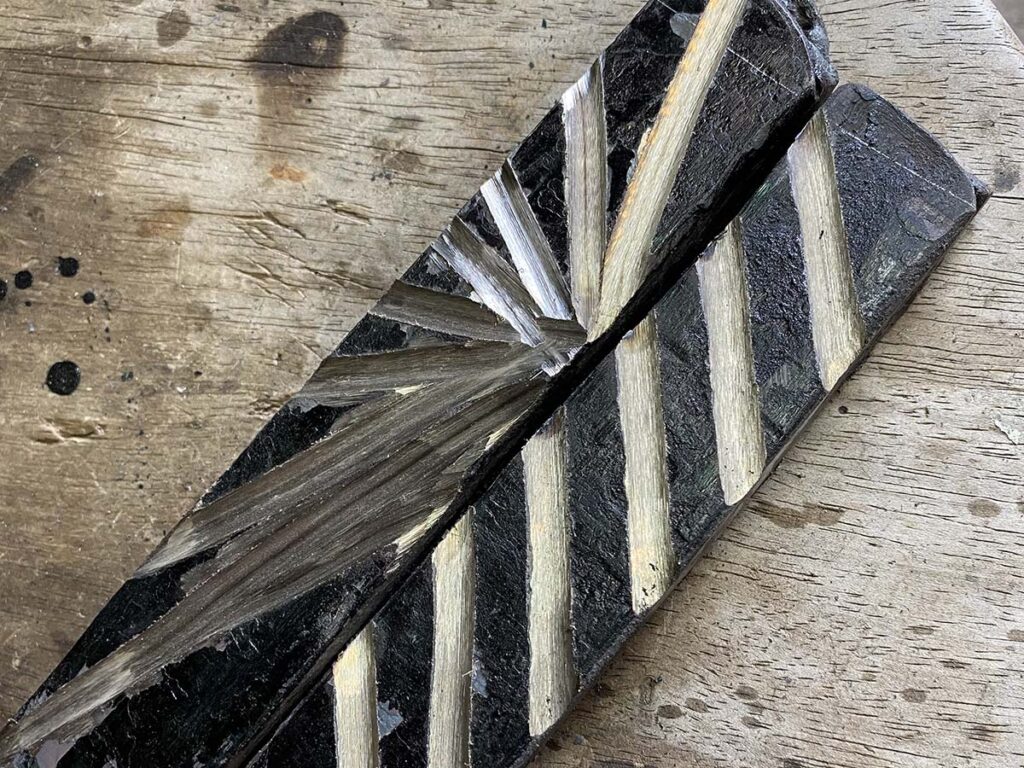
Ladder Pattern: Another easy way to enhance the pattern is to grind in grooves. Jerry recommends a 3/16-inch disk on an angle grinder. You want your billet at your final layer count at about three times its final thickness; grind grooves that are ¼ inch to 1/3 inch of the thickness. If you grind the grooves across the narrow part of the billet in a consistently spaced pattern, you’ll end up with what is called a ladder pattern. Feel free to experiment with the grooves, as X’s, angles, rows, and so on will all make a different final pattern.
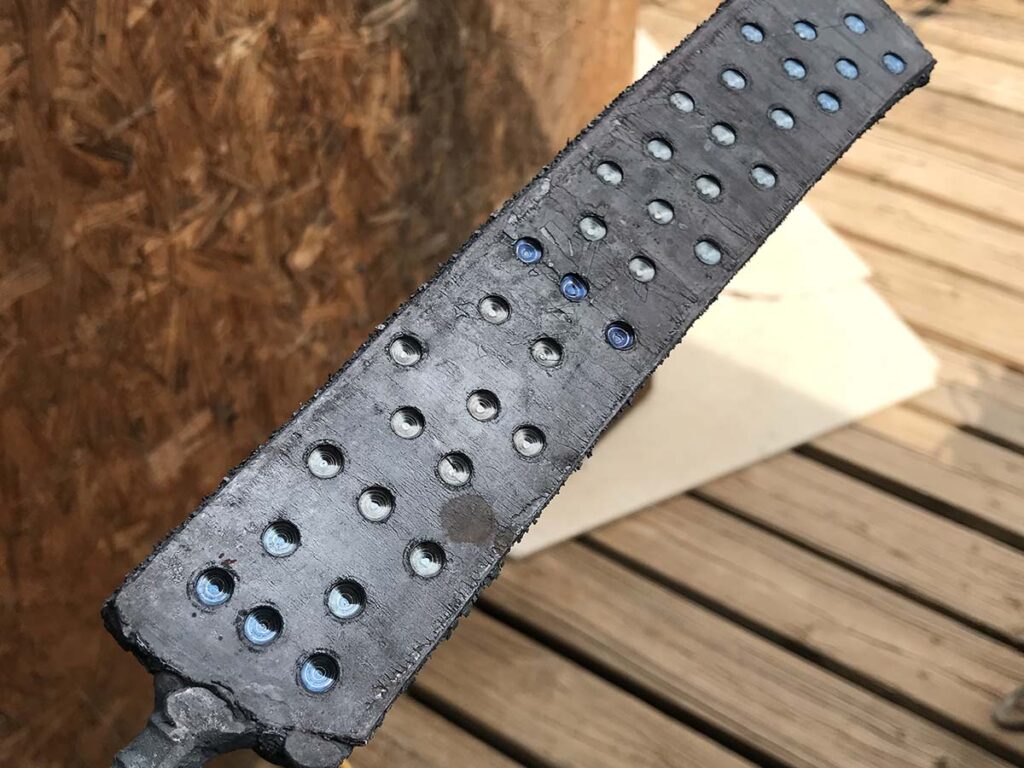
Raindrop Pattern: Another simple pattern is called raindrop. By drilling holes in your final layer billet, again 1/4 inch to ⅓ inch of the thickness, then forging down, you end up with a pattern that looks like drops of water on a pond.
Making your own damascus is not an elementary project, but also not so complex that it can’t be done by just about anyone. Don’t hesitate to give it a try!
Read More On Damascus:
- Feather Damascus: Blades Forged Light And Airy
- Damascus Steel Quiz: Test Your Knowledge of the Legendary Blade Material
- Damascus Folder: Top Options Straight From The Factory
- Damascus Flaws: How To Spot Imperfections in Custom Knives
 NEXT STEP: Download Your Free KNIFE GUIDE Issue of BLADE Magazine
BLADE’s annual Knife Guide Issue features the newest knives and sharpeners, plus knife and axe reviews, knife sheaths, kit knives and a Knife Industry Directory.Get your FREE digital PDF instant download of the annual Knife Guide. No, really! We will email it to you right now when you subscribe to the BLADE email newsletter.