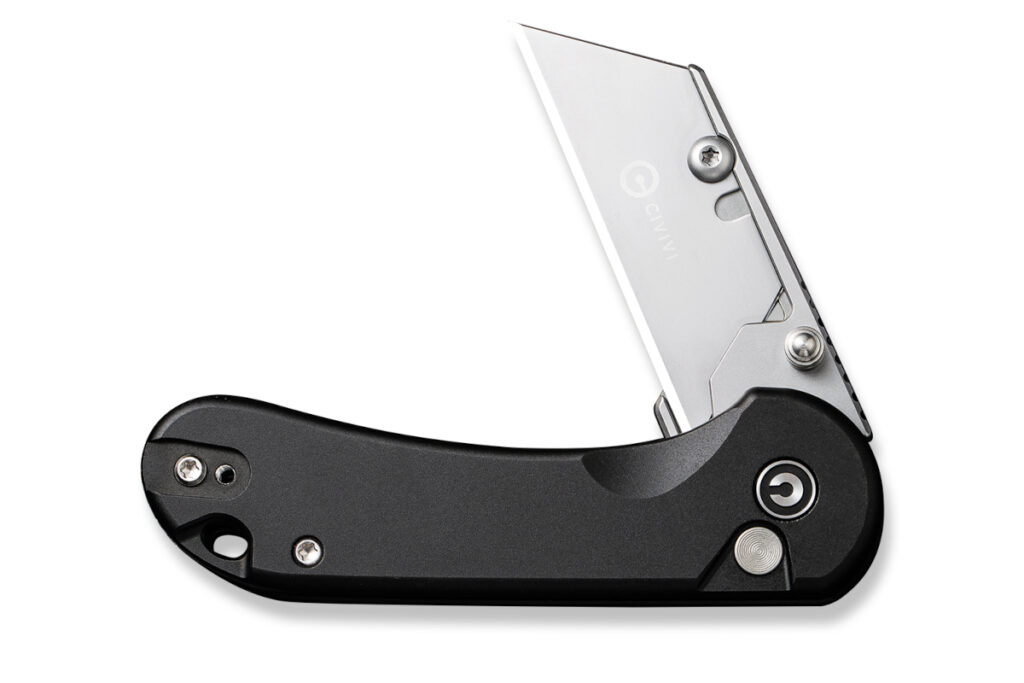
If he were in his prime today, Jim’s EDCs would run the gamut.
Jim Bowie is known for more than a few things, among others the Sandbar Fight, the Battle of the Alamo and the knife called by his surname for nearly 200 years. A member of the BLADE Magazine Cutlery Hall of Fame®, he was a businessman, soldier, pioneer and frontiersman, and a gentleman of means. While he gave his life at the Alamo 190 years ago this March 6, if he were as immortal as his namesake knife, what would be his EDC today?
BLADE® field editor Reuben Bolieu knows knives, the outdoors and bushcraft.
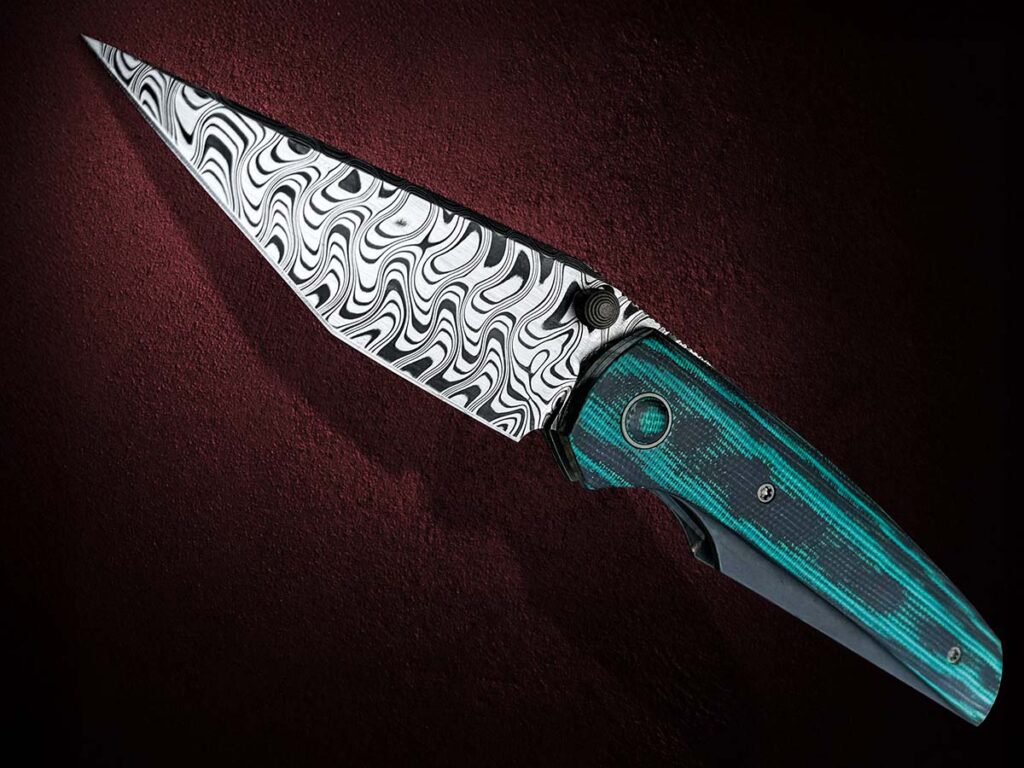
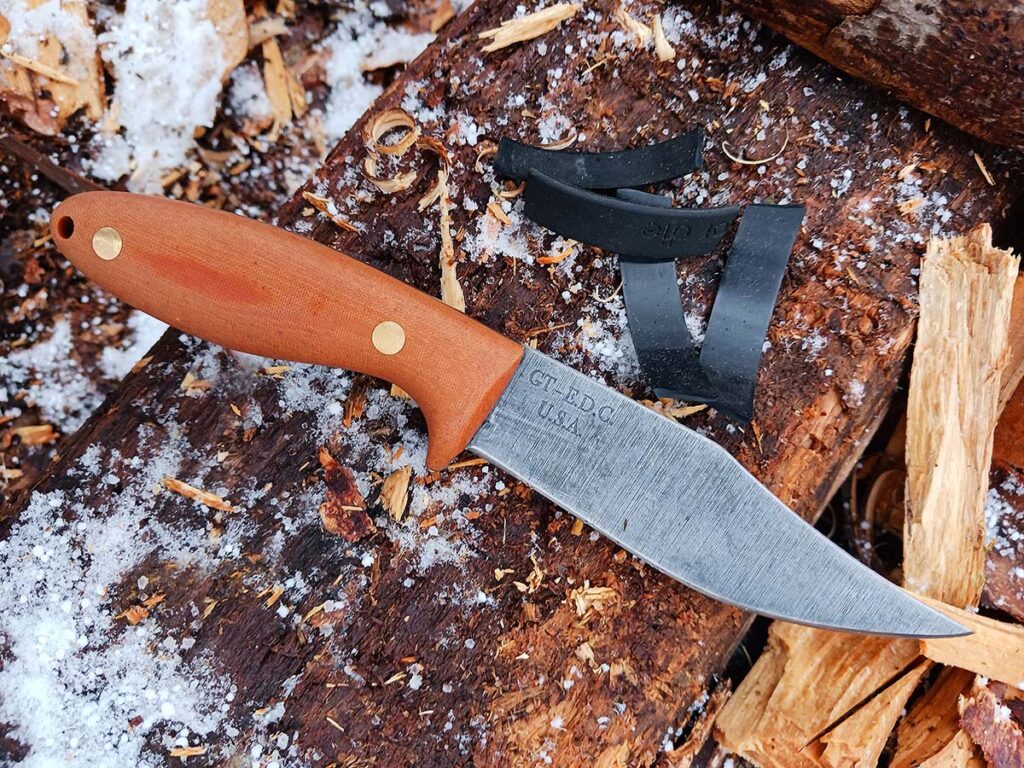
“If Jim Bowie were around today, he’d do as I’m sure he did back in his time—use the best materials on hand up to his standards,” Reuben observed. “I believe his everyday carry would reflect both tradition and modern utility. Two blades from Bear Forest Knives stand out: the GT-EDC and the Thunder. Each offers distinct advantages and together capture the essence of Bowie’s legacy.”
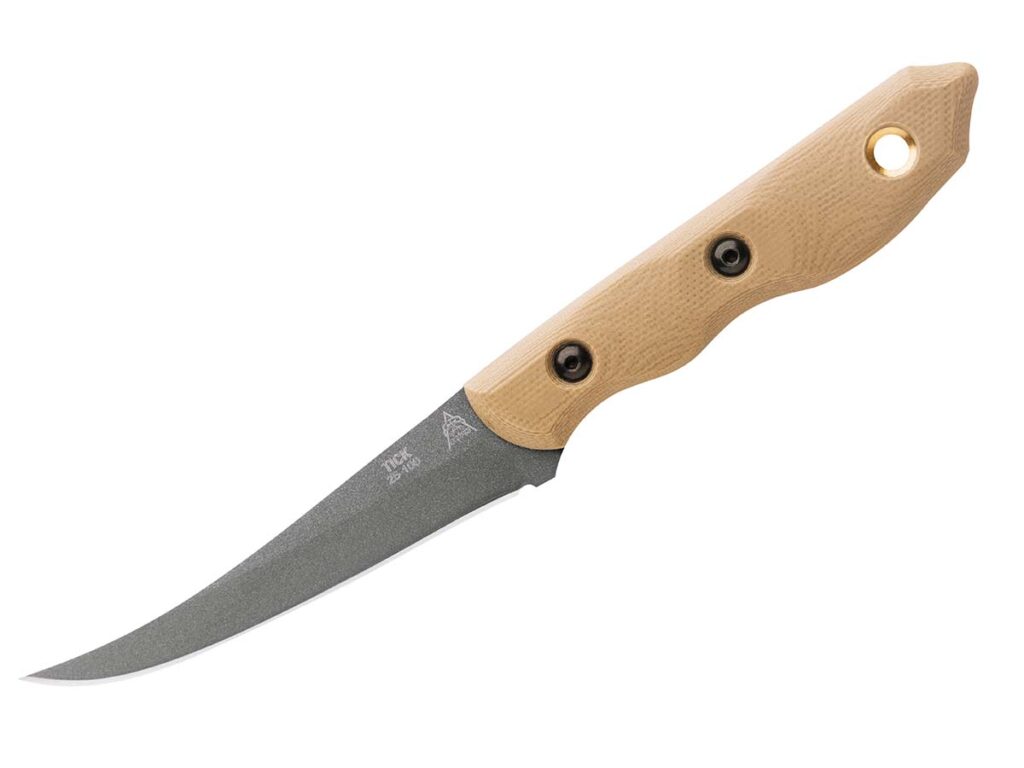
The GT-EDC belt knife is compact yet capable. At 8 inches overall with a 4-inch blade, it balances portability with cutting power. The eighth-inch thickness gives precise control and strength without excess weight, while 1095 carbon steel ensures durability in the field. A 90-degree spine adds fire-starting utility, and the full flat grind makes slicing efficient. Finished in a rock-tumbled acid wash, it carries a rugged look that matches its performance.
The sheath is .080-inch-thick black Kydex, with a nylon cross-draw/scout belt loop. Though definitely not the typical way to carry a knife in Bowie’s days, in modern EDC terms it’s the Bowie spirit distilled into a pocket-sized package.
On the other hand, Bowie was known for carrying big steel. It was not just acceptable for him to carry a big knife, it was expected. That’s where the Thunder comes in. At 15 3/8 inches overall with a 10-inch blade, it commands respect the moment it clears leather. At 3/16-inch thick, the 52100 carbon steel blade is built for performance. The high-saber grind delivers power on every cut, while the 90-degree spine adds versatility. The rock-tumbled acid-wash finish speaks to hard use, not polish. Natural linen Micarta® scales lock into the hand, and the JRE Industries brown leather sheath completes the package.
The Thunder is more than a knife—it’s a frontier weapon, a tool and a statement. Bowie would carry it with pride, knowing size and steel would give him the edge on any foe.
Together, these knives show the evolution of Bowie’s legacy. The GT-EDC represents modern practicality—lightweight, efficient and discreet. The Thunder embodies the old-school bowie ethos—large, commanding and battle-ready.
“If Jim Bowie lived today, I believe he’d carry both,” Bolieu stated. “The GT-EDC for daily utility, the Thunder for the moments when steel decides fate—both made in the USA. In either case, he’d have the edge on any foe.”
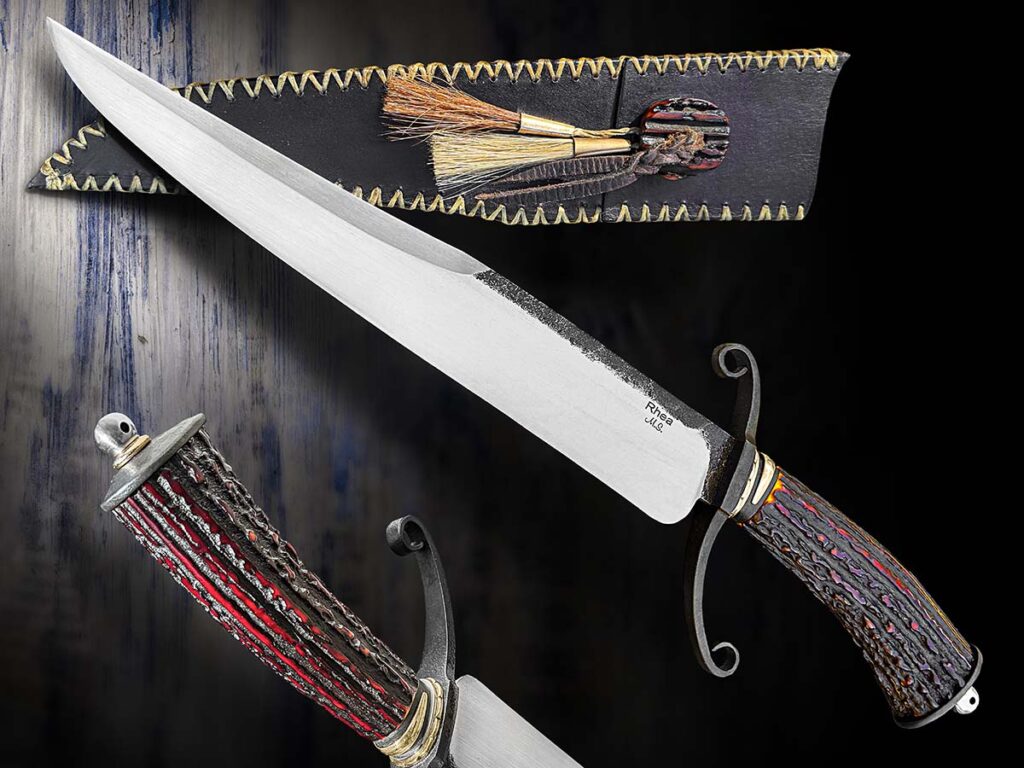
The Preacher
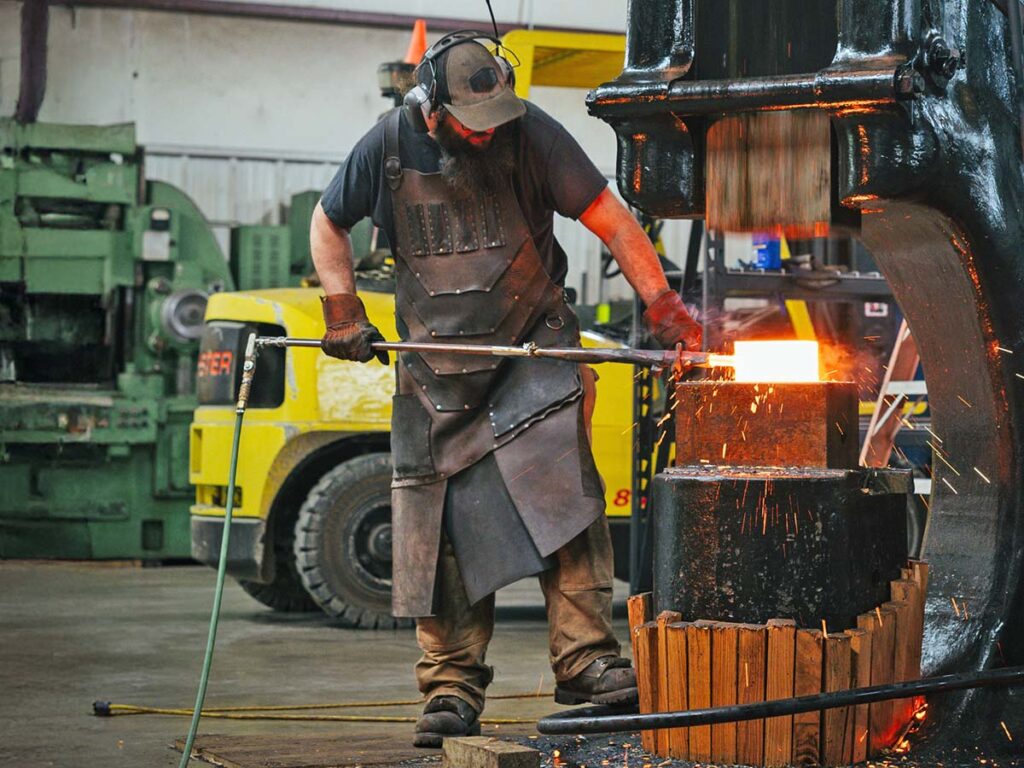
Few bladesmiths merge both historic and modern influences in their bowie knives as well as ABS master smith Lin Rhea. If anyone can predict how a contemporary Bowie would blend historic knife design with modern materials and flair, it’s Lin.
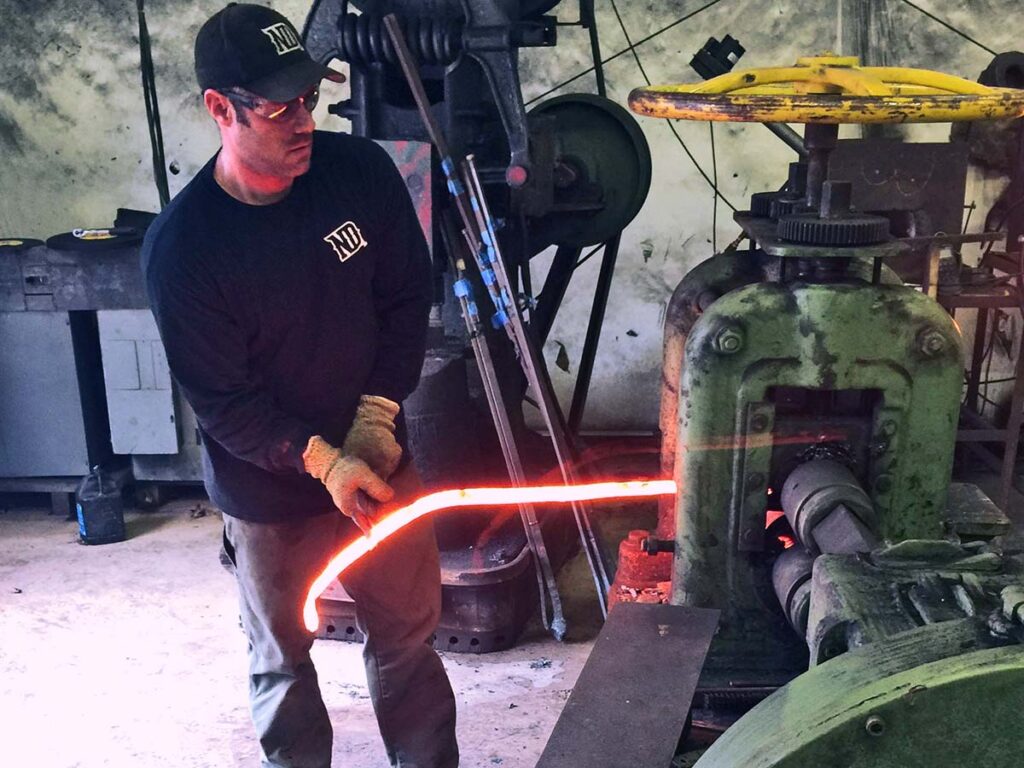
“I try to pay homage to the old craftsmen and their techniques,” Rhea observed of his bladesmithing approach. “That’s how I know how to do things: the old way.”
According to Lin, after the Sandbar Fight Bowie sought out James Black, who made the knife known as Bowie No. 1. Black lived in Washington, Arkansas, just down the road from where Rhea lives today.
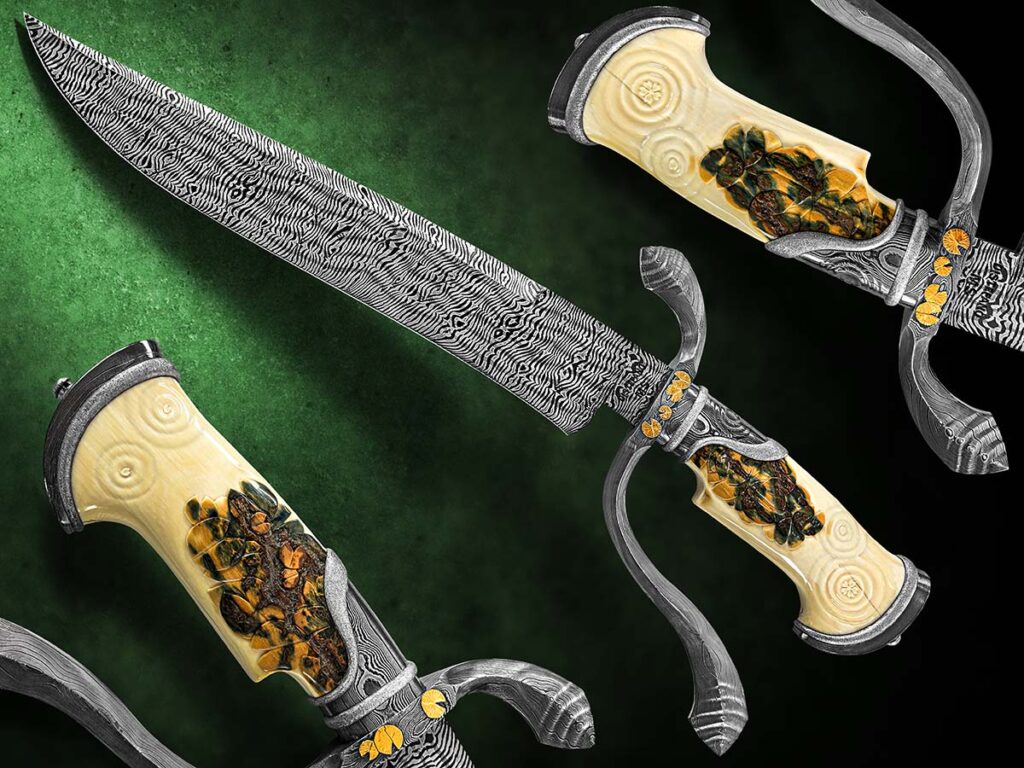
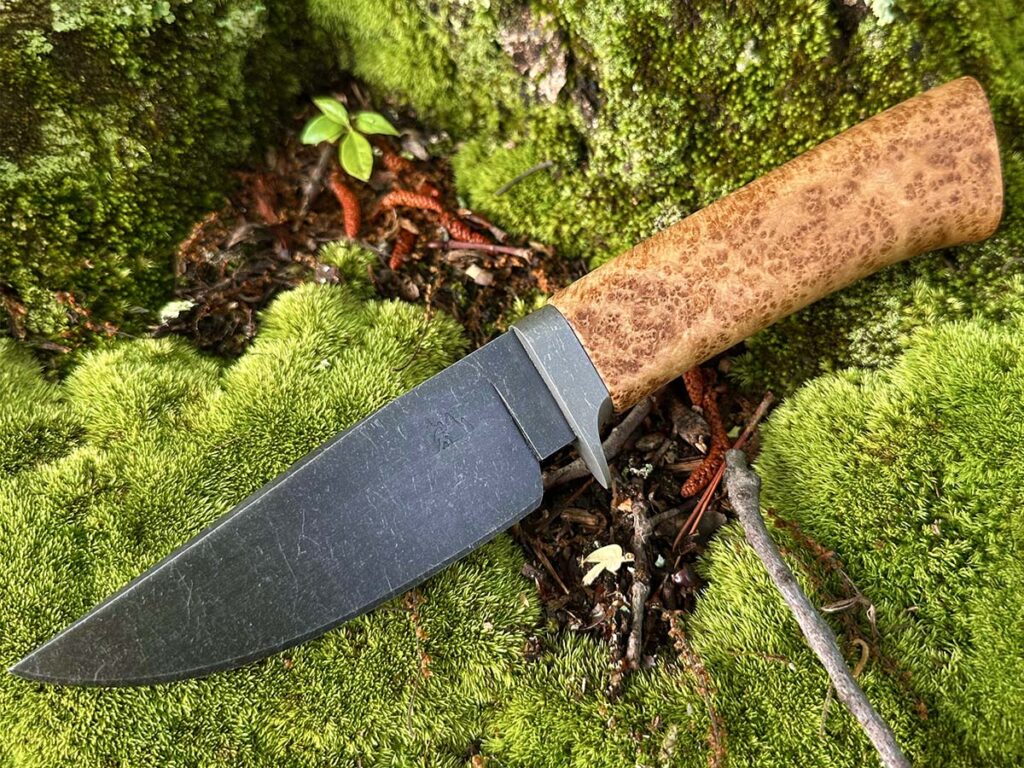
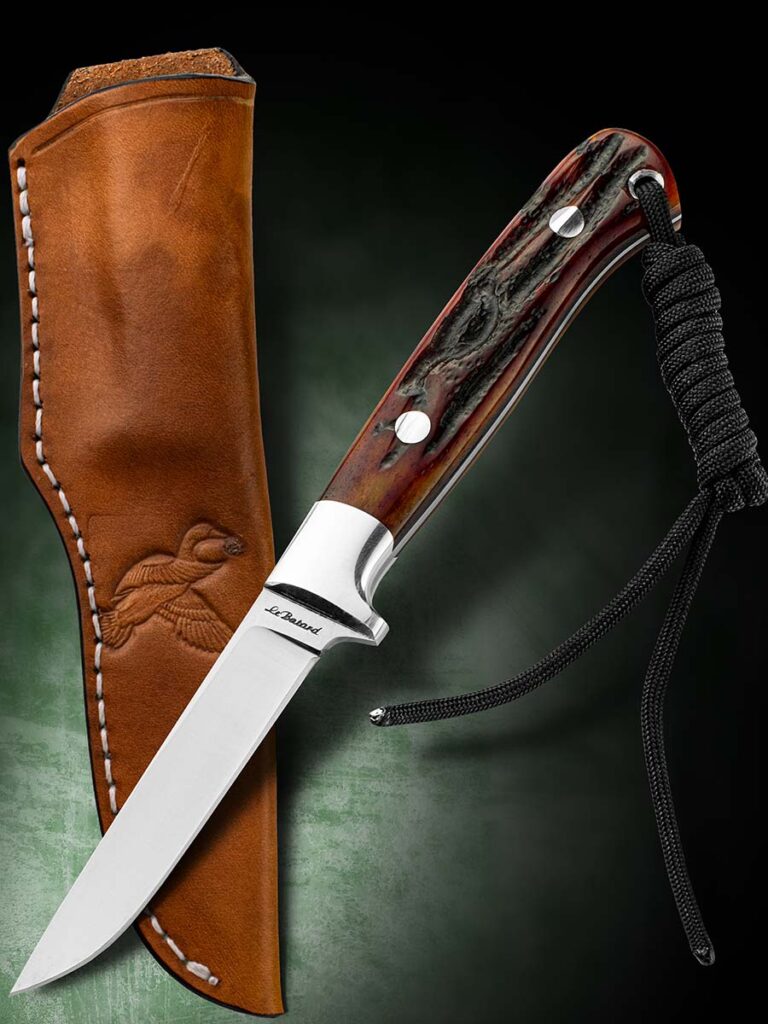
“I think for sure he’d go with some kind of S-guard bowie knife, with a sharpened clip and a stag handle. It would be both fancy and practical,” Lin opined. “Bowie went to James Black because his blades had a reputation for toughness as well as innovation, using silver in such a way as to render the handles waterproof.”
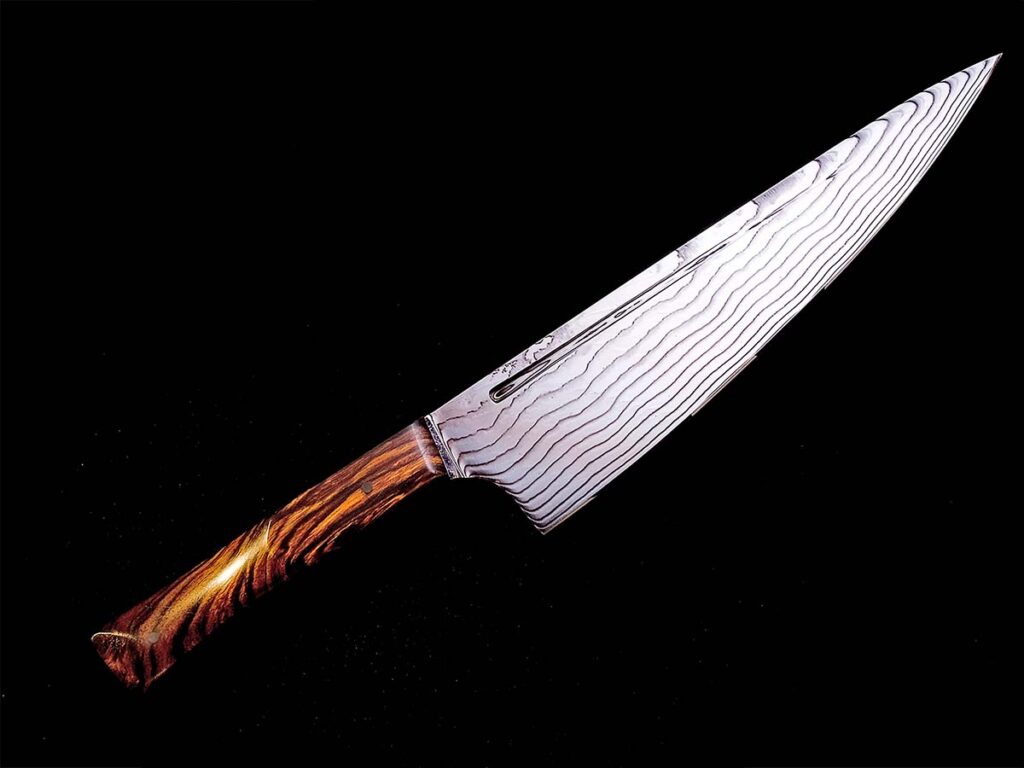
Compared to the knives of the time, the bowie was larger than usual and had a larger handle, too. Obviously, to Lin, Bowie would still be carrying a bowie knife, forged and differentially heat-treated, with a few touches of class. He’d still carry an innovative version of his old-faithful design. A modern-styled knife like Lin’s Preacher would fit the bill.
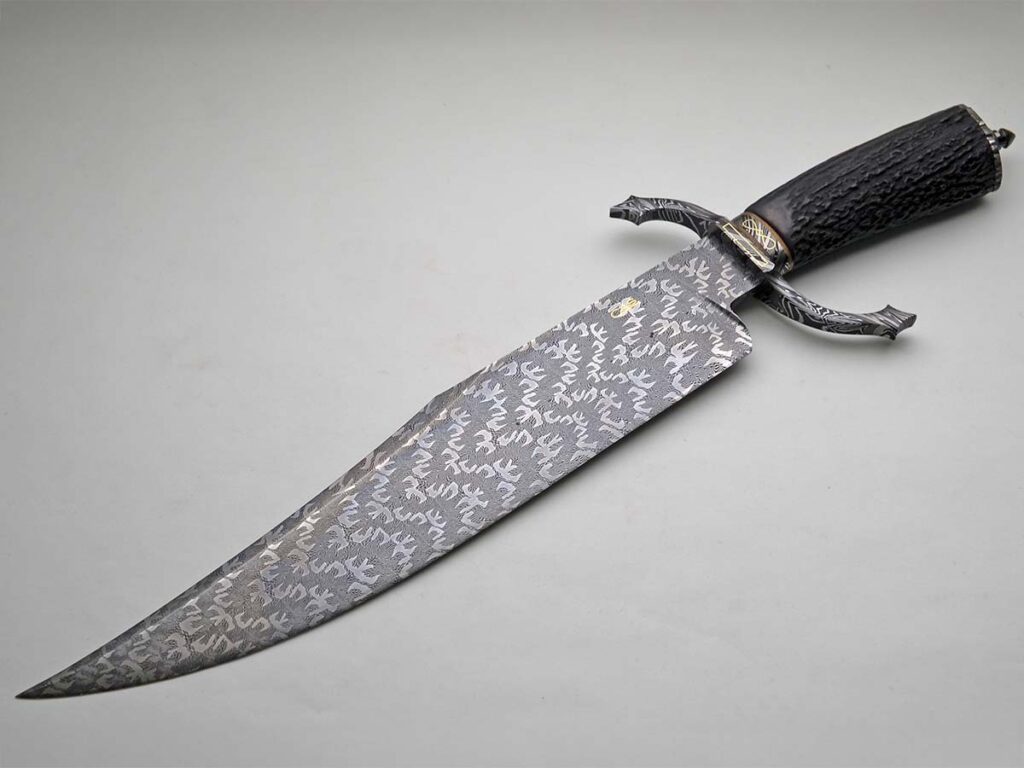
High End
Dave Ellis is a custom knife purveyor and a retired ABS master smith. He knows how to make a world-class knife and what it takes to buy and sell knives of the highest quality and price points.
“If we were just thinking about price points, Bowie could carry a Loveless Big Bear or a Bill Moran damascus ST-24,” Dave noted. “Both would be $60,000 to $80,000 in today’s dollars.” Vintage examples of those knives are so valuable because they were made by two iconic Cutlery Hall of Famers and are historic, nearly antique. Would Bowie carry such an expensive knife that’s several decades old? You be the judge.
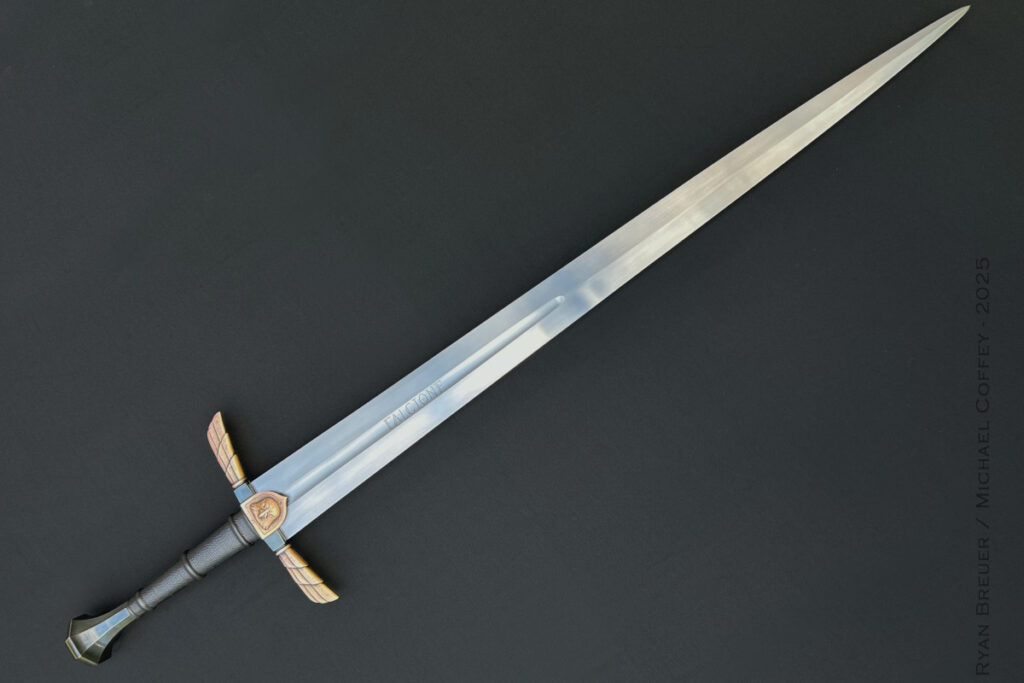
Dave and your intrepid reporter discussed jewel-encrusted daggers by Cutlery Hall-of-Famer Buster Warenski, engraved Warren Osborne autos and $100,000 Japanese katanas. We ultimately recognized that Bowie had a flair for the practical. While he may very well carry a knife that screams “I’m rich!” it would also have to do its basic job.
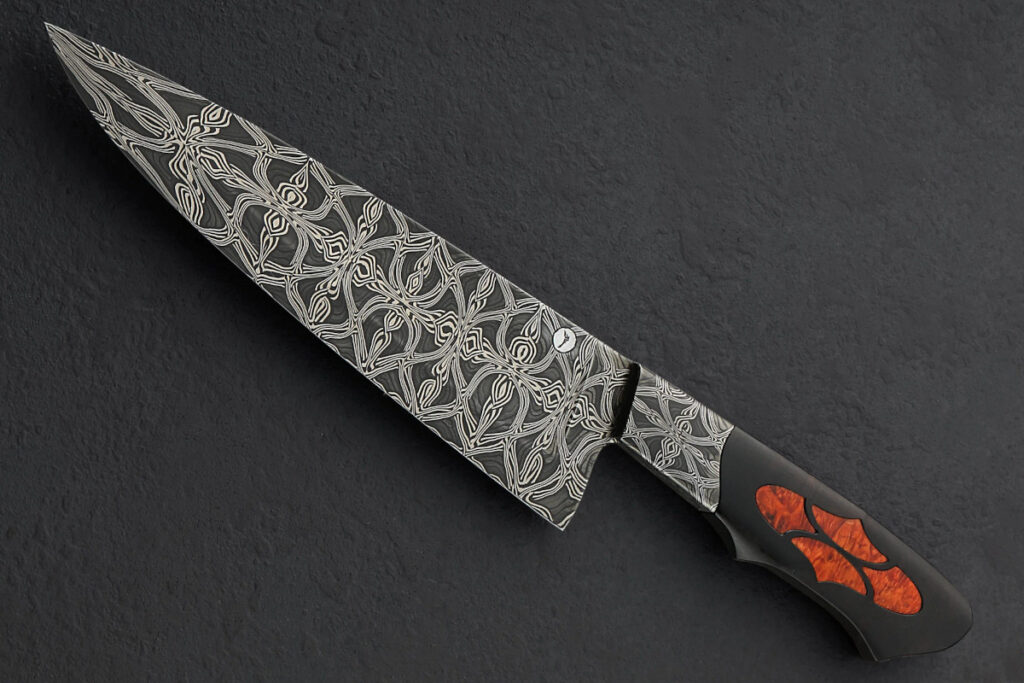
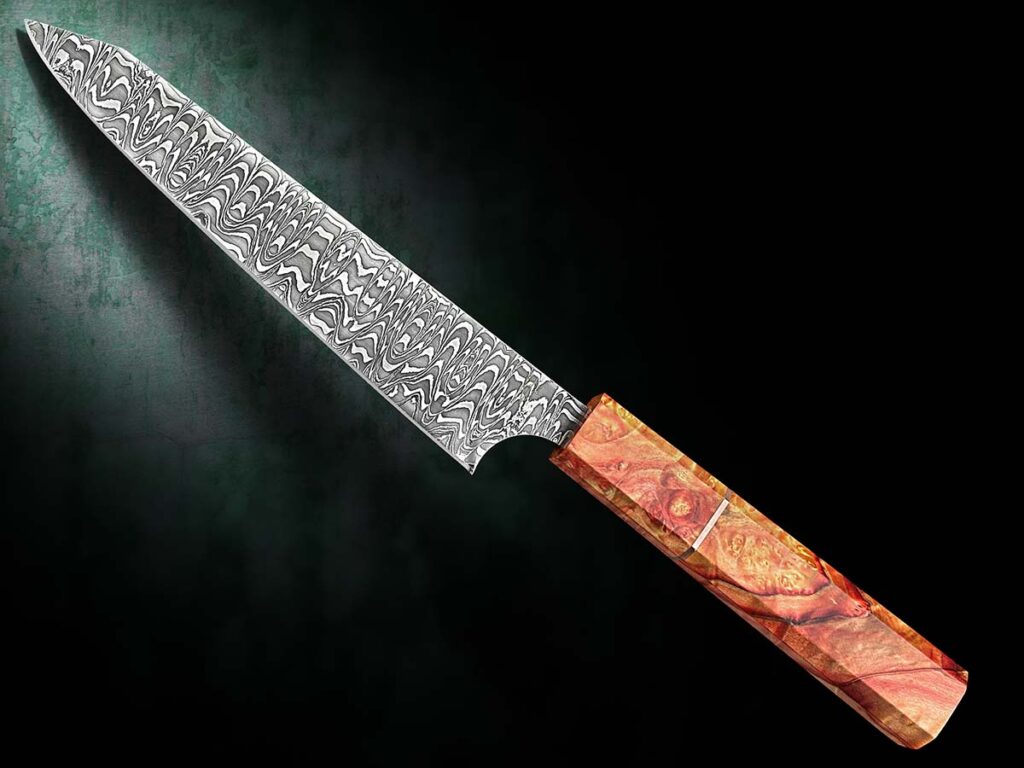
When it comes to the highest modern expressions of the bowie knife, the South Americans stand out. Whether by the Sobral Brothers/CAS Knives, ABS master smiths Dionatam Franco and Rodrigo Sfreddo or other top artisans, the merger of high quality and performance within the bowie genre is very evident.
“I’m thinking Bowie would carry something like one of the CAS knives,” Ellis said. “They’re perfectly executed with high-end materials and expert technique, and at a first glance are still immediately recognizable as bowie knives.”
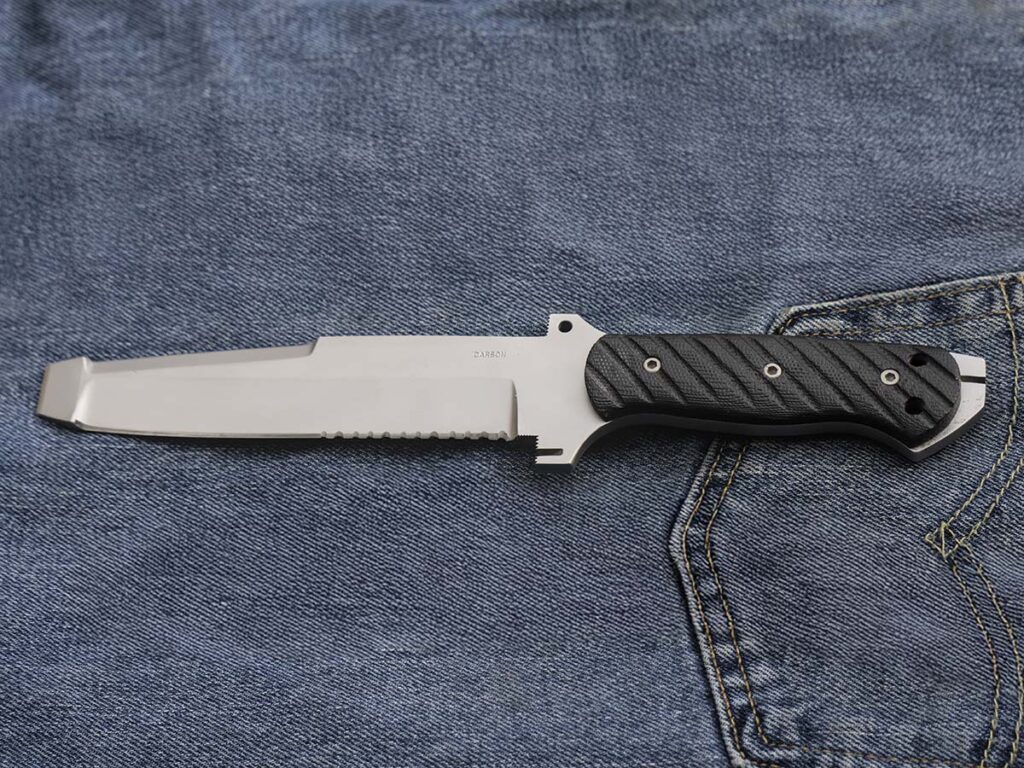
Warfighter Knives
Serving his country with acts of valor as a first-class warfighter, veteran explosive ordnance demolition (EOD) tech Rob Cude spent his career in the shadows. Success in his job meant frustration for the bad guys and safety and silence for the good ones.
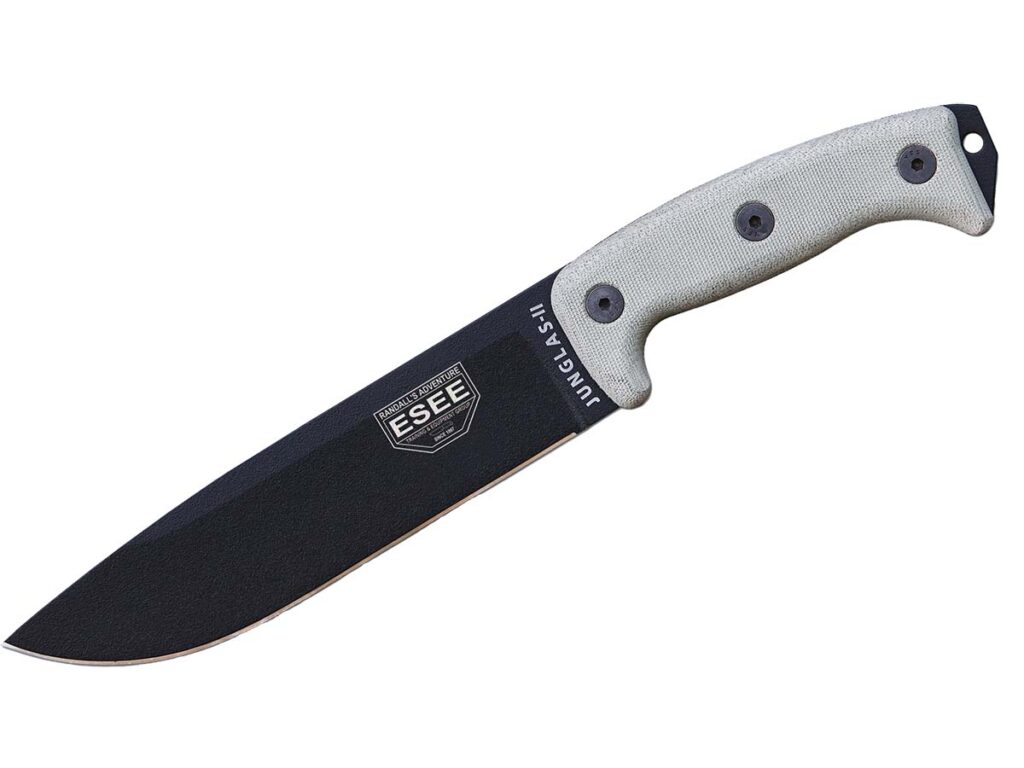
Rob’s background is in knife design for special forces, military and EOD. In the 1990s, he sought out Cutlery Hall-of-Fame maker Kit Carson to build exactly the knife that would suit his needs. The modern warfighter may jump out of a plane, swim from a boat or trek over land, none of which lend themselves to a wimpy knife.
In tandem with Kit, Rob designed the knife that would in 1998 become the Intrepid from Buck Knives. The original design featured a special wedge-shaped tip, a distinctive sharpened area on the spine for cutting metal straps, an exposed tang for durability during hammering, and a ceramic bead finish that was much more rust-resistant than a sandblasted one. Stainless 440C steel was the best game going at the time and had a suitable combination of hardness and toughness.
“If your knife edge rolls or the knife bends, you can fix it,” Rob advised, “but if it chips or breaks, you’re stuck.”
From Rob’s soldier perspective, Bowie would carry a gun and at least two knives. As technology has evolved, the tools of the soldier have evolved. Given how Bowie was responsible for the evolution of a knife style, it makes sense that his tastes would continue to evolve as well. A modern Bowie would carry one knife for work and another for self-defense.
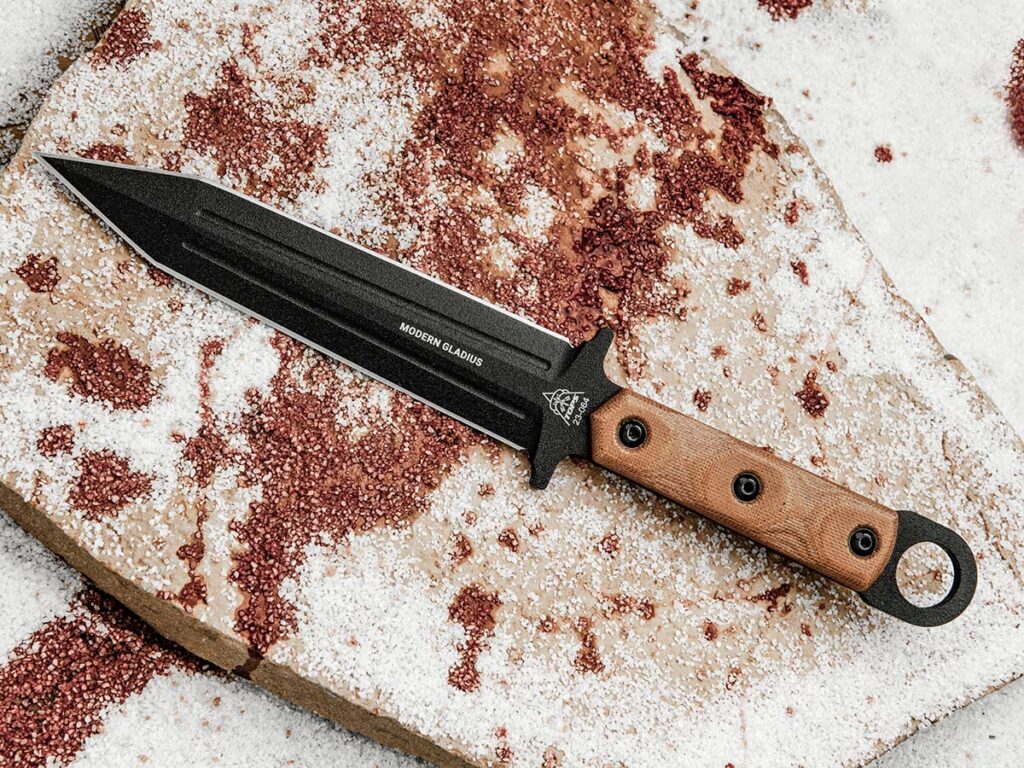
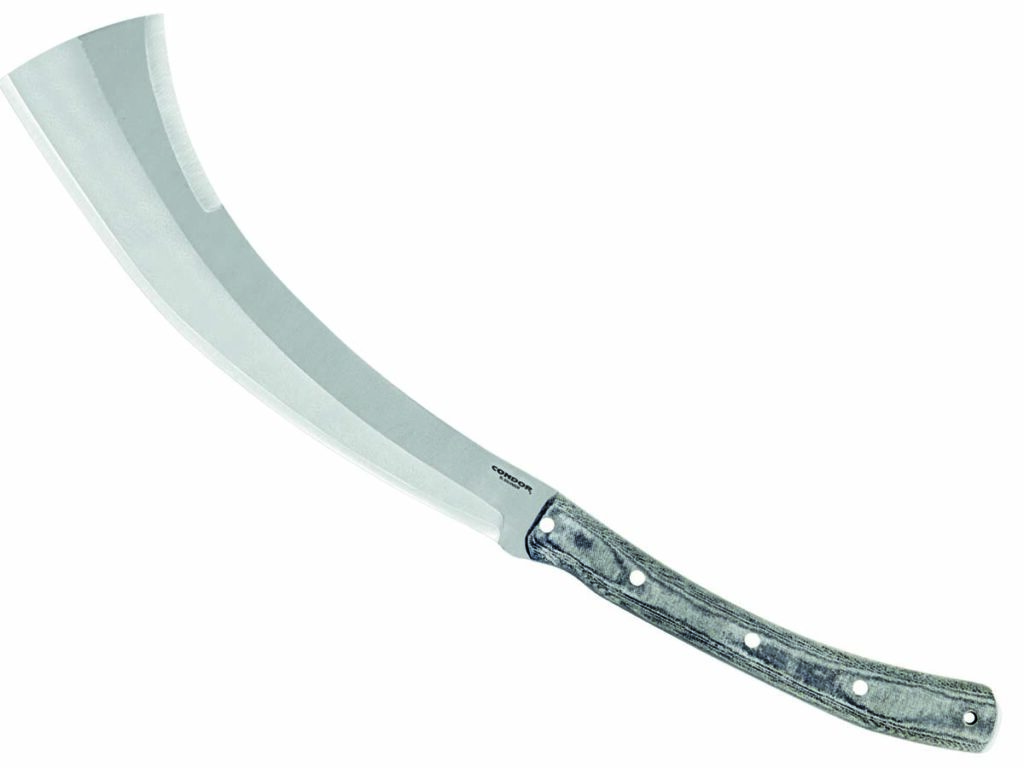
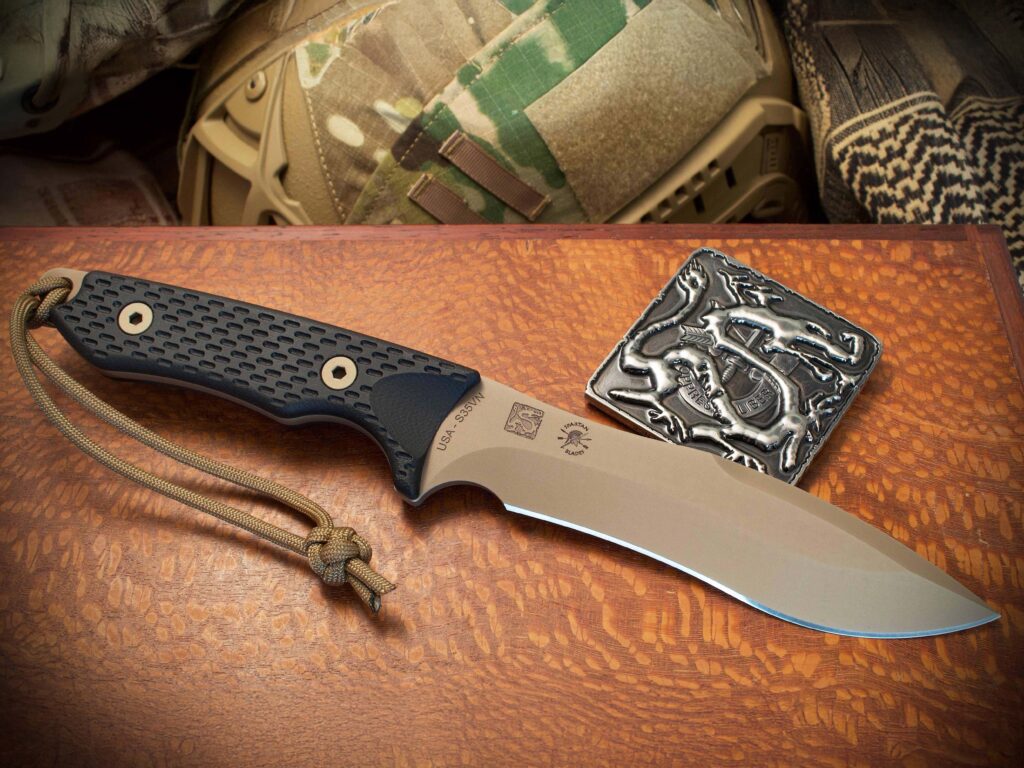
“Something like the Spartan Ronin Shinto would be on Bowie’s hip,” Rob opined. “It has a recurve blade with a long cutting edge but also has a bit of belly that works well for utility tasks.
“Whether it’s cutting lines and straps or opening MREs, a fixed blade in the 5-to-6-inch range is on every modern fighter’s hip. He would also carry a backup knife for self-defense, and a pistol and rifle as well. Bowie was proficient in the tools of his time and that’s his real legacy. He’d carry that proficiency forward into the modern age, adapting to the tools of our time.”
In the end, of course, we’ll never know exactly what a modern Jim Bowie would carry if he could, but one thing’s for sure: you’d not want to meet him on a sandbar or battlefield to find out.
More Knife History:
- Walter “Blackie” Collins: Applying The Edge To BLADE Magazine
- American Knives: Legendary Designs From The Land Of The Free
- Antique Switchblades: World War II And Beyond