


So, you’re going to build a power hammer… now’s the time to consider where to get your parts.
The first thing you’ll have to decide is which style of power hammer you will build. There are as many designs as there are folks who build hammers, but they fall into two basic categories: helve hammers and linkage hammers.
Power Hammer Styles
Linkage Hammer
At the basic level, a helve hammer has an arm that moves up and down on a fulcrum to move the hammer head up and down. A linkage hammer uses a wheel, tire or disk that rotates and uses the rotation to move the hammer head up and down. The Little Giant power hammer design uses a linkage, as does the commonly home-built tire hammer.
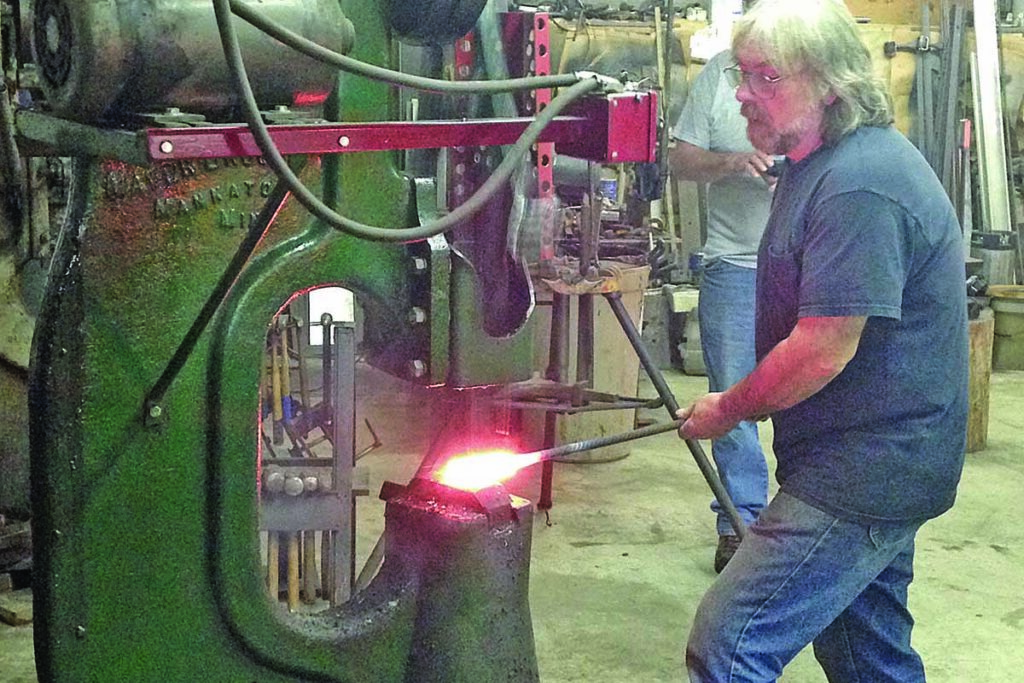
Helve Hammer
I chose to build an Appalachian-style spring helve hammer because I had access to a variety of leaf springs, and because the design is more intuitive and less mechanically precise. I figured correctly that I could build a helve hammer design from scratch, but that a tire hammer had some engineering points that would be difficult for me to figure out. If you have access to uniform steel sizes or must buy your steel, I suggest a tire hammer. I had good scrap steel and didn’t want to buy much.
I’m focusing on the upright, heavier, more efficient metal-moving machines. Even so, it’s worth mentioning the smaller, simpler but less efficient helve hammers. I came across a good example in the shop of Shawn Moulenbelt, a Michigan bladesmith who was on season seven of Forged in Fire. His hammer used various sizes of hollow square tubing, a sledgehammer head and a half-horsepower motor. He used a slack belt clutch and interchangeable die plates. His hammer was built by Rusty Glovebox on YouTube and is a solid DIY (do-it-yourself) design.
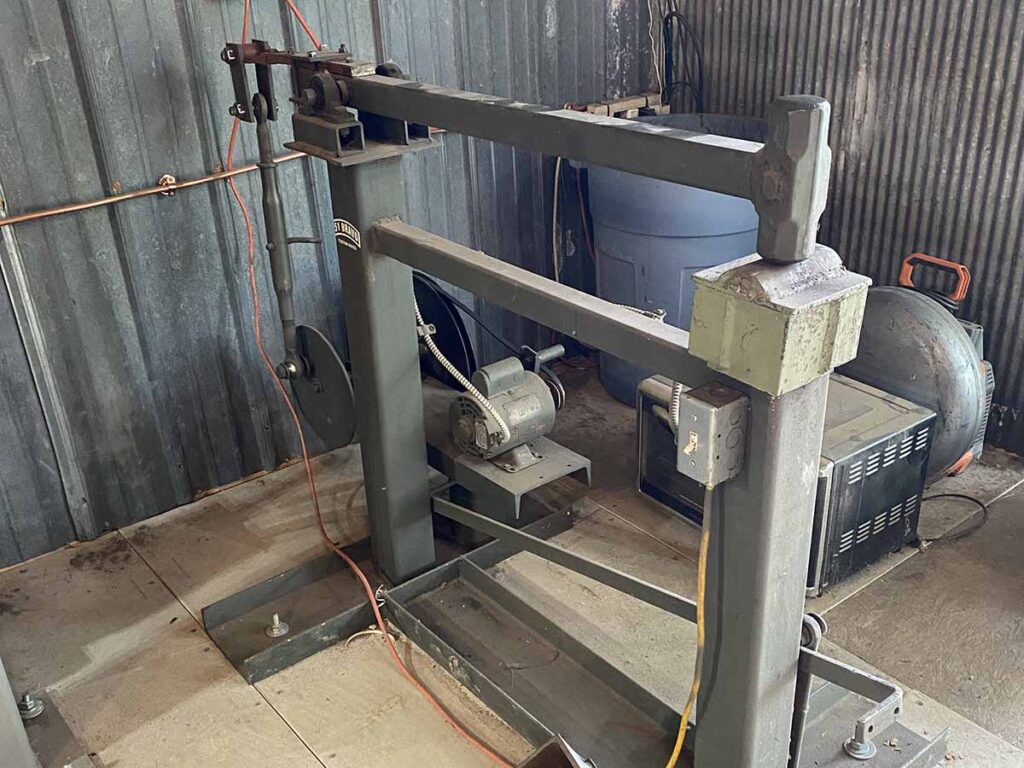
On the upside, helve hammers are quick and fairly straightforward to build. On the downside, they’re not all that great at their one job: moving metal. Even so, a similar light use-DIY power hammer is much more efficient than your arm, and much less likely to get tired. In my mind, if you have the time and skill to build a small hammer, you can just as easily build a bigger one. Even so, the small helve hammers may be just the ticket for your shop.
Resourcing An Anvil
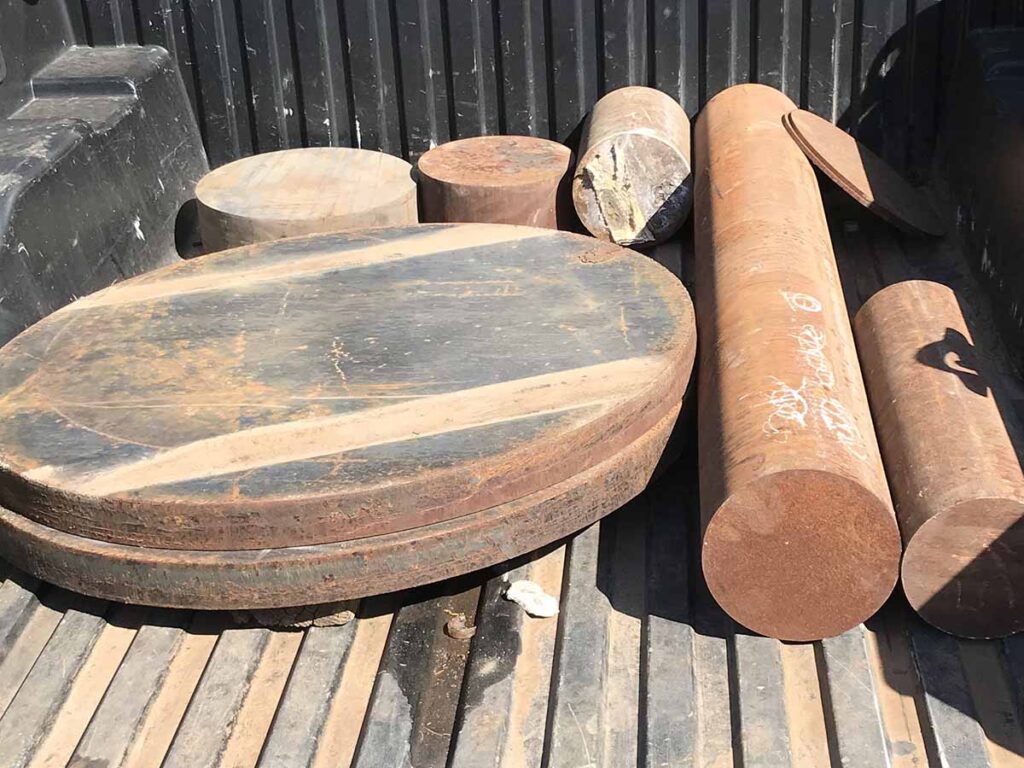
There are many different things that can make a suitable anvil for a power hammer and many more things that cannot. What you are looking for in an anvil is a solid piece of steel that weighs anywhere from 150 to 600-800 pounds, which can be difficult to acquire.
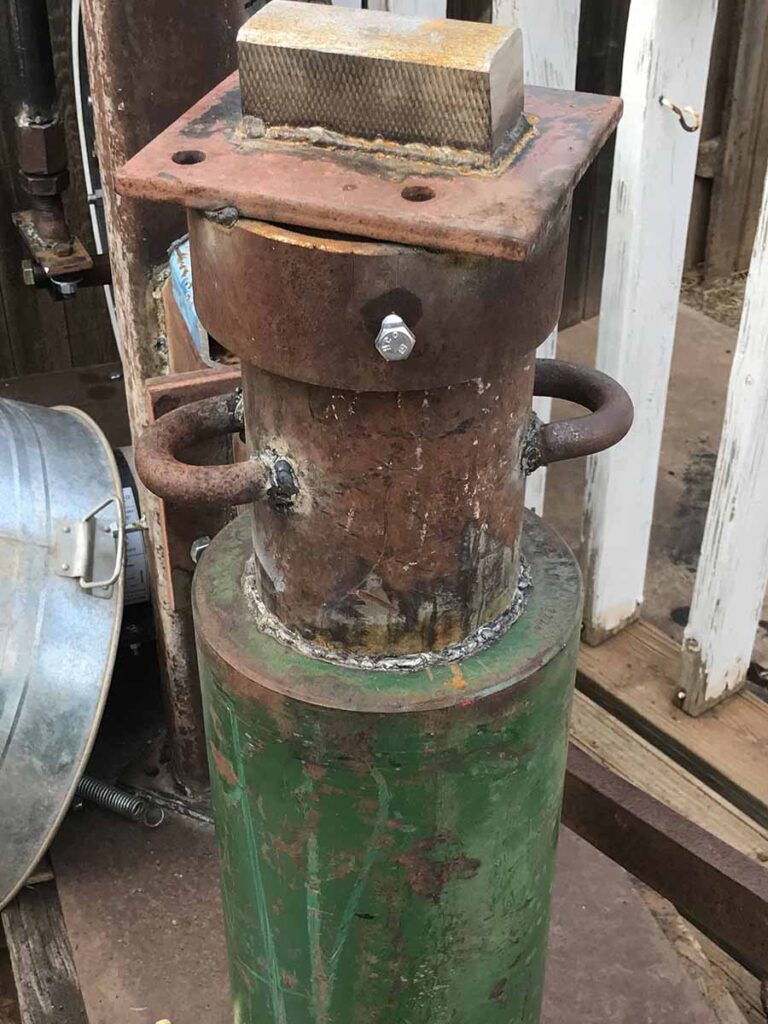
Sometimes you can find solid square or round bar steel. Some folks recommend railroad axles. Others suggest forklift tines welded together. I’ve seen sections of a 2-inch square bar welded together into a solid 6×6. I’ve seen pieces of 1-inch plate welded where the hammer strikes the ends. Whatever you can find needs to be solid or able to be welded into a solid, single, massive piece, and your welder has to have the power to stick it all together. My hammer is built on a 32-inch piece of 5-inch round bar welded inside a mud pump sleeve that has a 5-inch bore. The total weight of my anvil is around 400 pounds.
What Not To Use
Don’t be tempted to think you can get a piece of something hollow like pipe or square tubing and fill it up and make a suitable anvil. Each stroke of your hammer pounds the steel in-between the hammer head and your anvil, pushing your anvil toward the ground. If you have any movement, vibration or give in your anvil, the force is absorbed by the movement and not efficiently transferred to your workpiece.
Anvil To Hammer Head Ratio
When you finally locate this difficult-to-find thing, it won’t likely be the size or shape you want. My anvil was round, which doesn’t easily weld to square tubing, for example. I had to deal with it. As noted, my anvil was around 400 pounds total weight. Yours may be more or less. You should design your hammer with a minimum 1:10 head-to-anvil ratio. Since I had a 400-pound anvil, I built a 40-pound head. If all you can find is a 200-pound hunk of steel for your anvil, you should stick to a 20-pound head or so. Design your hammer around your anvil, as the anvil is the hardest part to find. Alternatively, find the weight you need for the anvil and use the tire hammer plans.
Another consideration is the base for your hammer. I’d recommend the thickest steel plate you can find, mounted on the firmest foundation you can muster. If I could have built on 1-inch plate and bolted it to a 24-inch-deep concrete pad set into a concrete shop floor, I’d have done it. I had to make do with what I could find in my “free” scrapyard, and deal with the limitations of my shop setting.
Power Hammer Center Post
For any hammer you need a center post. The post should be heavy enough to withstand the extreme forces involved in rocking a spring arm or linkage with a heavy hammer on one end. I used a piece of 4-inch tubing with half-inch walls. Others have used thinner-walled but larger cross-section square or rectangular tubing, heavy walled pipe or sections of I beam. The tire hammer plans call for a 6-foot-long piece of quarter-inch wall and 5-inch square tubing.
Final Cut
My power hammer has become an essential tool in my shop, to the point that I sometimes wonder how I ever lived without it. I have only begun to explore its full potential. I built it for my appearance on Forged in Fire, where I was fortunate to make the final. I was able to come home and use my hammer to build my final edged piece for FIF. I lost the contest but ultimately still have a power hammer, and I can still take pride in the fact I built it myself from little more than a pile of junk.
It may take you a few months to gather all the primary parts, or you may get lucky and find them all in one place. Next month’s article will focus on building considerations for a spring helve hammer, and later we’ll discuss the Clay Spencer DIY tire hammer.
Read More On Knife Steel:
- 3 Knfie Steel Basics
- What Are The Best Blade Steels?
- Is Steel Type Really The Most Important Factor In A Knife?
- San-Mai: Knive Steel Trinity
 NEXT STEP: Download Your Free KNIFE GUIDE Issue of BLADE Magazine
BLADE’s annual Knife Guide Issue features the newest knives and sharpeners, plus knife and axe reviews, knife sheaths, kit knives and a Knife Industry Directory.Get your FREE digital PDF instant download of the annual Knife Guide. No, really! We will email it to you right now when you subscribe to the BLADE email newsletter.


