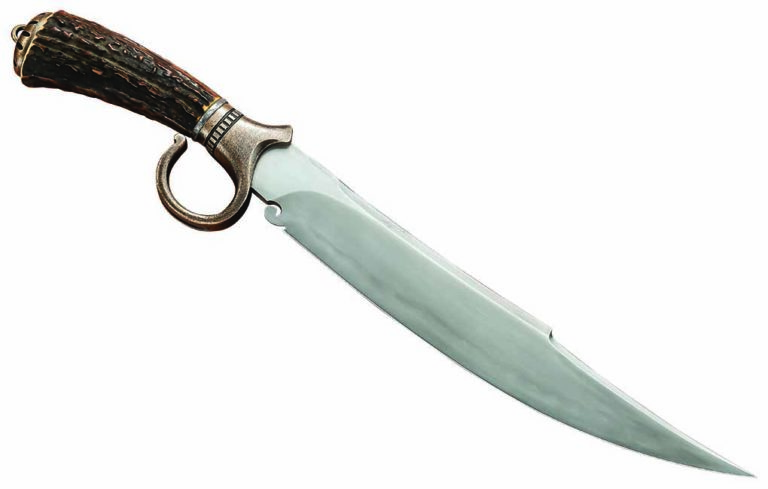
Counter-bending begins with the counter-bending jig. These are made by forging a steel bar .75-1 inch square and about five inches long into a “bottom swage” device. This looks something like a cradle. It can be placed into your anvil’s hardy hole or locked in a vise.
You don’t necessarily need to weld the hardy stud on the bottom, just lock it in the vise. A banana would fit nicely into this cradle. File a groove into the top-right edge to “catch” the point. I use railroad spikes to make this jig. As you make more knives you may choose to change that radius depending upon factors between you, your tools, and your steel.
Bending With The Railroad Spike Counter-Bending Jig
Place the counter-bending jig in the hardy hole or vise. Place the blade bar in the forge at the most convenient position for extraction and quick placement on the jig. Heat to orange. Place the bar on its spine, with the choil and cutting edge looking up and the point at the groove. Keep the bar at the center of the jig.
Note the “air” between the billet and the spike. The blade is almost resting at the bottom of the jig. The next blow will force it completely into the concavity of the railroad spike jig.
NOTE: Blacksmiths will refer to shaping tools like this railroad spike jig as a swage. Sometimes as a bottom swage. Swages (sometimes called ‘swedges’) are concave in shape. Fullers, on the other hand, which are also shaping tools, are convex.
With the round hammer face strike the bar in the center. This will take one to several heats and hits depending on how hot the bar is and how hard you hit it. Rarely will it take one heat and one hit. Usually it takes many. Do not hit it any more than necessary. We want the entire blade in the concavity of the jig. When it’s there, stop.
NOTE: Remember that straightening blows are much lighter than forging blows. Straightening blows are just hard enough to bring the blade back to straight and flat.
Then, put the blade back into the forge, take a heat, and do the swage business again. Steel, when hot, is extremely malleable (like soft clay) and can be told what shape to take.
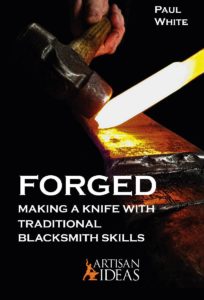
You can purchase Paul White’s Forged: Making a Knife With Traditional Blacksmith Skills here.
TIP: The most important principle in this section is to overlap hammer blows. The right edge of your previous hammer blow becomes the center point of your next hammer blow.
Forge-beveling allows a consistent pushing of the hot steel in all directions at each blow. The physics are consistent, predictable, and reliable. At each strike, the force of the rounding hammerhead pushes the bottom half of the blade and the spine in opposite directions. The tip-to-choil forces are contained for the most part by the blade’s mass.
It’s much like when the smith makes breakfast sausage patties. Imagine pushing the center of that sausage patty down with the heel of your hand (hammer) against the counter (anvil). The patty spreads out in all directions with a dimple in the center, the same as the steel. With repeated overlapping blows the bevel thins and widens downward as the spine stretches upward. The resulting geometry is a thinning and reshaping of the blade between the cheek line and the cutting edge. A bevel is forged and formed with your rounding hammer, anvil and blacksmith’s eye.
Once forge-beveling is mastered you can actually form a hollow “grind” by hollow forging (another lesson, another book).
NOTE: Look at a knife with the pommel to the left and the point to the right, cutting edge down and spine up. For reference and description, this is the right side of the blade.
This is the right side (i.e. right-hand side) of the knife blade
Setting the Bevel
The forge-beveling procedure is advanced forging. Beveling with a hammer is a blacksmith secret used by few these days. Learn this method and you will certainly be connected to the smiths of old.
This forge-beveling procedure takes me six heats or more, at minimum; three on each side. Theoretically, one heat per line, three lines per side (explained below in Half, Fourth, Eighth). Make these passes down the bottom half of the blade traveling its full length. Because you might be a beginner it may take many more passes than six.
You may need more heats due to being hammer shy or because of rookie hesitation. You may start and stop frequently due to under-heating, overheating, dropped blades, re-positioning your piece or “Where’s my hammer?”. All of those are OK. We all do them.
Half, Fourth, Eighth
Let’s go through the forge-beveling principle. First think of cross-section geometry. Develop a visual in your brain of the relative distance from the center point of the hammer face to the bottom one-half of your blade as you travel along its length from ricasso to tip.
Do this by visualizing one-half, one-fourth, and one-eighth. If we were to saw a blade vertically in half and view its cross-section, we would see that its shape is thickest at the top, along its spine. It holds that dimension down to the cheek (about the halfway point) and then dramatically loses thickness as it approaches the cutting edge. This is the bevel. Your bevel. Think halfway from cheek line to cutting edge. This is the 1/2 line.
This traditional way to set this bevel can only be acquired with dozens of latitudinal hammer strikes passing from left to right at those three descending levels: 1/2, 1/4, 1/8. Remember one-half, one-fourth, one-eighth.
Note and maintain a mental image of the three all important forge lines.
NOTE: This 1/2, 1/4, 1/8 business does not mean fractional inches. The fractions refer to the position of your hammer’s center face on the horizontal bar (i.e. halfway, a quarter of the way, and an eighth of the way from the edge to the cheek).
Remember this is a theoretical thing becoming a real thing. The blade is 1-inch wide, and the face of a 2.5-pound rounding hammer is about 1.5 inches. Think exact center of a hammer face on those latitudinal forging lines.
TIP: See the author setting the bevel on YouTube. Search for: Paul White FORGED.
Try not to strike above the imaginary cheek line that runs about halfway between the spine and edge. Your hammer passes will form the cheek line. The final cheek line usually falls well above the halfway point because maintaining that line exactly in the center is almost impossible with a round hammer face, your billet bouncing around on the anvil, and you’re trying to hit on exact points. However, the primary objective is to maintain the original thickness in the spine (1/8-inch) as far down to that halfway line as possible.
Blade Tipping
Each pass will require a slight upward tipping of the spine to acquire about a 10° to 12° angle to be set in the bevel as you hammer. It takes a simple inward twisting of the wrist to keep the blade from resting flat on the anvil face. It must be done at each horizontal pass. This smartly places just the right amount of bevel angle. After a few passes, the blade will “find” that angle as you place it down.
After a complete pass from choil to tip on the right side of the blade, flip the piece over, tip to 10° to 12°, place at the top of the anvil, and do the left side. This is the place to use your indexing skills. It takes most smiths some time and practice to fully master this concept. I’ll go over this beveling thing a couple more times. Read this whole section and look at the drawings and photos several times before doing this.
TIP: Sometimes it takes fewer total passes than I indicate in this book. This is due to the individual smith’s power and/or heat control and/or blade position and/or hammer penetration and/or steel composition. There are lots of variables. If your blade is almost straight after fewer than the recommended strikes or passes, back off on the heat and/or reduce the power or reduce the passes. If you place blows beyond what is needed, the blade will curve upward. Usually, fewer strikes per pass will be necessary as the beveling chore proceeds. This happens because the smith usually increases his or her power and confidence as time at the anvil is increased. Also, the bevel becomes thinner with repeated heats requiring less steel to be moved.
The forging sequence is as follows. Take a heat. Place the blade at the bottom of the anvil. Tip to 12°. Place overlapping blows down the blade on the right side at the 1/2 line. Take a heat. Flip to the left side of the blade at the top of the anvil. Tip to 12°. Forge down the left side at the 1/2 line at the top of the anvil. Take a heat. Flip to bottom. Tip. Place blows down the right side of the blade at the 1/4 line. Heat. Flip. Tip, down the left side at the 1/4 line at the top. Take a heat. Flip. Tip and down the 1/8 line on the right side. Heat. Flip. Tip. Then down the left side at the 1/8 line. Your blade should be nearly straight after three or five passes and however many heats as needed.
By hammering in this 1/2, 1/4, 1/8 method you will “set the bevel” of your knife in the traditional way, FORGING! Ninety-three percent of all bladesmiths set their bevels at the grinder. I have met only a handful of smiths that do this the old way. You’ll be the only blacksmith in the surrounding ten counties that sets the bevel with your three-pound hammer!
Do not strike randomly up and down the blade or space-out (i.e. not overlap) your blows and expect anything good to happen.
BLACKSMITH SECRET: To gauge forging heat have a wooden box close by and away from any direct light. Hold your blade in the box to see the true forging heat. Even when hot the “red” is sometimes difficult to see in a lighted room. However, the red will show in the shade of your box. This means you are above forging heat and will thus avoid potential edge cracks. Remember this is high carbon steel and your working parameters are narrower. Iron can be worked over a greater temperature without damage. At the end of each forging and before you lose forging heat in your blade use the last few seconds to straighten and align your work. Make all lines right with the world.
The successful counter-bend is placed at the “bottom” of the anvil with the choil just at the anvil’s corner next to the table. Several hammer blows are placed at the halfway point/line and then the hammer travels down the blade to the smith’s right.
You can buy Forged: Making A Knife With Traditional Blacksmith Skills here
Learn the latest about knifemaking techniques and other trending sharp subjects during the 9th Annual BLADE University 2022 Friday and Saturday of the BLADE Show.
Sponsored by Work Sharp, BLADE University has the most extensive schedule of knife, knifemaking and other instruction held at any knife show. New classes for 2022 include How To Forge a Sub-Hilt Knife with ABS master smith Steve Randall; Post-heat-Treat Grinding with custom knifemaker RJ Martin; How To Start a Knife Company with Diane Carver and Kimi Jensen of Brighten Blades; Keys to Outstanding Hamons with ABS master smith Brion Tomberlin; and more.
For the full list of classes, see the accompanying schedule. For enrollment and other information visit show.com/show-info/classes, or the Registration Counter in the show lobby.
8 a.m.-9:30 a.m.: Fundamentals of Grinding, The Courtyard. Award-winning knifemakers Tom Krein and Lucas Burnley take you through the process. 10 a.m.-11 a.m.: Exploring the History of Synthetics, Room 107. The Hawks Nest Customs team explores some of the types of synthetic materials used on knives. 10:30 a.m.-11:30 a.m.: Cryo-Quenching Steel: What It Does and Is It For Your Blades? Room 104. Steel authority and author Larrin Thomas explains the subject in detail. 1 p.m.-2 p.m.: How To Forge a Sub-Hilt Knife, Room 107. Steve Randall outlines his process for forging and building his hidden-tang sub-hilt model. 1:30-2:30 p.m.: Bladesmithing: A Teacher’s Angle, Room 103. ABS master smith Murray Carter delineates how he operated the Muteki bladesmith apprenticeship program for 10 years and provides advice on starting a larger knife manufacturing business. 3 p.m.-4 p.m.: Keys to Outstanding Hamons, Room 107. ABS master smith Brion Tomberlin will school you on most everything you need to know on the subject. 3:30 p.m.-4:30 p.m.: Hands-On Knife Sharpening Workshop, Room 113. Bring your own knife or a borrowed one and learn the progression of shaping a bevel, sharpening and edge maintenance from the team at Work Sharp. 4:30 p.m.-5:30 p.m.: Knives With History, Room 107. Knifemaker Jason Fry discusses different ways to incorporate historical material into knives.
SATURDAY, JUNE 4
8:30 a.m.-9:30 a.m.: Decorative Filework, Room 113. Knifemaker Kyle Daily of KHDaily Knives shows you his preferred files and step-by-step how he creates his five most popular patterns. 8:30 a.m.-9:30 a.m.: Post-Heat-Treat Grinding, The Courtyard. RJ Martin demonstrates techniques for grinding premium stainless steels after they have been heat treated. 9:30 a.m.-10:30 a.m.: How to Make A Coffin Knife Handle, Room 104. ABS journeyman smith Mace Vitale explains how he constructs the handles and shows you as well. 9:45 a.m.-10:45 a.m.: How To Start a Knife Company, Room 107. Diane Carver and Kimi Jensen of Brighten Blades recently started their new knife concern and share how you can start one, too. 11 a.m.-12 p.m.: Women’s Bladesmith/Knifemaker Panel, Room 113. Join ABS master smith Veronique Laurent of Belgium, Grace Horne of Sheffield, England, ABS journeyman smith Lora Schwarzer and Abie Lyons as they outline how to succeed as a woman in a male-dominated industry. 2 p.m.-3 p.m.: How to Texture Titanium Knife Handles, Room 104. Shane Magnussen of Scorpion 6 explains the grinder, appropriate machine setup, varieties of abrasive belts and more for the texturing method. 2:15 p.m.-3:15 p.m.: Hands-On Knife Sharpening Workshop, Room 113. For a redo of the class by the same name (see the description under Friday at 3:30 p.m.-4:30 p.m.), here’s your chance in Work Sharp’s encore presentation. 2:30 p.m.-3:30 p.m.: Exotic and Advanced Knife Techniques Used in Bushcraft, Room 107. Joe Flowers, knife designer and jungle guide, demonstrates and gives a presentation on outdoor-based knife skills from around the world. 4 p.m.-5 p.m.: Linerlock/Framelock Design & Construction Geometry, Room 104. David Carver of Carver Knife Co. teaches basic design, steps to build and the processes needed in detail, as well as flow, lock geometry and completion.
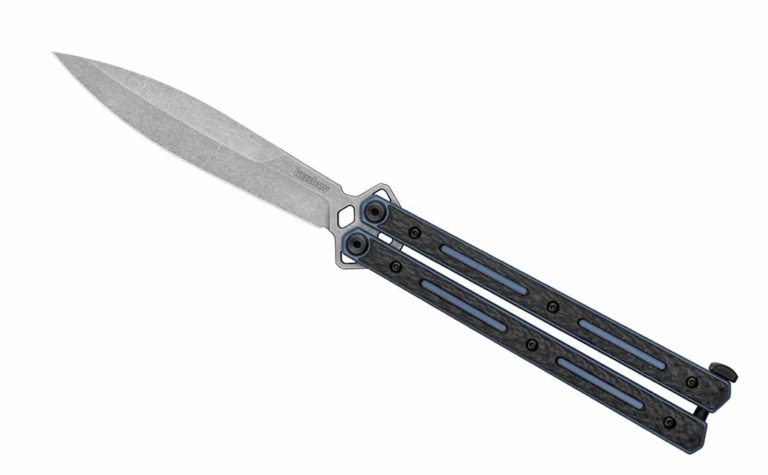
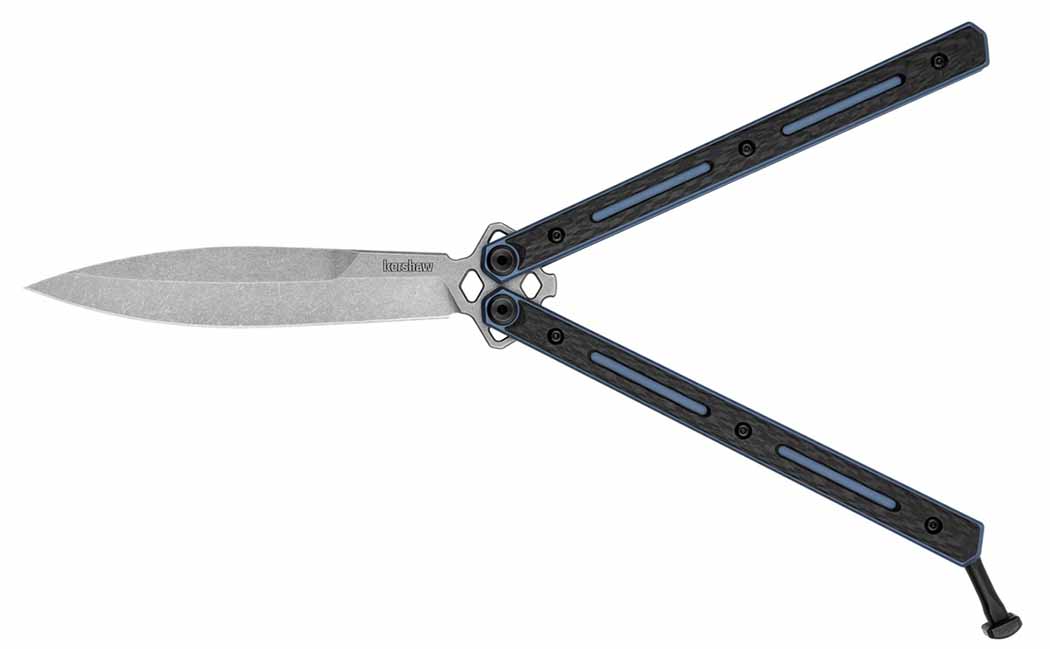
Kershaw steps up its balisong game with the introduction of the lightweight Lucha Carbon Fiber.
The original Kershaw Lucha made waves when it was released 2 years ago, and it’s only gotten better with a new twist on the design. Shake hands with the Kershaw Lucha – Carbon Fiber. Embracing cutting-edge materials, the Oregan company has cooked up a more nimble variation, one perfect in the role of a unique EDC option or a top-end balisong competition blade.
As its name suggests, Carbon Fiber is the belle of the ball in next-generation Lucha, with Kershaw applying it to the handle. Adding rigidity to the system, the company opted for a titanium skeleton, but offset the use of metal with weight-saving cutouts in the carbon-fiber exterior. The efforts paid off, the knife is a full ounce lighter than the original Lucha at a very svelt 4.9 ounces. Worth mentioning, the mix of carbon fiber and blue finished titanium gives the knife a dynamic look.
Kershaw didn’t skimp on the other aspects of the Lucha Carbon Fiber. Dual KVT ball bearings make the knife’s action silk smooth and quick as lightning, making opening and manipulating the knife effortless and smooth. A wicked spear-point blade, constructed of corrosion-resistant CPM 20CV stainless steel, facilities faster opening and proves useful for both cutting and perforating tasks. And a Kershaw’s “Working” finish maintains the aesthetic integrity of the blade, hiding scratches and gulls better other finishes.
While not the most expensive option on the market, the Lucha Carbon Fiber tilts to the expensive end of the balisong spectrum—$500 (expect around $300 retail). Yet, it’s difficult to argue the USA-made knife certainly offers plenty for the price.
Initial Impression
Describing the Lucha Carbon Fiber in one word is simple: streamlined. Building on the successful original, the new Carbon Fiber appears a more refined version in every way. From its single-edge spear point to its almost lighter-than-air titanium and carbon fiber handle, it should bring everything balisong fans appreciate to the next level.
If you attend, a review of the following will pay dividends
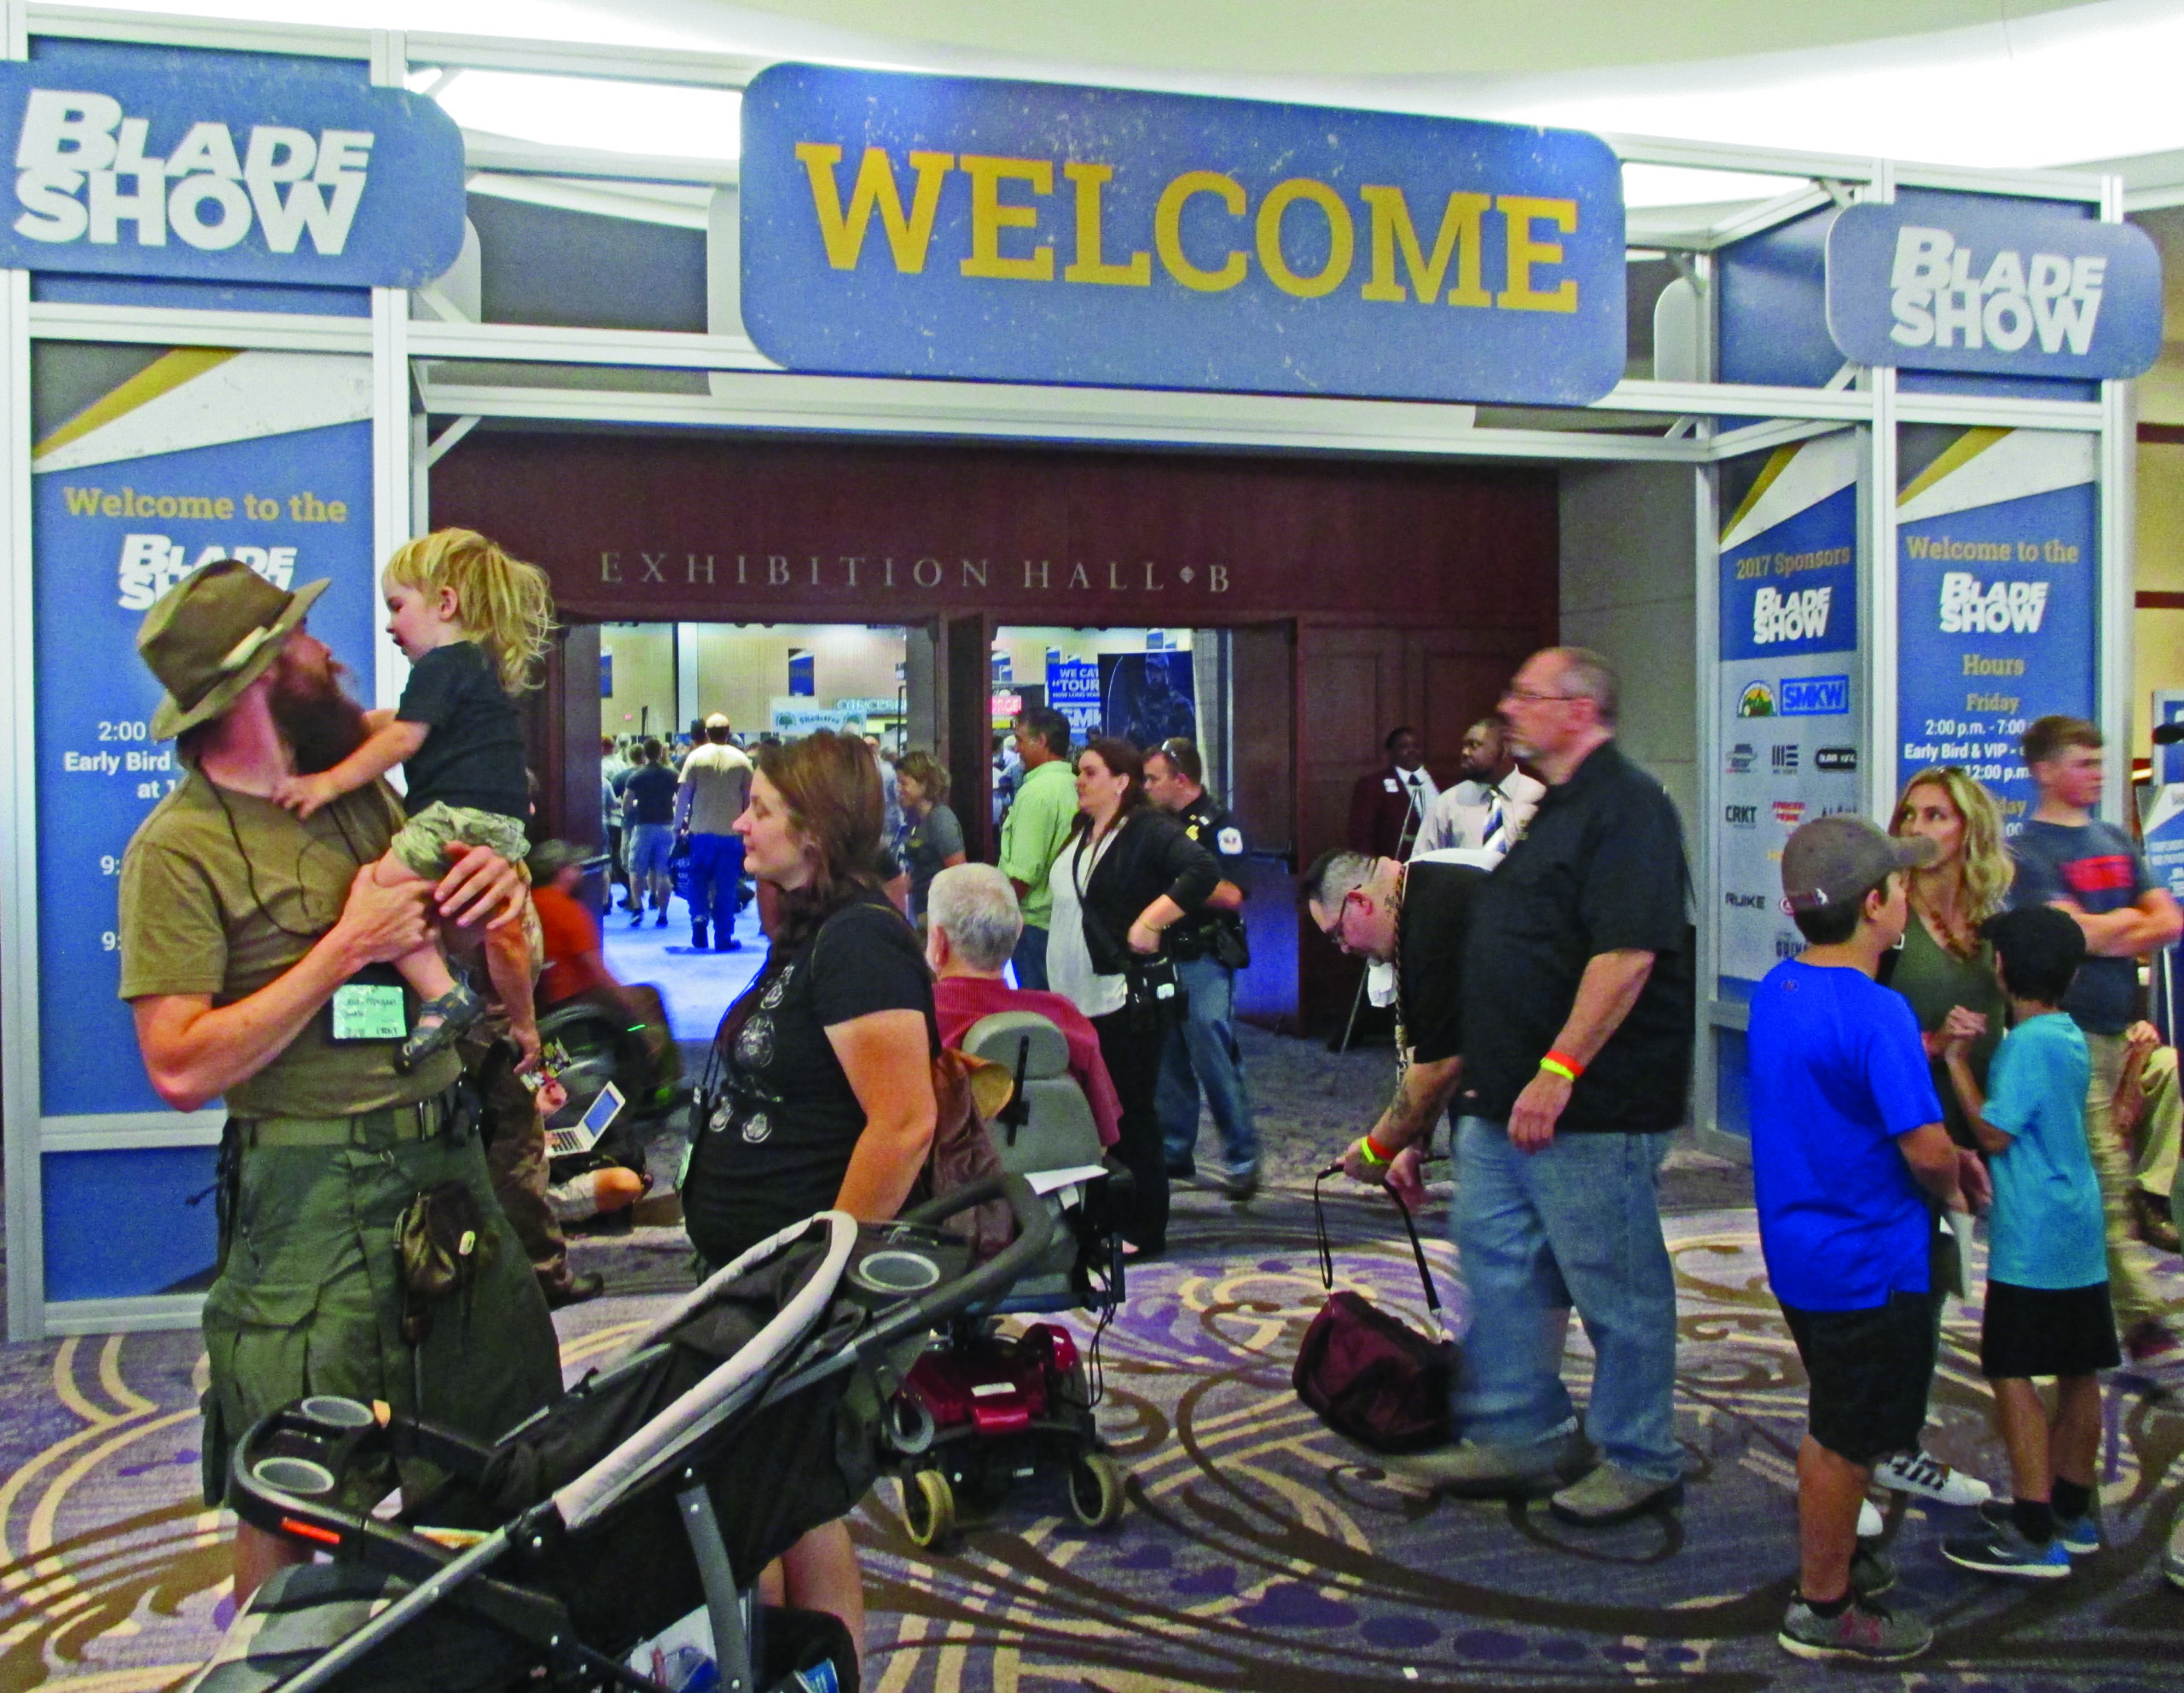
The BLADE Show is unlike anything you’ve ever seen. It’s the world’s largest knife show—period. It’s overwhelming, it’s massive and you need to pace yourself.
A major do of the BLADE Show is to enjoy yourself. (Eric Eggly/PointSeven image)
To begin with, inbound traffic is insane driving to the Cobb Galleria, so give yourself plenty of lead time. Wear comfortable shoes—the show hall floor is unforgiving—and also be sure to hydrate or you will cramp up while walking.
Wear comfortable shoes—the show hall floor is unforgiving. (Eric Eggly/PointSeven image)
There are free show programs with floor maps and exhibitor lists in the show lobby. Get two because you will lose one. The lobby also has free copies of the BLADE Show preview issue of BLADE® that you’re reading right now. (Editor’s note: The show program is newer and thus more up to date, so use its maps, lists, schedules, etc., instead of the ones in this issue of BLADE.) Assorted exhibitors and others will have cloth bags inside for free. Get a couple and use them to tote stuff if you don’t bring a small pack. Carry a small pad and a pen—you will see much you will want to return to, so mark down what the knife or accessory is, how much, the table number, etc.
There’s inexpensive food all around close to the show inside the Cobb. Local eats spots are easily Uber’d to, and using Uber, etc., is worth it—drive your car and you won’t have a space when you return.
You must see The Pit, the sunken bar in the lobby of the Renaissance Atlanta Waverly host hotel, at least for a few hours.
Yes, you must see The Pit, the sunken bar in the lobby of the Renaissance Atlanta Waverly host hotel, at least for a few hours. Again, pace yourself there—no one wants to be remembered as the sloppy drunk who dropped a thousand-dollar knife because he was hammered. Pit people are just as great as the show itself—wear your swag and favorite makers’ shirts and meet some new pals.
Cash is king. Bring as much as you can afford. Don’t screw up the mortgage but cash up before you come. The ATMs around the show get smashed fast and have a $300 limit per day anyway.
Take a ton of pictures. No one will believe you back home, and it will be sensory overload, so take photos to remember it all. Cell reception can be bad inside, so use text and times for meet ups. Soak it all in and let yourself enjoy being with thousands of likeminded folks for the weekend. However, there are some details all should know or get refreshed on as attendees, as well as table/booth holders. So, buckle up!
1 of 3
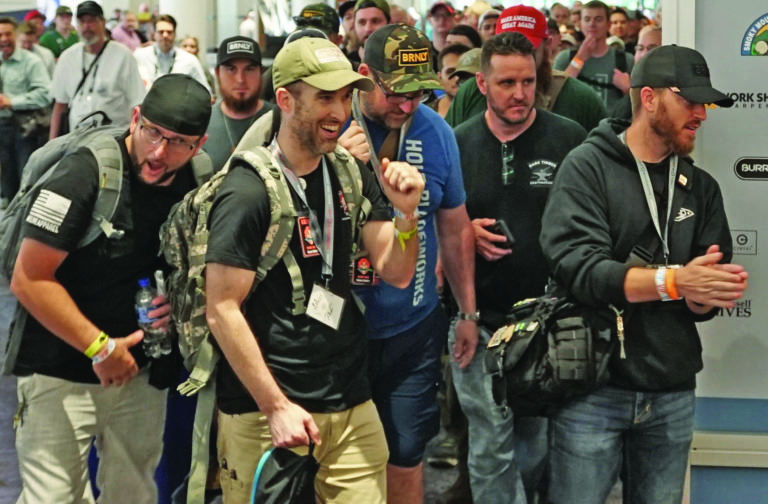
The people are just as great as the show itself—wear your swag and favorite makers’ shirts and meet some new pals.
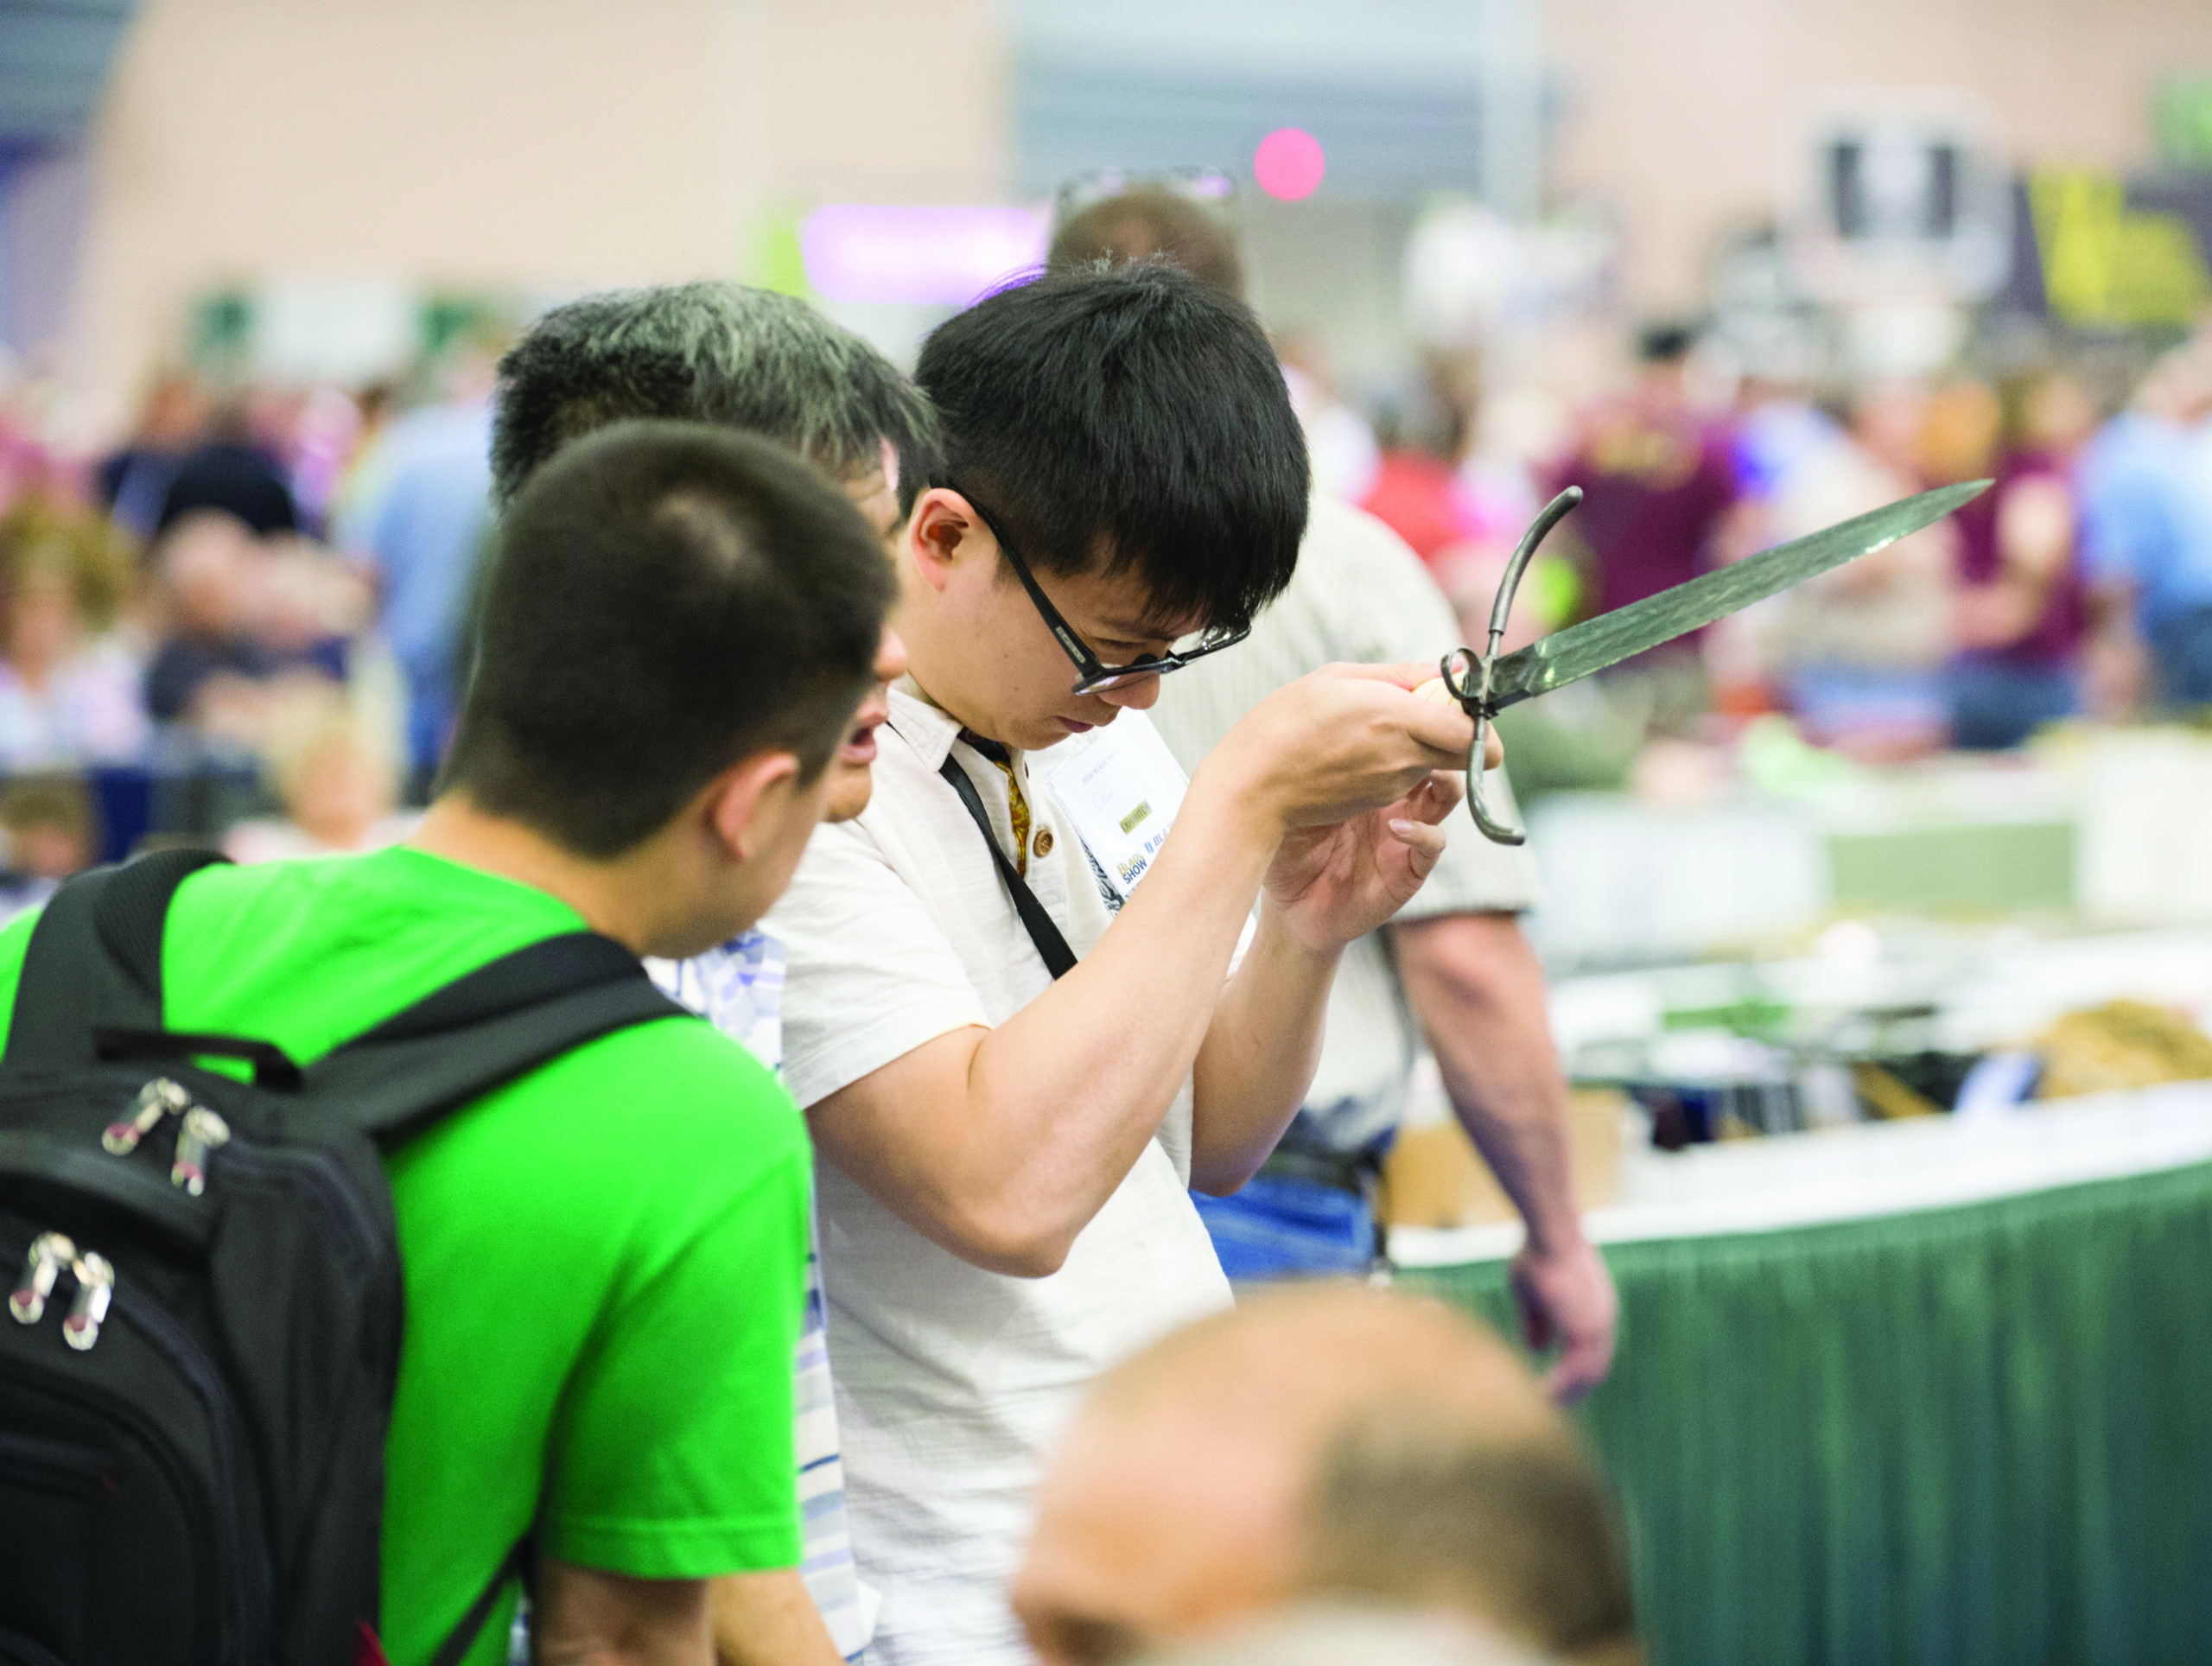
When examining an exhibitor’s knife, always be aware of the direction in which you are pointing the blade and avoid causing damage to anyone or anything.
Always ask before touching a knife, as a customer (left) appears to be doing at the table of knifemaker Barry Dawson (right). It’s simple politeness to ask first. (Eric Eggly/PointSeven image)
PATRON ETIQUETTE
An extra swipe of deodorant goes a long way. The show hall will get hot when full and the show lasts all day. Mints are a good idea as well.
Introduce yourself to the maker at each table you visit.
Never, I repeat, never set anything on a maker’s or dealer’s table.
Always ask before touching a knife. Some makers are more intense about it than others, but it’s simple politeness to ask first.
Always ask before touching a knife, as a customer (left) appears to be doing at the table of knifemaker Barry Dawson (right). It’s simple politeness to ask first. (Eric Eggly/PointSeven image)
Remove your super cool large rings before handling knives. They leave marks, and the hand polish on the knife took hours if not days to apply.
Don’t wipe the blade off on your shirt or your own cloth from home. The owner will do it—besides, he doesn’t know what’s on your shirt/cloth.
Keep track of your kids—they should have been told not to touch any knives long beforehand.
Be aware of placement when returning something to a table, and do it slowly and carefully. Don’t toss things back on a table!
Don’t “wrist flick” a side opener—the knife doesn’t need it if it’s made correctly. Besides, it not only annoys the maker, it shows you don’t know what you’re doing.
Same line of thought: don’t shave hair, cut a piece of paper, turn toward others with a live blade or be dumb enough to run your thumb along the edge to test it out. The owner doesn’t want to clean your blood off his knife.
Never block a table to hold a conversation with someone else. Politely move aside.
Never block a table—or an aisle—to hold a conversation with someone. Politely move aside. (Eric Eggly/PointSeven image)
There are more, of course, but these are some of the most important things to learn and know for attendees—and you see it every show.
EXHIBITOR ETIQUETTE
The biggest one is speak to everyone who comes by, even if it’s just
“good morning” or “good afternoon.” Itmatters!
Don’t bring a book to the show and sit and read. That is a sale killer and rude as hell. You will see lots of makers/dealers doing it, then complain endlessly about how the show isn’t good, or the buyers just aren’t buying. As a maker/dealer, you are selling yourself as much as your knives. If your personality is bad, people will move on quickly. Engage, smile, be polite, draw them in, show your work like it’s the greatest thing ever done, explain it, sell it—and make money! Everything else aside, that’s why you really came. You pay for lodging, gas, airline tickets, food, table/booth space, etc.—make the most of it and sell you as much as your work.
At the Chad Nichols Damascus booth, I never sit* and never walk off. I engage every person who gets within five feet of me. The guy in the suit, the couple I know is just looking, the ones who can barely speak English, the guy in overalls with no top teeth—any one of them could walk up and drop a roll of cash that would choke a horse. If I screw that up, it’s not the show, the venue, the economy or the weather—it’s me.
STOP ’n SAY HI!
Enjoy the show and stop by to say hello at the Nichols Damascus Southern Circus booth. The booth looks like a KISS stage from the ’70s with six or seven makers/parts/materials guys all in one spot, including Chad Nichols/Nichols Damascus, knifemaker Steve Kelly/TiConnector Inc., Nottingham Tactical, American Metal Exchange, Matt Diskin, FiberTech-Carbon Fiber and more depending on the day—oh, and me.
See y’all there!
*If you must sit, bring padded stools if possible—it’s a lot less stress on your legs and back to rise from a stool rather than from a camping chair.
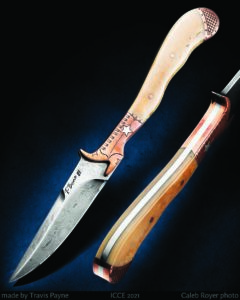
Travis Payne’s knife has all the right curves in all the right places.
It’s hard to find anything more beautiful than a shapely woman’s leg, and Travis Payne revisits the concept in knife terms with his Gal Leg fixed blade.
Study the leg handle and you can see how it would be eminently ergonomic. “That was the whole point of the knife—to get a handle shape that both looked like a leg and was pleasing to grip,” the maker from Telephone, Texas, noted.
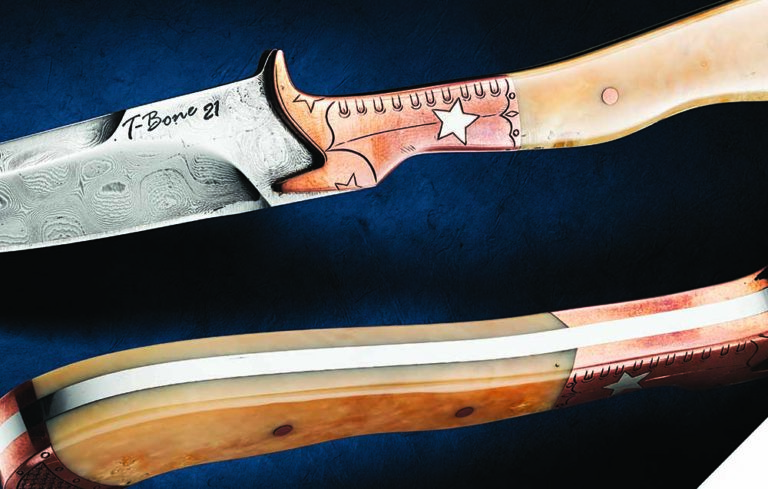
Travis Payne (inset) said his Gal Leg fixed blade finished second in its category in the knife judging competition at the 2021 ICCE in Fort Worth, Texas. The swedged blade bears Payne’s mark of “T-Bone 21.” Note how the boot toe curls up to form a top single guard/thumb placement area for an enhanced grip.
Leg handles long were favored among manufacturers of antique pocketknives back in the day, but there’s something about Payne’s version with the boot for a bolster, swaybacked handle with the indentation about where the back of the knee would be and the—ahem—handle butt that all comes together.
You might say the knife has a leg up on the competition.
Gal Leg Specs Maker: Travis Payne Knife type: Fixed blade Blade length: 3” Blade material: Pattern-welded steel forged by Alabama Damascus Handle material: Mammoth ivory Bolsters: Copper engraved by Matt Litz Overall length: 7” Maker’s approximate list price for a similar knife: $1,200
With the end of the travel ban, exhibitors from nearly every continent are slated to converge on BLADE Show 2022.
On the heels of the cancellation of BLADE Show 2020, last year’s 40th Annual BLADE Show was the smash success everyone in the knife business longed for, got and celebrated with the most pointed of passions. However, one thing was missing: due to pandemic travel bans, many international knifemakers were unable to attend.
That is no longer the case with this year’s show set for June 3-5 at the Cobb Galleria Centre in Atlanta.
Top makers from every continent but Antarctica were scheduled to exhibit at press time, all bringing their latest and greatest knives. Due to the show’s cancellation in 2020 and last year’s travel bans, for many it will be their first BLADE Show since 2019.
Sponsored by Smoky Mountain Knife Works, the BLADE Show is year-in and year-out the world’s biggest and most important knife event, where more knives—new, old, custom, factory, etc.—are exhibited, bought and sold than any other knife show. Over 900 exhibitor booths and tables featuring factory and custom knife, sharpener and other knife accessory makers, knifemaking, steel and handle material supply companies, knife collections, knife purveyors and other cutlery entities too numerous to mention will showcase their wares as the world knife community descends on the Galleria Centre. All will renew friendships, make new ones, and visit with the living legends of the knife industry, today’s knifemaking stars and those of tomorrow.
The latest, hottest custom knives, factory knife debuts (page 24), the educational knife instruction class schedule of BLADE University (see sidebar) and action-packed free demos (see sidebar) await the hordes of show patrons that will descend on the Galleria Centre. The BLADE Magazine 2022 Knife-Of-The-Year® Awards (see sidebar), the custom knife judging competition (see sidebar) and the knife collection display competition are others. The ABS Knife Auction (page 34), the formal inductions of the latest members of the BLADE Magazine Cutlery Hall Of Fame® (see story beginning on page 50), and some of the best knives the ABS and the Knifemakers’ Guild and unaffiliated makers in general have to offer are still others.
And don’t forget The Pit, the after-hours meeting place in and around the sunken bar of the host hotel, the Renaissance Atlanta Waverly, where show patrons and exhibitors will congregate into the wee hours beginning the night before the show through the end of the weekend to compare knives, swap lies and otherwise celebrate the year’s most momentous cutlery weekend.
For the above and other show features, check the following pages and the BLADE Show Section on pages 50-65 for the sharpest three days anytime, anywhere.