


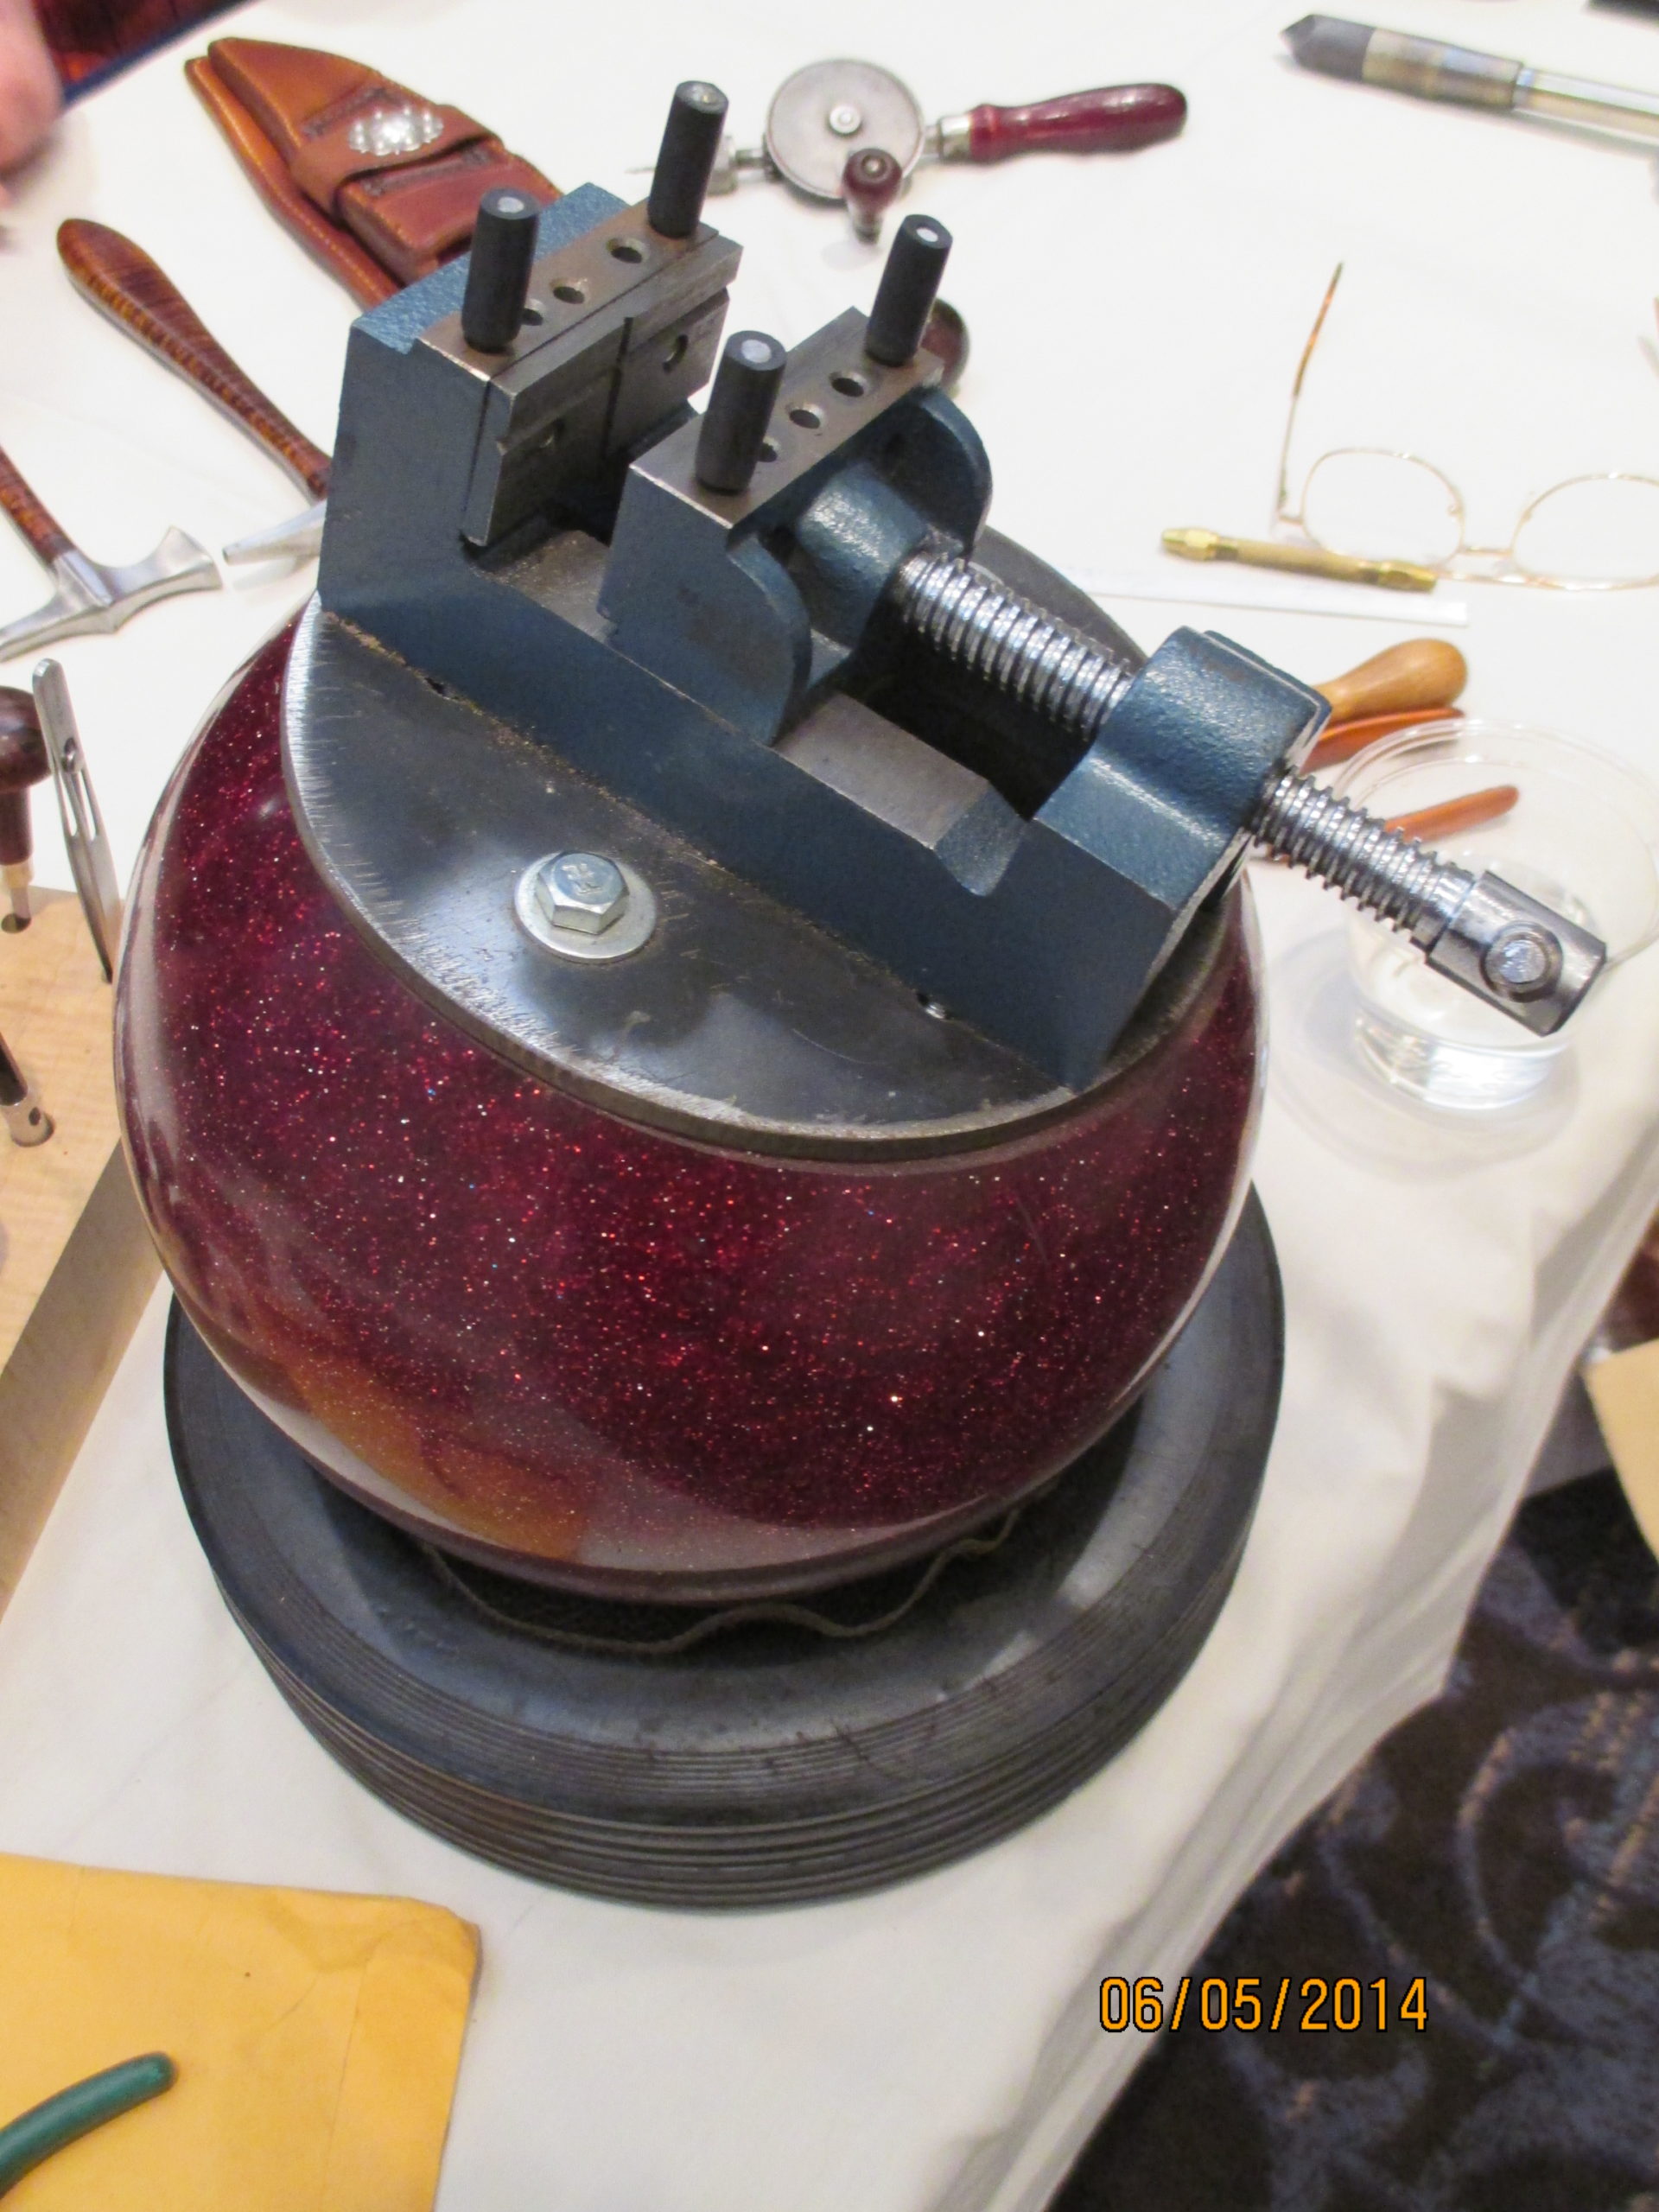
The bowling ball vise makes knife handle work easy and inexpensive
As the old adage goes, “necessity is the mother of invention,” but whoever thought of making an engraving vise out of a bowling ball deserves a medal!
The engraver’s vise, which has a rotating base so the craftsman can position his work at any angle, has been around for many years. Small versions are affordable but one big enough to accept a large knife handle can cost in the $600-to-$700 range.
Enter the bowling ball vise.
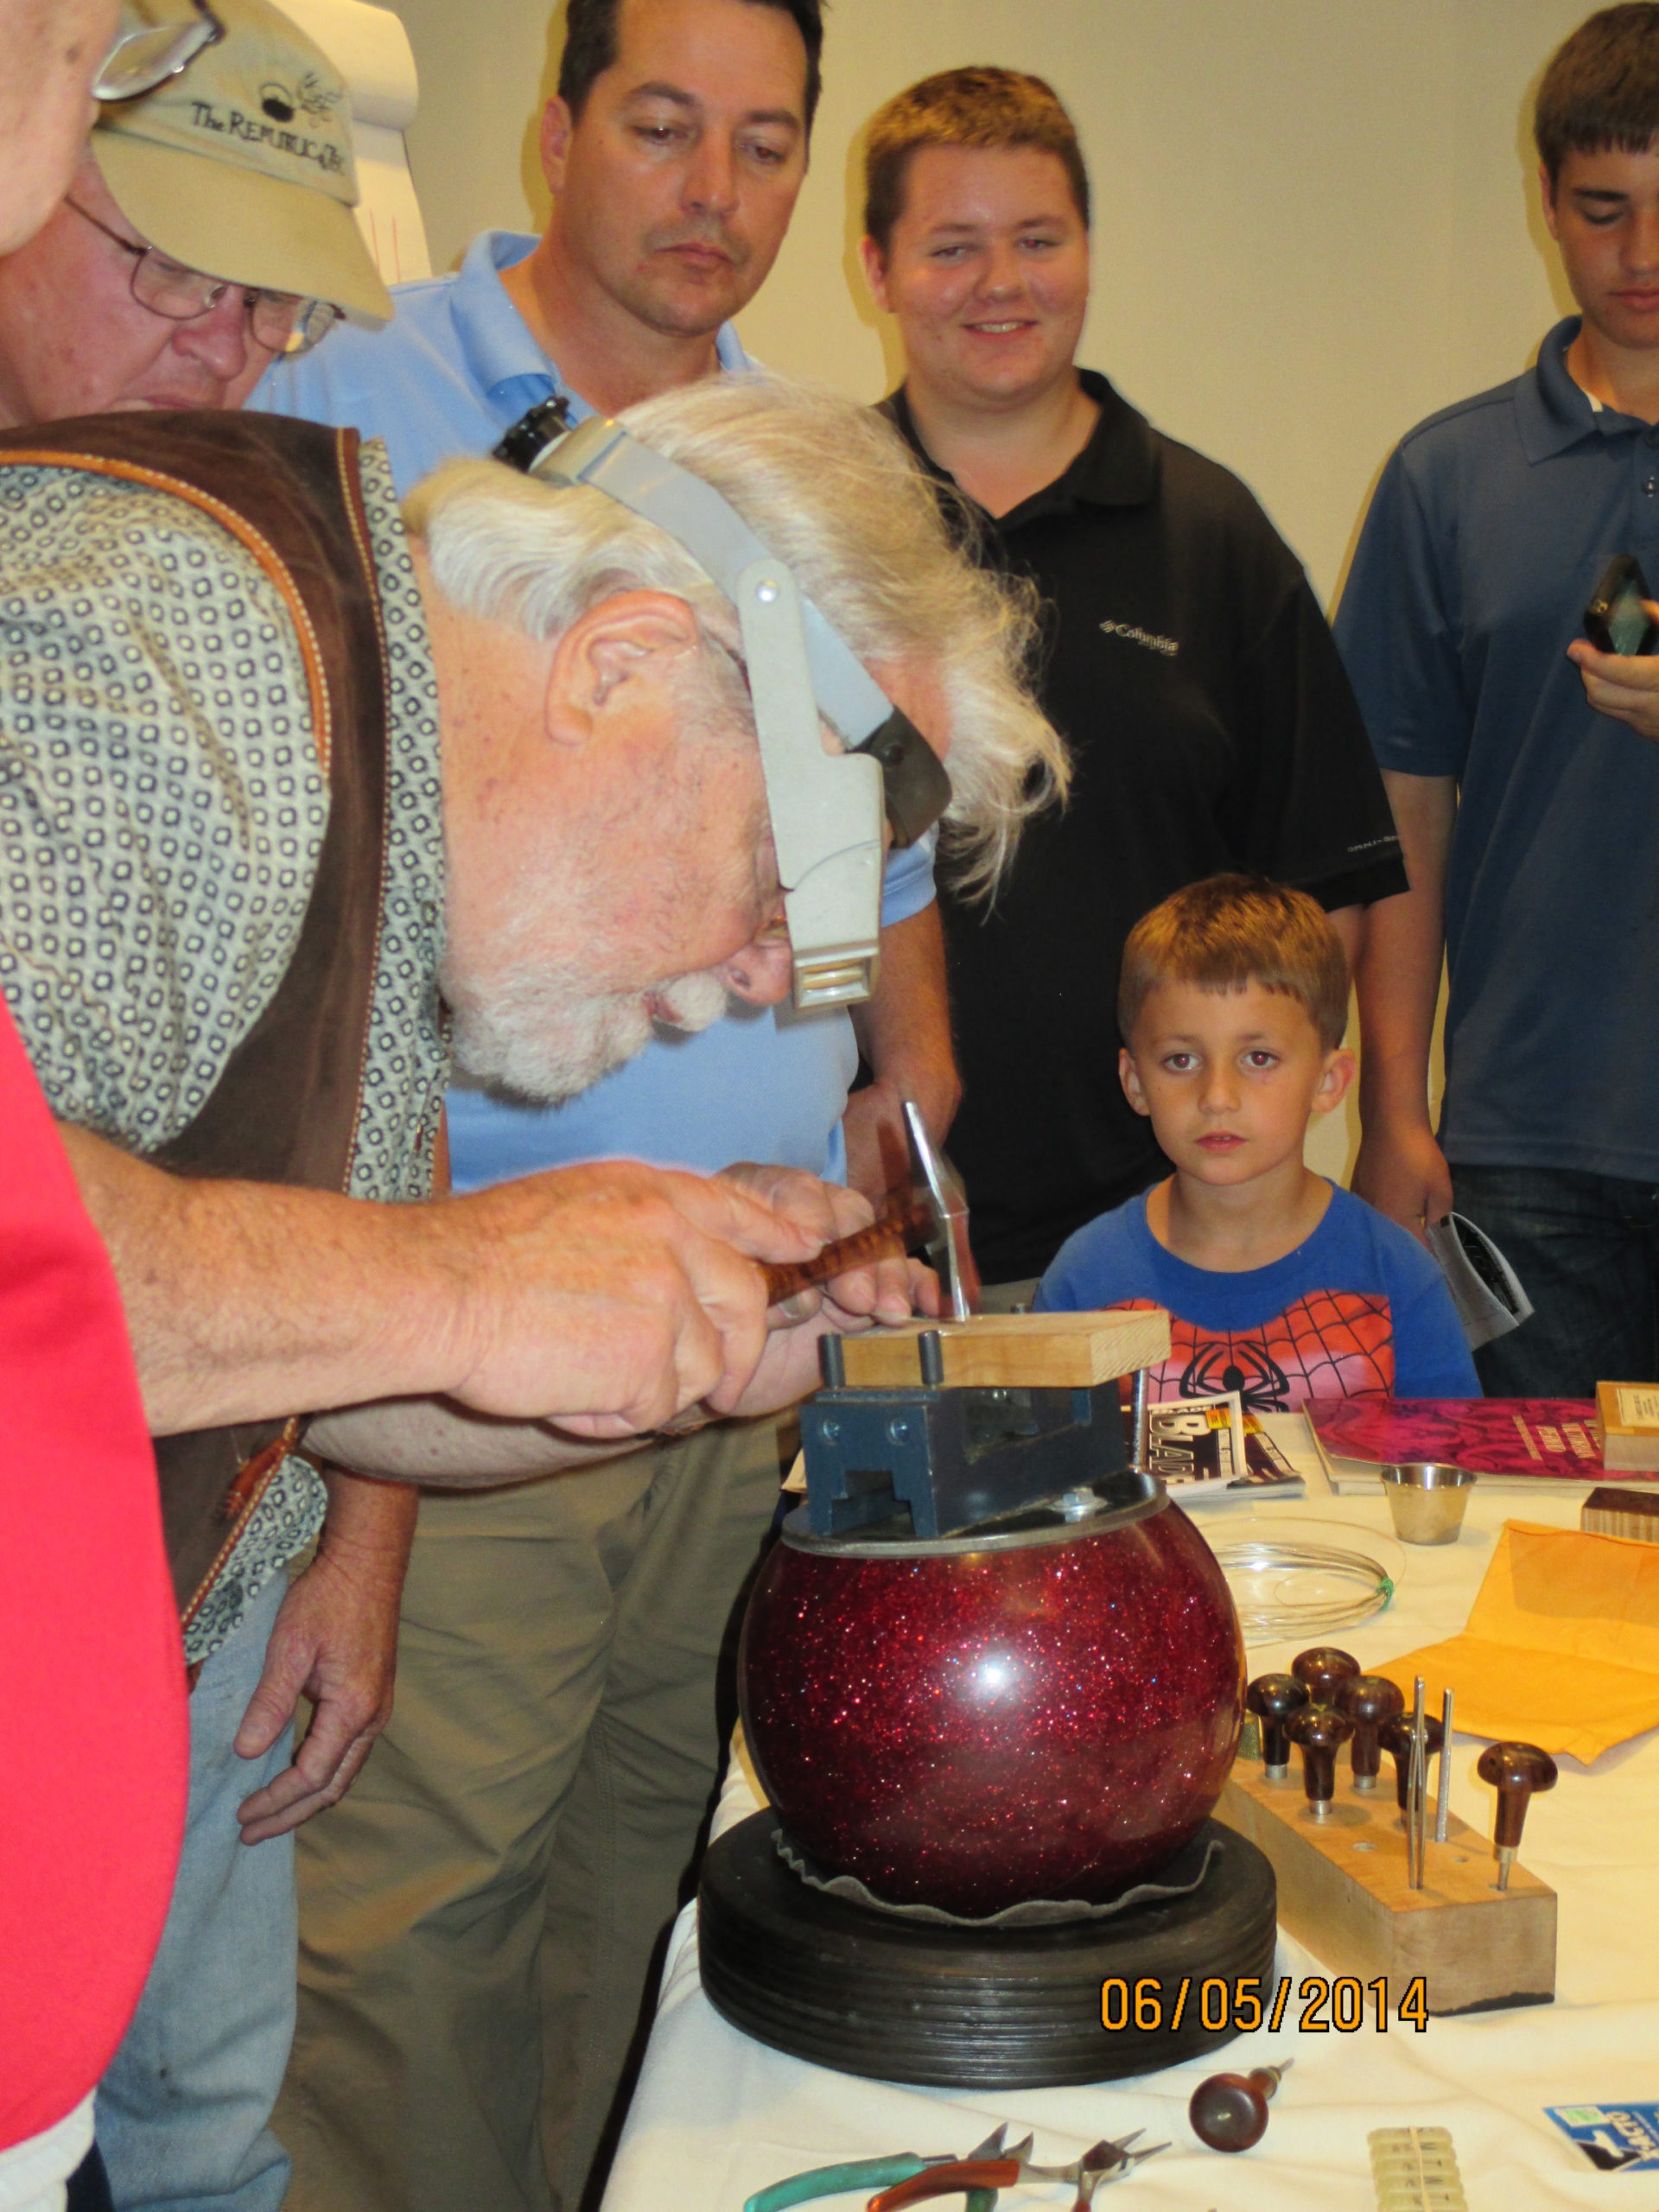
American Bladesmith Society Master Smith Don Hethcoat has made several bowling ball vises, including one for fellow ABS master smith Joe Keeslar. Both makers find the vise particularly useful for inlaying gold and silver wire into knife handles. “I learned about the vise in 1988,” Hethcoat recalls. “I wish I could take credit for creating it, but I first saw it being used by Firearm Engravers Guild member John Barraclough.”
“The first and only bowling ball vise that I ever had was a gift from Don Hethcoat many years ago,” Keeslar says. “In my Kentucky shop I use an engraving ball for my silver wire inlay work, but for my shop and demonstrations in France I use a bowling ball vise. I could not afford to buy a second engraver’s ball for my shop abroad.”
Used bowling balls are cheap, and beyond that the biggest expense to making a bowling ball vise is adding a machinist’s vise on top of the modified sphere. The cost for these items is a fraction of what an engraver’s vise costs, and the rest of the materials to complete the vise are very affordable. Indeed, they can be found around your shop, home or at your local scrap yard.
IMPROVISING WELCOME!
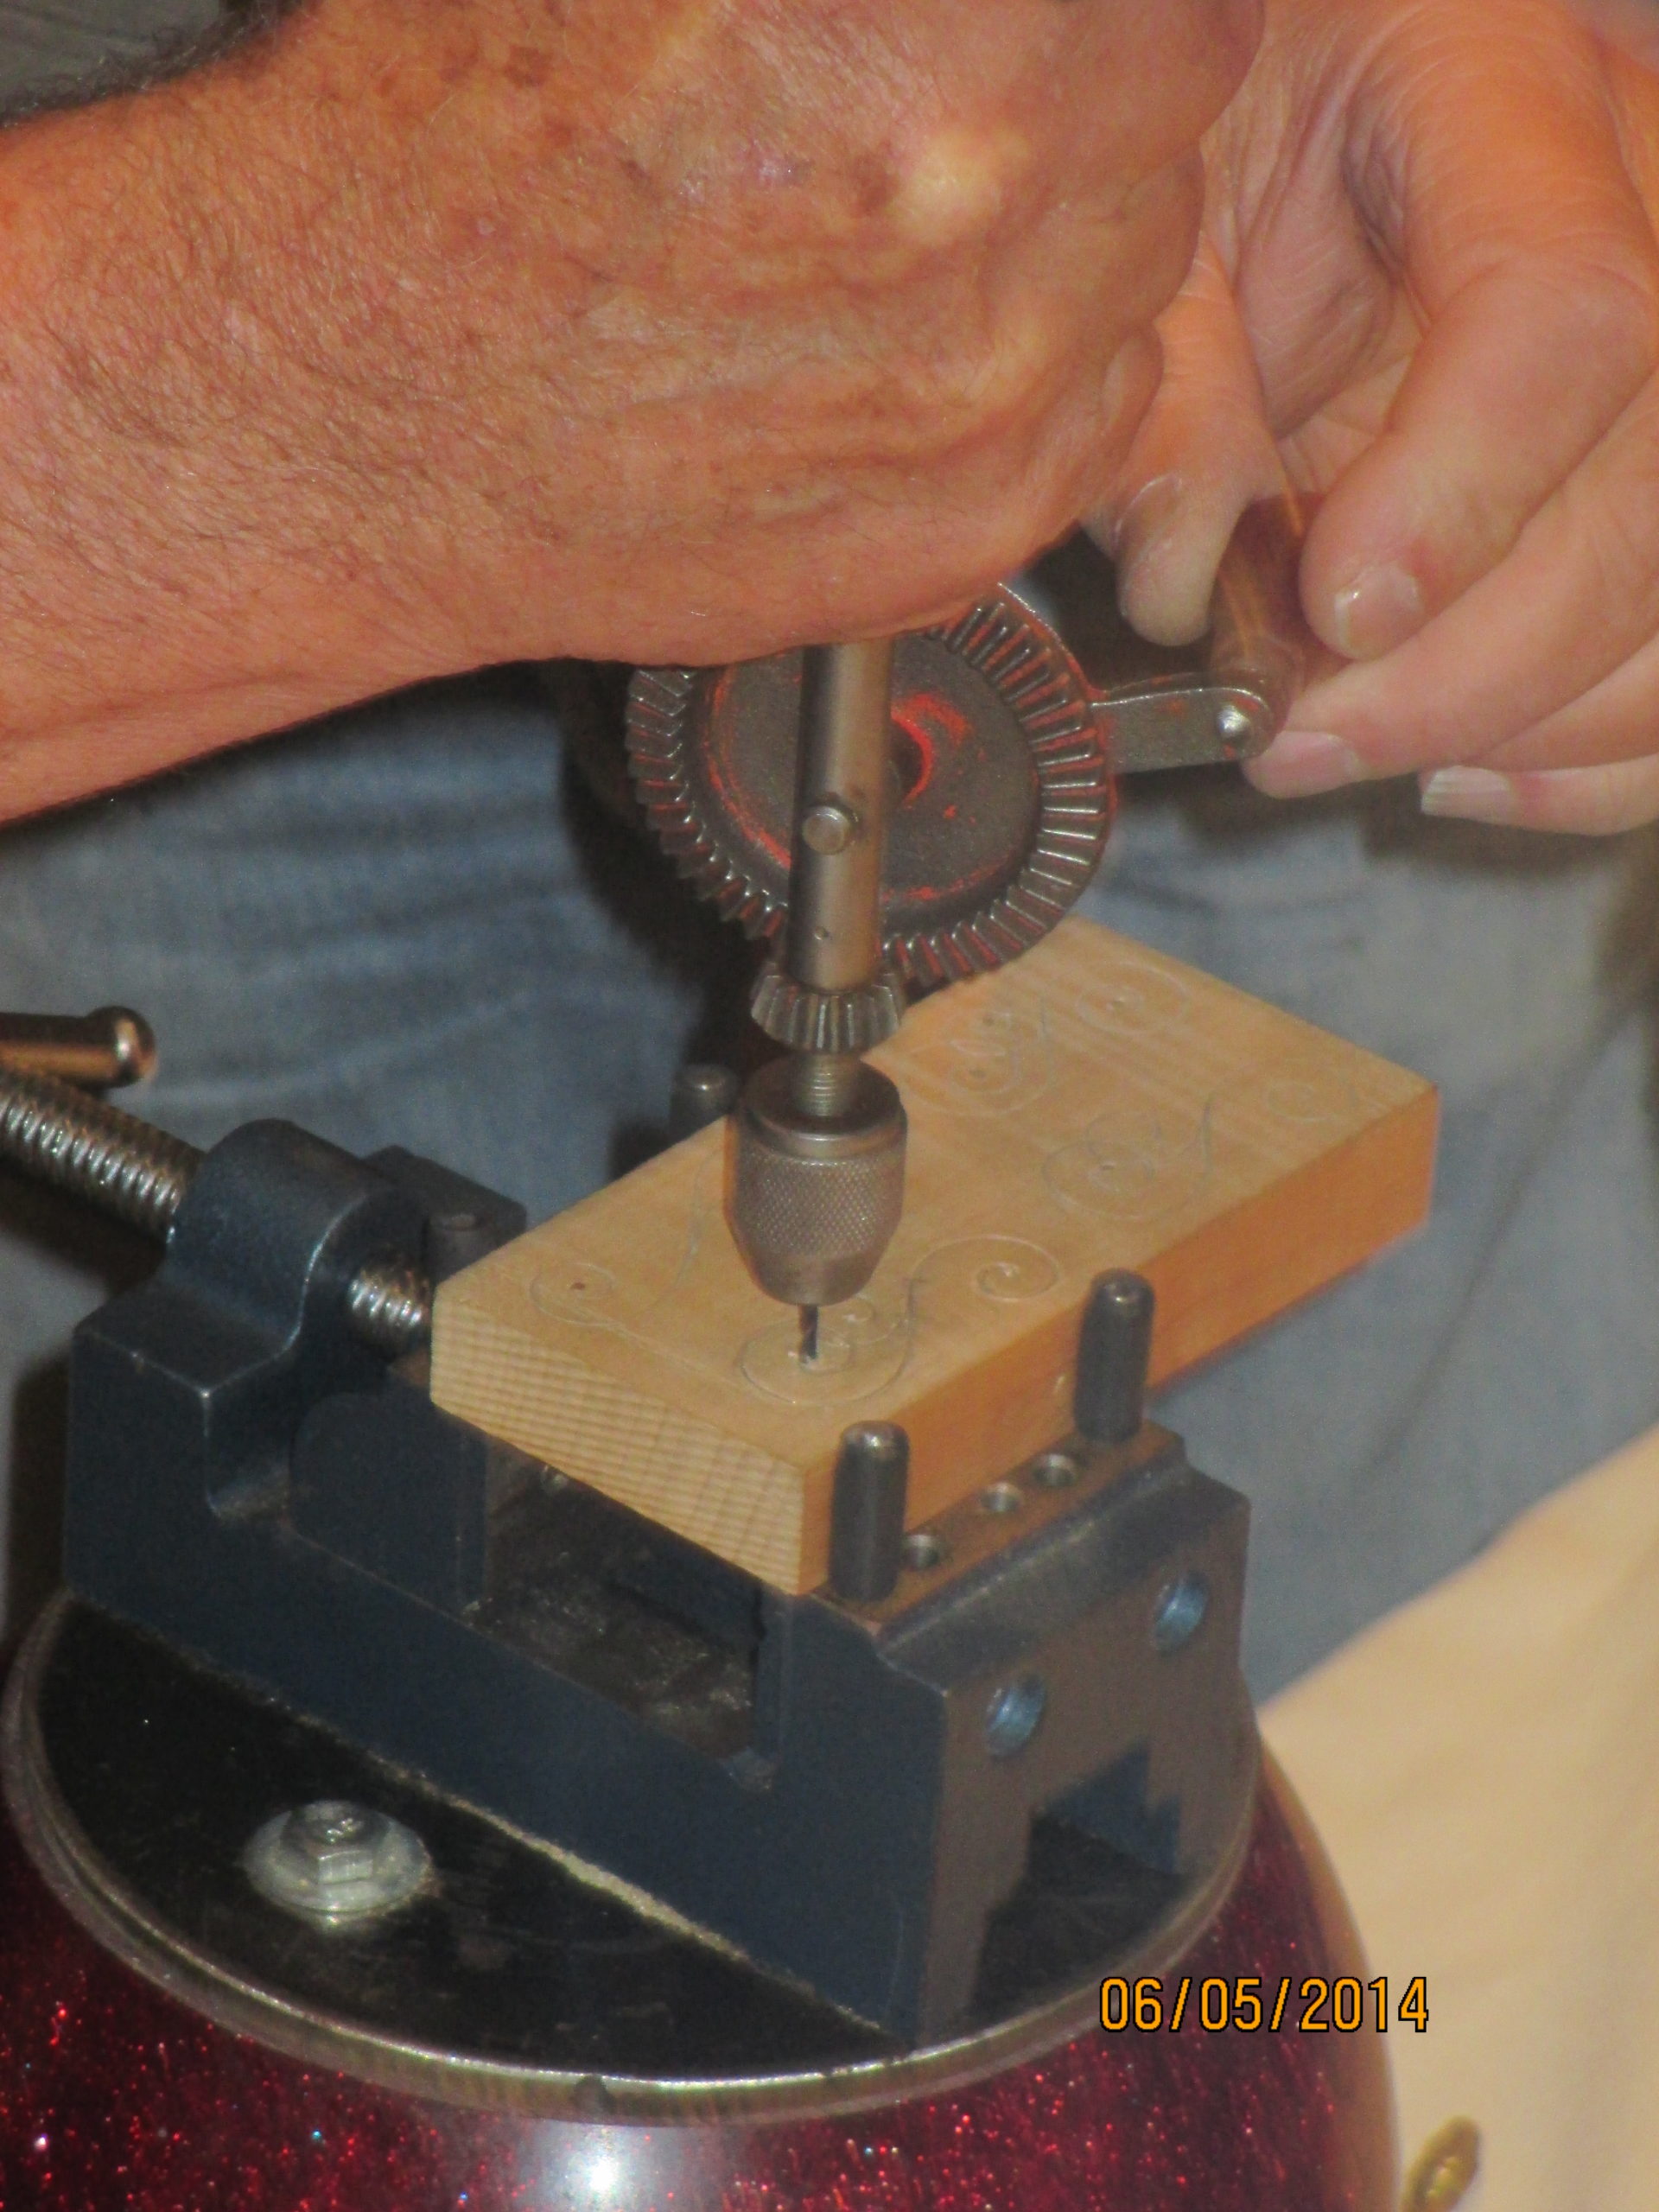
While the basics of making Hethcoat’s bowling ball vise are outlined in the below photo, there’s no reason you can’t add your own personal touches or substitutions. For instance, Don uses a piece of round pipe for the base of his vise, but Joe has a different way of skinning the cat. “My bowling ball sits in a lawn mower tire with the rim removed,” Keeslar notes. “It’s best to have a tire with rim diameter of about 6 inches. If no used tire is available, a new one can be found at a Harbor Freight store.”
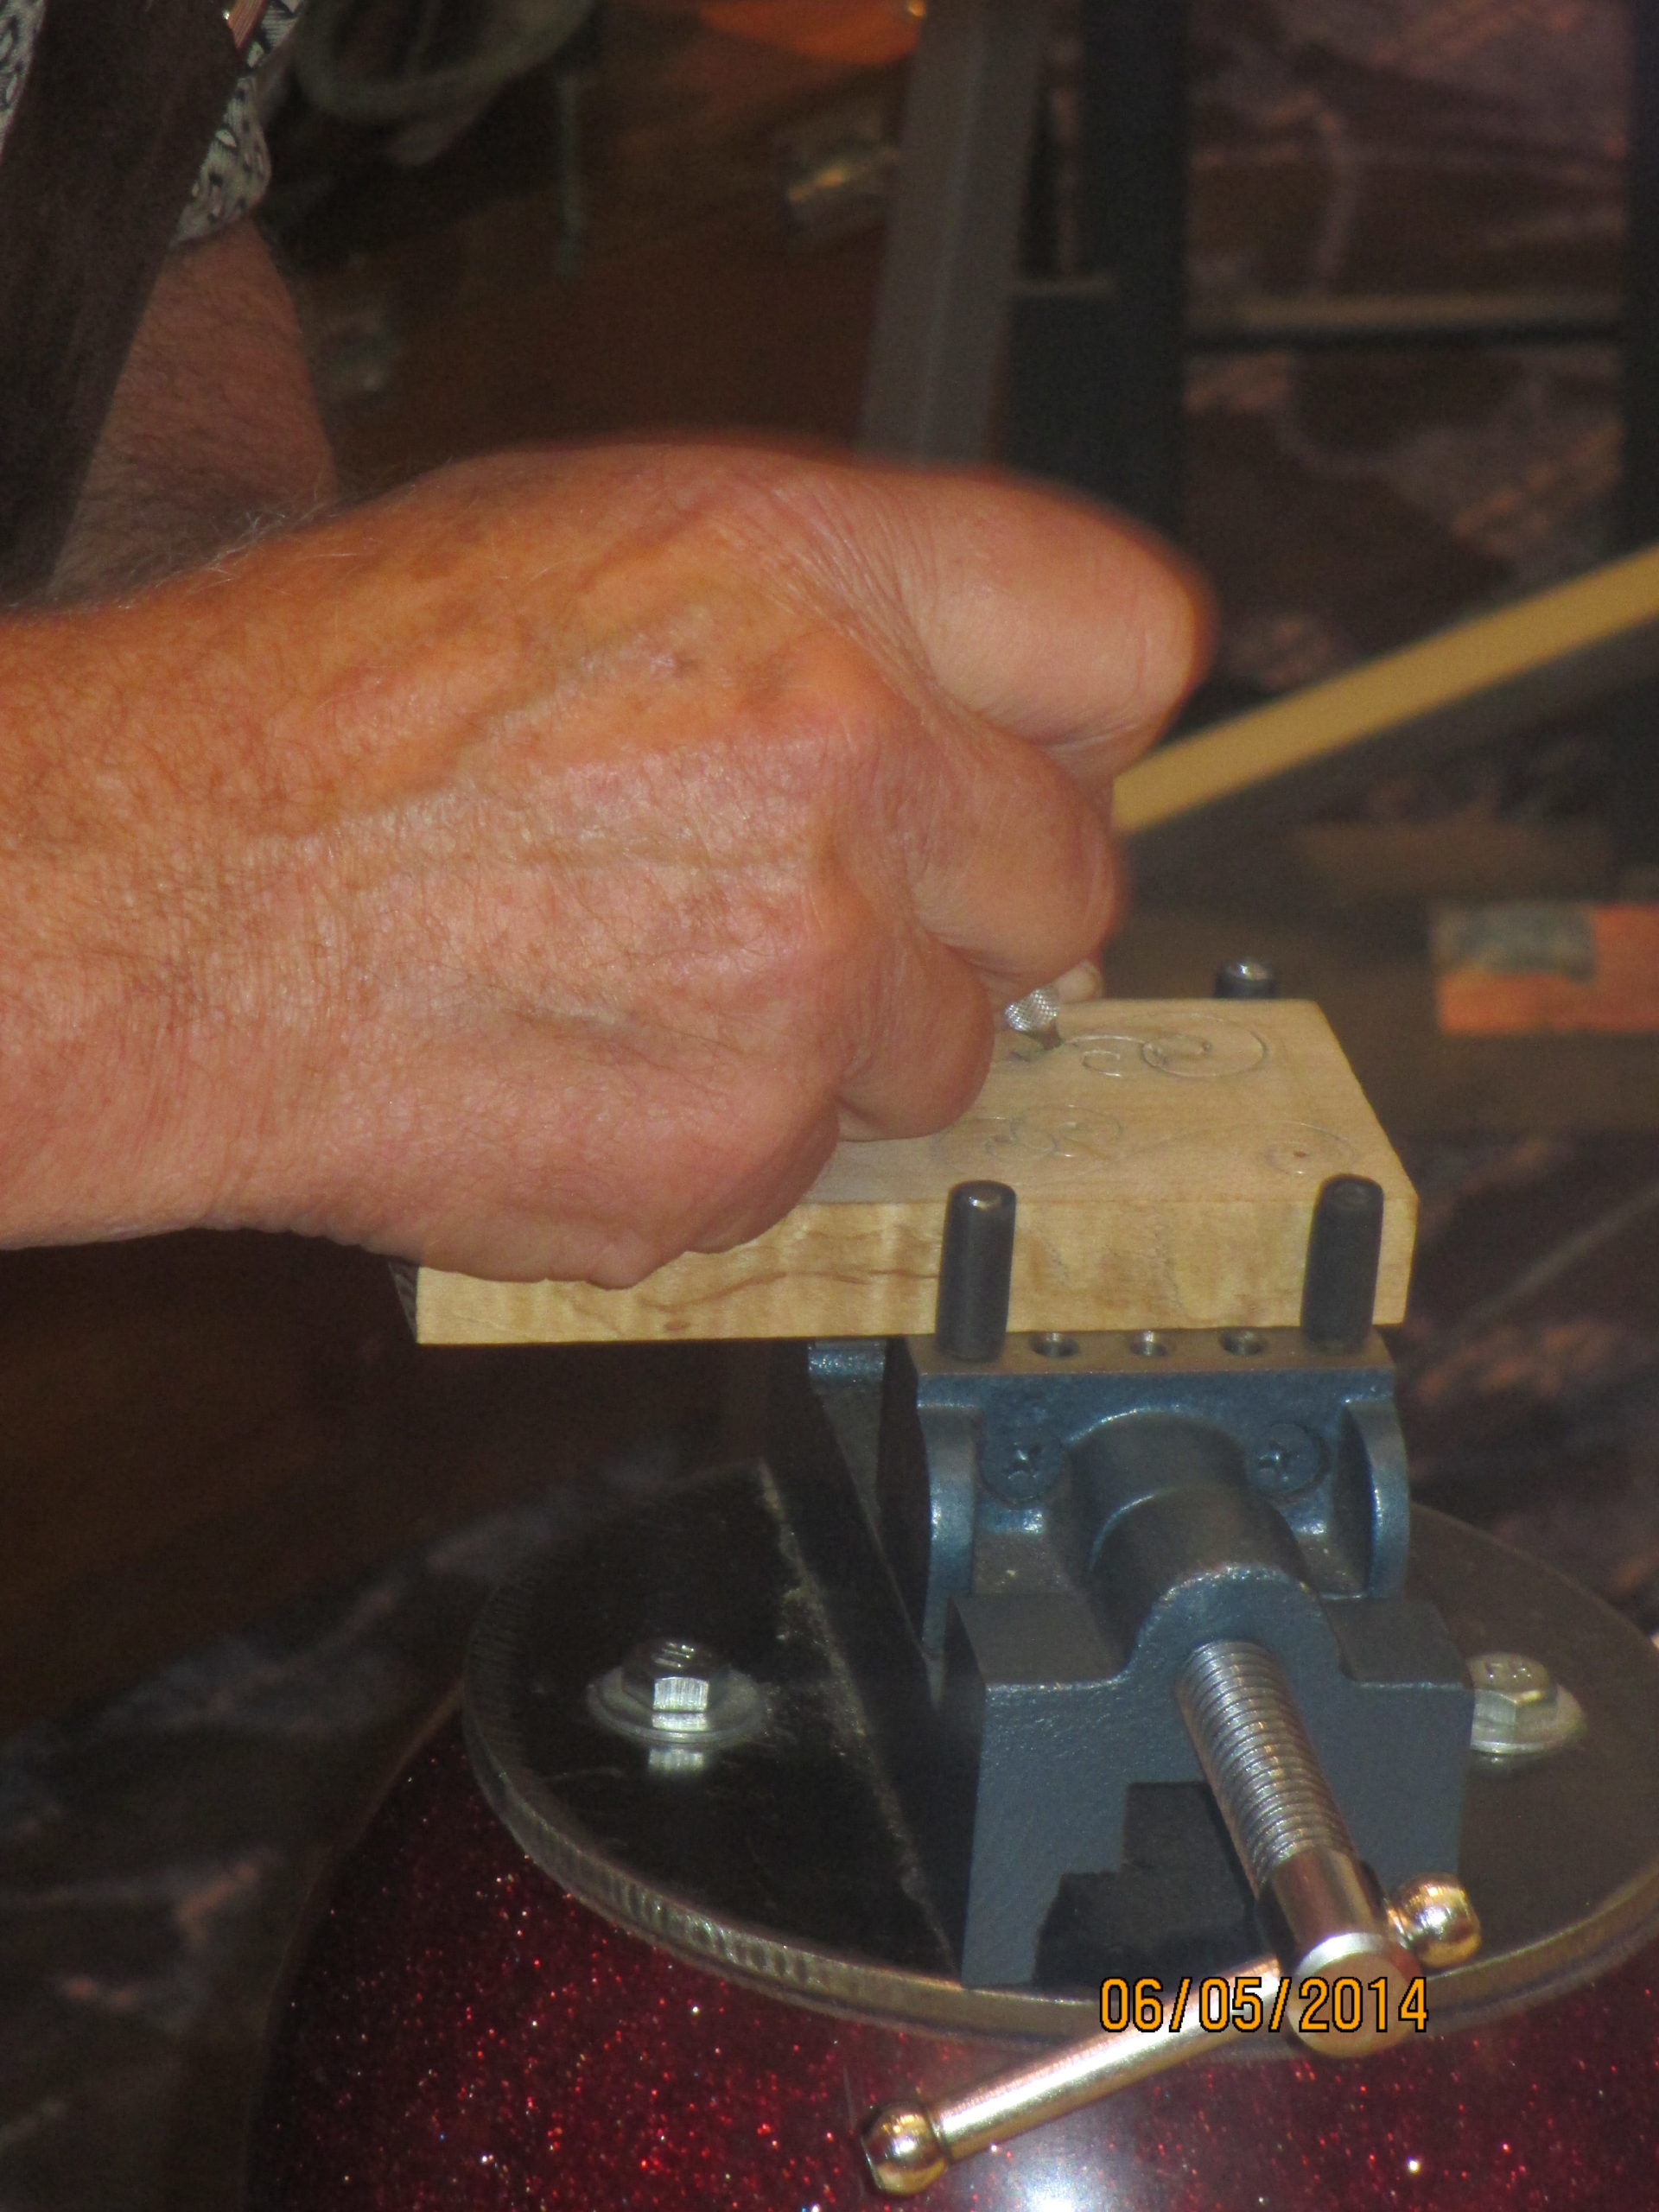
There are other differences between the two makers’ vises. Hethcoat uses a bench-mount machinist’s vise mounted to the top of his modified bowling ball, while Keeslar prefers a low-profile drill-press vise commonly used for drilling and milling. Both vises work fine and your choice may be determined by factors such as your height in relation to your workbench or the configuration of the vise jaws that suit you best.
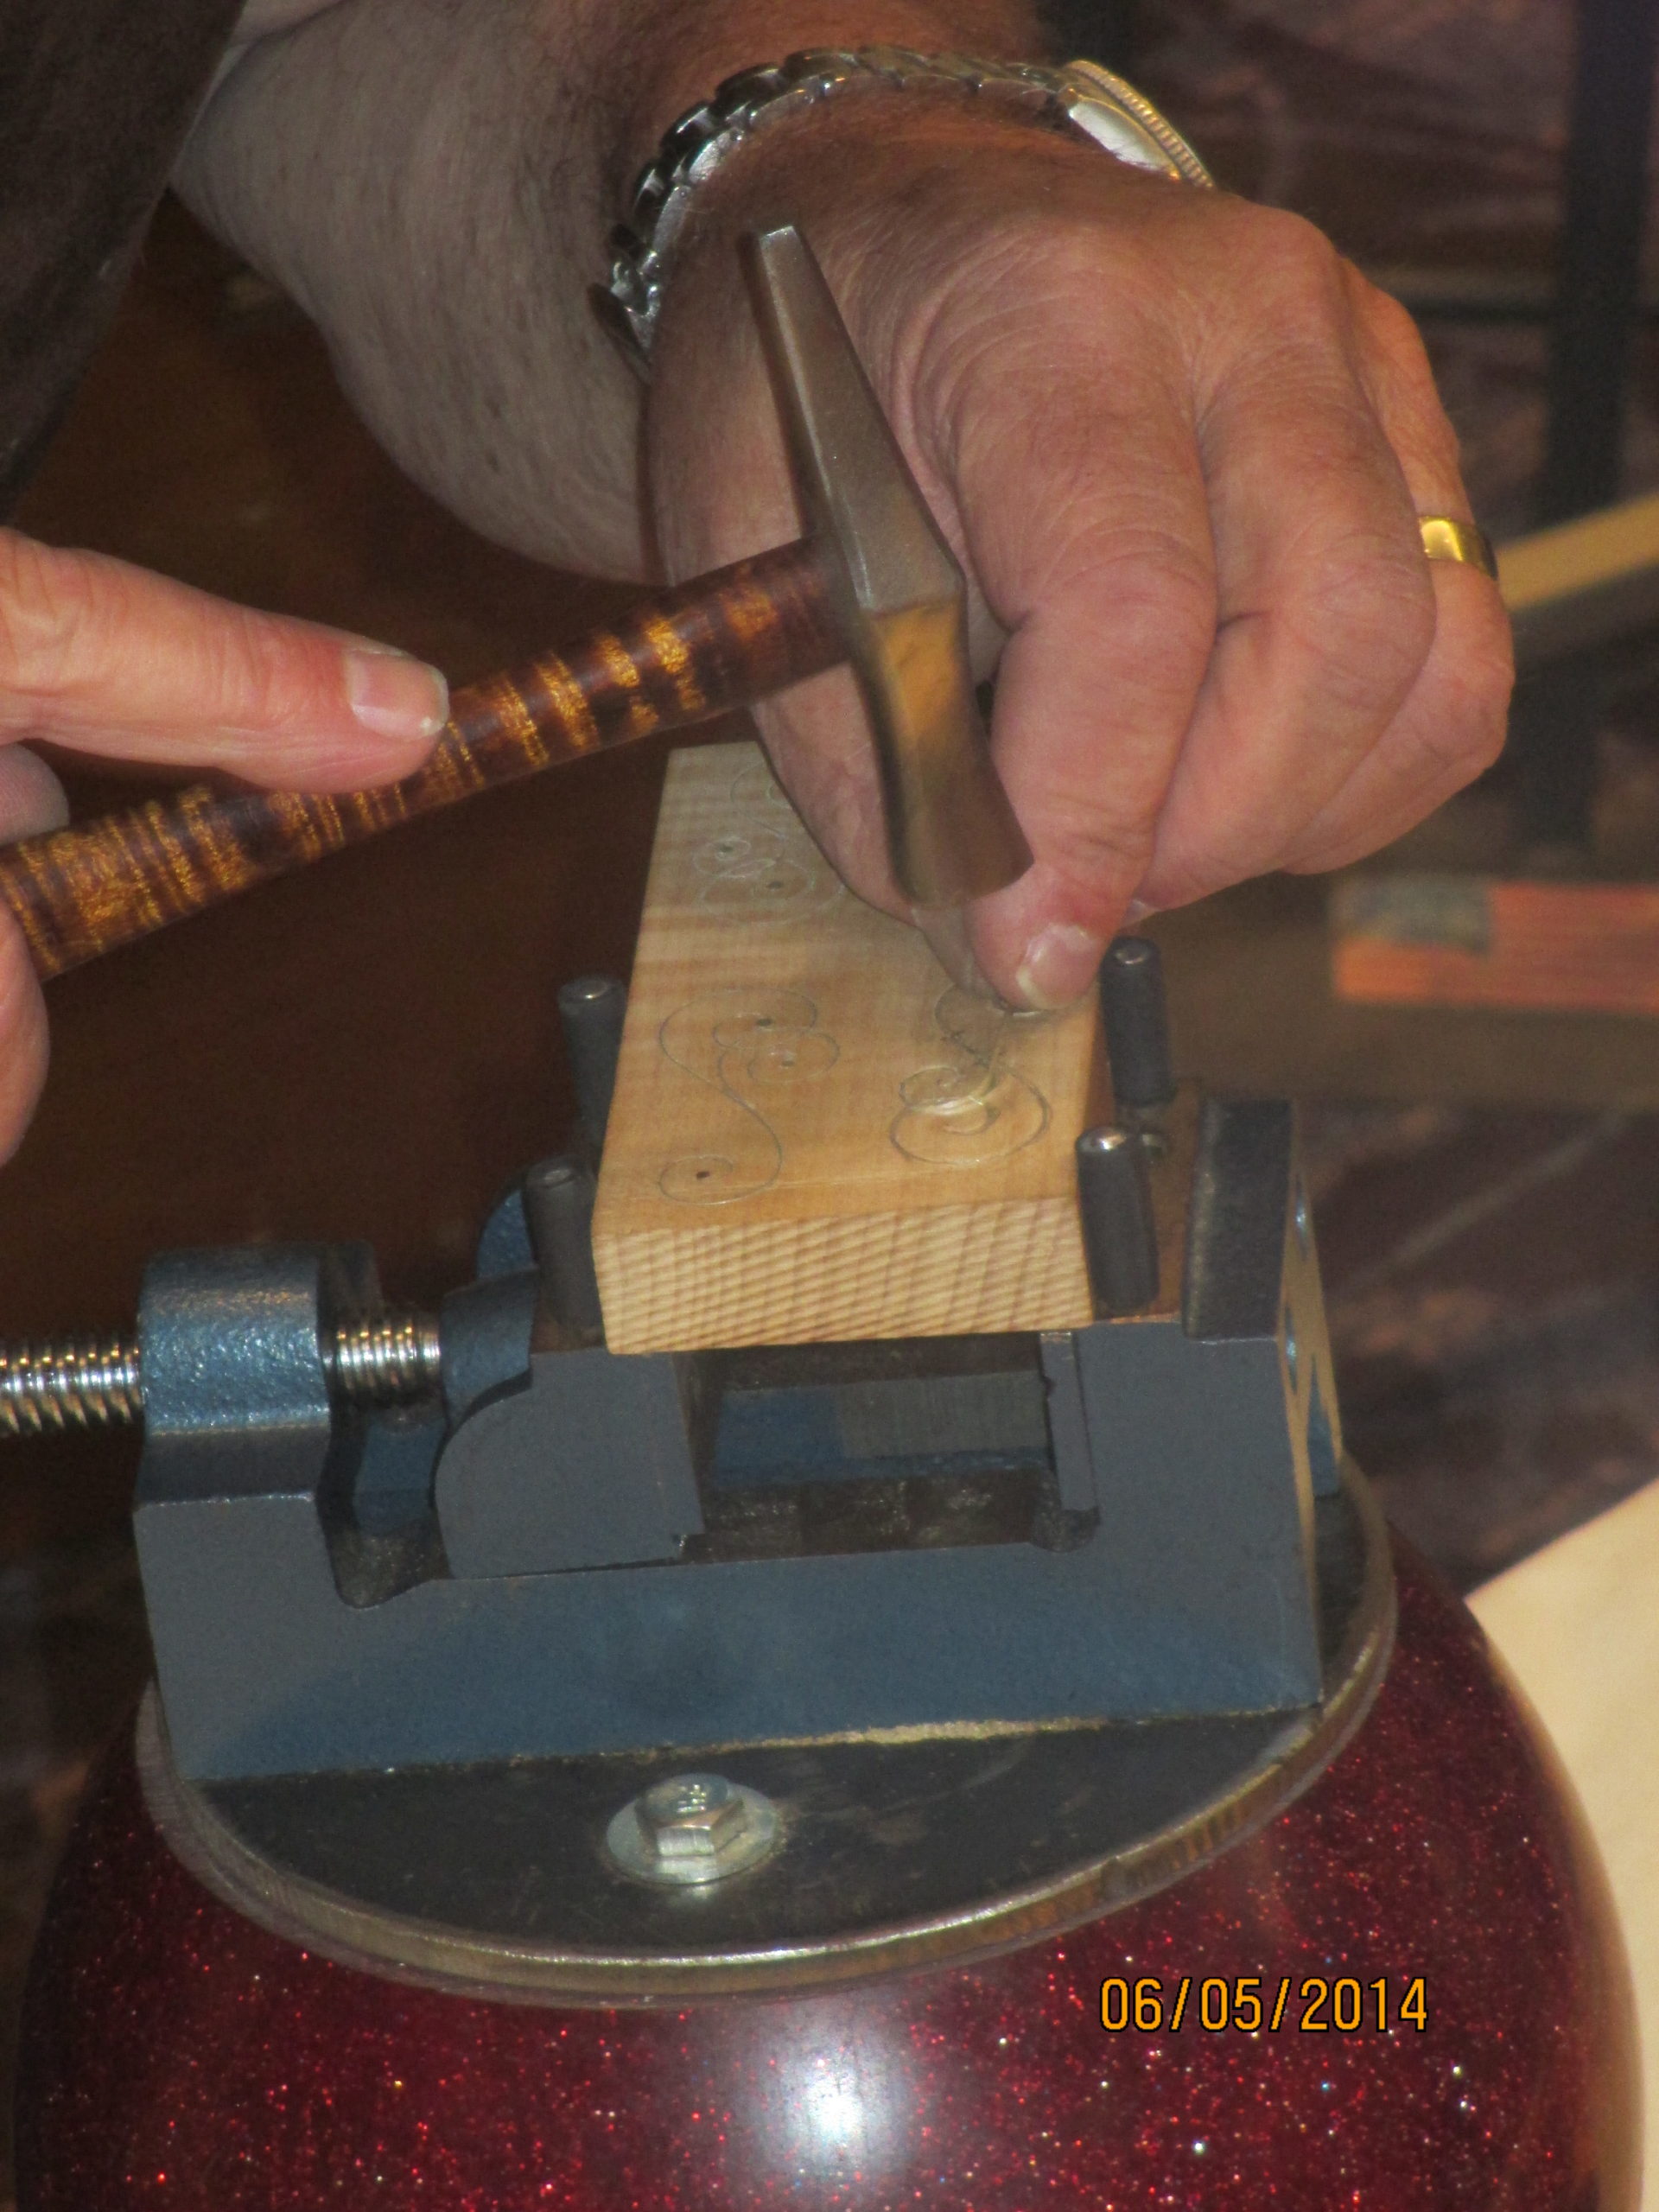
The jaws of the vise will need to be padded to keep from marring the knife handle. Here again, choose your preferred padding material. Thick leather will work as well as high-density foam—or take a look around your shop and use your imagination.
ROLL on a BUDGET
As a long-time instructor on how to make knives, Keeslar says beginning students may not have the money for expensive equipment, so he uses his bowling ball vise as an example of how they can get started without a huge investment.
“I personally use an engraver’s ball for my silver wire inlay, but the bowling ball vise is very inexpensive to make and affordable to use,” Joe observes. “When doing demos here in the U.S. [and abroad], I use the bowling ball vise to demonstrate to my students an easy way to get started in doing wire inlay. I also show them how to make the stabbing chisels and the like. So much of what is needed to produce knives is expensive and this is one activity that one can do for a small investment.”
It’s all about saving money. The extra cash you save by making a bowling ball vise can be poured into better handle materials—everything from wood to wire. This translates into a more upscale knife for your own satisfaction or, if you sell your wares, a higher price you can get from a customer. You’re a winner either way!
6 Easy Steps to Make the Bowling Ball Vise
According to ABS master smith Don Hethcoat, “Bowling balls make the perfect vise for knifemakers doing inlays and similar close work where you need both stability and flexibility. You can buy an old bowling ball at a flea market or thrift store for two or three dollars.”
In his own words, here are Don’s six steps:
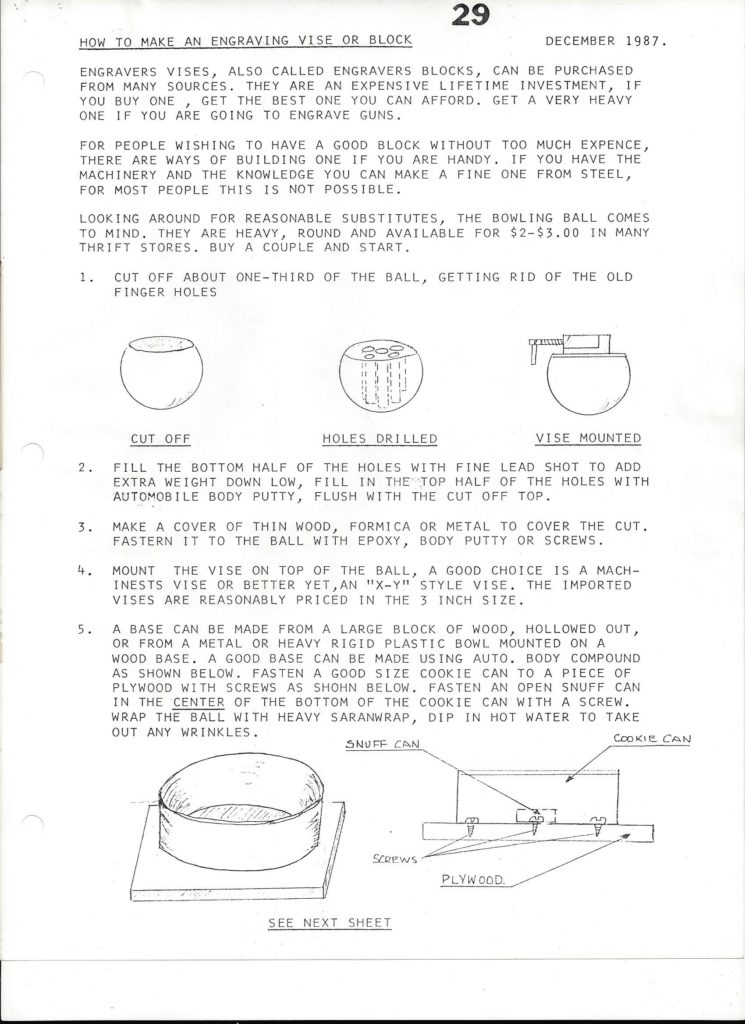
1) “Saw off about one-third of the bowling ball, getting rid of the old finger holes. I used a metal band saw but you may have other means”;
2) “Drill five holes in the flat top of the ball, one at each corner of a square with one in the middle using a half-inch drill bit, then chisel out a cavity in the center of the ball”;
3) “Fill the opened cavity almost to the top with lead shot to add weight, then seal the shot to the top of the hole with automotive Bondo® filler”;
4) “Make a round cover for the flat top of the ball using metal, wood or Formica®. Mount your vise on top of this. Mine is a machinist’s vise using its mounting system”;
5) “Make a base and you’re almost done. I used a round piece of 8-inch pipe cut to 2.5 inches in depth. Fill the pipe with Bondo, cover it with Saran™ Wrap and push the bottom part of the ball into it to make an impression. Clean up the excess Bondo [or, you can use the lawn mower tired described by Joe Keeslar in the story]”;
6) “Cut a round piece of suede to fit inside the round cavity so the ball can rotate freely. That’s basically it! Feel free to modify the vise to fit your own scenario.”
 NEXT STEP: Download Your Free KNIFE GUIDE Issue of BLADE Magazine
BLADE’s annual Knife Guide Issue features the newest knives and sharpeners, plus knife and axe reviews, knife sheaths, kit knives and a Knife Industry Directory.Get your FREE digital PDF instant download of the annual Knife Guide. No, really! We will email it to you right now when you subscribe to the BLADE email newsletter.


