Editor’s note: This article is the conclusion to Make a Bowie Knife in 10 Steps. Read that one first if you’re interested in making a complete knife from start to finish.
1) Choose the Material

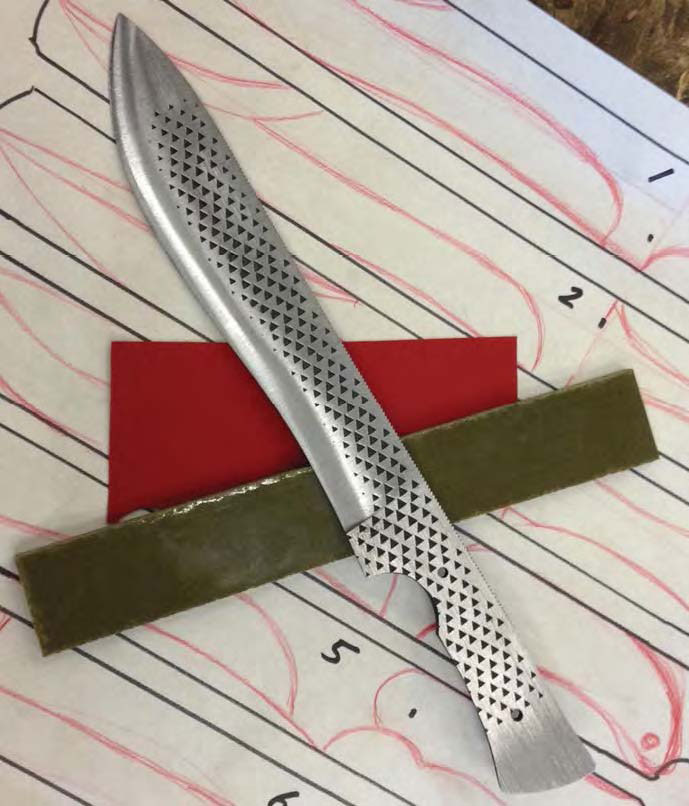
While the material used, the rasp, is classic and traditional, the handle material will be more modern. I’ve chosen olive drab G-10 with a simple red liner for a little flair. Any material you like would be fine. It’s your knife and the handle is the easiest place to express your personal taste.
2) Lay Out the Scales
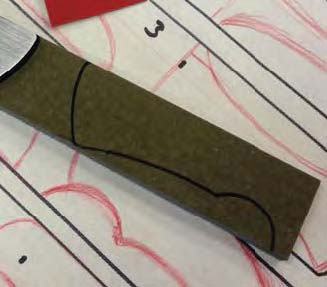
Now that we have our materials it’s time to start laying out our scales. Trace the handle profile. I use a black magic marker since the G-10 won’t absorb the ink.
If you use a natural or unstabilized material, a pencil might be a better choice to avoid staining or permanent marks.
3) Mark the Holes
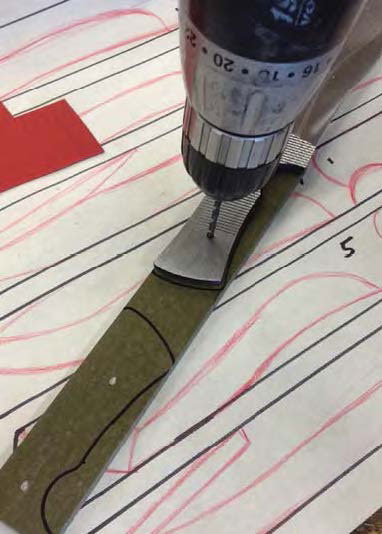
Mark the holes you need to drill on one side of the pair of scales. To help ensure your holes will line up, make a light mark with a hand drill and finish in a drill press to help ensure the holes are square and true.
4) Sand, Drill and Glue
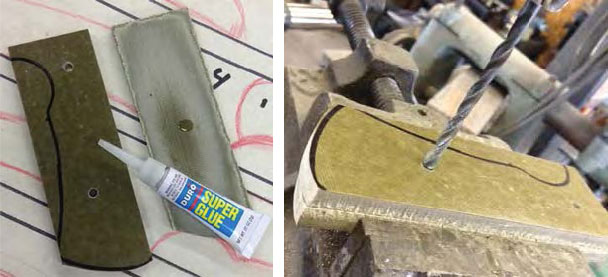
One important thing to remember when doing anything is to never assume. While the handle scales look flat they in fact are not. A simple light sanding will flatten them and rough up the surface for a better bond.
Using the drill press I drill the holes in one scale, place a drop of Super Glue® on the flattened inside surface, and glue the two scales together. This ensures the scales will stay perfectly matched up as you drill your holes and do the rough shaping.
5) Profile the Scales
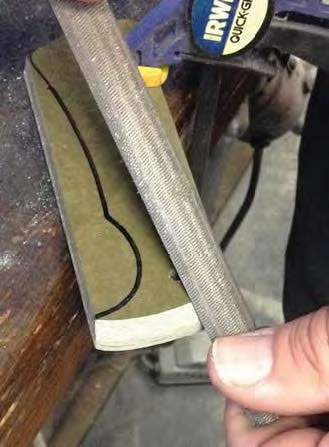
Another important step is to profile the front of the scales while they are attached by the light glue bond. First, it is very difficult to clean up the front once it is attached to the blade without scuffing and scratching the blade. Second, it ensures that the faces of the scales will match up just like the holes do.
6) Pop them Apart
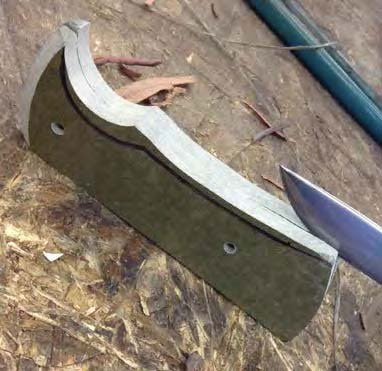
Once the holes are drilled and the rough shaping is complete, simply place the edge of your everyday carry blade on the seam between the scales. A light tap will pop them apart easily and you are ready to add any spacer material if so desired.
7) Trace, Cut and Glue
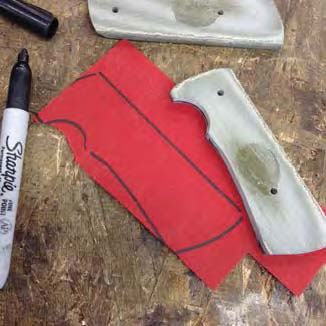
Trace the handle shape onto the spacer material, cut to rough shape and then glue to the inside of the scales. Super Glue or epoxy is fine for this. Different materials will need different bonding agents. I use Super Glue here because the materials are very non-absorbent. If you choose antler or unstabilized wood, an epoxy is probably a better choice.
Once the material dries, clean up the edges and drill through to match the existing pin holes. A hand drill is fine for this as the holes in the scales will guide the bit.
8) Assembly
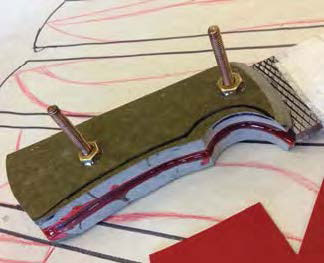
Now you’re ready for assembly. I’m going semi traditional and keeping the build simple. For pins I use two simple brass bolts. The advantage is I can use the pins themselves to clamp the scales in place by simple adding a nut and snugging it down after applying epoxy.
Also, the threads on the bolt help add an extra mechanical bond to the handle assembly.
Once you’ve checked the fit of the parts, give them a good spray with brake cleaner to be sure they are free of dirt and oil and to ensure a clean bonding surface.
9) Get the Pins Flush
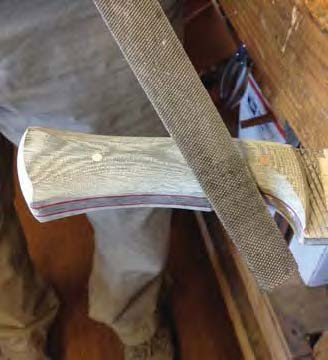
After the epoxy dries, take your angle grinder or whatever you have been using—a file or hacksaw will do as well—and clean off the head of the bolt and the extra length of bolt body on the nut side, and your pins will be flush. When doing this be sure to work slowly! Brass heats up very quickly and that can compromise the bond of the adhesive if you’re using power tools.
10) Clean and Shape
You’re almost to the finish line. All that’s left is to clean up your handle and shape it to fit your hand. When you do this, again, take your time.
Once you remove any material, you can’t put it back. Go slowly and check the fit often till it fits like a glove, an extension of your hand.
Do some cutting and chopping with the knife—this will let you know what, where and how much material you need to remove.
Work through your sandpaper grits to whatever final finish you desire and voila! Your personal vision of knife perfection is in your hand.
I hope you enjoyed this journey of steel as much as I have. Now get out there and put that knife to work!
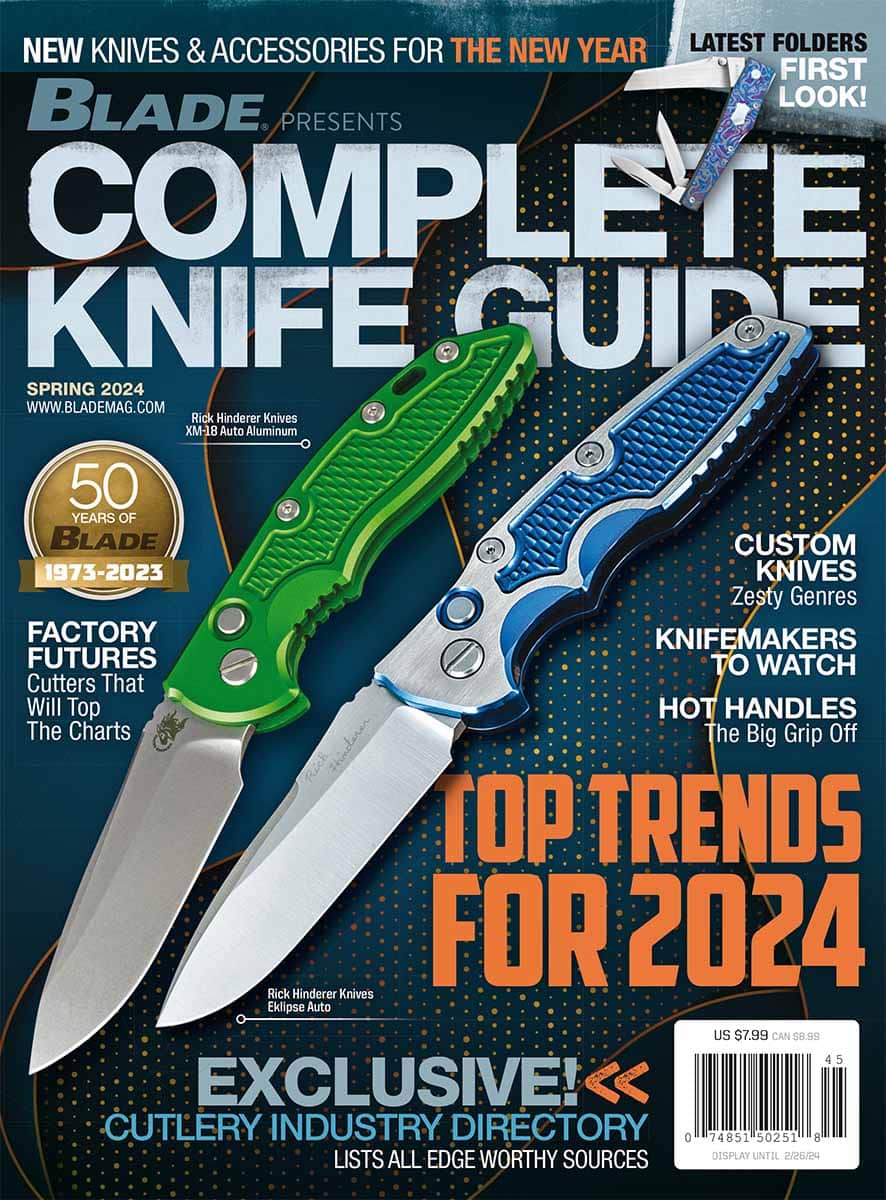 NEXT STEP: Download Your Free KNIFE GUIDE Issue of BLADE Magazine
BLADE’s annual Knife Guide Issue features the newest knives and sharpeners, plus knife and axe reviews, knife sheaths, kit knives and a Knife Industry Directory.Get your FREE digital PDF instant download of the annual Knife Guide. No, really! We will email it to you right now when you subscribe to the BLADE email newsletter.


