


Tips on handle materials, shaping/layout, grooves and flutes.
A good knife requires a handle that not only feels right in the hand but also complements the blade’s intent. For daggers especially, few embellishments capture both technical skill and aesthetic elegance like a spiral-fluted handle paired with inlaid twisted wire.
Fluted, wire-inlaid handles trace their lineage to medieval Europe, where 9th-to-12th-century knives were often bound with spirals of wire for both decoration and basic grip enhancement. By the Renaissance, Italian and French artisans had refined this into a sophisticated embellishment. They carved shallow, evenly spaced flutes into hardwoods, stone, ivory or other materials, then inlaid twisted wire into the channels in a demonstration of their mastery of contrasting textures and precise tool control. The grooves not only trimmed handle weight for better balance but also improved the gripping surface so that daggers felt responsive and secure in the hand.
In modern times, this technique remains a key hurdle in the path to attaining the level of master smith from the American Bladesmith Society. Flawless execution of fluting and wire inlay is essential—each flute must be crisply defined and identical in depth and spacing. Each wire strand must be uniformly twisted and fitted without gaps.

In the following paragraphs, we’ll walk through choosing handle material, laying out the spirals precisely, and cutting the wire grooves and flutes.
Handle Material
When choosing your material for a fluted, wire-wrapped dagger handle, think beyond mere function. You’re going to put in a lot of time on this project, so use something nice. G-10 and Micarta® are outstanding materials from a purely functional perspective, but they lack the organic warmth and storytelling power found in natural materials. On the other hand, black Richlite and black or ivory-colored paper Micarta can be appealing and affordable substitutes to African blackwood or natural ivories.
Most hardwoods should be stabilized but the various rosewoods, desert ironwood, African blackwood and other similarly hard and dense woods can be used as they are. For collectors seeking rarities, ancient mammoth and walrus ivories are beautiful and carve cleanly, though they can crack if too much heat is allowed during shaping and can expand, contract or crack with changes in humidity. Mammoth ivory can also be difficult to find in large enough sizes without cracks.
Consider in advance what type of wire you’ll be using and choose the handle material accordingly. Silver and gold both look great against dark and light materials but consider matching the warmth of the color of gold with warmer-colored materials, and the cooler color of silver with lighter or cooler-colored materials. Think about chatoyance and orient your flutes to highlight the patterns under various types of light. The wires will be the visually dominant part of your completed handle, so the drama and color variation of certain burls and mammoth tooth will be outshone at best and visually distracting at worst.
Costs vary dramatically. Rare hardwoods and ancient ivories carry premium prices and should be ethically sourced. In contrast, G-10 or Micarta balance performance and cost-effectiveness but lack the luxury you’ll want in a signature piece. It’s a good idea to order materials for practice, especially if you’re planning to work with expensive ones. Antler, bone and paper Micarta all work similarly enough to ivory and the harder woods to be valuable for practice. Time spent in practice will not be wasted.
Layout & Shaping
You have carefully chosen the perfect material that fits your well-thought-out, cohesive vision for what impression or statement you want your knife to make, and now it’s time to lay the groundwork for some precision carving. While not strictly essential, it can be helpful to begin by squaring your blank on all faces—accurate squaring guarantees precise drilling and layout alignment for every step. The ends must be square to the tang slot and perfectly parallel to each other to ensure tight fit-up at the end. It will be harder to do this after you’ve shaped the handle, so do it before you start.

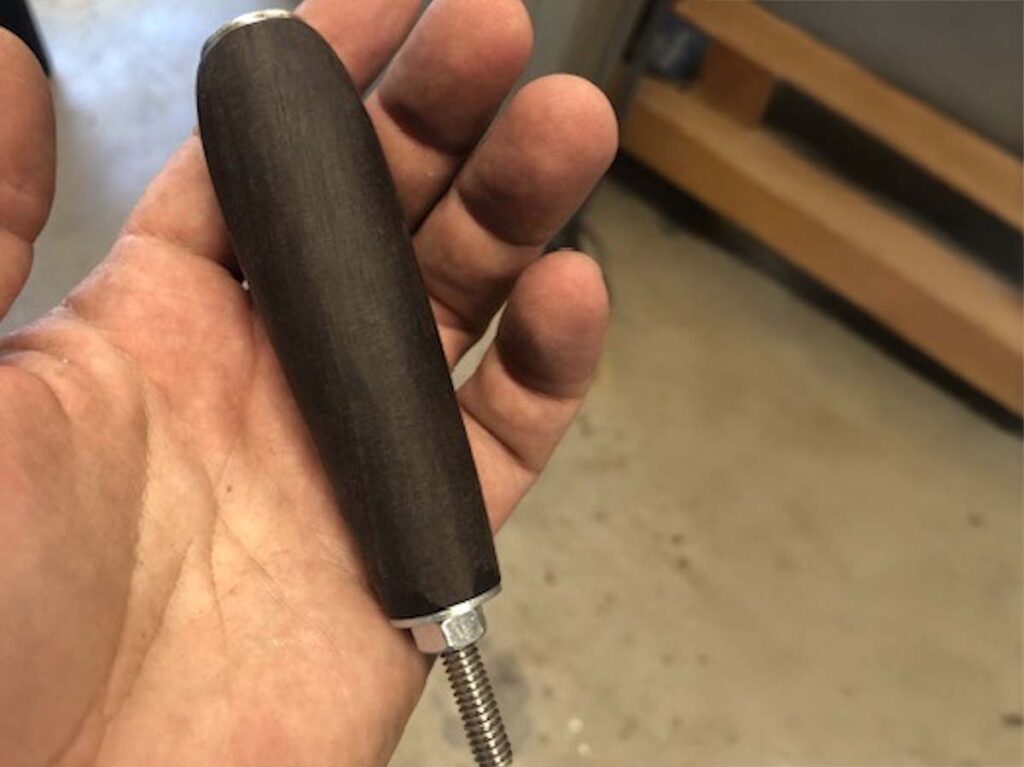
First, drill the tang hole. You can use a drill press but a lathe equipped with a four-jaw chuck to hold the squared blank makes it easier to ensure that the hole is dead-center and straight. Both layout and shaping are made easier if the drilled handle is held between nuts on a long bolt or piece of threaded rod as a fixture. With this in mind, it’s useful to drill a clean quarter-inch hole all the way through and save the broaching for the tang until later.
Shaping the handle profile requires some forethought into how it will mate up to the guard and pommel. The simplest transition is to make the ends of the handle and the fittings it meets round, but there are limitless options here. The handle itself doesn’t have to be round, and an oval cross-section makes it easier to index and orient the finished dagger in your hand. Assuming you’ve planned the design thoroughly before starting, shape your handle and sand it up to an even 200-to-300 grit. You’ll have some slips and scratches during the fluting process that you’ll have to sand out later, and your layout lines will be more durable on a rougher surface; there’s no need at this point to polish your handle to its final finish.
The next step is cutting the grooves for your wire, and the most important part of this process is accurate layout. There are a lot of ways to do this, but after trying most of them there is only one that has proven adequate. Luckily, it’s the easiest and the fastest method as well.

A jig of some sort is essential here, but it doesn’t have to be fancy. Fundamentally, all that is necessary is some means of indexing so that longitudinal lines are evenly spaced, some sort of rest or tool holder allowing the lines to be drawn perfectly straight down the length of your handle, and the ability to rotate your handle to draw evenly spaced lines around the circumference. The number of longitudinal lines is the same as your planned wire count. The number and spacing of circumferential lines around the handle determine your twist rate, and the number of resulting spaces should divide evenly into the wire count.
Once these lines are drawn, connect the corners of your resulting rectangles. Tracing each intersection gives you repeatable spiral guidelines for groove cutting and wire placement. Using a pencil is a good idea, but you can use ink if you’ve verified that it won’t permanently discolor your handle. This is the time for experimentation—you can draw new lines to test new twist rates, but once you start cutting, you’re committed.
Grooves & Flutes
When you’re satisfied with the layout you can begin cutting the wire grooves. With your handle anchored by tightened nuts on a piece of threaded rod, clamp the rod in a vise and start by precisely scoring each guideline with a fine blade in a jeweler’s saw. If you leave the handle slightly loose, you can turn it with one hand while cutting with the other. A blade size of 1/0 is good for this step. Deeper cuts will make the next step easier, so go to the full depth of the blade or slightly beyond. Alternatively, use the corner of a fine triangle file to mark and deepen the lines precisely. In either case, if you have an OptiVisor or, even better, a microscope, this is the time to use it.

Once the line is scored, shape each scored wire groove line with an Olson #4 36 TPI spiral scroll saw blade in a jeweler’s saw. It doesn’t have to be this brand, but since I like my inlaid wire to be made up of two twisted 24g wires, this specific saw blade’s .041-inch diameter is a perfect match for the .040-inch diameter of the combined wire. The resulting half-round groove ensures a very snug fit. Cut carefully until the depth of your grooves reach about half the combined diameter of your twisted wire, in this case approximately 0.020 inch. A single untwisted scrap of your wire can serve as an impromptu depth gauge.
Once all the wire grooves are clean and complete, it’s time to carve the flutes themselves. Lay out flute edges with dividers. Adjust the dividers to the width you need, place one leg in the wire groove, and scribe marks with the other leg to keep the spacing even. Bulk material can be removed with a coarse round file before refining with finer round files to uniform depth and width. It simplifies matters greatly if you plan your groove size to correspond to the diameter of a standard-sized file, though this is not strictly necessary. Ensure all flutes stop at an identical distance from each end of the handle. Each groove ending should be shaped so that every ending is identical—this is the trickiest part.

If achieving consistent flute endings is the most difficult part, sanding and finishing the grooves is the most tedious. You can start with 220- or 320-grit paper wrapped around a file or rod of the right size. Progress through all the grits until you reach the desired level of finish, ensuring that you remove all scratches from the previous grit before moving to finer paper. Eight-hundred grit leaves a nice matte finish. If you plan to buff your handle to a high gloss, keep sanding up to 1500 or 2000. You can buff out 800-grit scratches, but not without compromising the crispness of the edges of your channels. When the grooves are done, sand the flats between them as well, using a hard backing block to keep the transition between lands and grooves nice and crisp. A lathe makes this last step very fast, but it can be done by hand as well.
With these steps complete, now is the time to broach the handle to fit the tang of your knife.
Read More On Daggers:
- Dagger Design: Fundamentals Of Dagger Construction
- Dagger Design: Point For Perfecting Blade Performance
- Dagger Design: The Geometry of Penetration
- Best Daggers: Top Options That Get To The Point
 NEXT STEP: Download Your Free KNIFE GUIDE Issue of BLADE Magazine
BLADE’s annual Knife Guide Issue features the newest knives and sharpeners, plus knife and axe reviews, knife sheaths, kit knives and a Knife Industry Directory.Get your FREE digital PDF instant download of the annual Knife Guide. No, really! We will email it to you right now when you subscribe to the BLADE email newsletter.


