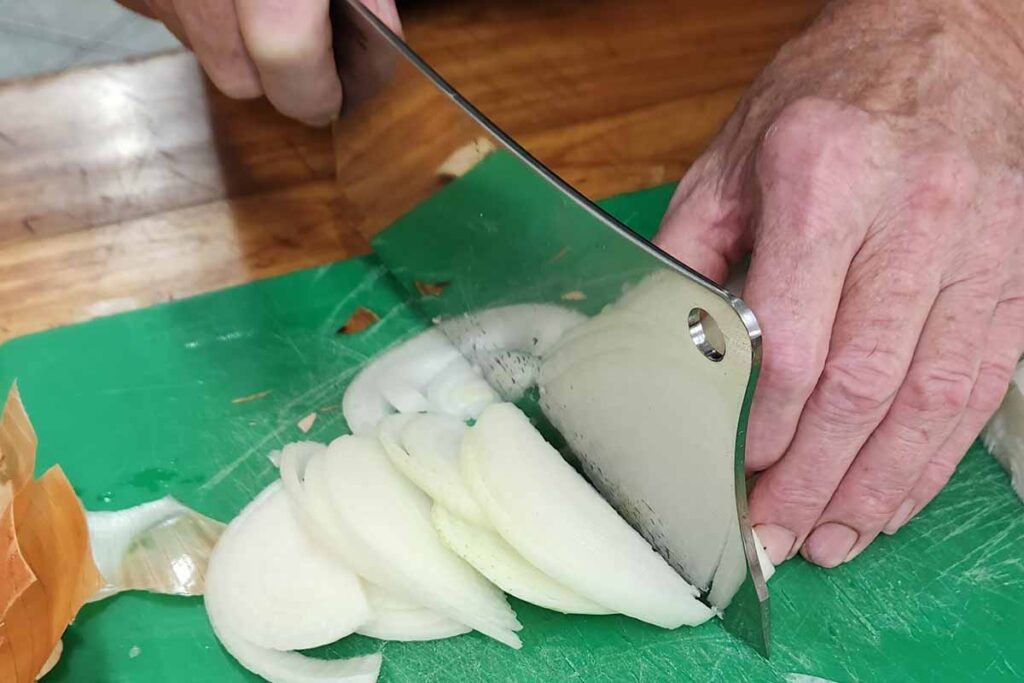
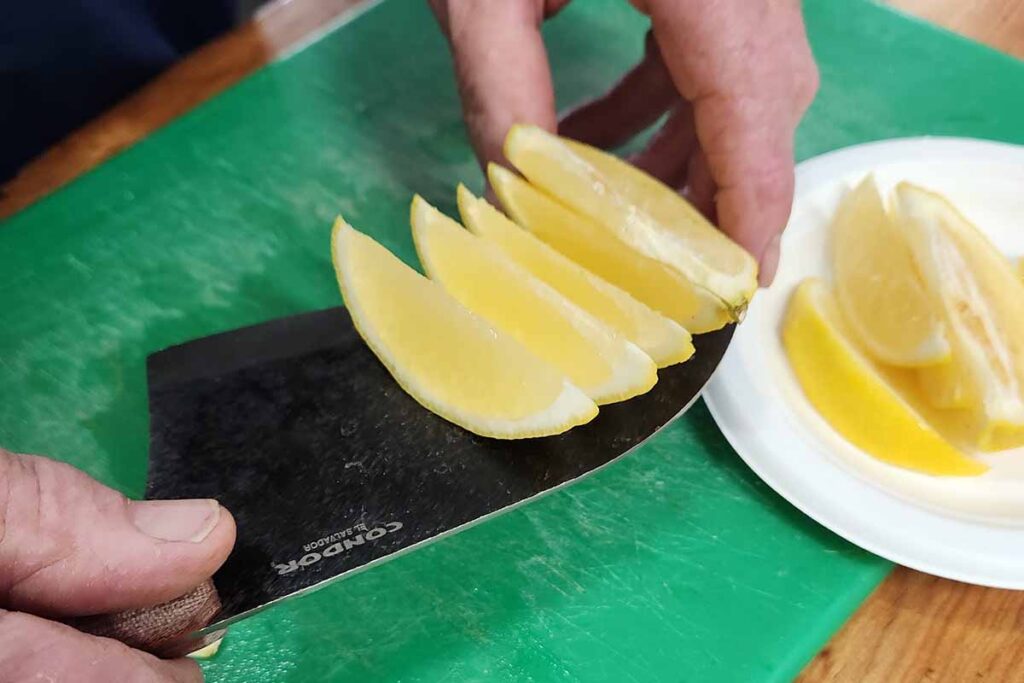
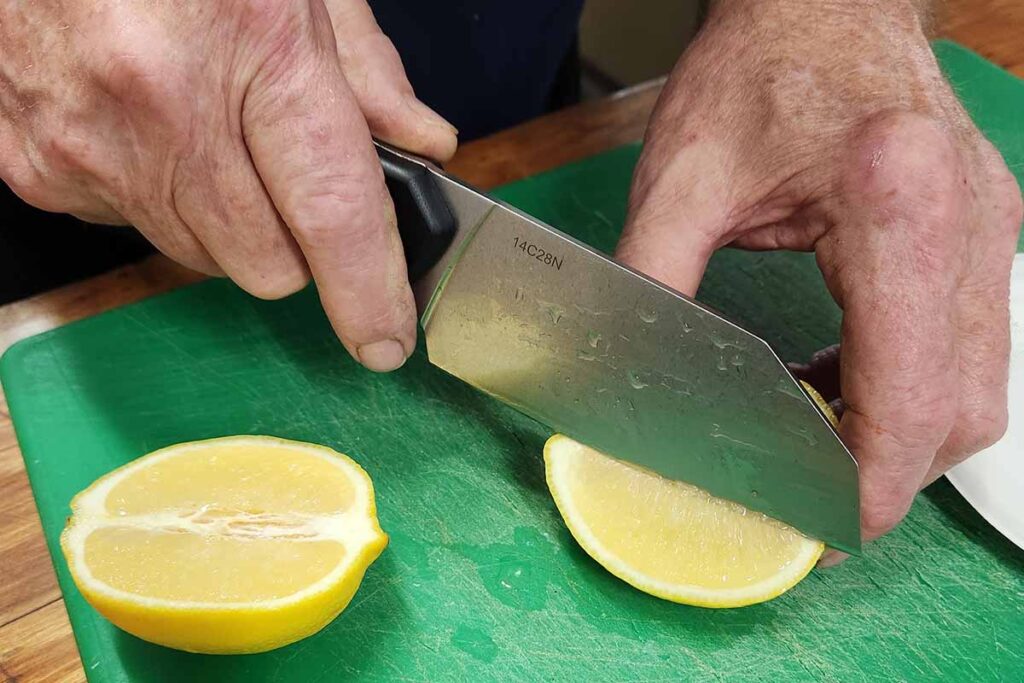
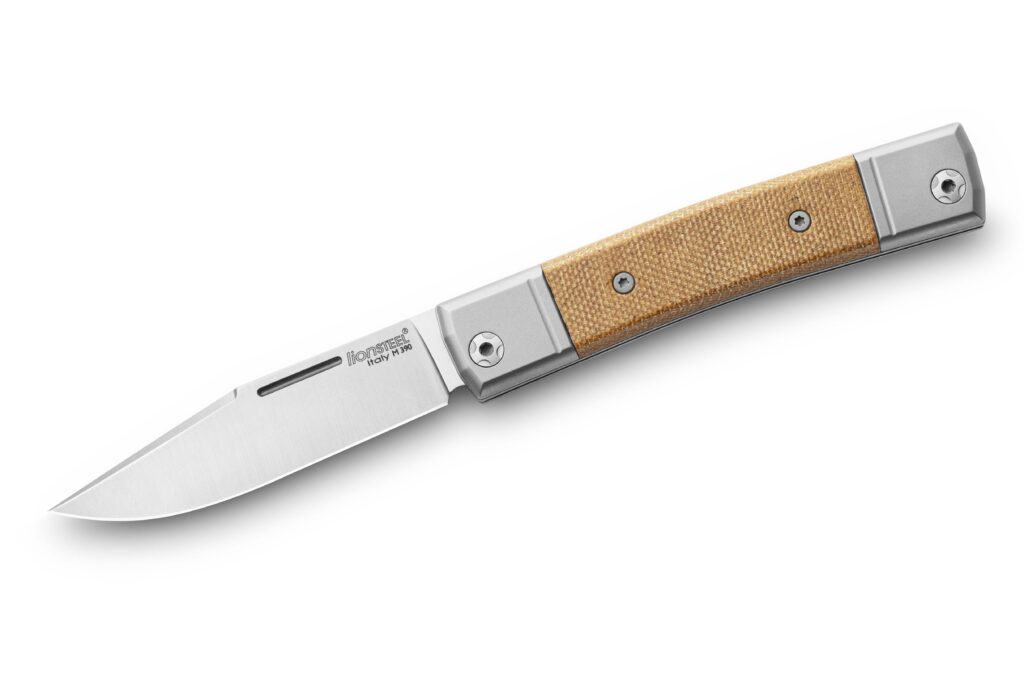
There’s no knife job too small for a compact cutter.
Folders come in all sizes and shapes.
Over the years, I have carried every size from compact and handy to needing to visit my chiropractor at the end of the day. I carry a Spyderco Para Military most often and other times I carry a Benchmade Griptilian. I can tell you that when I take out the Spyderco I get more comments on the size of the knife than the Griptilian.
I used to be a compact knife carrier and one of my favorites was the SOG Twitch II. I also favored two Kershaw Chives. To be fair, outside of some exceptions a compact carry did pretty much the majority of work I needed in an average day. I moved to the Spyderco only for the unexpected chores.
This time the focus is on smaller carries, the kind of carry a person in my age range would choose because his work is selling life insurance and he doesn’t need a blade that opens a person’s eyes as wide as a harvest moon. I put aside my regular carries for a number of weeks and downsized to bring you my thoughts on four factory compact carries.
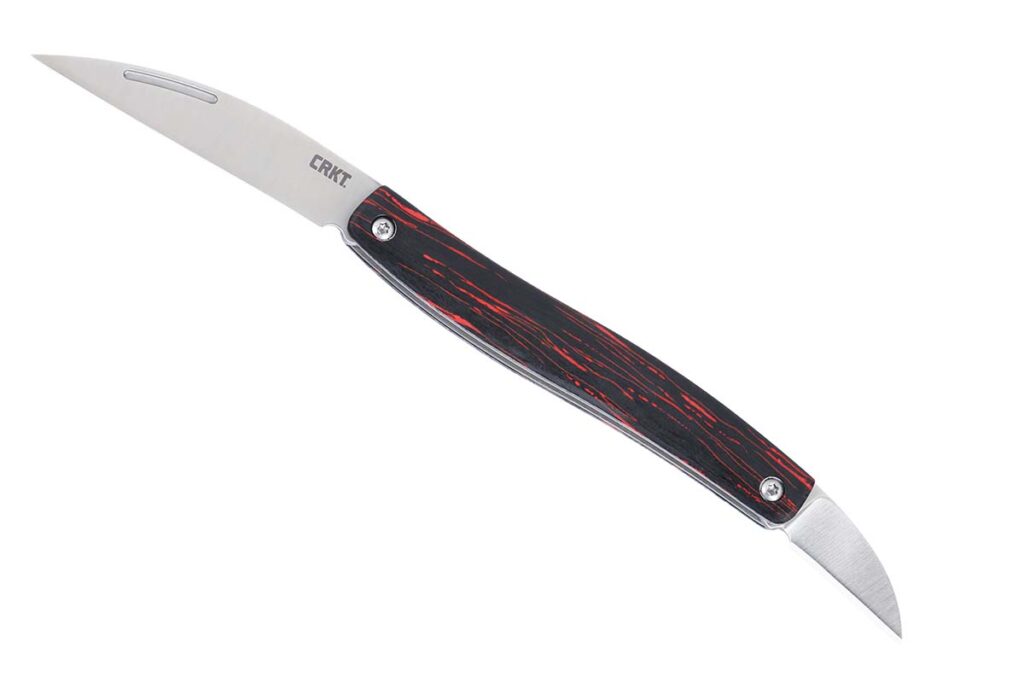
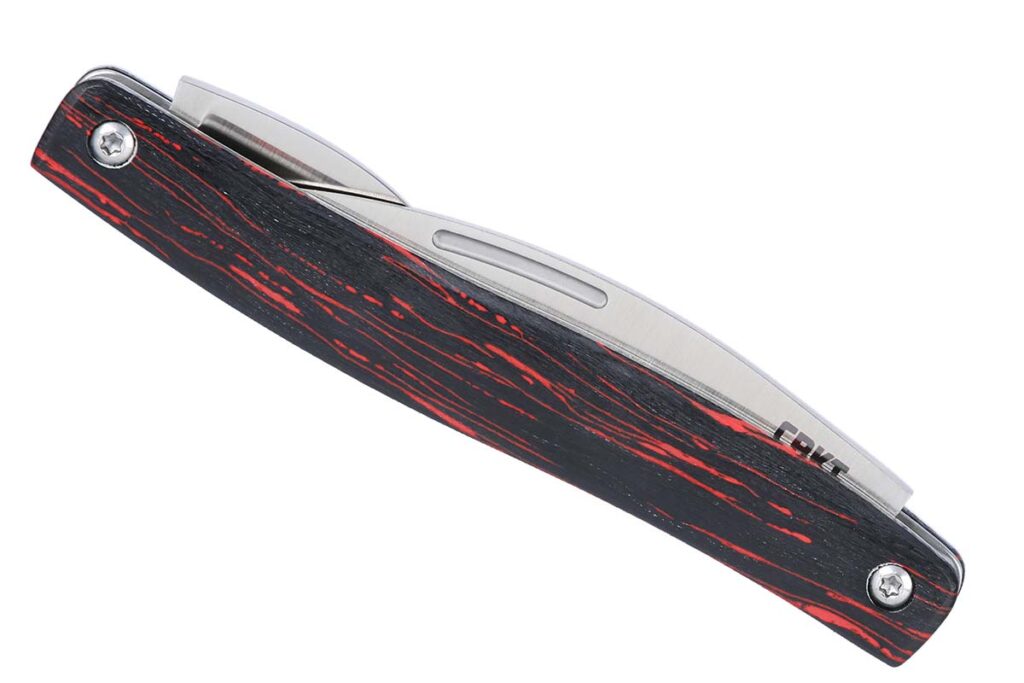
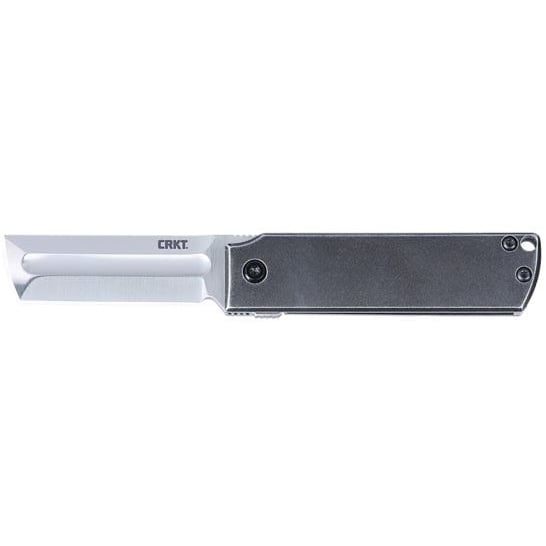
CRKT MinimalX

CRKT MinimalX Frame Lock
Overall length: 5.3″
Blade length: 2.19″
Closed length: 3.2″
Stainless blade steel: 12C27
Scale material: Stainless steel
Locking system: Framelock
Pocket clip: Right side, low profile
Opening system: Flipper
Country of origin: China
MSRP: $60
Pros
- Compact
- Blade Utility
- Aesthetic and Functional Features
Cons
- Slick Handle Finish
- Flipper Design Challenges
The first thing that strikes you about the CRKT MinimalX is how streamlined and compact it is. As probably will be the case with all four test knives, people with big hands might find them a bit difficult to use, a price you pay for the knives being compact and lighter.
To start, I have an issue with the handle finish. The stainless steel scales are a bit too slick. I find my thumb lacks purchase while opening the blade. To deploy the blade you use a flipper that sits even with the spine of the scales. CRKT provides a trim pocket clip mounted on a standoff platform. When closed, the knife is about the size of a pack of chewing gum.

CRKT uses a pseudo chisel shape for the blade profile. It has a straight primary edge with a rounded chisel style tip. The blade works great for an urban EDC. As a handyman I used it several weeks for some fine trimming on door lock cuts in door frames, along with using it to scrape. Having a fuller on such a small blade adds character. It also provides a purchase point for a pinch hold.
The Darriel Caston design was hair popping sharp right out of the box. Lock up is solid as a vault. For a small carry, this is a well-built and excellent compact design. A knife like this could serve someone the better part of a lifetime.
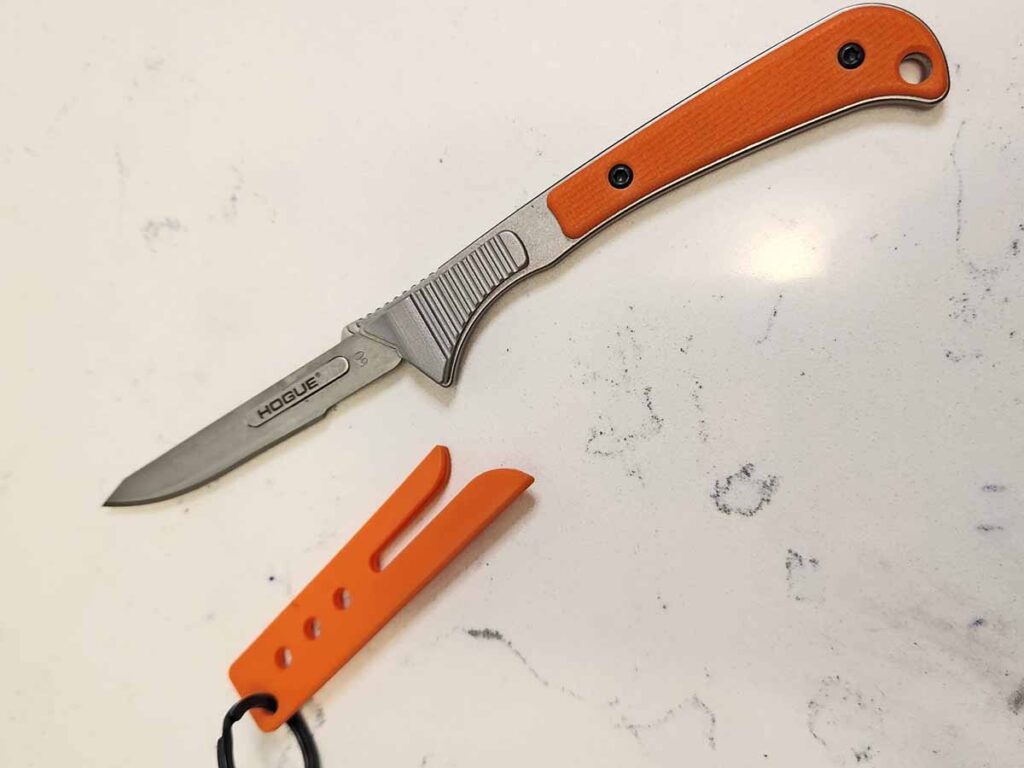
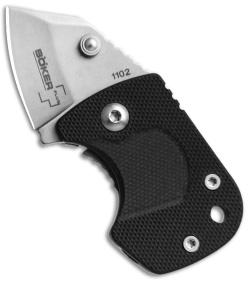
Boker Plus DW-1

Boker Plus DW-1 Specs
Overall length: 2.8″
Blade length: 1.06″
Closed length: 1.6″
Stainless blade steel: AUS-8
Scale material: Zytel/stainless steel
Locking system: Framelock
Pocket clip: Right hand, tip up
Opening system: Thumb stud
Country of origin: China
MSRP: $39.99
Pros
- Ultra-Compact
- Specialized Utility
- Durable Construction
Cons
- Awkward Ergonomics
- Limited Functionality
I would have to drop the term compact and switch it to micro for the Boker Plus DW-1. Designed by Chad Los Banos, the smallest of the review knives comes with a solid pocket clip and framelock. One scale is stainless steel and the other is Zytel. The knife has Chad’s trademark design written all over it.
This is a minimalist carry. It is a great little blade for opening Amazon packages, cutting loose threads and string—basically all the little chores. Bigger jobs are not in the DW-1 domain. If you tried spreading peanut butter with it to make a sandwich for lunch, you would not be able to eat the same day.

Don’t get me wrong, the knife is made well and would be great for someone who worked retail stocking shelves and the like. As for fighting off a zombie horde, you could sharpen a small stick with it.
It would fit someone who needs an available edge but wants a subtle carry. If I worked retail, I would use it as a companion edge to my full-size model so I would not accidently shred the contents of the box—not that I ever did (hint, hint).
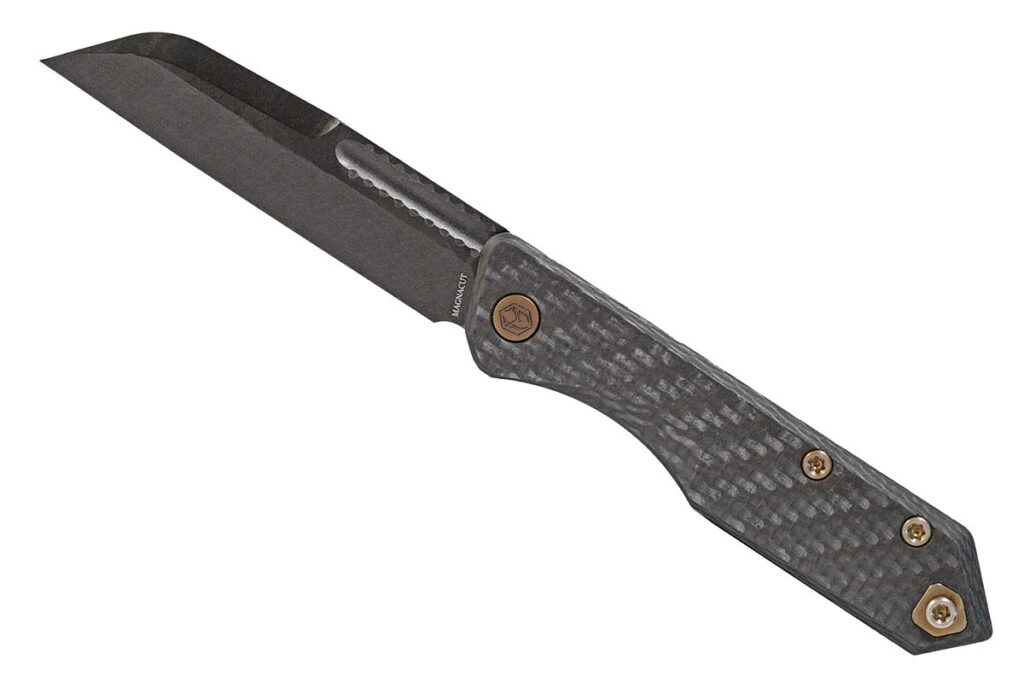
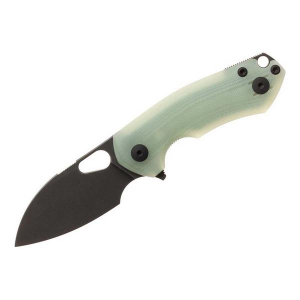
GiantMouse Ace Riv LL

GiantMouse Ace Riv LL Specs
Overall length: 5.75″
Blade length: 2.44″
Closed length: 3.375″
Stainless blade steel: CPM MagnaCut
Scale material: Double black canvas Micarta®
Locking system: Linerlock
Pocket clip: Ambidextrous, tip up
Opening system: Thumb hole
Country of origin: Italy
MSRP: $276
Pros
- Smooth Deployment
- Stylish
- Reversible Pocket Clip
Cons
- Premium Pricing
There is nary a hot spot on the Ace Riv LL from GiantMouse. The bearings make the blade simply pop open via a flipper or thumb hole. Housing a linerlock, the textured Micarta® handle provides a good surface for a secure grip. The blade has a tip down profile, making it good for utility cuts.

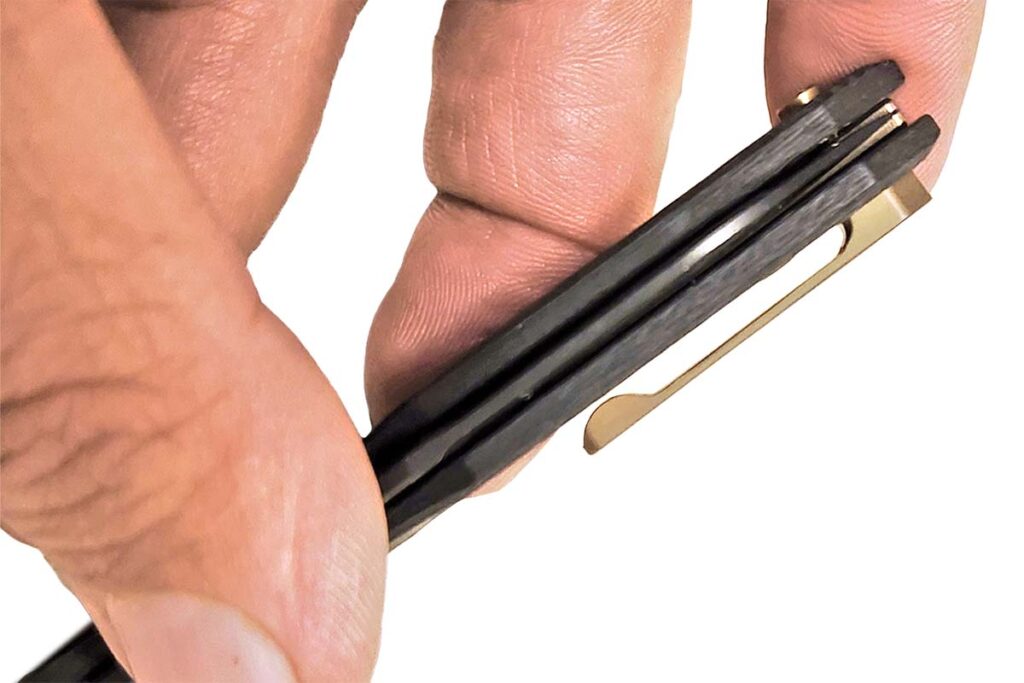
GiantMouse provides a wire-style reversible pocket clip. I dislike wire pocket clips. Over the years, I have found them to be the least sturdy and they often get bent. The knife is a great compact carry with some style and not so small as to be heavily limited.
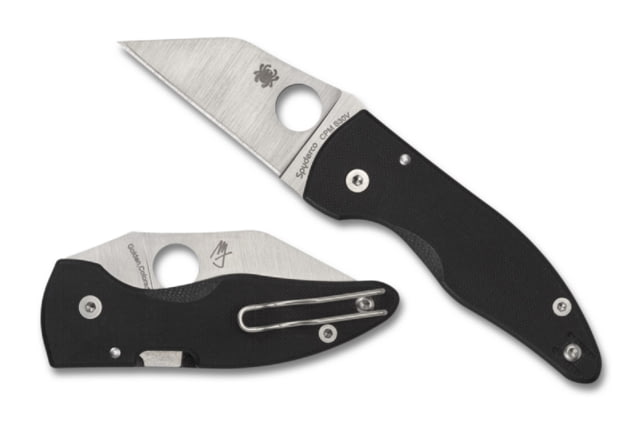
Spyderco MicroJimbo

Spyderco MicroJimbo Specs
Overall length: 6.22″
Blade length: 2.45″
Closed length: 3.8″
Stainless blade steel: CPM S30V
Scale material: G-10
Locking system: Compression Lock
Pocket clip: Ambidextrous, tip up
Opening system: Thumb hole
Country of origin: United States
MSRP: $245
Pros
- Ergonomic Handle
- Utility Blade Design
- Compression Lock System
Cons
- Borderline Midsize
- Expensive
The Spyderco MicroJimbo is based on the original Yojimbo design named after a Japanese Samurai movie character. First off, the MicroJimbo borders on midsize. The handle size has always been a bit larger in proportion on the Spyderco Yojimbo line. Even on a compact carry, I favor having a handle that fits my hand. Control is key to enjoying any knife.
The MicroJimbo uses a utility style blade with a straight edge and aggressive tip. A stylized spine profile really sets the blade off. Spyderco uses the Compression blade-lock system. The textured scales are black G-10 with a wire pocket clip.

The shapes of Spyderco’s clips are more effective for attaching to a variety of pocket styles than most, though the fact that it’s in the wire style gives it the same issues as mentioned with the GiantMouse. Due to its distinctive look, the MicroJimbo might not be everyone’s cup of tea. It is a solid carry with an unusual style and loads of function.
Spyderco Microjimbo Sprint Run Pocket Knife 2.45" Wharncliffe CPM S30V Black DLC Blade G-10 Handle Pink
EDC KIT
Compact cutters will do the majority of most common daily knife tasks. Add a little creativity and you can stretch their function sometimes.
My EDC kit consists of my wallet, keys, pen, butane lighter, flashlight, bandana and my knife. That sounds like a lot, and it is. There are times when I add to the kit depending on what I’m doing. No doubt, it obviously increases weight and bulk.
Carrying a large kit means that I buy cargo pants only for daily wear. If there is anything I can do to save space and weight, I start by carry more compact versions of my gear. Obviously, my knife would be a start.
Read More Knife Reviews:
- Oknife Beagle Review
- Versa Rescue Knife Review
- Knife Review: CRKT Bamboozled
- M-1 Folder Review: How Good Is This Folder?