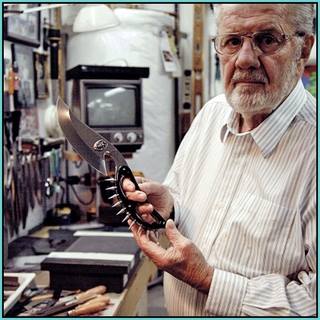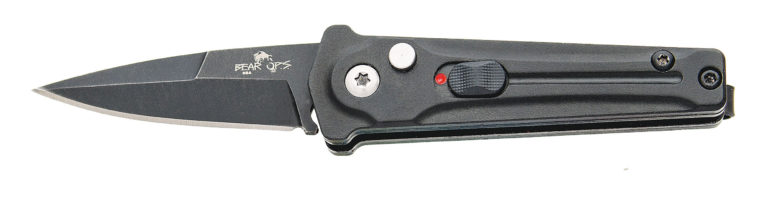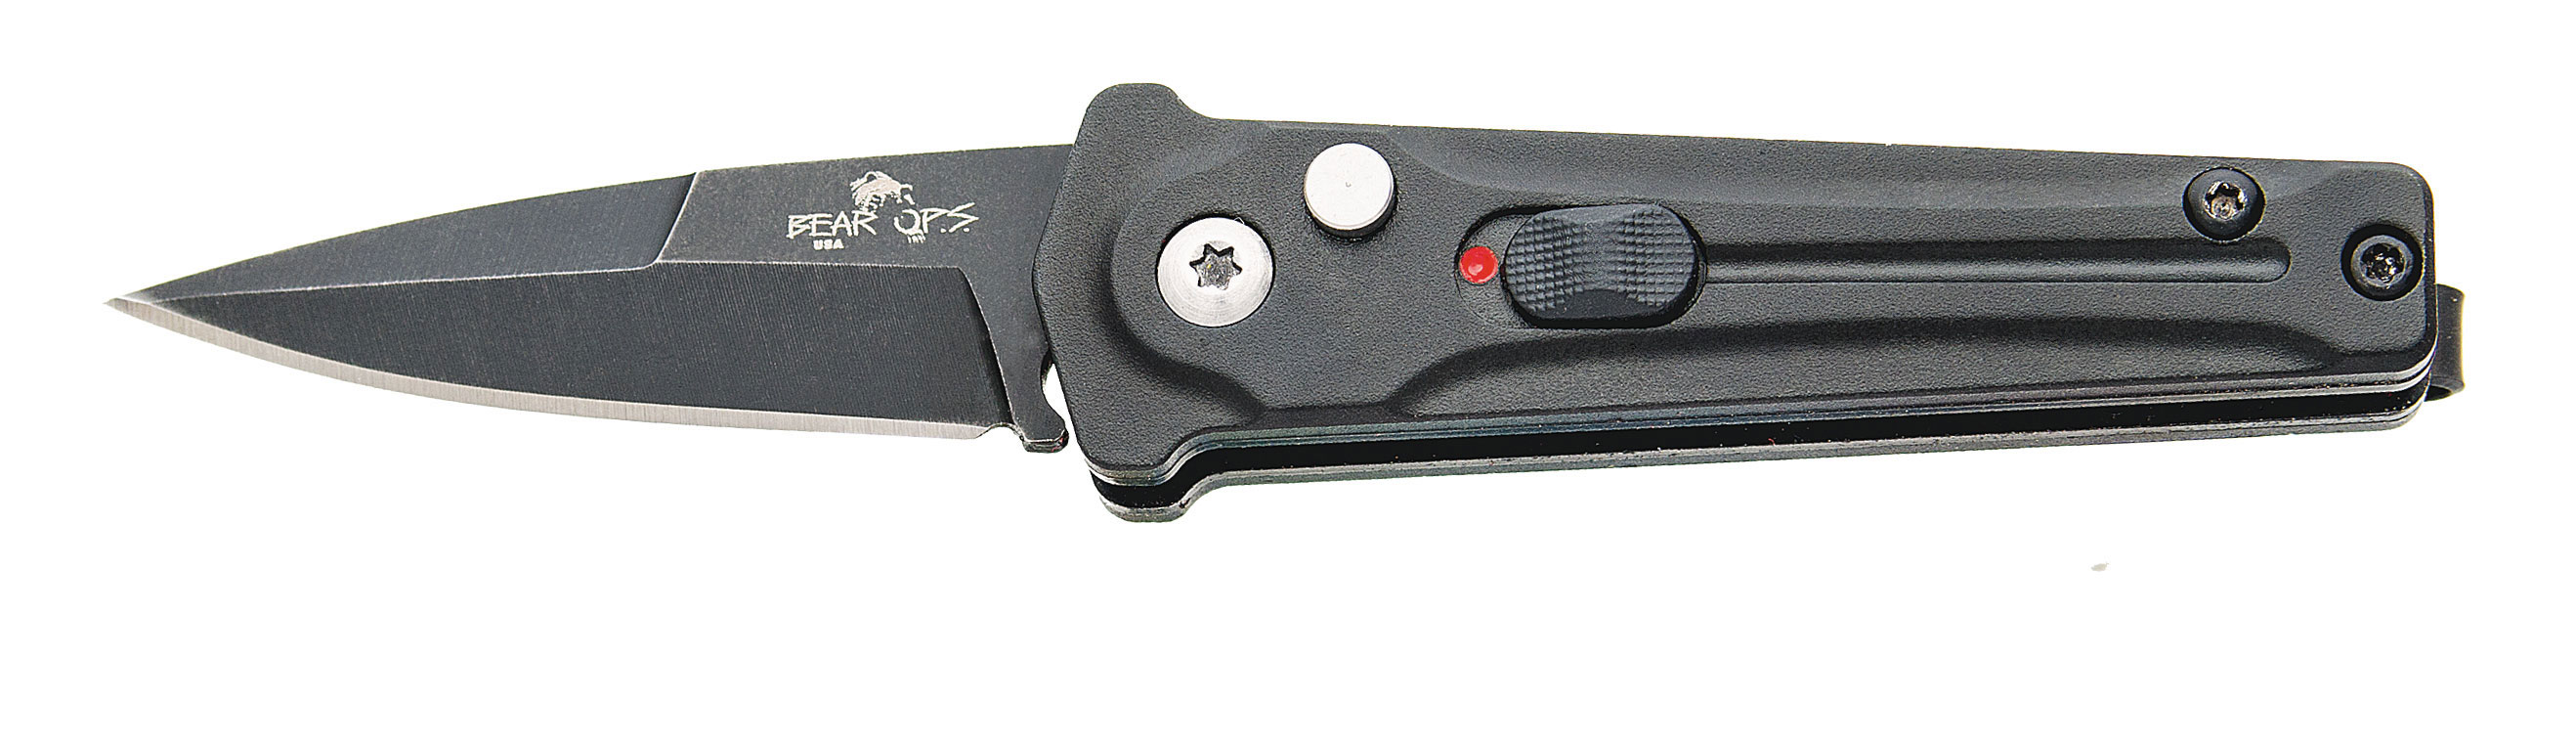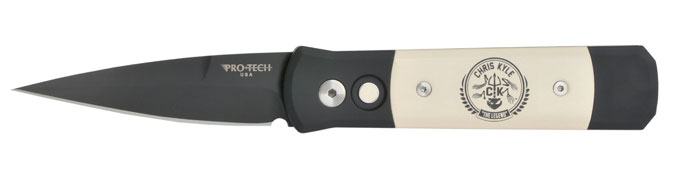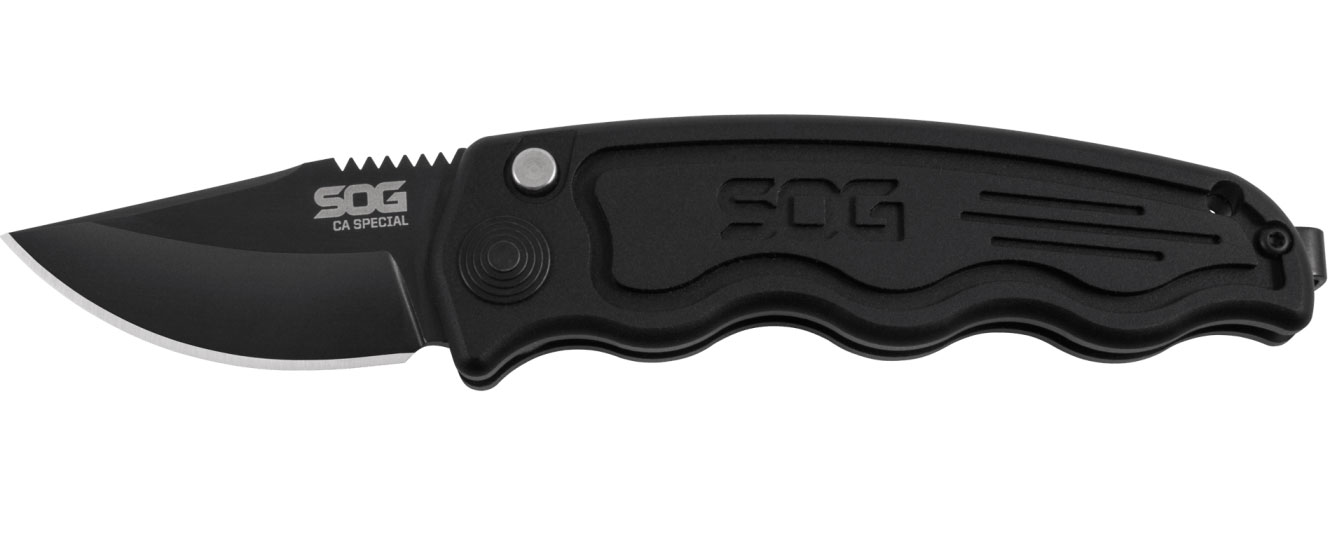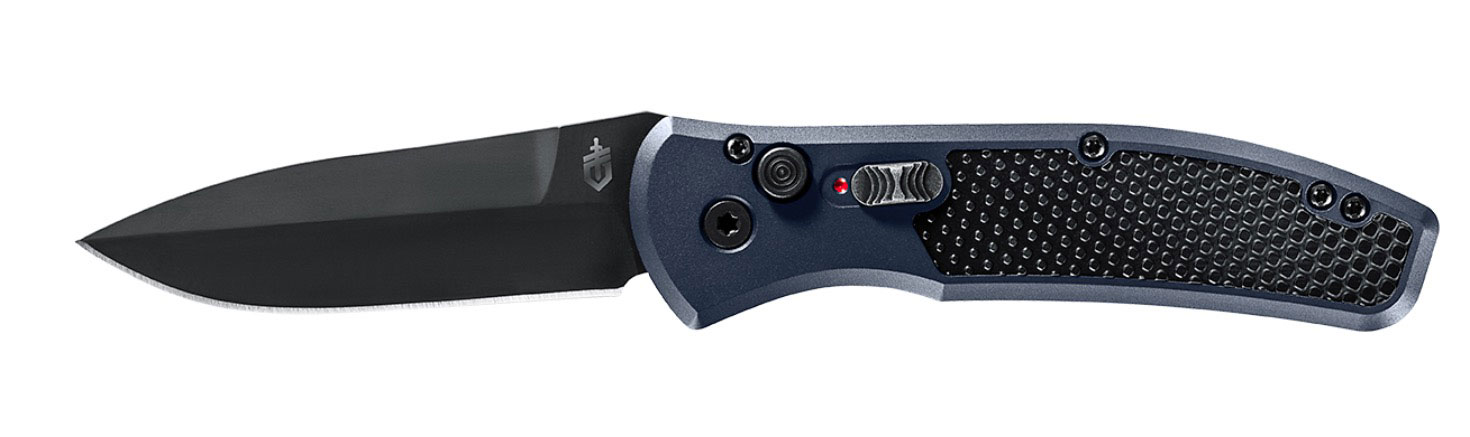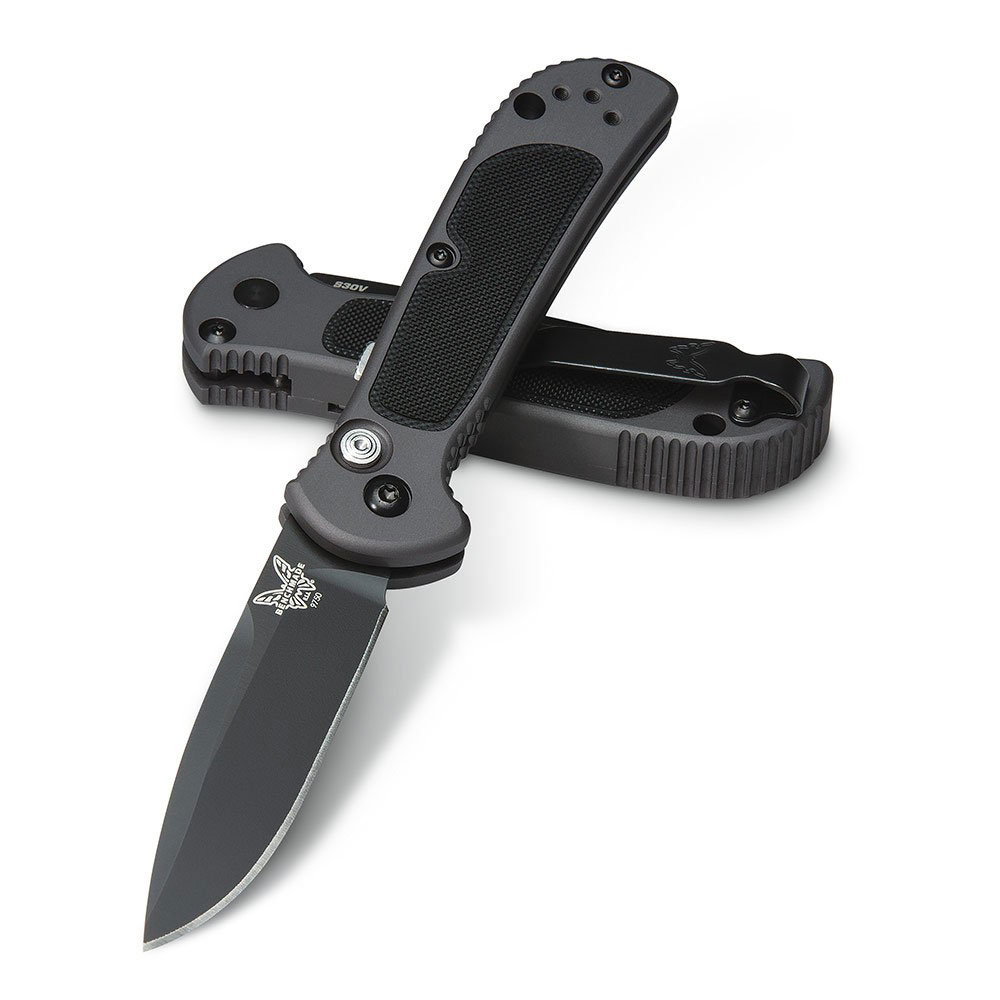
The new rules prohibit assisted opening knives, automatics and any manual knife that can open by centrifugal force from entering Canada. The restriction doesn’t extend to the rest of Canada. It only impacts imports, as well as individuals or mail crossing into Canada.
As a result, knifemakers and knife companies not based in Canada can no longer offer most types of folding knives to Canadian customers. A more detailed summary is available from BLADEhere.
It isn’t only the knife world in the U.S. reaching out to these organizations.
“I have gotten about a hundred emails and calls from Canadians about this,” noted Doug Ritter, chairman of Knife Rights. “I have offered to help with advice and such based on our experience if they put together a Canadian organization, but I can’t do it for them. Way too much to do just here in the U.S. So, no time, lack of resources, and quite frankly, it wouldn’t be taken well for a U.S. organization to come try and fix Canadian law. Bad idea.”
Restrictions Severely Limit Options for Canadian Enthusiasts
Neil Ostroff, owner of True North Knives, and someone who relocated to the United States from Montreal, told BLADE in an e-mail that his options for Canadian customers are now limited.
“Vendors outside of Canada, like me, will no longer ship any knives to Canada other than slip joint, lockback or fixed blade knives,” Ostroff said in an e-mail. “Even the old trick of tightening the pivot down by the shipper so the knife barely opens until the pivot is released by the buyer will no longer work.”
That’s because of how much leeway the CBSA can now use.
“In the law they can now go so far as to open the knife halfway and then flick it open, making it inadmissible,” Ostroff said. “Example: Chris Reeve folders. These cannot be flicked or opened by centrifugal force, but if the officer opens it halfway and flicks it, then it can be determined illegal.
“So any examiner will be allowed, by law, to make any legal knife a prohibited weapon.”
Canadian Knifemakers Impacted, too
If it sounds like these rules could insulate Canadian knifemakers from competition, few are making that case.
Brian Tighe, an award-winning knifemaker from Ontario, Canada, expressed frustration with how his international work will be shut down.
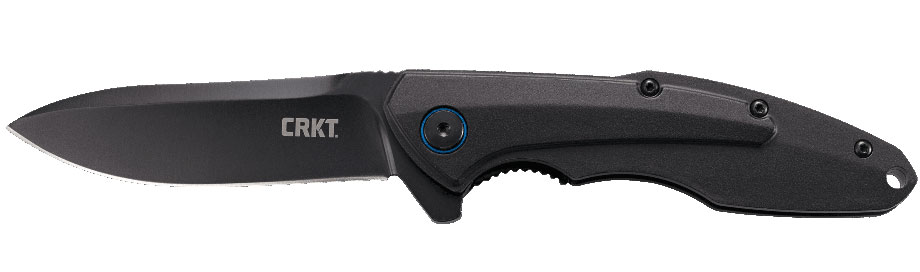
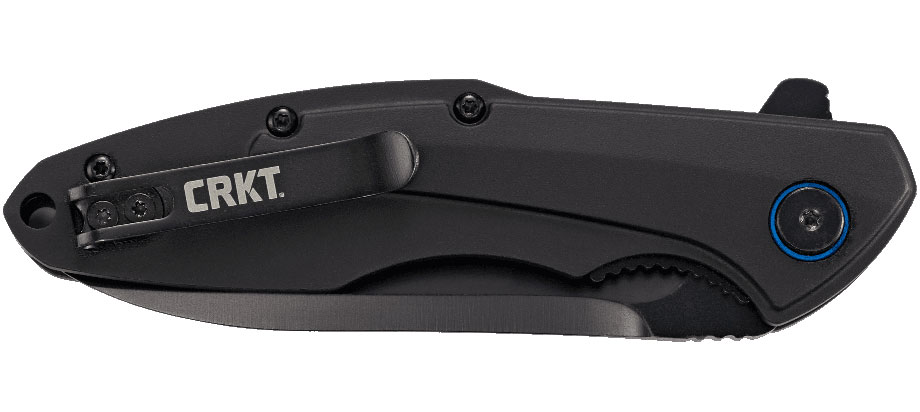
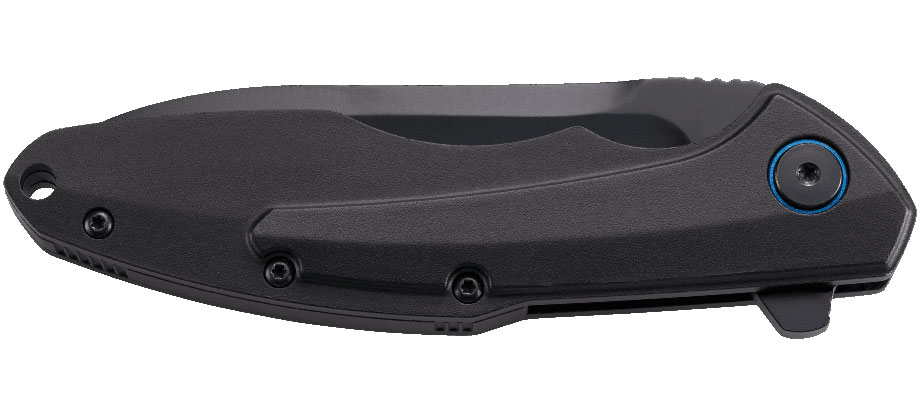
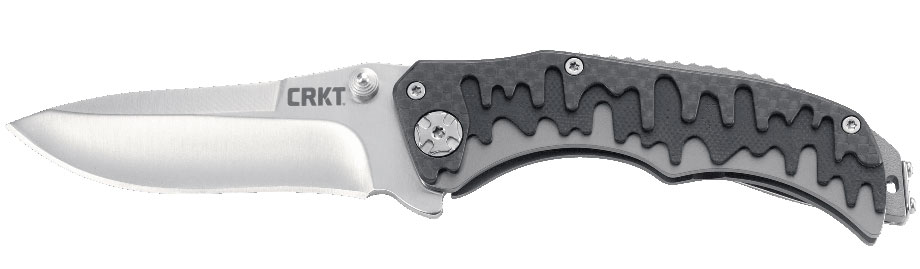
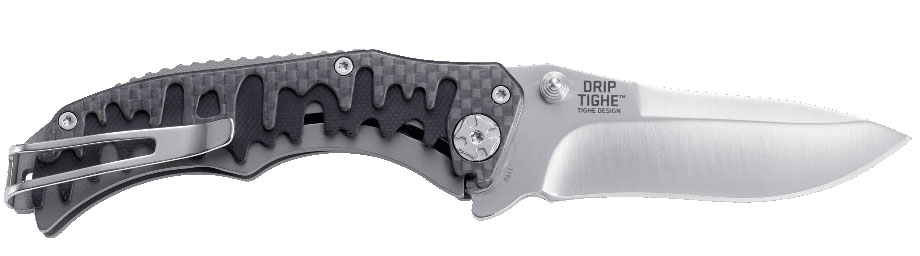
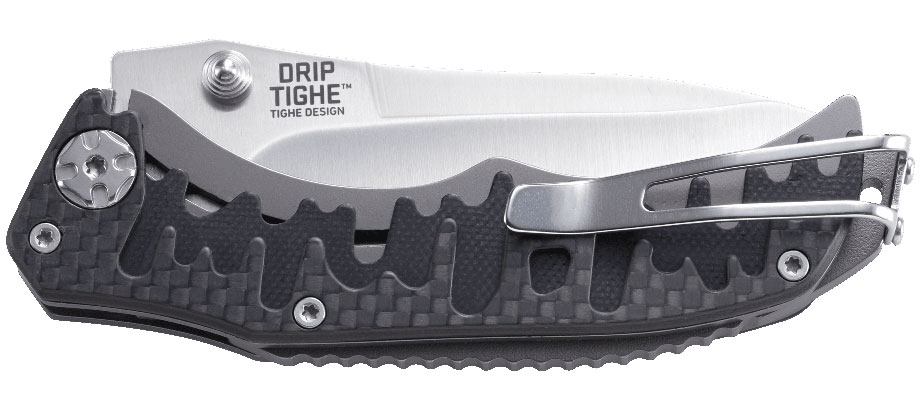
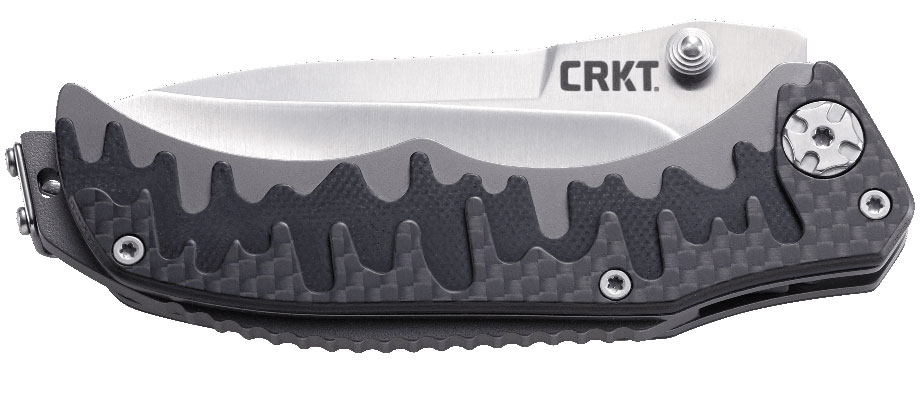
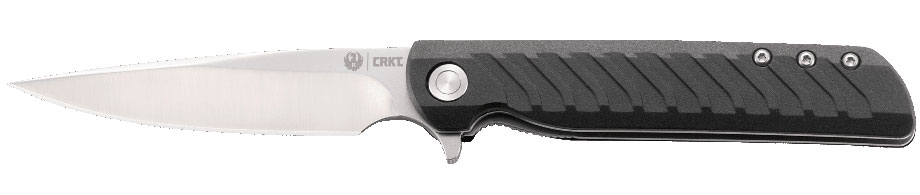
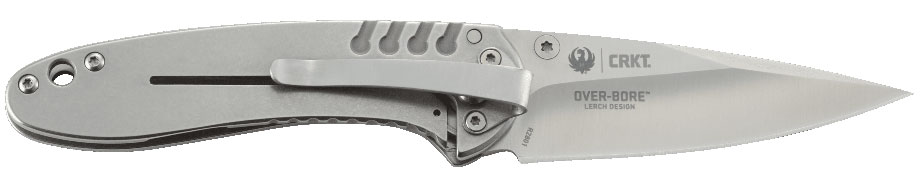
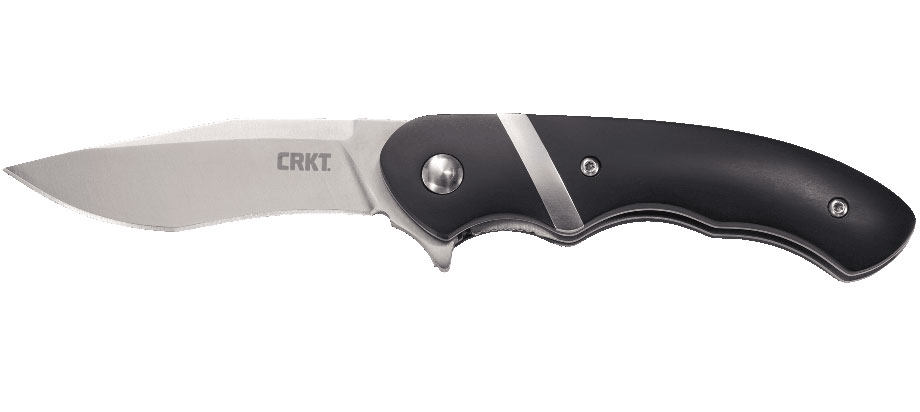
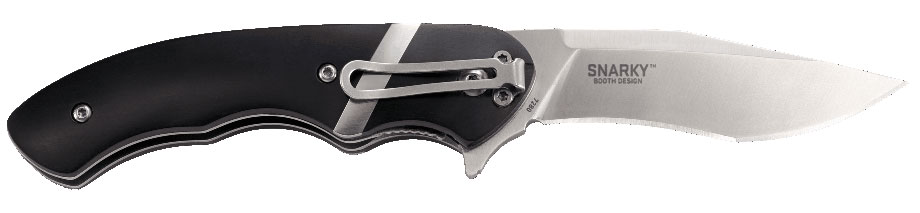
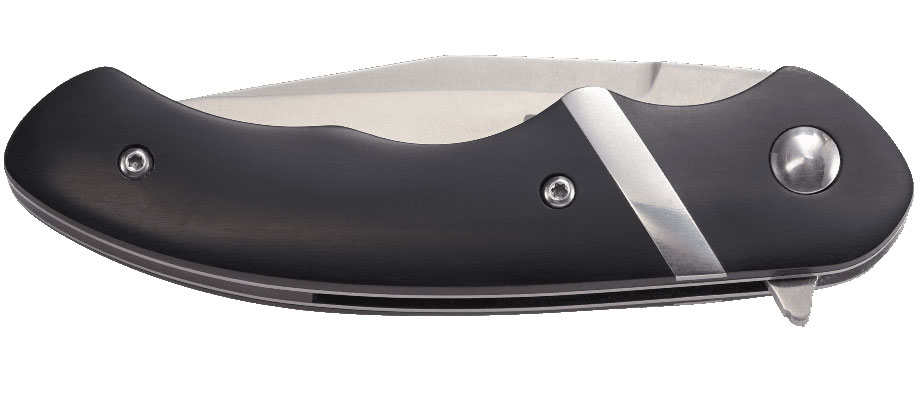
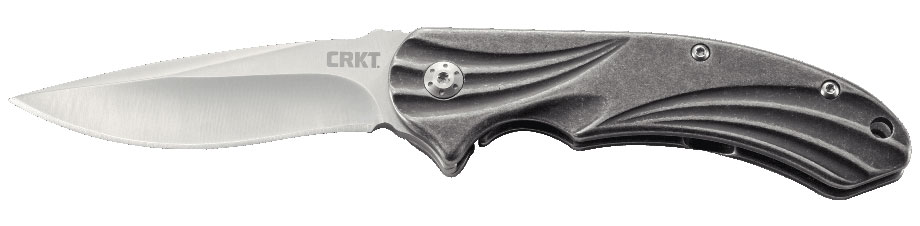
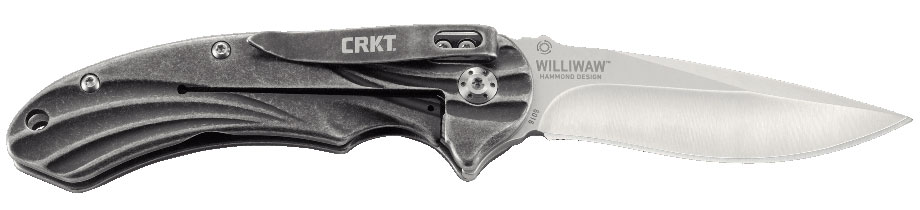
“This will impact the knives I have designed with CRKT. They are now prohibited weapons and can’t be imported into Canada. Bass Pro, etc., can sell what stock they have, but they can’t reorder,” Tighe told BLADE in an e-mail.
“We can’t import [those knives] into Canada unless they were shipped in pieces and assembled in Canada,” Tighe said.
An Exception to the New Rules? Not Really
Holders of a specific type of Firearms Business Licence (FBL) are exempted from the new rules. In theory, a knifemaker or knife company could obtain such a license. However, that’s not the case for those who tried to do so.
“No one in Canada has [that type of FBL] except RCMP [Royal Canadian Mounted Police] and cops. I tried to get one and there was no way,” Tighe said.
Ostroff agreed. “To get a Firearms Business License in Canada is almost impossible and no knife store will be able to do it,” he said.
There was similar confusion about this license outside Canada, too.
“There does seem to be an out for importers, distributors and retailers, but I have no idea what is required to get a license to import ‘prohibited weapons,'” Ritter said.
Could Canada Repeat U.S. Success?
If this scenario sounds familiar, it’s because a similar situation came about nearly a decade ago in the U.S. That led to an amendment of the 1958 Federal Switchblade Act.
However, there isn’t a Canadian equivalent to organized knife advocacy in the U.S.
“Whether the knife community in Canada can rally the resources is yet to be seen. They may not have quite the same level of influential friends in Ottawa,” Ritter said. “And, they also need to find someone to lead the charge; no small thing itself. It takes a huge commitment of time and effort and the right attitude. We [Knife Rights, AKTI and the U.S. knife industry] spent a small fortune in 2009. It takes a fortune. They will need to raise a ton of money.”
The Pocket Locket is considered one of the most flexible engraving platforms of all time. This is just one example of the versatility of Joe Kious’s design, and it’s a stunner.
Grapes of Wrath – Stephen Olszewski
Art knives don’t get much more complex yet graceful as Stephen Olszewski’s Grapes of Wrath.
“To this day, I have not seen another art knife with as many flowing lines, curves, carving and piercing of the steel in such a masterful way,” Michael Donato, of KnifePurveyor.com, told BLADE.
Time Machine – Van Barnett
This steampunk-inspired piece sits at the intersection of knives and luxury watches. As a result, the Time Machine caught the attention of those outside of the usual crowd.
“It also brought much-needed new collectors to the custom knife world,” Donato said.
Luna – Arpad Bojtos
Words won’t do justice to the interplay between the handle, blade and sheath in this mixed media masterpiece. This is the art knife’s art knife.
Goblin Folder – Jim Schmidt
Many imitators followed Jim Schmidt’s lead after the Goblin Folder hit the scene, shaping faces into pommels. It’s proof that imitation is the sincerest form of flattery.
See More Art Knives
Art knives litter the pages of Knives 2018, and they’re all in full color. Get a terrific price on the world’s greatest knife book at ShopBlade.com.
Don’t bring knives that can open with one hand into Canada.
The Canada Border Services Agency (the equivalent to U.S. Customs and Border Protection) will ban knives capable of opening with one hand, per a recent announcement made on Jan. 10. The prohibition is in effect now.
The Exact Language of the Ban
Specifically, the restriction covers knives meeting these conditions, as specified here:
a knife has a blade that opens by centrifugal force, when the blade is released from the handle into the fully ejected and locked position with a simple and brisk outwardly flick of the wrist; and
it includes knives that require some preliminary or simultaneous minimal manipulation of either a flipper or other non-edged parts of the blade.
Applies to Most Folding Knives
This applies to flippers, assisted openers, automatics or any blade that doesn’t require two hands to open. Much sway is given to CBSA officers’ judgement. A cautious traveler to Canada may want to leave all folding knives at home.
This isn’t the first time the country banned a wide category of knives. The decision adds to Canada’s growing list of prohibited weapons, available here. That includes:
Bladed finger ring
Push daggers
Devices shorter than 30 cm containing a concealed blade; including canes, daggers and multitools
Belt buckle knives
Morning stars
Spiked wristbands
Big Changes for Canadian Collectors, International Tourists
Note that this doesn’t prohibit the exportation of these items, only the importation. This doesn’t spell the end of the Canadian knifemaking industry.
It does, however, mean the end of bringing a large category of knives into Canada. It’s likely this will especially impact Canada’s hunting and fishing tourism industries. Canadian knife collectors purchasing internationally will also be hit hard.
We actually were planning a 3-weeks adventure trip to Canada next summer. Now seriously reconsidering. 🙁
One Way Around It: An Exemption for FBL License Holders
There is one way around the prohibition. From the CBSA:
Importation by a business is permitted if a Firearms Business Licence has been presented with import – prohibited weapon, listed as a business activity on the licence.
Despite this workaround, obtaining an FBL may be challenging or out of reach for smaller knifemakers and companies. Individuals may also be unaware of or unable to meet this requirement, and will have their knives confiscated at the border.
U.S. Does Not Have a Similar Prohibition
Coincidentally, this is similar to what happened in the United States 10 years ago. U.S. Customs and Border Protection seized imported assisted openers at the border, claiming they violated the 1958 Federal Switchblade Act. The pushback led to an amendment exempting assisted openers and all manual folders capable of opening with one hand, signed into law in 2009 by President Barack Obama.
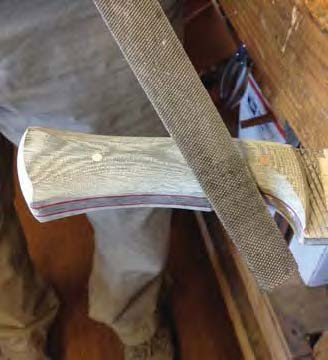
This is what the finished project looks like. The handle is not covered in this tutorial, but the design is ready to take any number of options. (All images by the author)
I’m going to walk you step by step through making a bowie from a common farrier’s rasp, as simply as possible, with a few tips to save time and improve the finished blade as we go. It is a simple bowie-style camp knife useful for all sorts of tasks.
1) Pattern Sketch
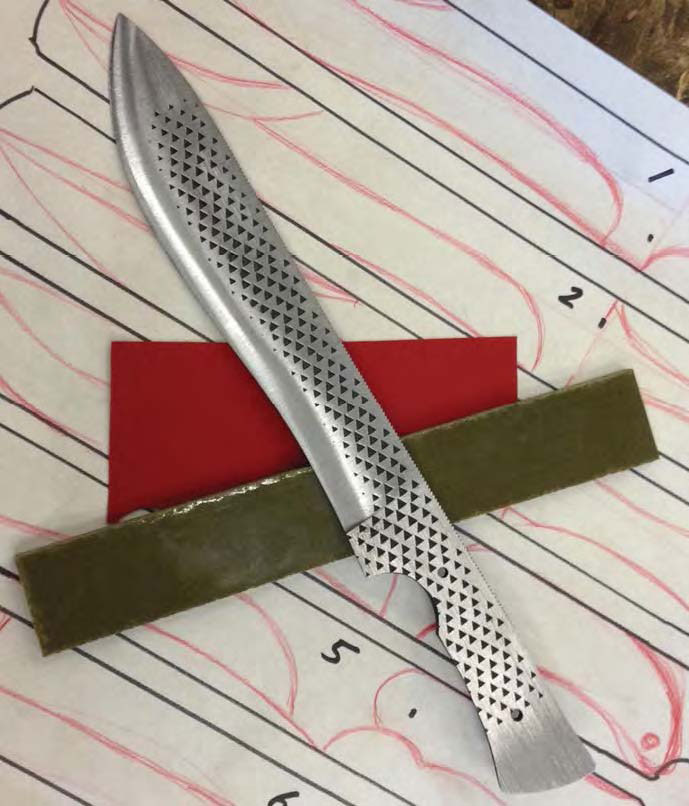
The author traced assorted patterns on the rasp images on a large sheet of paper so he could compare each style side by side and see what works and what doesn’t.
The first thing you need to do is decide on a style that suits your needs and your purpose. I find that visual aids are the easiest way to get the results I’m after, so I often do several sketches and drawings to decide what I’m trying to accomplish.
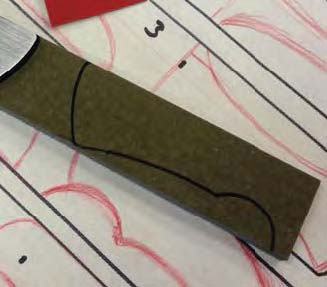
For this I traced the rasp multiple times on a large sheet of paper so I could compare each style side by side and see what works and what doesn’t, as well as what the maximum potential of my material was. I decided on blade shape #4 with handle shape #5. The combo should be a good general chopper and comfortable in the hand.
By visualizing this way I can mix and match infinitely. Don’t be afraid to get creative, especially when using recycled and often-free materials. This is a chance to express yourself and your vision in steel.
2) Annealing
Heat the rasp to nonmagnetic and then bury it in a simple metal toolbox filled with clean wood ash.
Now you have a design in mind, but, before you can achieve bowie knife greatness, you must anneal the rasp so it can be shaped, drilled and ground more easily.
It is certainly possible to make a rasp or file knife without annealing, but great care must be taken not to get the steel too hot and ruin the temper. Moreover, the high hardness of the file in its current state means a blade made this way would be very brittle and prone to breaking under hard-use conditions.
If you have access to a heat-treating oven, by all means use it to anneal your steel. This is a very simple and basic build, so I’ll be heating the rasp to nonmagnetic and then burying it in a simple metal toolbox filled with clean wood ash. Burying it insulates the steel, allowing it to cool very slowly. The slow cooling softens the steel so it’s easier to work.
Vermiculite is also great for this step if you don’t have access to wood ash. Vermiculite can be purchased at most garden centers and insulates very well. It will take several hours for the rasp to cool. Don’t rush it! It will be well worth it once you start filing, drilling and grinding.
3) Design Transfer
Once the teeth are cleaned off, transfer the blade design to the rasp.
The rasp has cooled and it’s time to go to work. The first step is to grind the teeth off both sides. This leaves a nice, flat surface to work with but the memory of the rasp is left behind, which gives the knife a distinctive, rugged look.
An angle grinder will work great for this task, but any number of basic tools will suffice. Use whatever is readily available to you. Once the teeth are cleaned off , transfer the blade design to the rasp. Cutting out the pattern and over spraying it with black paint works very well.
However, since this design is fairly simple, I drew it out with a permanent marker.
4) Notched & Cleaned Up
When you go to cut out the profile from the rasp (left), notching out the shape with a hacksaw or cutting wheel (right) makes the job much easier.
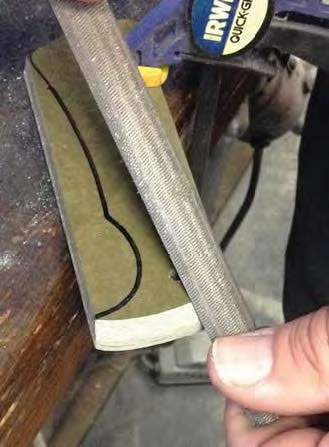
Now you can start cutting out the profile. Notching out the shape with a hacksaw or cutting wheel will make the job quite a bit easier. I find that removing small pieces of metal is easier then trying to make large cuts.
After the bulk of the steel has been removed, the final profile can be shaped out with files or an angle grinder.
5) Drilling Pins
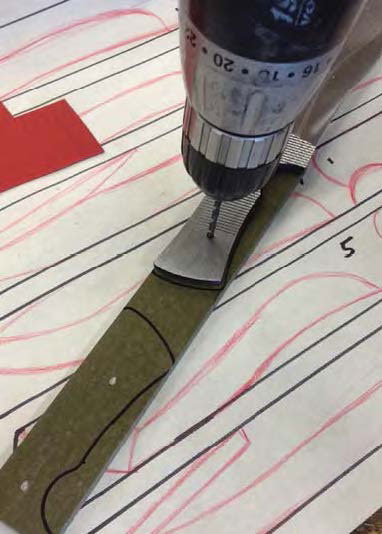
Drill a couple of holes for pins. The author uses brass bolts for the latter.
The blade is starting to take shape. Now is a good time to consider what handle material is best for your creation.
There’s no wrong choice. With the seemingly limitless options available today, you can truly express yourself from mild to wild. If you’re feeling traditional you can go with antler or perhaps stacked leather.
If you want to go more cutting edge, there are hybrid burl blocks with every color resin in the rainbow. Shredded money and eggshells are even finding their way into knife handles these days.
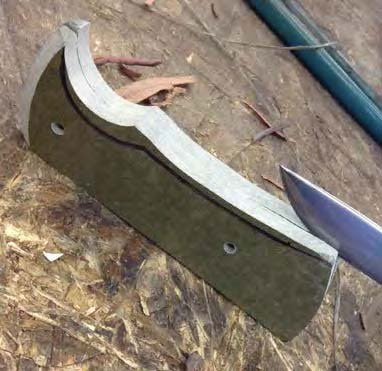
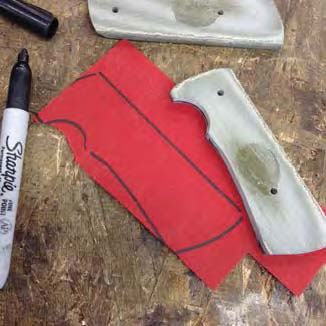
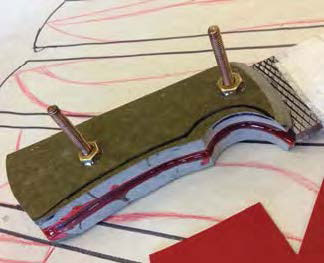
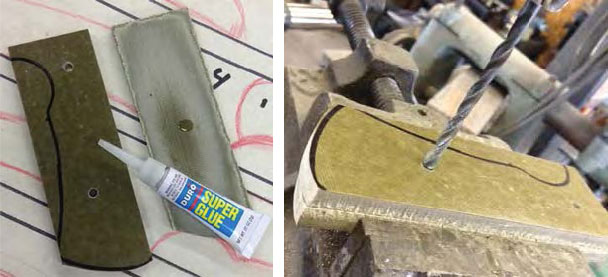
I’m going more traditional, so now is the time to drill a couple of holes for pins. I’m going to use brass bolts as pins. They are inexpensive and can be bought at any hardware store. The threads add an extra mechanical bond when they are epoxied into place, and also act as built-in clamping devices to ensure a solid, tight fit-up when the scales are applied.
6) Grind the Bevels
Rough grind the bevels. The author used a 4-inch angle grinder. Leave the edge about the thickness of a penny.
With the profile cleaned up and all necessary holes drilled, it’s time to start grinding in the rough blade bevels in order to get your blade ready for hardening.
The trusty 4-inch angle grinder goes to work again, though a bench-top grinder or even a good, sharp file will get the job done. The goal here is simply to remove the bulk of the metal on the sides of the blade evenly so there is less work to do after hardening.
Don’t grind all the way to sharp at this point! Leave the edge about the thickness of a penny—this will protect the steel that will become your cutting edge from overheating and decarburization, helping to ensure your finished knife will live up to its maximum potential.
Once the bevels are roughed in, finish up with sandpaper or a flap disc to 220 grit. Be sure to remove any deep, heavy scratches, as these could lead to cracks during hardening.
7) Heating and Quenching
After you heat the blade to nonmagnetic, quench the edge.
Now you’re ready to harden some steel! I’m going to use a forge to heat the blade to nonmagnetic—aka the critical temperature—though a torch works equally well.
Slowly bring the blade up to temperature and check it oft en with a magnet. When nonmagnetic is reached, edge quench to harden the cutting edge, and leave the spine slightly softer for additional strength and toughness.
Submerge the blade in the quench oil once all the color has left the blade and it goes to black. Allow the blade to cool to room temperature in oil. This will take an hour or so.
A variety of things will work as quench oil and everyone has a favorite. Depending on the types of steel used, I’ve had good luck with canola oil, ATF transmission fluid and mineral oil. I quenched my blade in Texaco type A.
WARNING! Mixing hot steel with oil can and will cause a fire! Be sure to take appropriate safety precautions. A well-ventilated space free of other flammable materials, as well as personal protective gear and a fire extinguisher, are musts!
8) Check for Hardening
Once the blade has cooled, remove it from the oil and clean it off. Brake cleaner works well for this, as well as simple dish soap and warm water.
Once the blade has cooled, remove it from the oil and clean it off . Brake cleaner works well for this, as well as simple dish soap and warm water. If the hardening was successful, you should see an area of clean steel on the cutting edge where the carbon scale has popped off the blade.
A second simple and easy way to check for a hardened blade is with a fresh, sharp file. Run the file over the knife’s cutting edge. The file should skate easily and not bite into the edge. If this is the case, you are ready to temper the blade.
9) Tempering
During the basic heat treatment and tempering process, the steel oxidizes and the clean portion changes color.
Tempering is a fairly simple process. Basically, in order to reduce brittleness and increase toughness, tempering is heating the blade to a lower temperature than you did in the annealing step.
Again, if you have access to a heat-treating oven, by all means use it. However, a toaster oven or basic household oven will work just as well. Oven temperatures vary greatly—especially toaster ovens—since they lack heavy-duty insulation. This means the exact temperature you need to use will vary as well.
I start by putting my blade in the oven for an hour at 375°F. As the steel heats it oxidizes, and the clean portion changes color. This is a simple, basic heat treatment and temper, so the color change is your indicator rather than an exact temperature.
As the heat rises the color goes from a bright gold to a shade of bronze straw, then a light purple to a blue on its way to a dark blue/almost black. The dark bronze to purple is your goal. The blade should be hard enough to hold a good edge but soft enough to not chip or break during use.
I did three one-hour cycles, each 25°F hotter according to my oven, and 425°F was the temperature that gave me the desired result. A simple trick to get a more even heat in a regular household oven is to put a sheet pan on the bottom rack.This holds heat closer to the element and keeps the temperature fluctuations to a minimum.
10) Finishing and Final Edge
Jump into the rich tradition of knifemaking with this collection of essential books from BLADE. You’ll save a bundle with this bundle!
Now you have a hardened and tempered blade ready for finishing and a final edge.
You need to remove only a small amount of steel to get down to the final edge. Don’t rush at this point! Go slowly to keep from getting the steel too hot and ruining all your hard work up to now. As long as the steel stays bright and shiny you will be fine. Any discoloration at this stage means overheating and the risk of losing the blade temper.
You also are working down to the final, finished and sharp edge. Stitches aren’t cheap! Be aware of where your fingers are.
Some light grinding or fi ling as in the previous steps will bring your bevels down to the finished edge. Polish to at least 220 grit. A higher-grit polish will look more finished, as well as be less prone to rust, and provide smoother, more fluid cuts.
Once you get to 220, it’s time to apply an edge and see how you did. Some simple test cutting and chopping will tell you if you need to change anything, such as the thickness of your cutting edge or if you need to re-temper perhaps a few degrees hotter. Use the materials you originally planned on cutting with your new bowie to decide this.
For example, since the blade primarily will be a camp knife, simple tests such as splitting kindling, cutting rope and twine, and making the all-important hotdog stick will tell you what you need to know.
Not to be confused with the Gerber Commuter, Liam Neeson’s latest action movie, Taken 4The Commuter (in theaters Jan. 12) features at least one knife that this BLADE writer can spot. One early review made note of its use in scenes involving, “stabbing with knives.”
Here’s the trailer:
And here’s a still of the knife in question:
Identifying the knife is tricky given how brief it appears in the trailer. It sports two edges and a spear point, so it’s most likely a dagger. The position of the hand and the obscurity of the handle suggests a push dagger.
It wouldn’t be the first time Cold Steel knives made an appearance in a movie, but this is only a guess. The keychain hole in the handle certainly lines up with the commuting theme. The FGX sports a plastic-fiberglass polymer (Grivory) blade, although it’s unclear if that’s relevant.
However, the blade in the movie still looks longer than the FGX’s 2.5 inches. The FGX’s fuller (aka “blood groove”) isn’t visible in the clip, either.
Regardless, I’m going with some sort of small dagger similar to what Cold Steel produces. It just as well could be a product of the prop department, but I’d like to think studios use the real deal. Maybe a trip to the theater is in order. This looks like a good popcorn flick for a cold, wintery day.
5/4/18 UPDATE: The Knife is a Benchmade SOCP 176
Thanks to some sharp-eyed BLADE readers, this knife was identified as a Benchmade SOCP 176. Thanks to everyone who got in touch!
Words can’t do justice to some knives. Here’s one of them.
The American Bladesmith Society (ABS) selected Terry Vandeventer to make the Master Smith of the Year Knife for 2018. He didn’t disappoint.
Vandeventer posted these photos of the knife to Facebook:
You can get your hands on this incredible knife when it’s auctioned at the BLADE Show June 1-3 in Atlanta. Get tickets and show information at bladeshow.com.“It was a pleasure to make and it’s going to a good and worthy cause,” Vandeventer wrote.
Proceeds from the auction of the knife will benefit the ABS.
Features
Feather-pattern damascus steel blade
Damascus fittings
Argentium silver and copper ornamental filework
File-worked frame handle
Museum-fitted woolly mammoth ivory
How You Can Get This Knife
“Professional photos will be taken, and it will be auctioned at the BLADE Show in Atlanta next June. Proceeds going to the ABS.,” Vandeventer wrote in this post.
The #3EXP Mountain Man Express lever-lock pocketknife is one of Queen’s most recent models. The 3.75-inch blade is 1095 carbon steel. MSRP: $350.
Queen Cutlery Co. has been forced to cease all production and close its facility in Titusville, Pennsylvania, as of today, Jan. 10, according to a Queen press release.
Kenneth Daniels, chief executive officer and president of Queen, cited issues with cash flow as the cause of the cessation of the company’s knife production. He added that all Queen employees will be furloughed while the company goes through a period of reorganization.
The announcement posted on Queen’s website.
According to Queen’s Ryan Daniels, more information concerning Queen’s future will be released in February.
Queen made knives under the Schatt & Morgan and Schatt & Morgan Express lines, as well as the private label lines of Queen Classics, Schatt & Morgan Premier, Tuna Valley Cutlery Co., Cougar Creek Knives and Trestle Pine Knives.
Queen traces its roots back to the old New York Cutlery Co. (Schatt & Morgan), which moved from Gowanda, New York, to Titusville in 1902. The company incorporated as Schatt & Morgan Cutlery Co., Inc., and began cutlery production in January 1903. The Schatt & Morgan knives were made until 1931.
Then known as Queen City, Queen had a number of contracts with the government during World War II and also supplied other cutlery companies in their war effort. Queen City supplied product to the Jersey City Depot from May 1944 through October 1954. In addition, Queen City furnished knives for Williams Brothers Cutlery in California from Nov. 18, 1942, to December 1945.
In 1991, Queen started re-issuing the Schatt & Morgan knives, a Robeson Series in 1995, and a “File & Wire” series in 1998.
Kenneth Daniels bought Queen in 2012 and Queen had been specializing in a wide range of traditional pocketknives since then.