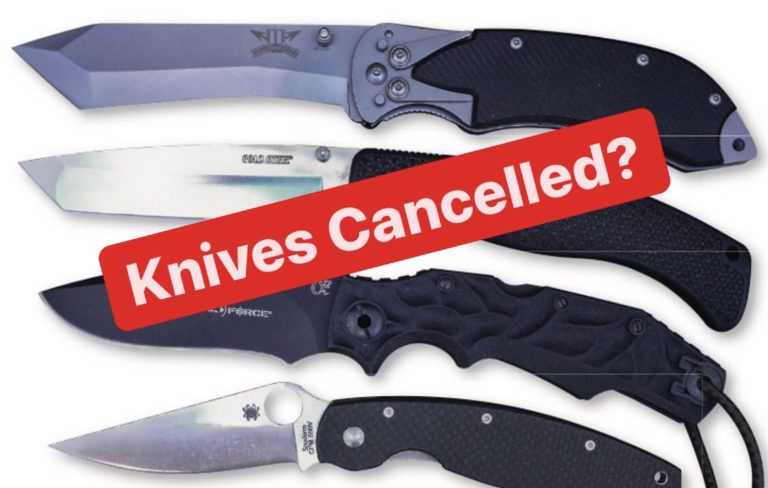
What about knives is susceptible to the cancel culture?
By Steve Shackleford
The so-called cancel culture that’s plagued our nation for some time now has somehow managed to overlook our beloved knife community—at least so far. Of course, this is not to say that the “woke mob” hasn’t attacked a number of personages revered not only worldwide but in the knife community as well, such as presidents George Washington and Abraham Lincoln, both of whom carried knives of various types, including some really cool pocketknives that have been featured in BLADE®.
In fact, some knifemakers, including Ernest Emerson through his Emerson Knives, Inc., and ABS master smith Jerry Fisk, have built and sold knives with handles made of wood taken from the trees on Washington’s Mount Vernon estate. Many other presidents have connections to knives as well, but, for now, their statues or monuments haven’t been toppled, spray-painted with graffiti, or otherwise vandalized by the wokesters—or at least not like Washington’s and Lincoln’s have.
All of which got me to thinking: If the woke mobsters were to come after the knife community, what might they single out? There are some words knife enthusiasts use that could be targeted. Stockman, for instance, would no doubt enrage those who might demand it be called stockperson instead. However, if you ask for a stockperson at a knife store, instead of a knife the attendant might bring out Hank, the 38-year-old shelf stocker from the storeroom.
Another pocketknife pattern name that might ruffle wokester tail feathers is boy’s knife. Somehow I don’t think changing the name to girl’s knife would placate the mob, either. The next-door neighbor, Mr. Wingtip, referred to me as a juvenile delinquent when I was a kid, but juvenile delinquent’s knife probably would send the culture cancelers into conniption-fit overdrive. I’ll just leave the “solution” to that one to woke R&D. As for Boy Scout and/or Girl Scout knives, I’m not even going there!
That brings us to the venerable gent’s knife, but BLADE has chronicled a trend that has been ongoing for quite a while now—women embracing gent’s knives for their own use. As a result, whenever we do stories on gent’s knives, we include them under a gent’s/lady’s knives umbrella. On the other hand, who am I kidding? I would likely get “bricked” by the woke mob for that one, too.
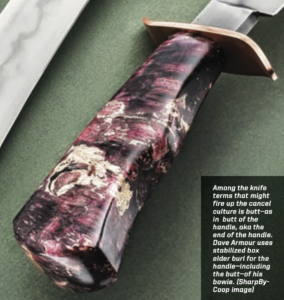
One knife term that might fire up the wokey-dokers is butt—as in butt of the handle, aka the end of the handle. My wife Susan is always saying “pardon my appendage” when she bumps into me, so maybe we could change butt to appendage. On the other hand, we could just tell the cancelers to butt out, eh?
Slip joint is another knife term that might raise some woke-brows. Joint is also another name for prison—think “the joint”—and with so many wokester calls to abolish prisons, slip joint might have to be replaced with slip halfway house or some such. Speaking of which, the defund the police movement means all knives designed for law enforcement would probably come under attack from the mob and would require replacement with some other knife name—social worker knives, anyone?
On the other hand, I can think of at least one knife term that the woke troopers would probably embrace wholeheartedly—pig sticker.
With that, consider this installment of “Unsheathed” canceled!
THE AWARD-WINNING FACTORY KNIFE COMPANY UNDERGOES A BRAND REFRESH IN 2020
The year was 1986. The Soviet Union hosted its first Goodwill Games. Halley’s Comet was visible from Earth for the first time in 76 years. Up to 6.5 million people participated in a charity event called Hands Across America. Phantom of the Opera premiered in London’s West End. And SOG Specialty Knives—aka SOG—made its debut.
The first SOG-brand knife was a reproduction of the original SOG Bowie in tribute to the Studies and Observations Group* of Vietnam War fame. Eventually, the SOG Specialty Knives line grew to include knives mass produced with attention to detail and quality. Today, the company has grown into an innovative, major player whose products are among the leading choices of Navy SEALs and other military, law enforcement, fire and rescue, tradesmen and everyday knife users the world over. Folders, fixed blades, flashlights, multi-tools and gear— SOG has you covered.
Over the years, it’s only natural that a knife company keeps growing in size and product offerings, constantly evolving itself and its knives. SOG has kept moving forward, and 2020 marks a significant milestone in the company’s evolution: a prominent revamp of sales and marketing strategies, a refresh of existing models and an engineering of new ones to further meet the demands of those who serve and keep us safe, as well as the needs of everyday knife consumers.
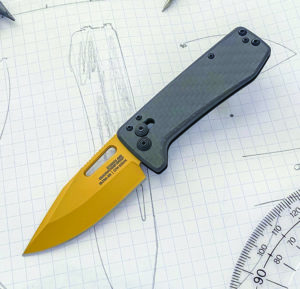
With its slender form factor, XR lock, carbon fiber handle and CTS XHP stainless blade, the Ultra XR defines classy high tech. The super-slim folder carries well and also doubles as a money clip. The gold-titanium-nitride coating adds a bit of bling. The blade also is available in a more subdued black-titanium-nitride coat.
The architect for the brand refresh is Jonathan Wegner, company brand vice president. “We’ve taken the best things from the last three decades, and doubled down on the things that we feel are most relevant to our end users today and into the future,” he explains, “and are focused on delivering solutions that are authentic to the brand.”
Why the transformation? According to Wegner, consumers reported that the company’s more recent focus and quality were not there. Many stated their idea of SOG was from an era that is now past, when the company brought some innovative ideas to market and was driven to produce the best knives and tools for tactical and other consumers. “So, by first studying and observing ourselves, we were able to determine that a significant change was needed,” Wegner notes. “Most of this led to our reposition and future focus.”
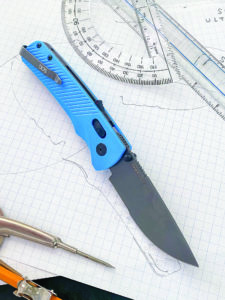
The Flash AT is designed for daily carry with a drop-point blade of D2 tool steel and a handle of molded glass-reinforced nylon in multiple color options.
SOG founder and president Spencer Frazer was the primary driving force behind the company and many of its product designs, from its inception until a couple of years ago when Joe McSwiney was hired to lead the outfit.
Spencer Frazer, SOG founder
Instead of the old SOG mark, the company refresh will include blades marked STUDIES AND OBSERVATIONS GROUP.
“Spencer was involved throughout the brand refresh process, and a lot of what we have done with the brand hearkens back to his original vision,” Wegner states. “Therefore, it was vital that he was involved throughout every aspect of it.” Even back then, Frazer was seriously considering stepping down from overseeing daily operations and returning to his passion of developing innovative products. “So, once the brand refresh and new products strategy were in place,” Wegner says, “he felt comfortable stepping back.”
SOG has been Spencer’s baby since day one, so stepping back at any time or putting just anyone in charge isn’t what he wanted. “SOG’s future is pushing into an even greater extension of the original intent when it was founded,” Spencer notes. “I cannot be prouder of what the company has grown into.”
RELENTLESS by DESIGN
The new company slogan is “Relentless by Design.” This encompasses SOG’s past while embracing the future. Being a major player in the tactical market for many years has pushed the company to continuously innovate and bring new models to market. Starting this fall, SOG will double down on the pushing and debut some intriguing models.
With Frazer retired and the right people in place, the company is poised to embark on a fresh, new and exciting chapter where its knives and other products will be more focused and specifically aimed at three target groups: Professional, Outdoor and Daily. More on them later. Meanwhile, by the time the new vision was in place, many of SOG’s lower-end knives and other products already had been discontinued. “We felt those items didn’t truly represent the types of items we want to be [offering],” Wegner says.
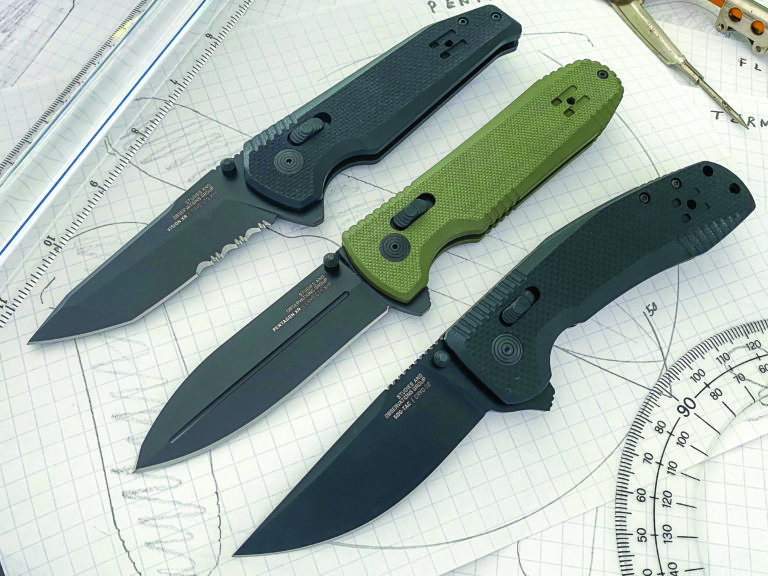
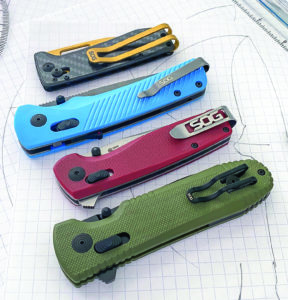
SOG has gone to some stylish pocket clips this year, model examples from top: the Ultra XR and its extra-wide/long clip (it doubles as a money clip), Flash AT, Terminus XR and Pentagon XR.
Along with this, Walmart, which previously sold some of the now- discontinued, lower-end SOG items, was removed as a retailer. Most everyone else who had sold SOG knives will remain, including many knife-specific retailers on the Internet and elsewhere.
Beginning in the fall, the first phase of the brand refresh will officially go live, and, as of press time, some of the new knives already had been released. All of the new product classes are designed to function at peak levels, engineered with intent and built with the best materials for each specific price point.
As part of the new SOG’s knives fall into the three aforementioned categories: Professional (law enforcement, EMT, fire and military); Outdoor (hunters, hikers, campers, fishermen, etc.); and Daily (trades, office workers, warehouse workers and such). All three incorporate what the SOG brain trust calls a visual brand language. This means each category incorporates a specific geometric shape that is a motif for the designs that populate it.
For example, the knives in the Professional category have trapezoidal design elements. Outdoor employs a circular design motif. Finally, Daily employs triangular design elements. The purpose of the visual brand language is so you can readily identify each knife’s purpose.
In addition to the visual brand language, SOG is using new “naming conventions” as well. The standardized approach allows you to easily identify the primary technologies the knives use. For example, XR denotes the knife uses SOG’s XR lock (SEAL XR), AT denotes Assisted Technology (Flash AT), and FX indicates the knife is a fixed blade (SEAL FX). There are a few other designations but these are the most commonly used.
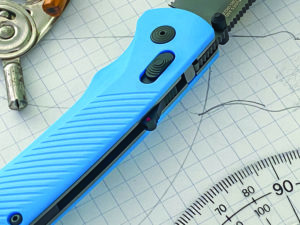
With the assisted- opening AT-XR lock, the Flash AT combines rapid deployment with lock security. Pulling back on the ambidextrous release disengages the lock. Note the lock safety on the handle spine. The red dot indicates the blade is ready to open.
Also new is a color-coded accent stripe on the packaging. Yellow is for Daily, light blue for Professional and gray for Outdoor. Topping it off is new packaging in which you can actually see the product inside and read about its key highlights on the partial flap of the box. The packaging is bold, forward looking and helps usher in the new SOG era.
The blade mark also has changed. The previous SOG logo is now STUDIES AND OBSERVATIONS GROUP—a nod to the past while looking to the future.
FALL KNIFE DEBUTS
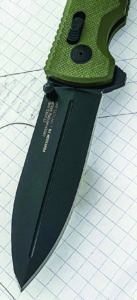
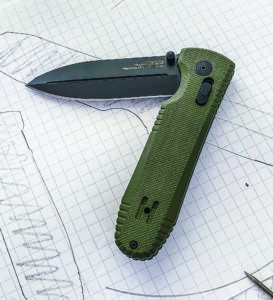
First up for the new fall line is the SOG- TAC XR, a Professional class tactical folder using the XR lock, a 3.5-inch drop-point blade of D2 tool steel, flipper opening and a textured G-10 handle. The ergonomic handle integrates a guard, dual nested steel liners, and a deep-carry pocket clip. Handle colors come in black or OD green. Another Professional class piece is the Pentagon XR. Building on the legacy of the Pentagon series of folders and fixed blades, it takes the dagger-ish styling and adds the XR lock, textured G-10 handle, dual nested steel liners, flipper opening and a 3.5-inch spearpoint blade of CTS XHP stainless steel. Handle colors are black, FDE and OD green. The Vision XR flipper folder brings some aggressiveness to the Professional series, with bold styling and a 3.5-inch double- ground tanto blade of CTS XHP, and a textured black G-10 handle with dual nested liners.
The revamped Pentagon XR tactical folder has multiple choices of G-10 handle colors, and a fullered spear- point blade of CTS XHP stainless steel. The knife features flipper-tab and ambidextrous thumb-stud opening options.
In the Daily category is the Ultra XR, an ultra-thin, ultra-lightweight gentleman’s folder with a linerless carbon fiber handle and a 3-inch clip-point blade of CPM S35VN stainless. An extra-large, fold-over pocket clip doubles as a money clip. The blade is available in gold titanium nitride or black coating options. Another Daily category entry, the Flash AT features a 3.5- inch drop-point blade in D2 powered by SOG’s Assisted Opening Technology. The molded Zytel handle is available in a choice of red, cyan, yellow and black. The new folders use pivot bearings for ultra- smooth blade action.
SOG long has been a viable player in the production knife market and the new refresh elevates the company even further. Expect more good things to come.
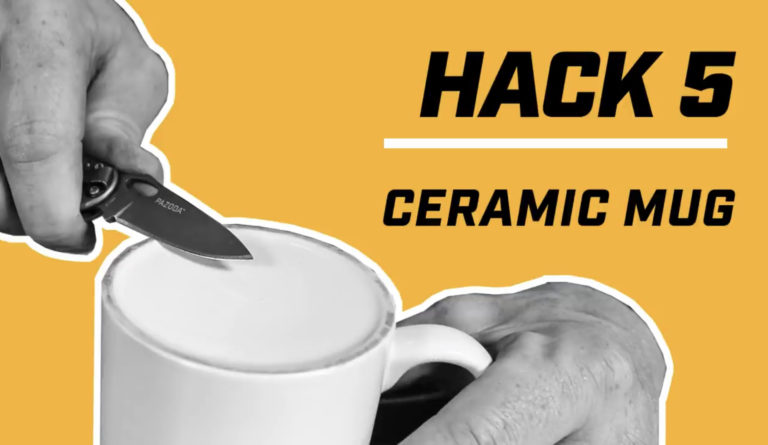
Work Sharp Sharpeners put together this tutorial of five knife sharpening “hacks” when you’re away from your usual setup. Watch the video to learn how to sharpen a knife with:
A saw blade
The window of a truck
The spine of another knife
A computer mousepad
A ceramic coffee mug
Hopefully you won’t ever need to use these techniques, but now you’ll know what to do if you’re in a pinch.
BLADE Show management is proud to announce that it is the new owner of the International Custom Cutlery Exhibition. The 2021 International Custom Cutlery Exhibition (ICCE) will take place March 26-27 once again at the historic Fort Worth Stockyards in Fort Worth, Texas.
Tickets are slated to go on sale in November.
About ICCE
The successor to the old Knifemakers’ Guild Show, the ICCE first took place in Kansas City in September 2015 before moving to the new site in Fort Worth in March 2019.
The ICCE featured exhibitors exclusive to the Guild and the American Bladesmith Society (ABS) all under one roof in one show—the first time such an event had ever been tried. Although the event was a success, show coordinator Jerry Moen and officials of the Guild and the ABS wanted more. Meanwhile, BLADE Show management showed interest in running the event. It was time for a change in show leadership—and what better hands to place the reins of that leadership in than that of the BLADE Show team?
“The only way the ICCE can do what it needs to do is with the help of BLADE Show management,” Moen observed, adding that BLADE®Magazine is an invaluable tool to add to the mix, too.
Chimed in ABS Chairman Steve Dunn, “I think the change will be a good thing. I think BLADE Show management will be able to reach more people and generate a lot of new interest in the show.”
Looking Forward
According to BLADE Show officials, the first goal of the new arrangement is to keep the ICCE close to what it has been before. After that, the event will transition to resemble BLADE Show.
“We just don’t want to come in right out of the gate and change everything,” noted BLADE Show/ICCE director Alicia Newton.
As a result, don’t expect many changes at the 2021 ICCE. What you can expect, though, is an exciting venue with loads of potential.
Moen, who also is a voting member in the Guild and served on the Guild board of directors for six years, said BLADE Show officials fell in love with the Fort Worth venue at first sight.
Added Guild board member Gene Baskett, “It’s a great venue. There are many great places to eat.”
There are also many attractions for the whole family, music venues and much more.
Knife Awards
While the ABS will not present awards or do any testing for ABS master or journeyman smith stamps at ICCE—the ABS does most of that at the BLADE Show—the Guild will. It will continue to present honors for knives in the following show categories: Best Art; Best Bowie; Best Fighter; Best Dressed Fighter; Best Folder; Best Multi-Blade Folder; Best Collaboration; Best Hunter; Judges’ Choice; and Best Tactical Folder.
The Guild also will present the annual Red Watson Award, Nate Posner Award and Hank Rummel Award, the latter for best first-year probationary Guild member. It will also determine both its voting and probationary members at the show.
The ICCE, meanwhile, will present awards for knives in the following show categories: Best Forged Blade; Best Bowie; Best Art; Best of Show; Best Combat Knife; Best Folder; Best Hunter; Best Damascus; and Best Collaboration.
Moen said he will stay on as a show consultant. “I’m 71. I can’t do it justice [as coordinator] anymore. I don’t have the energy level to. But I’m going to stay because I know the show politics around here,” including having Fort Worth Mayor Betsy Price give the official show welcome as a special guest at the 2019 ICCE. “I will stick with it as long as I can, anything to make it work.
“I always thought a show in Texas would work. There’re cattle, oil—the money’s here.”
THOSE WHO KNOW DISSECT TV’S LONG-RUNNING FORGED IN FIRE
Bladesmithing enjoys the same treatment as motorcycle building got in the mid- 2000s—that is, it has become a well-established reality show competition on cable television. Such treatment has ups and downs regarding its effect on the knife industry. Be that as it may, History Channel’s hit show, Forged in Fire, has been on the air for seven seasons, which proves its staying power.
FIF is characterized as both inspirational and gimmicky depending on who you ask. And ask we did—two contestants, a former FIF guest judge and a member of the board of directors of the American Bladesmith Society—with the goal of shedding light on where the hit show lands on the spectrum between the two.
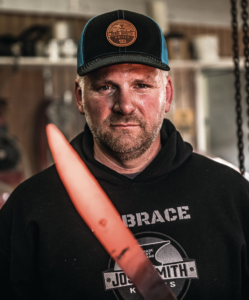
At 19, Josh Smith was the youngest smith to ever achieve ABS master smith status when he did so in 2000. He has appeared on two episodes of FIF. (Brandon Horoho mage)
The long-running TV competition undoubtedly has been an asset to the forging community. For starters, it has introduced the general viewing public to a cast of characters that constitutes a realistic cross section of the knifemaking community. While its list of participants is far from a comprehensive Who’s Who of bladesmiths, one would be hard-pressed to spend more than an hour at the next BLADE Show without encountering a first- person recollection of pounding steel on the small screen.
More important is the awareness such publicity has brought to the craft, according to J.W. Randall, veteran ABS master smith and winner of FIF’s 2017 international championship (season four, episode 19). “It’s brought the public’s awareness around to hand- crafted items, and that’s a good thing,” Randall observed. “It appeals to a lot of people because it’s an old craft, and it’s been brought back, in a sense.”
Indeed, the fiery furnaces easily translate into a burning interest among many of the show’s viewers. For them, witnessing the process of manipulating steel into a knife, sword or axe using fire, a hammer and other assorted machinery and instruments, while facing the adversity of time constraints and random surprises, is at once exciting and inspiring.
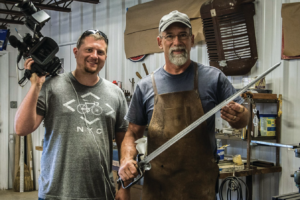
ABS master smith J.W. Randall holds his spadroon sword, the one he made to win the International Competition episode of FIF. At left is “Dan the cameraman.” (Tammy Randall image)
“The men and women who compete on this show are engaging in an arena of gladiators,” described ABS master smith Jason Knight, B.R. Hughes Award winner and guest FIF judge during portions of seasons three and four. He agreed that the show’s primary value lies in inspiring its audience to appreciate, and perhaps pursue, a craft that ties together history, art, science and technology from an ancient world. “It’s important in our culture,” Knight added. “People like me hold fast to it, and I want to share it as art.”
Such interest has had a measurable effect on ABS membership, according to ABS journeyman smith, board member and treasurer, Bill Wiggins. “I don’t know what to call it,” he pondered. “It’s not a spike—I’d call it a steady rise in membership since the show started.”
An ABS journeyman smith and treasurer of the ABS, Bill Wiggins said the ABS has enjoyed a steady rise in membership ever since FIF’s debut episode seven years ago. (image courtesy of Bill Wiggins)
He added that the ABS has also seen a lot more turnover lately, with people joining up for a year only to never be heard from again. “We’re still gaining members, though,” he allowed. “There’s good and bad, but the good outweighs the bad.”
“The bad” is definitely part of the mix, according to the story’s sources who were contestants. Though none had the proverbial sour grapes about their FIF experience, the recurring caveat was that good television producers have one goal in mind, which is producing good television—and that doesn’t necessarily translate into total satisfaction for the contestants.
One way to achieve “good television” is to introduce drama. Thankfully, according to Josh Smith, a two- time FIF contestant and the youngest person ever to earn an ABS master smith stamp at 19 in 2000, it didn’t include any typical reality-show-style infighting on the set.
“Everybody needs to realize that they’re trying to make an entertaining TV show, and I think they do a good job,” Smith explained. “The clock provides the drama that they need instead of drama between the contestants.” He added that Mareko Maumasi, his competitor and winner of the “Judges’ Pick” special episode (season four, episode one), is now a good friend. “We didn’t have to become enemies!” Josh emphasized.
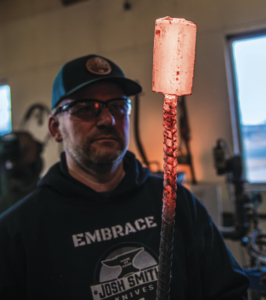
Unanimously, those interviewed who appeared on FIF maintained that the contestants should be better paid. “If you’re not sure if you do that show that you’ll be able to make your house payment, don’t do it,” advised Josh Smith, here admiring a red-hot billet in his shop.
TIME TELLS
Regarding the clock, each bladesmith is presented with strict time constraints— typically three hours to forge, grind and heat treat a blade, followed by a round of judging. In a second round, they have three hours to finish and handle the blade, followed by another round of judging.
“Three hours is a totally unrealistic timeframe,” Randall said. “That’s what makes the show interesting. Everything is stacked against you from the front, and that’s just a critical-thinking-and-an- overcoming-adversity deal. If you realize you’re backed into a corner, you have to adjust and come up with something to overcome it to gather yourself some time back on that clock.”
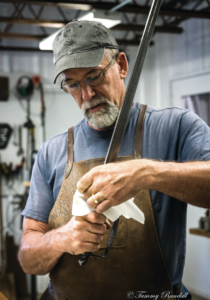
J.W. wipes down the spadroon sword in his shop. Of FIF he said, “It’s brought the pub- lic’s awareness around to hand-crafted items, and that’s a good thing.” (Tammy Randall image)
“A lot of these contestants have no experience, and it’s very entertaining to watch someone who doesn’t know what they’re doing get out there and forge a blade with unknown material,” Knight added. “It’s like throwing them to the beasts. It’s very gladiatorial and can be catastrophic. A lot of people will win by default because competitors will push themselves to the edge or get a bad choice in some garbage materials.”
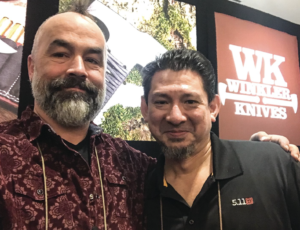
Jason (left) and his fellow FIF judge, Doug Marcaida, deliver looks that “will keal” at the Winkler Knives booth during the 2018 SHOT Show. (image courtesy of Shelly Knight)
He emphasized that the use of questionable materials adds a dramatic challenge to the mix, and during his time as a judge, Knight would advise the show’s producers on what to make available. “They have no idea about metallurgy, chemistry, physics or any science,” he remembered. “Their job is to produce content, and they have license to do whatever they want because it is entertainment. It’s good television but it’s not good bladesmithing.”
During a third portion of the show, makers have five days, or 40 hours, at their home shop to produce another more elaborate project.
Knight likened the whole production to a television game show made to entertain rather than inform viewers of the actual forging process. “You shouldn’t watch Forged in Fire with an expectation of learning how to forge blades,” he said. “That isn’t what the show is about.”
He should know, as he said he and his wife, Shelly, created the original premise. Before Forged in Fire was ever conceived, Battle of the Bladesmiths began as an ABS competition. “In 2010, Bill Wiggins asked ‘Hey, what could we do at a hammer-in that would be more fun?’” Knight recalled. “Shelly got the idea from Iron Chef. She said ‘What if you did a competition where you have unknown materials, a limited amount of time and you have to make a knife that works?’”
“You shouldn’t watch Forged in Fire with an expectation of learning how to forge blades,” said Jason Knight, here in his FIF garb during a forging demo in Johnson City, Tennessee. “That isn’t what the show is about.” (Shelly Knight image)
Big recurve blades are one of Jason’s specialties. He said he and his wife, Shelly, created the original premise for FIF: the Battle of the Bladesmiths, the first of which was held in 2010 during an ABS hammer-in at Haywood Community College in Clyde, North Carolina. (Matt Cohen/2020 Knight Forge Studio image)
“Jason approached me about doing Battle of the Bladesmiths at the Haywood Hammer-In,” at Haywood Community College in Clyde, North Carolina, Wiggins confirmed. “He won the first one, and since then it has become a yearly event.”
Flash forward to 2014. Knight also competed in and won the first-ever, never-aired pilot episode of Forged in Fire. “I’m glad to have been a part of the founding legacy that no one knows about,” he laughed, adding that he also advised the content producers on 12 of the episodes but remains unlisted as a creator. “I wouldn’t do the show again unless they paid me what I want to get paid,” he added. “What I want to do is what I’m doing. What I want that show to be, it can’t be.”
Smith, who competed on the show twice (including season three, episode five) but never won, said if he could change something about the show, it would be an opportunity to explain the knife project to the judges. “Instead of just handing the sword over to the judges, give me two minutes to talk about it,” he said. “I would have educated those guys about details that otherwise they wouldn’t notice with a cursory glance. I think it would have made a difference.”
He feels like he got a raw deal with his Kora Sword, in which his mosaic damascus was oriented so the pattern lined up, made with all take- down construction and blind-pinned together. “It’s a lot of stuff that no one on TV knew,” he noted. To his credit, changing the rules to allow non-winners to get their knives back was a prerequisite for his return to the show.
Randall said editing was an aspect that bothered him. “I want to be represented for who I am. I don’t want television to modify me and make me be somebody that I’m not,” he said, referring to being “bleeped” twice during his episode when he did not use profanity. “I don’t want to be seen by the world as that guy. That’s not who I am and what I want to represent, and it bothered me.
J.W. and Argentina’s Guillermo Mendoza (left), the two contestants in FIF’s Inter- national Competition, enjoy a reunion at a past BLADE Show. (Tammy Randall image)
“And more so in my closing remarks,” Randall added regarding the editing. “I gave God the credit and the glory at the end of this deal, and I also gave our military a bunch of credit for providing the freedom that we should never take for granted. That all got omitted. Represent people accurately for who they are and what they are.”
MORE JACK
Unanimously, those interviewed who appeared on FIF maintained that the contestants should be better paid. The $10,000 prize, which is only administered to the winner, isn’t enough compared to the month it takes the maker away from his or her work. For non-winners, it is a big financial hit to walk away with nothing. “If you’re not sure if you do that show that you’ll be able to make your house payment, don’t do it,” Smith advised.
“It’s like rolling the dice,” Randall proclaimed. “For me, it’ll take $25,000 to get me back. They’re cutting a fat hog, partner. That producer is making money hand over fist. They asked me to come back and I told them I’m not leaving my shop for 10 grand when I can make more money staying in my shop. Why would I roll the dice and potentially come up empty and lose a month of income?”
Overall, each source in the article was gracious in his comments about Forged in Fire, often reiterating that the drawbacks are tied into the fact that it is a television show. The point is to be entertaining, and it comes at the expense of some grievances about how it should be produced. They unanimously agreed that the most important effect is that it has enlightened and inspired millions of people regarding the craft of forging and knifemaking.
For the latest knives, knife news, trends and more visit blademag.com, BLADE®’s popular Instagram page @blade_ magazine, and on Facebook and Twitter.
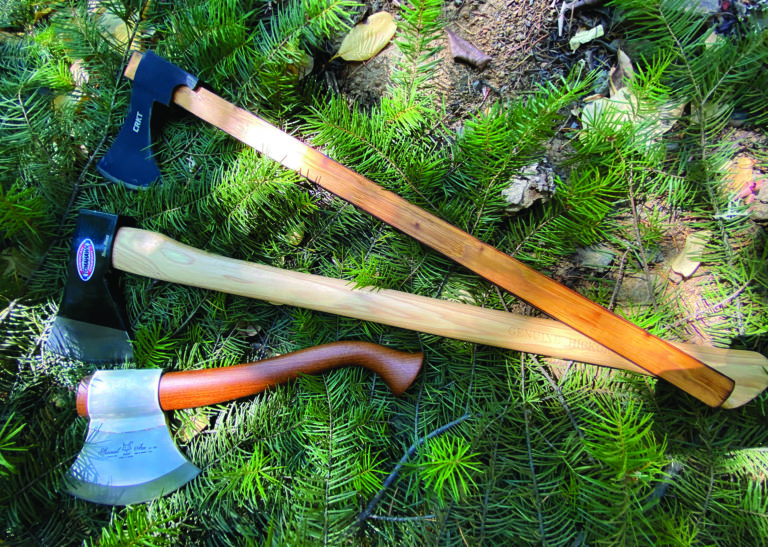
THREE FACTORY AXES TAKE THE CHOP, LIMB, TRIM, SHAVE AND STRIP TEST
BY JAMES MORGAN AYRES
We got snowed in one New Year’s in a rented cabin in the mountains. When I expressed concern about relying on electric heat in a remote cabin, the rental agent assured me that the electricity never went out. In any event, she said, “There was plenty of firewood for the fireplace and an axe. You’re an experienced outdoorsman. I’m sure you can cope.”
Of course, the electricity went out. I found about a cord of unsplit logs, each log 6-to-8 inches in diameter and 3 feet long. No split wood. No kindling. No axe. I batonned my ever-present Randall Model 1 around the edges of the logs to make kindling, and split enough wood to keep the fire going until the electricity came back on. Three days. I coped but every time I went to the wood pile, I wished I had an axe. Any of the axes in this field review would have been welcome.
Almost anything will chop softwood such as pine. For a proper challenge, we spent a day clearing madrone and oak at a friend’s property. Oak is a hardwood. Madrone is more fibrous and even tougher. We also split seasoned oak logs for our friend’s fireplace.
HIKING HACKER: The Fox Trekking Axe
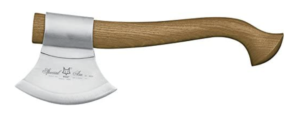
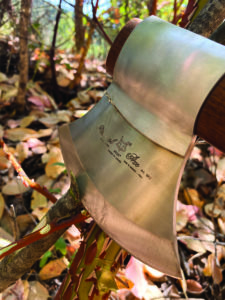
The Fox Trekking Axe is a terrific chopper for the backpacker, hunter or woods wanderer. Reminiscent of a medieval design, it’s light enough to keep in a rucksack and very well made.
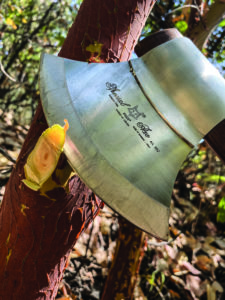
The thin blade came sharp enough to cut paper and kept its edge during a day’s work. Its good edge geometry and balance, comfortable and ergonomic handle—well, really, its overall efficient configuration, which I suspect was inspired by an old, well-proven design—enabled painless hours of chopping, limbing and trimming. The long edge worked well for stripping and shaving bark to make bare poles. I have no doubt that the Trekking Axe would serve to quickly erect a shelter against an incoming mountain snowstorm, or dress out and break down an elk carcass. With its long, almost knife-like edge, it could also skin out the elk.
The author opined that the Fox Trekking Axe would serve to dress out and break down an elk carcass, and, with its long, almost knife-like edge, it could also skin out the elk.
The author wrote that the Fox Trekking Axe is a well-designed, well- made tool he wouldn’t hesitate taking to the deep woods.
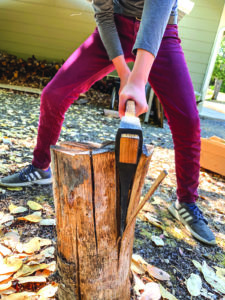
The thin blade, so efficient at taking down saplings and other work, tended to bind when chopped into the center of the seasoned oak logs. That’s a matter of geometry—the blade is not wedge shaped and won’t serve as a splitting maul, which is outside of its design envelope. A change in method overcame that limitation. By working around the edges and splitting off sections an inch or 3 thick, we were able to reduce logs to kindling.
Overall it’s a well-designed, well-made tool that I wouldn’t hesitate to take to the deep woods.
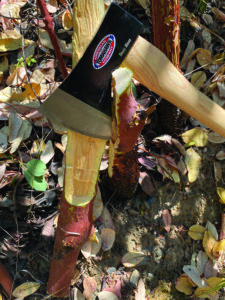
Good edge geometry and balance and a comfortable, ergonomic handle enabled painless hours of chopping, limbing and trimming with the Fox Trekking Axe. Here it chops the Ma- drone sapling with aplomb.
SPECS: FOX TREKKING AXE
CUTTING EDGE: 5.625” BLADE STEEL: 12C27 Swedish stainless HEAD WIDTH: 4.7” HEAD THICKNESS: .22” HEAD FINISH: Satin HANDLE MATERIAL: Sassafras (wood) WEIGHT: 13.8 ozs. OVERALL LENGTH: 13.8” COUNTRY OF ORIGIN: Italy MSRP: $104.95
THAT’S AN AXE: Cold Steel Trail Boss
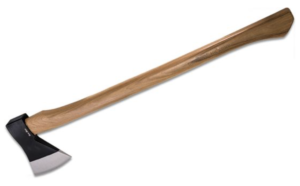
Photo from KnifeCenter.com
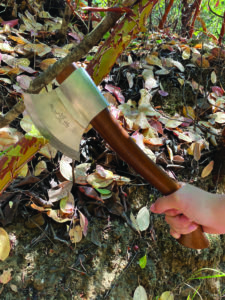
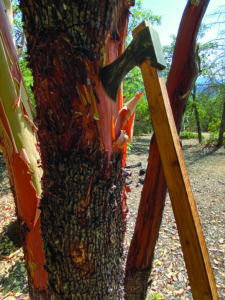
I hefted the Cold Steel Trail Boss, chopped through a 3-inch madrone sapling with one swing and paraphrased Crocodile Dundee’s line: “That’s an axe.”
About the size of a traditional cruiser axe, the Trail Boss has a smooth, comfortable haft/handle in-between axe and tomahawk length. The long edge came sharp and stayed sharp. The head has good wedge-shaped geometry that made splitting the seasoned oak logs a breeze. Unlike a splitting axe, it was not too thick for general work. One whack to the center of the log and there were two split sections on the ground. It’s not a splitting maul or splitting axe but almost as efficient. While it has enough heft to split oak, it’s also light enough and balanced so that downing saplings could be done with full control and no danger of cutting through and swinging too far.
According to the author, the head’s well-designed geometry, the smooth, comfortable handle and overall good balance enabled the Cold Steel Trail Boss to perform almost as well as a full-sized axe.
Using the Cold Steel Trail Boss, the author chopped through a 3-inch madrone sapling with one swing. Paraphrasing the famed Crocodile Dundee line, he quipped, “That’s an axe.”
When limbing, it was easy to control for precise cuts, even when limbing with one hand. The haft is not as long as that of a full-sized axe, nor is the head as heavy. However, the head’s well-designed geometry, the smooth, comfortable handle and overall good balance enabled it to perform almost as well as one.
Thisisagood,all-aroundchopping tool—actually, an excellent all-around chopping tool.
SPECS: COLD STEEL TRAIL BOSS
CUTTING EDGE: 4.5” BLADE MATERIAL: 1055 spring steel HEAD WIDTH: 6.5” FINISH: Black HANDLE MATERIAL: Hickory WEIGHT: 2 lbs., 9.5 ozs. OVERALL LENGTH: 27” SHEATH: Not Included COUNTRY OF ORIGIN: Taiwan MSRP: $49.99
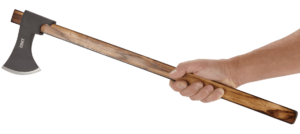
FRANKISHLY SPEAKING: CRKT Cimbri
Photo from CRKTknives.com
The CRKT Cimbri is an interesting design that, in my opinion, needs a bit of work to fulfill its potential. Modeled on a classic Frankish axe, with a nicely shaped head and a long handle, it is well balanced.
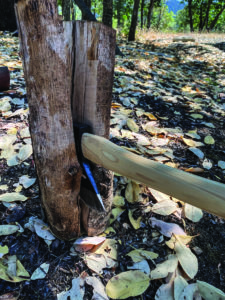
With a nicely shaped head and a long handle, the CRKT Cimbri is well balanced for such tasks as splitting oak logs.
Unfortunately, the edge wasn’t sharp out of the box and we test all knives, axes, tomahawks, swords, etc., as they come, so there’s a level playing field for all. The lack of a truly sharp edge required more force to chop through the saplings and impeded its penetration when splitting. Also, the thick coating on the carbon steel head caused it to drag in a cut. Even more unfortunate, and for some reason I do not understand, the haft is squared rather than oval or round. The acute edges of the haft/ handle not only were uncomfortable, they dug into our hands, producing blisters—in one instance breaking the skin of one of our testers’ palms.
The author stated he would round off the edges of the CRKT Cimbri’s squared-off haft.
Tuning up the edge would be a simple job, a matter of 20 or 30 minutes with a good stone. Reprofiling the haft wouldn’t be difficult, but I cannot understand why anyone would put a squared handle on an axe. Historical authenticity, perhaps?
SPECS: CRKT CIMBRI
BLADE LENGTH: 4.09” BLADE MATERIAL: 1055 spring steel HEAD THICKNESS: 1.26” FINISH: Manganese phosphate coating HANDLE MATERIAL: Tennessee hickory WEIGHT: 2 lbs., .8 oz. OVERALL LENGTH: 25.75” DESIGNER: Elmer Roush COUNTRY OF ORIGIN: Taiwan MSRP: $69.99
AUTHOR’S CHOICES
Which of the three would I choose if I were again snowed in and had only a stack of logs to burn? If I hiked in, the Trekking Axe would be my choice, no question. I’m too old to hump anything heavier in a rucksack filled with camping gear, food and ammunition. If I arrived by car or truck, the Trail Boss would be it. If I had only the Cimbri, I would use my belt knife as a draw knife to take off the corners of the handle and smooth it. That done, 20 minutes with a sharpening stone and I’d head for the wood pile.
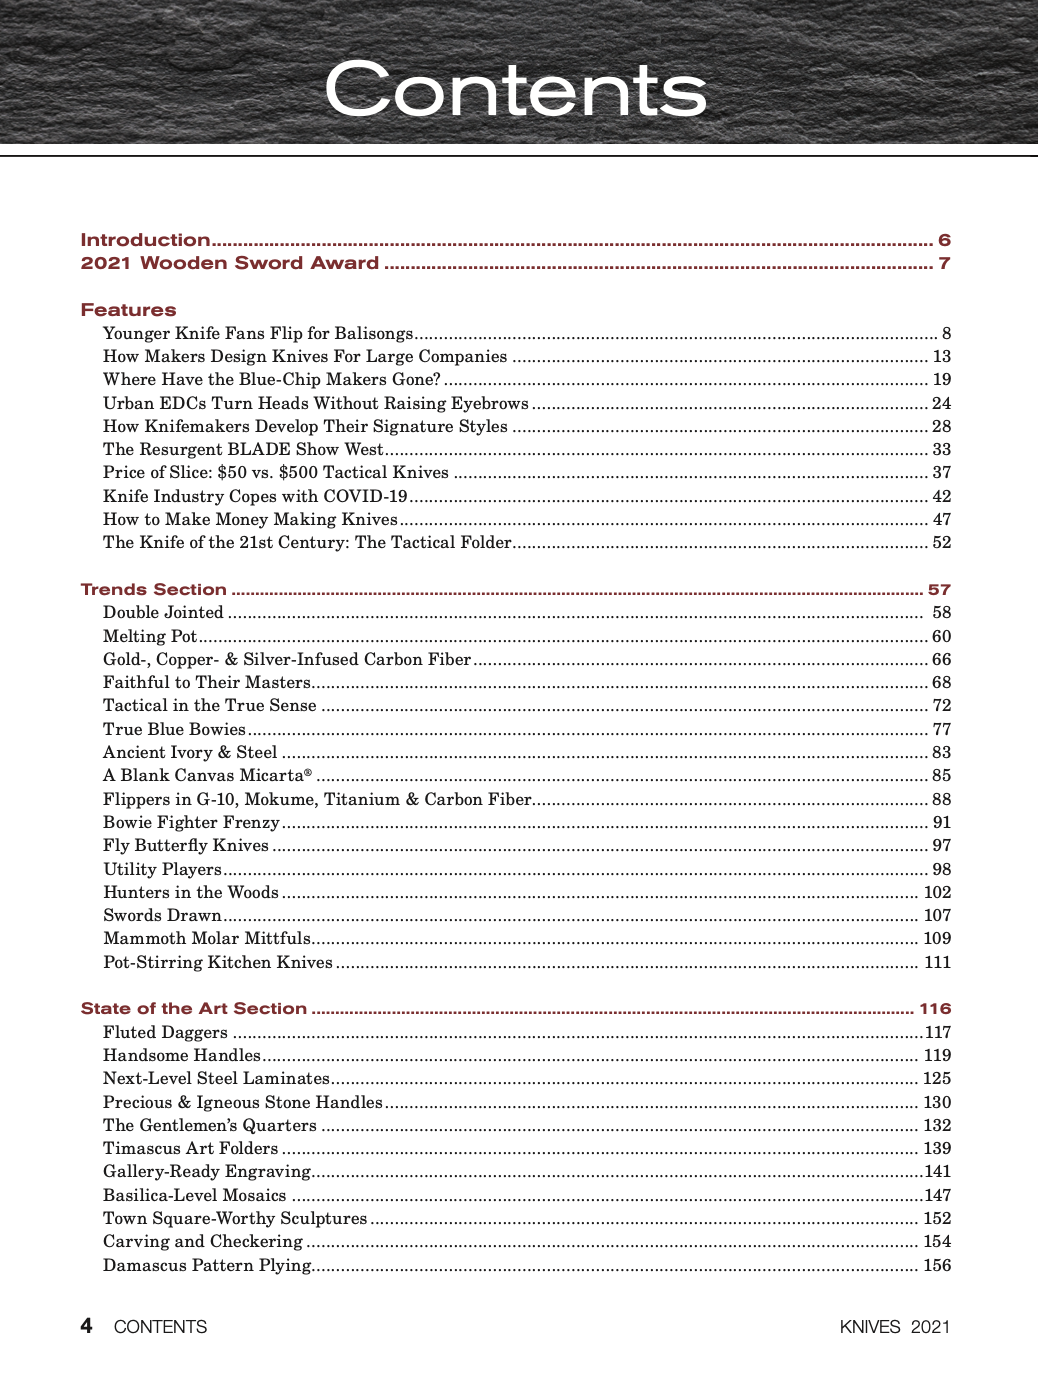
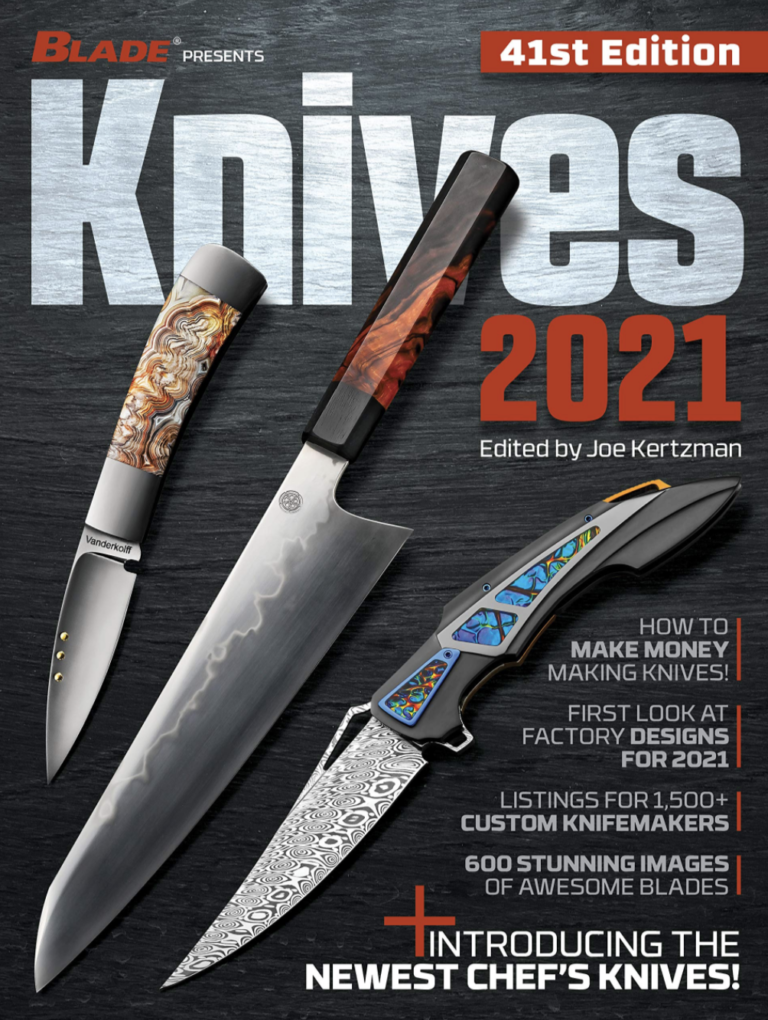
KNIVES 2021, presented by BLADE Magazine showcases blades of every class and style with more than 600 spectacular full-color images, from customs to factory knives.
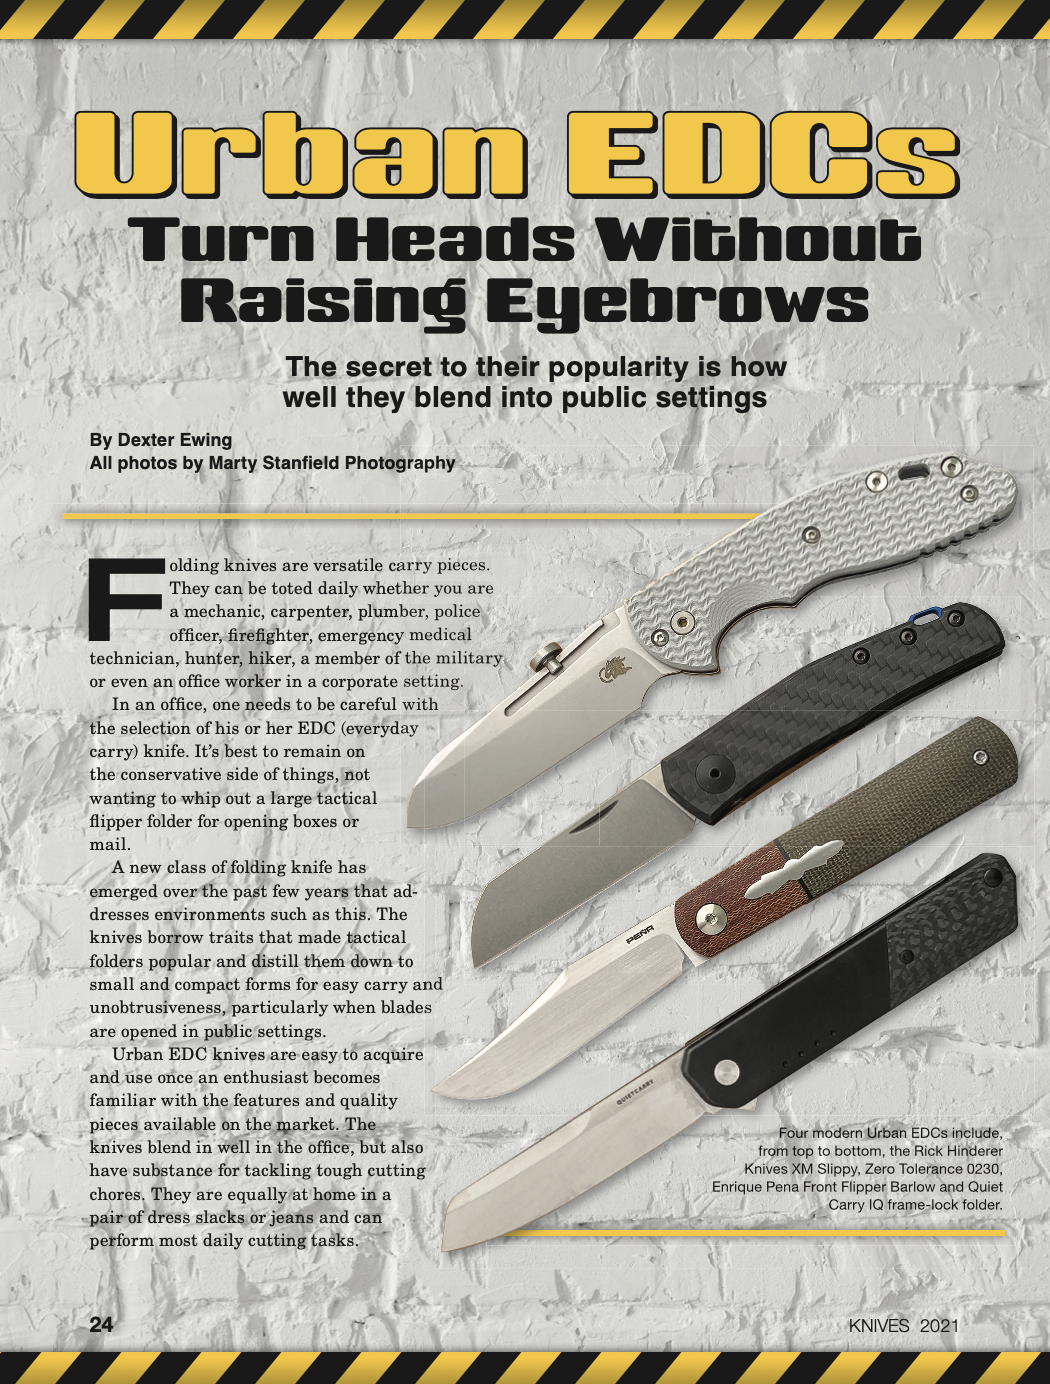
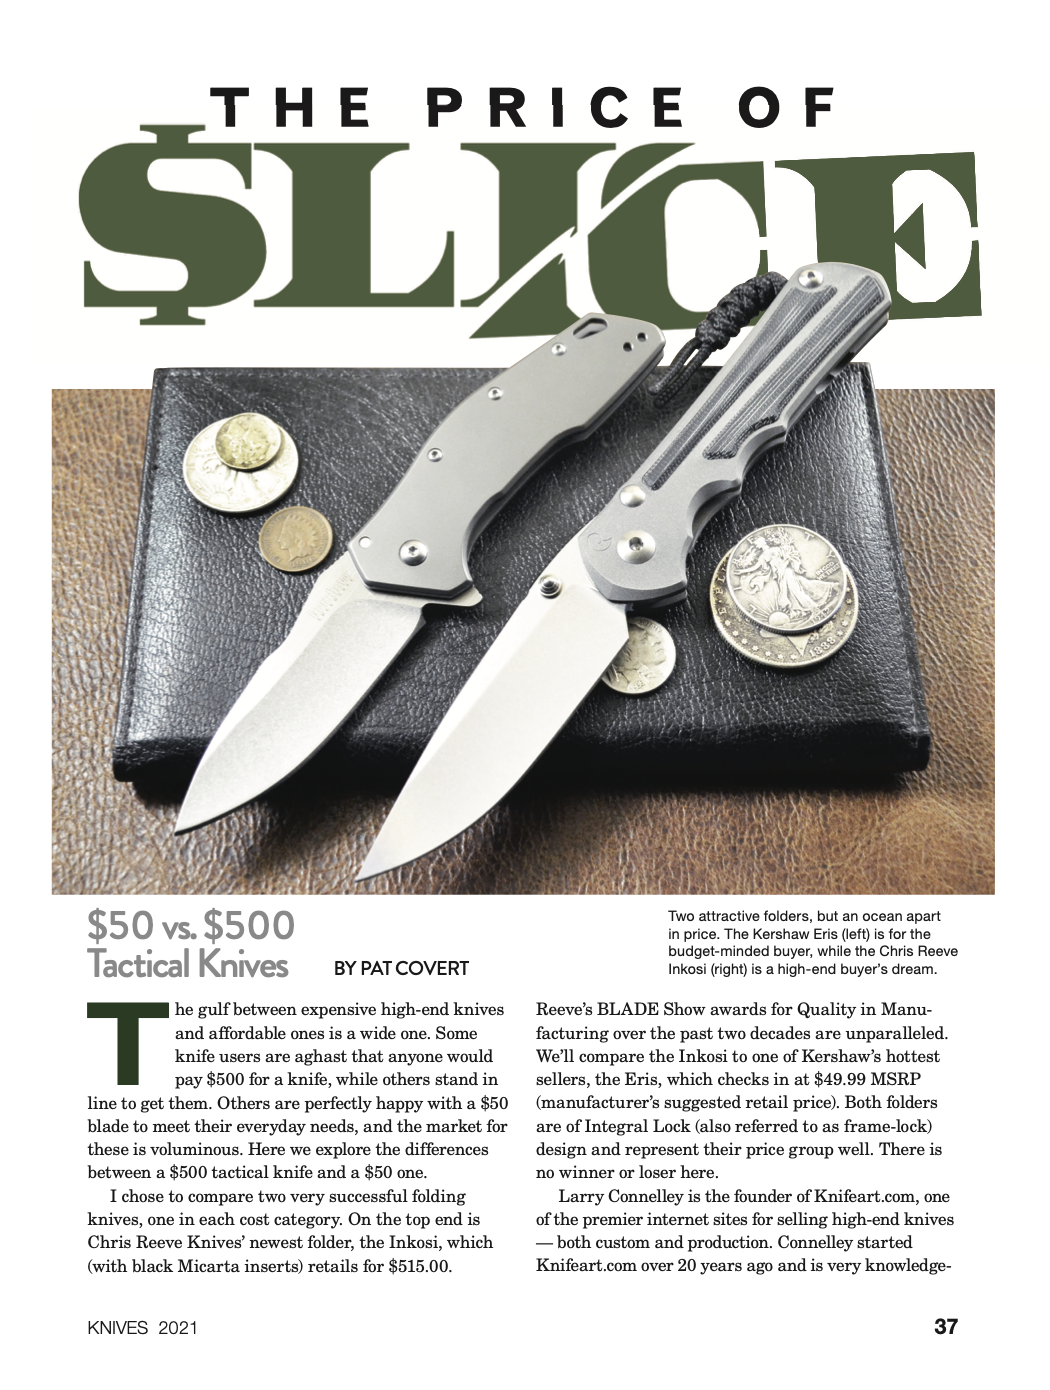
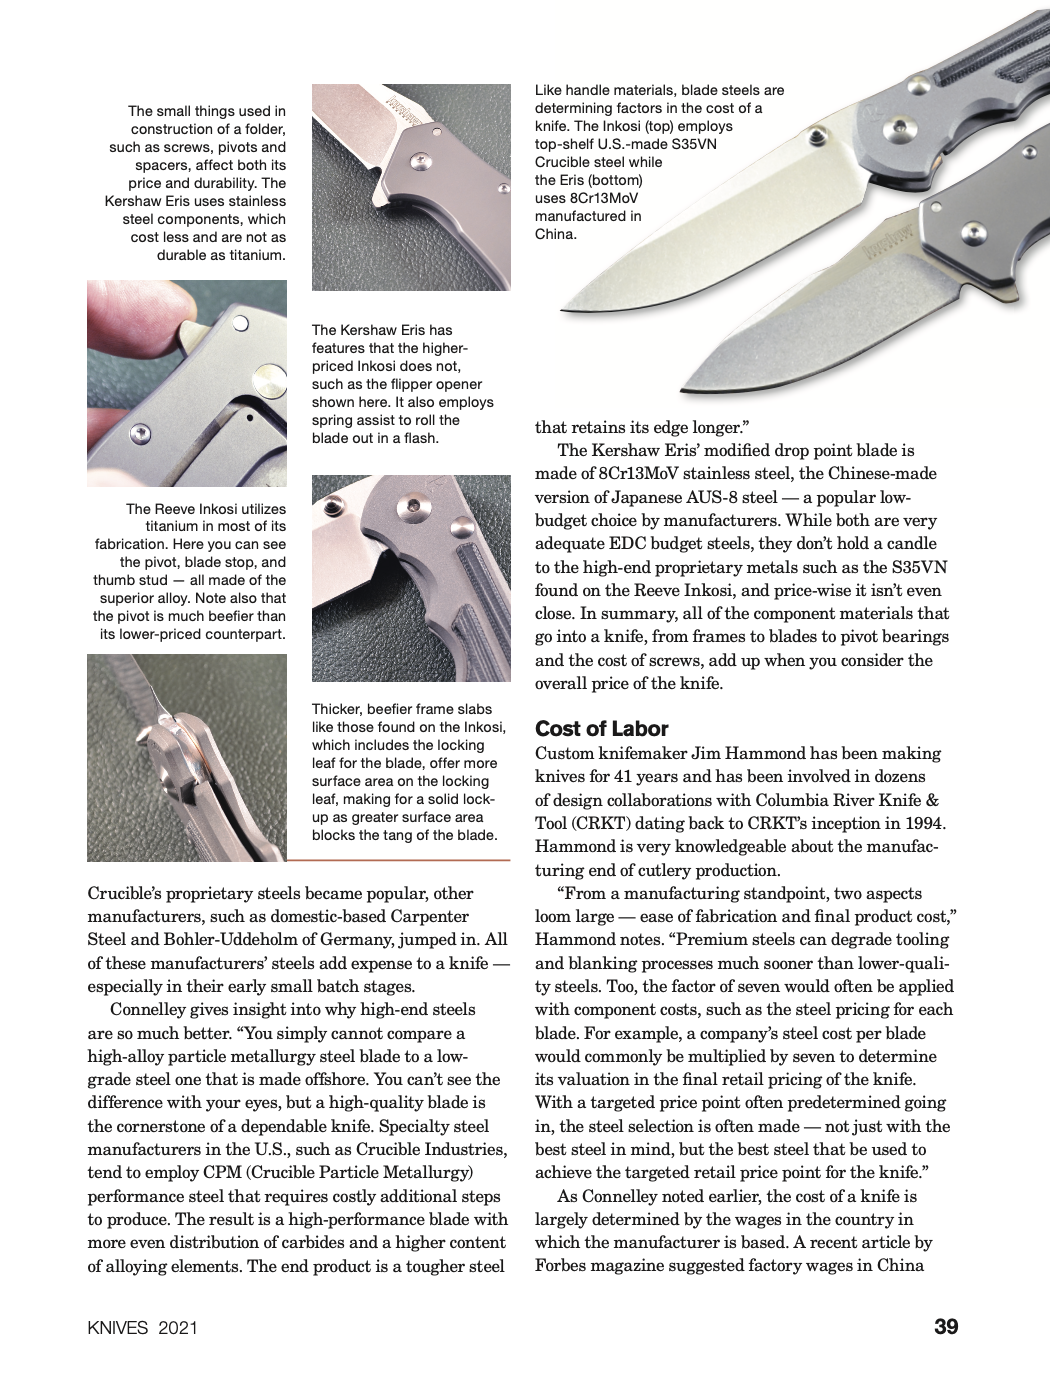
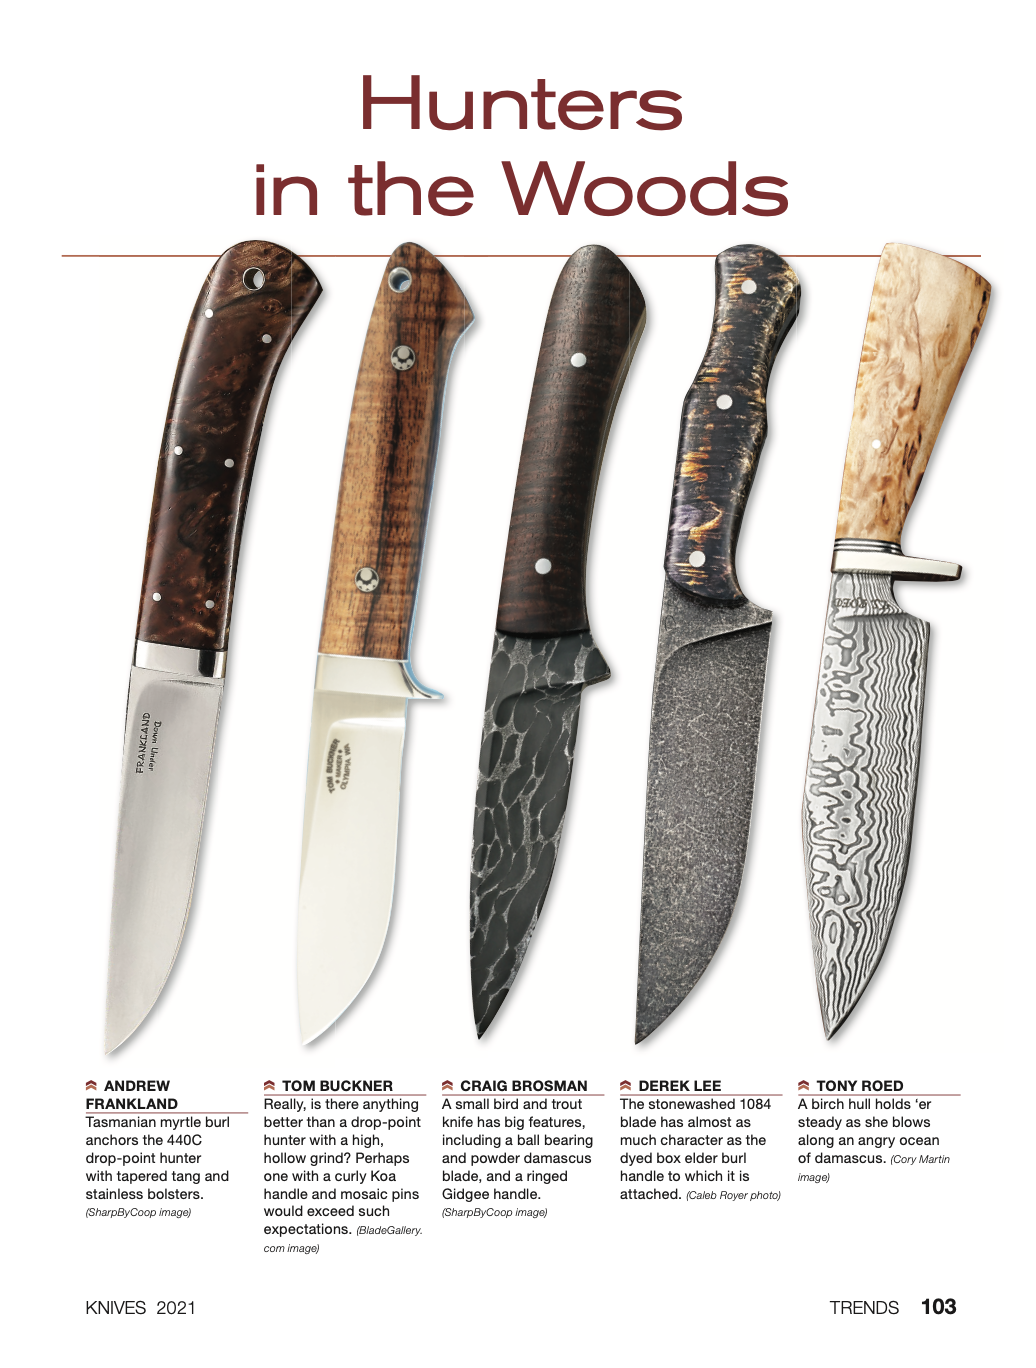
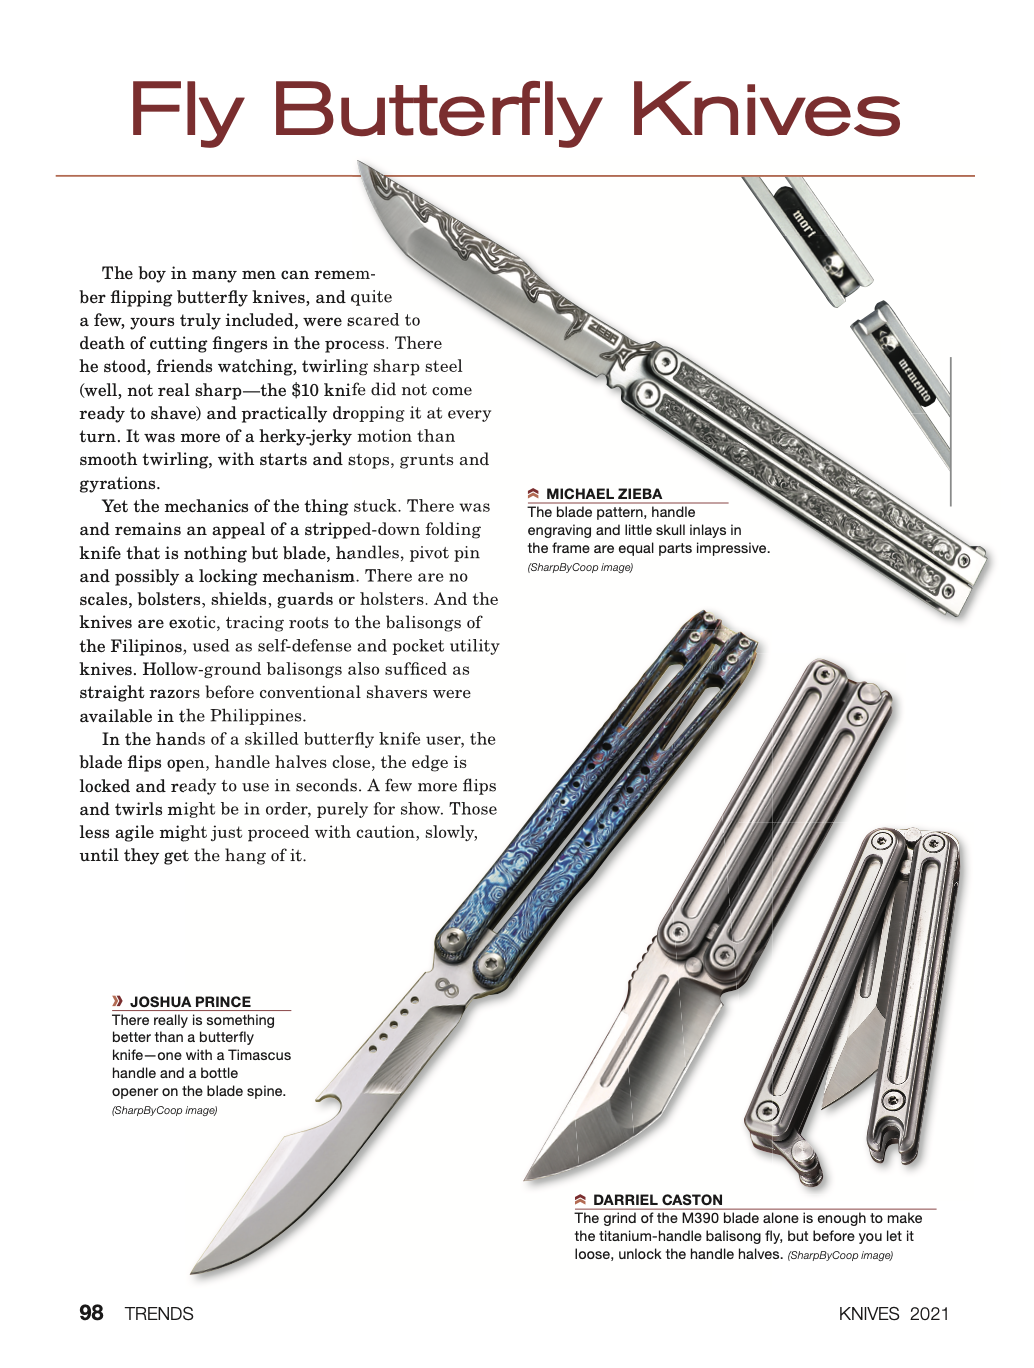
Enthralling articles about balisongs, making money making knives, urban EDCs, tactical knives, knife designers and more.
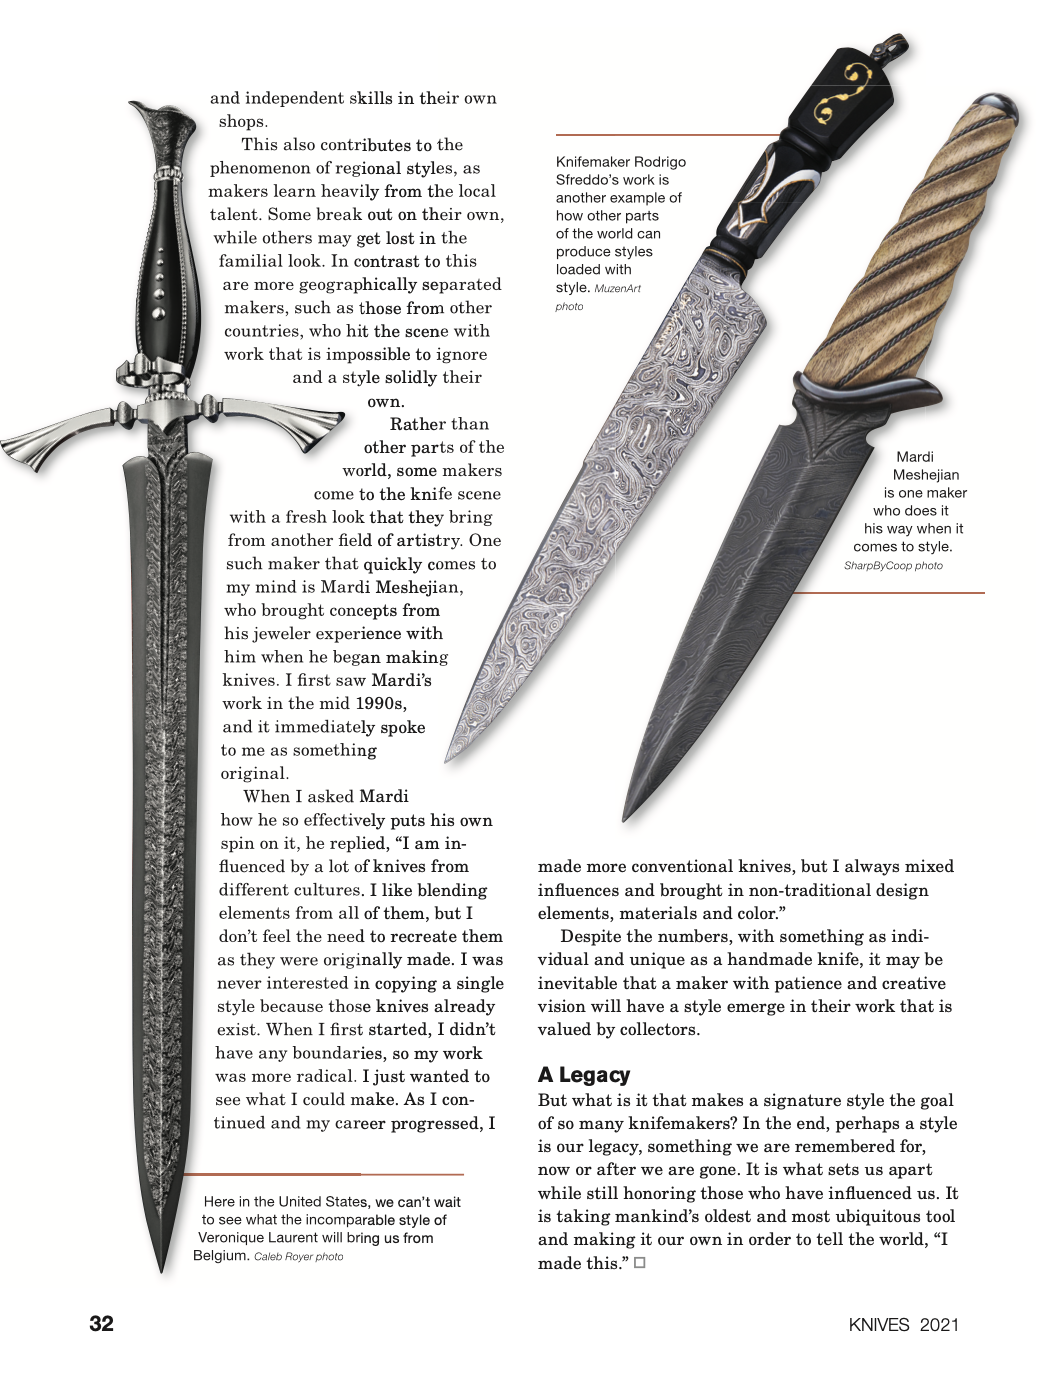
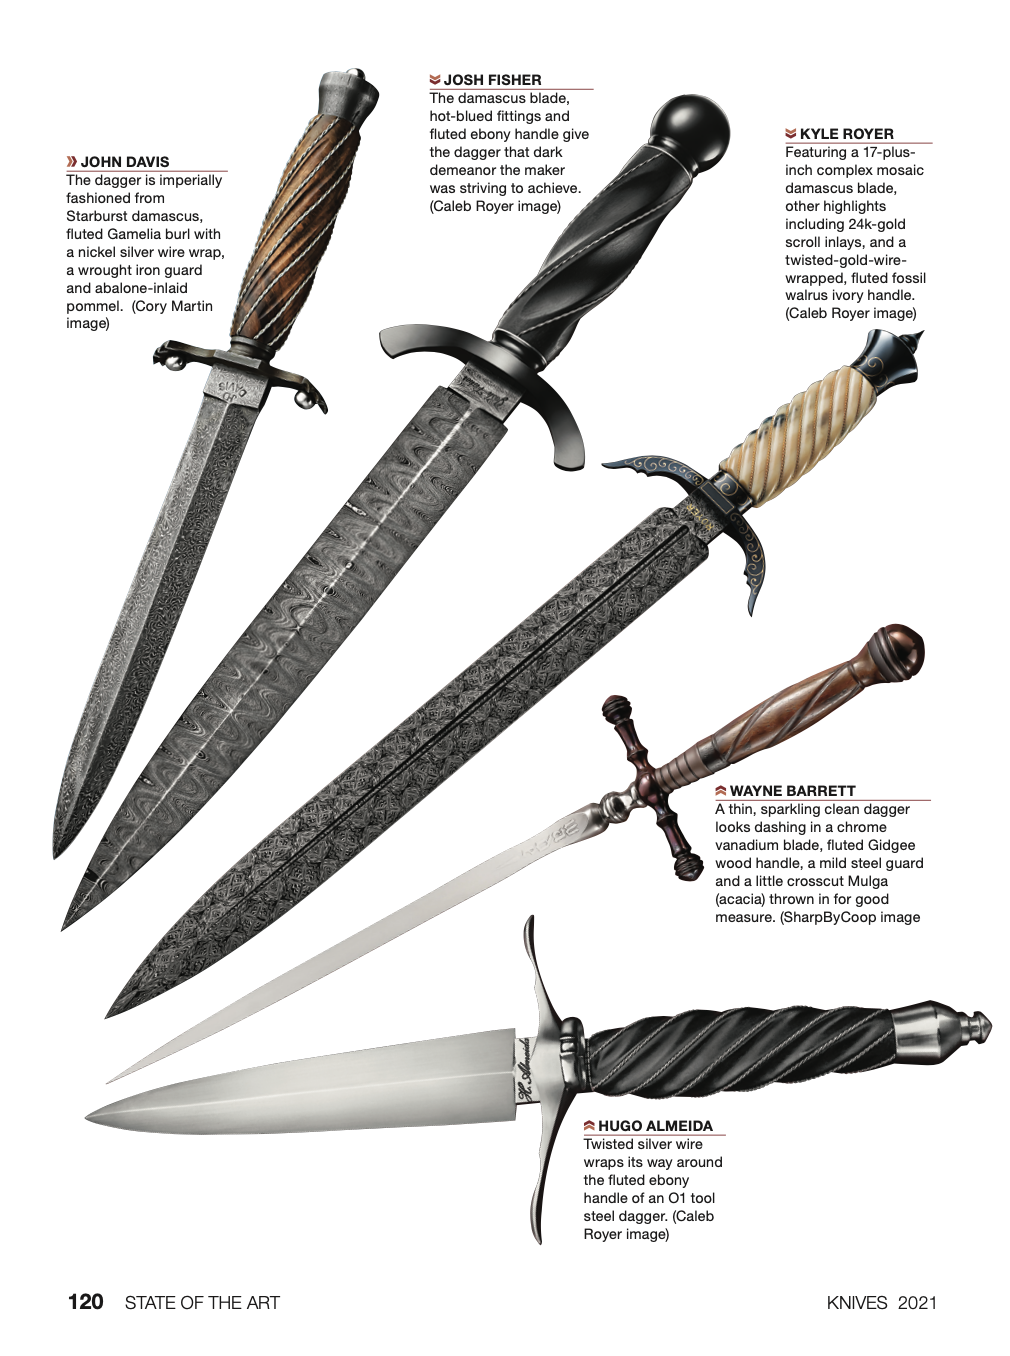
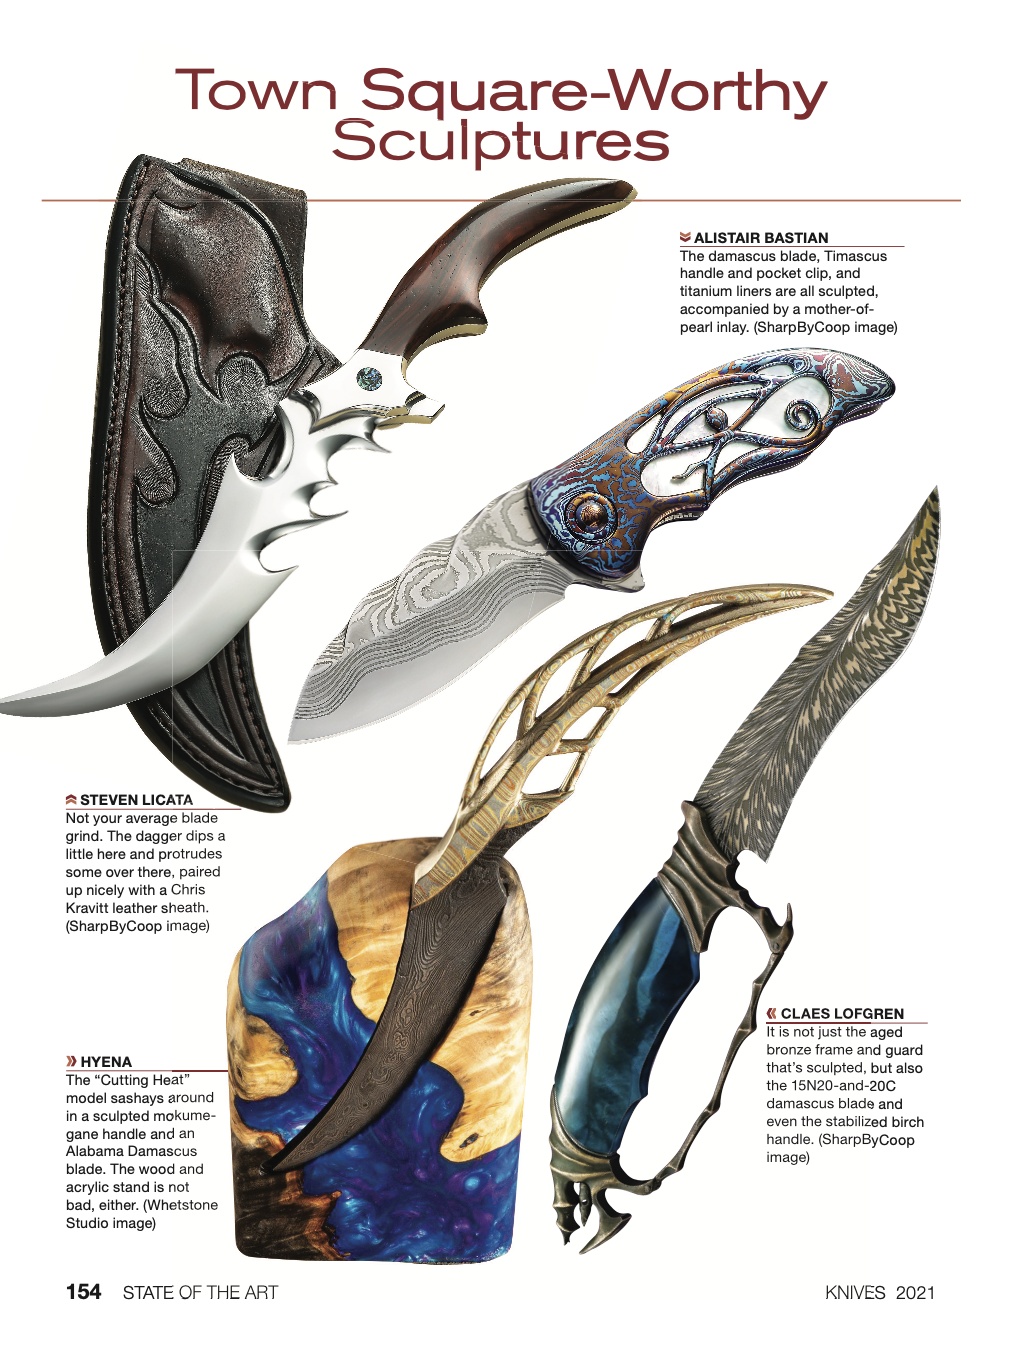
The latest trends of flippers, daggers, chef knives, fighters and more.
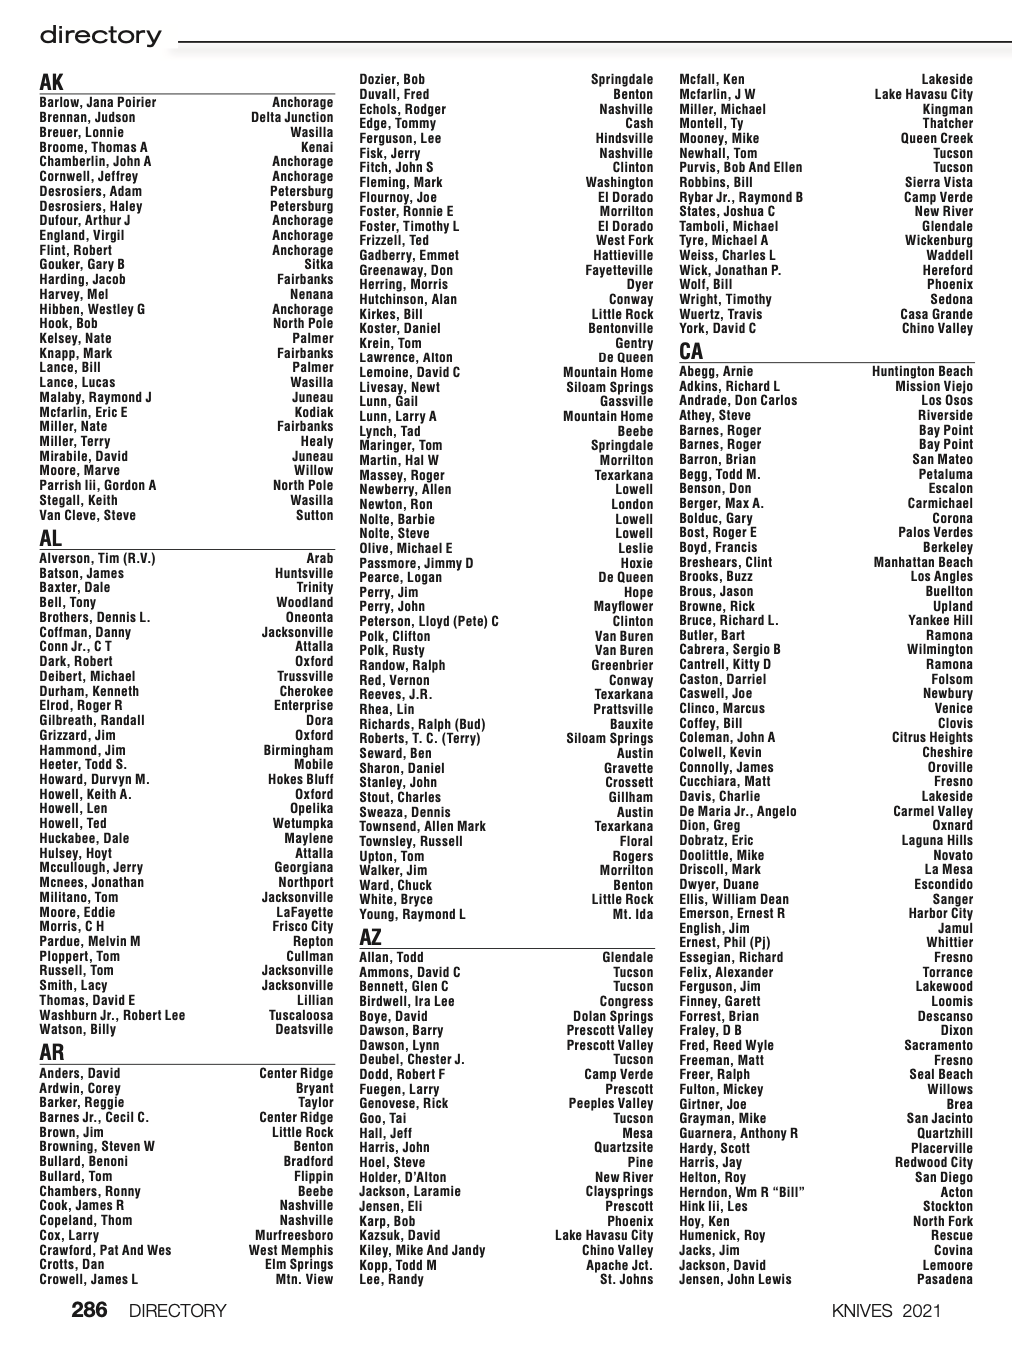
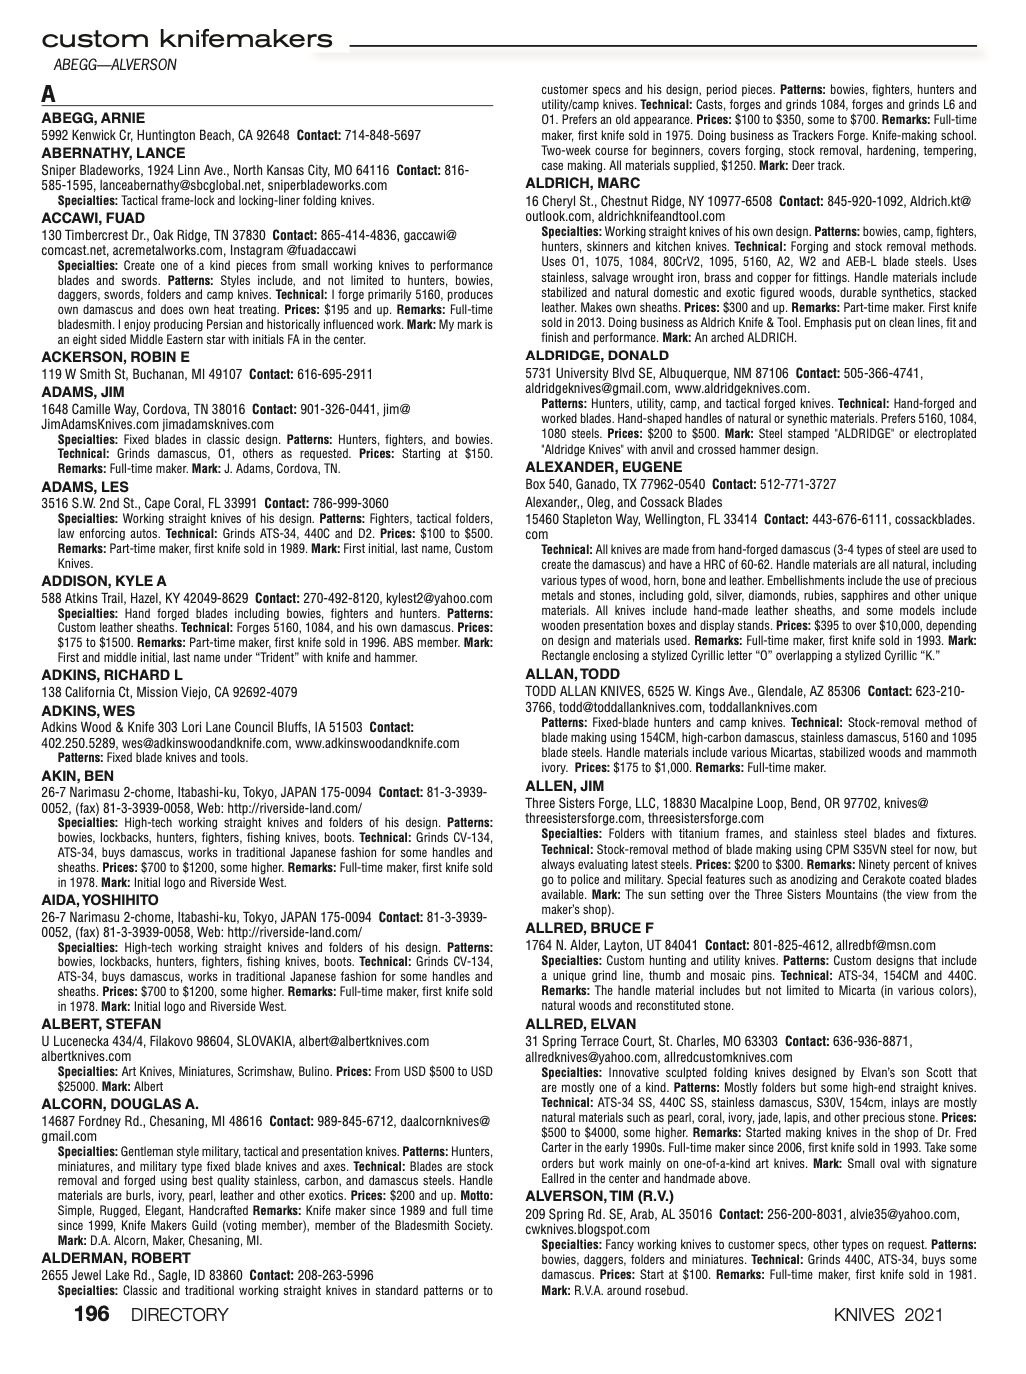
A comprehensive Custom Knifemaker Directory includes contact information, websites, specialties, materials, price ranges, tools, tang stamps and comments.



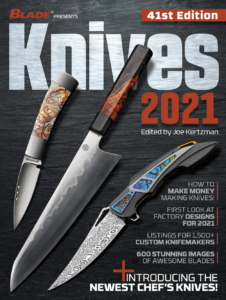 KNIVES 2021, presented by BLADE Magazine showcases blades of every class and style with more than 600 spectacular full-color images, from customs to factory knives.