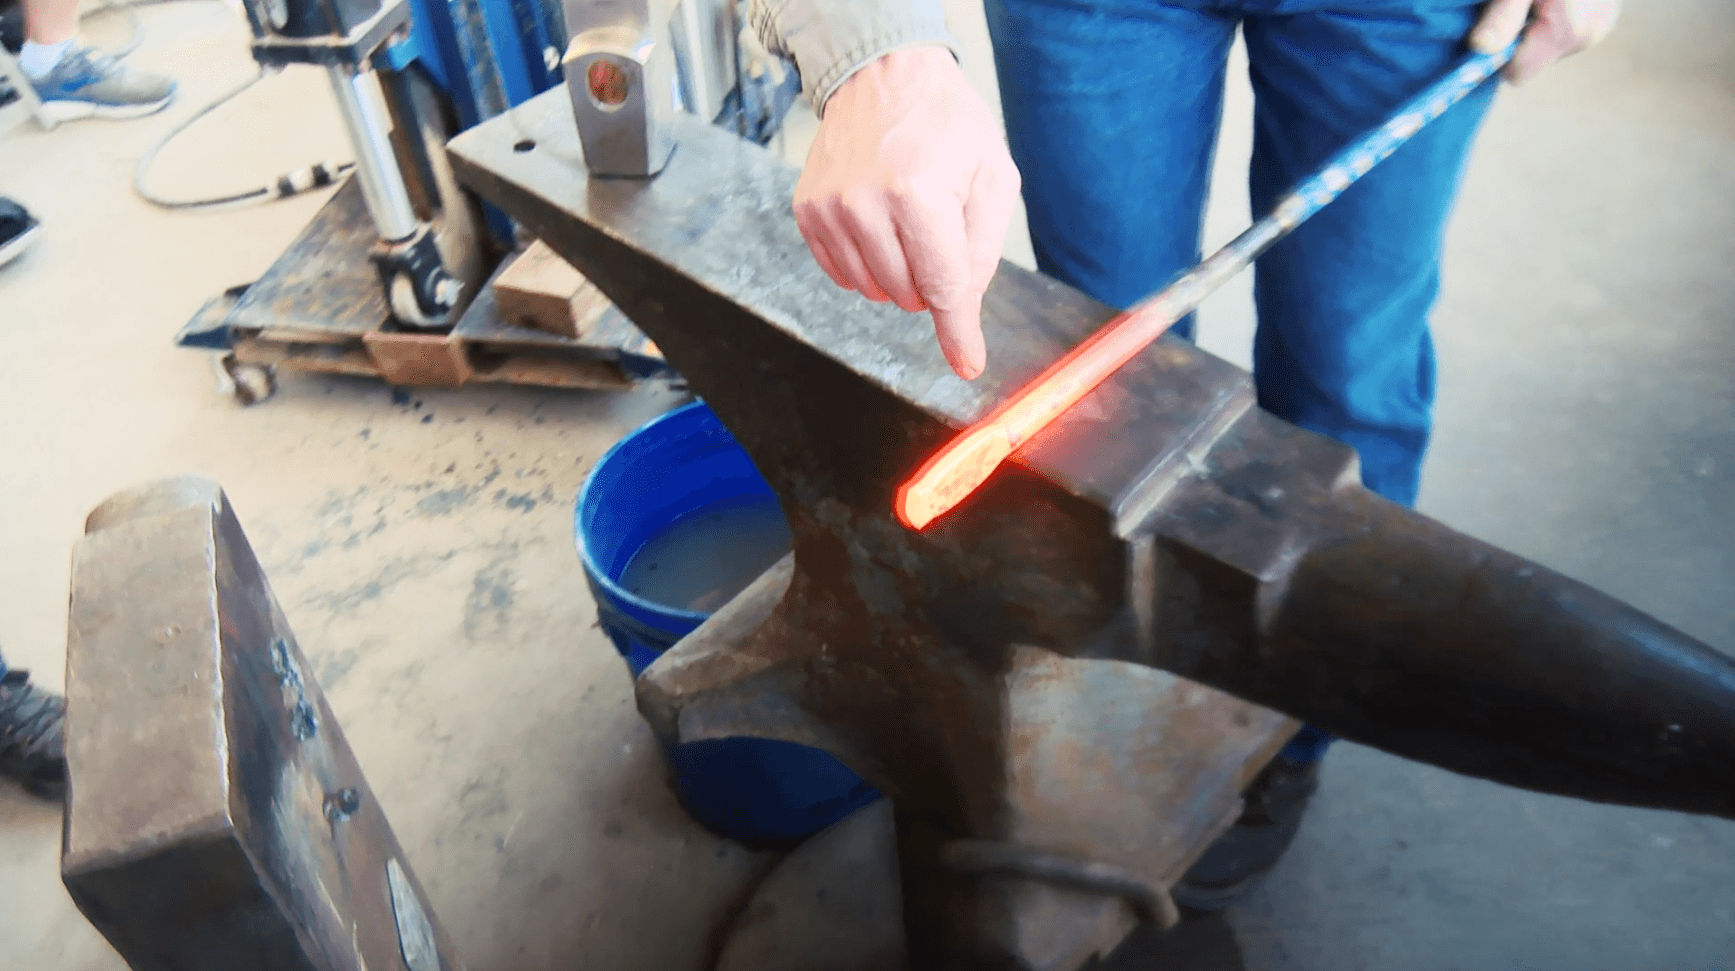
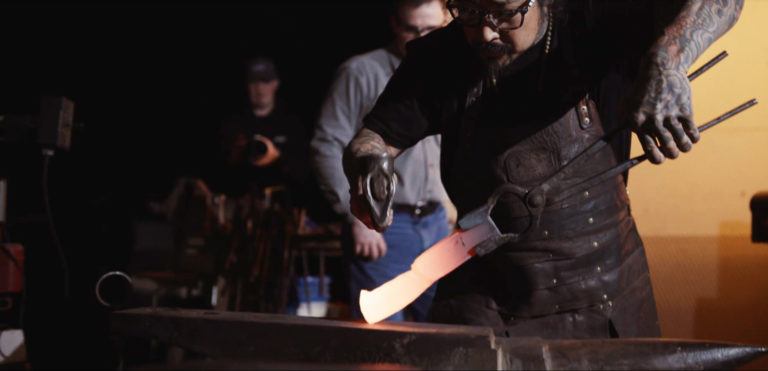
Knifemaking is the building of a knife, which includes the blade, handle and other accouterments. Blades are made by either removing metal from a steel blank via a grinder – known as stock removal – and the forging to shape of hot steel into a blade in the process known as bladesmithing. Other parts, including bolsters, guards, pommels, etc., are needed to complete the finished knife.
I was watching American Pickers on the History Channel last night, and the stars were looking at an anvil, and Mike said something to the effect of, “More and more people today are going back to the basics and learning to forge, and learning the art of glass blowing and things like that …”
And it got me thinking about how my wife, Tricia, and I do this art tour every year where they give you a map and you go to artisans’ houses for kind of an “open house” art tour. And there’s usually a glass blower every year.
And then there’s that other History Channel show, Forged In Fire, and it seems like new knifemakers keep coming out of the woodwork …
What do you think, are more people forging today than in recent past?
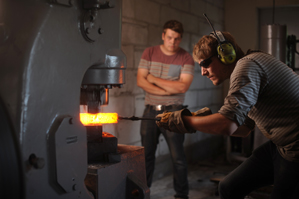
Shown in the image are Finnish brother knifemakers Jakob (forging) and Simon Nylund.
Most beginning bladesmiths can hardly wait to forge out their first damascus blades. Making damascus is challenging and exciting, especially when you advance enough to try and create the more complex designs. I still enjoy the challenge forging intricate mosaic damascus patterns, and especially figuring out how to make new ones.
I also enjoy teaching and passing down whatever knowledge I have collected over the decades. So, in 2008 I opened a knifemaking school in Pine Plains, New York. Most of my classes are based on the forging technique.
The most exciting thrill of teaching is watching a few of my students advance to become competent bladesmiths in their own right. I can honestly say I have met a lot of very nice, talented folks over the years at my school. Some just want to be hobbyist or part-time makers, and others hope to one day become full-time knifemakers.
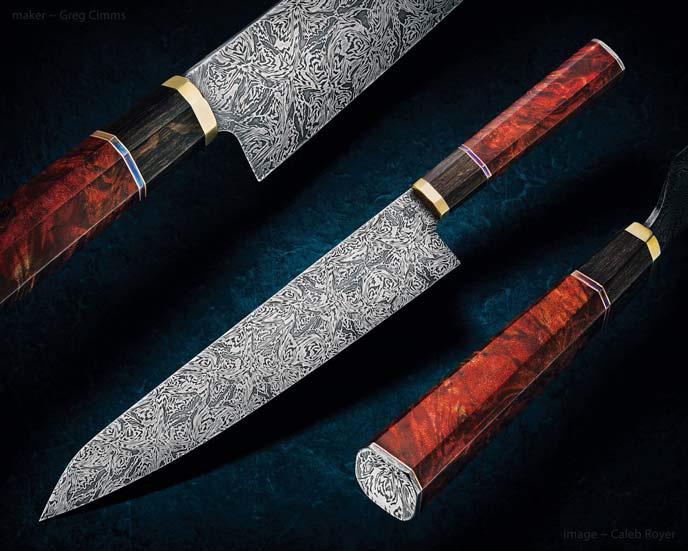
Greg Cimms forged the blade for his chef’s knife of multi-bar mosaic damascus in a pattern originally worked out in clay. (Caleb Royer image)
They are talented bladesmiths who have been doing incredible work so far. These gents have only been making knives a couple of years. They have learned the proper way to forge and forge weld and have made some nice damascus. I knew they were ready for the next challenge making more complex damascus. I decided it was time for me to hold a more advanced multi-bar mosaic damascus class for them.
The class was four days. On the first day we went down to the shop and I explained what multi-bar mosaic damascus was and how it is made. I also explained how powdered mosaic damascus is made, though it is a completely different process.
The Problem: “Shooting in the Dark” with Mosaic Damascus Designs
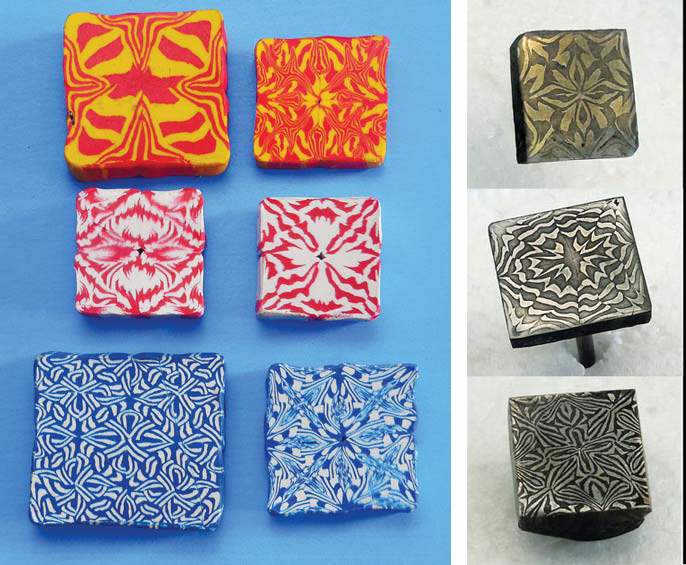
While we were sitting around the table I gave everyone a box of different colored clays. Some thought I was making a joke with the clay until I showed them some of the damascus patterns I had made. Some of those clay designs I made in the early 1990s.
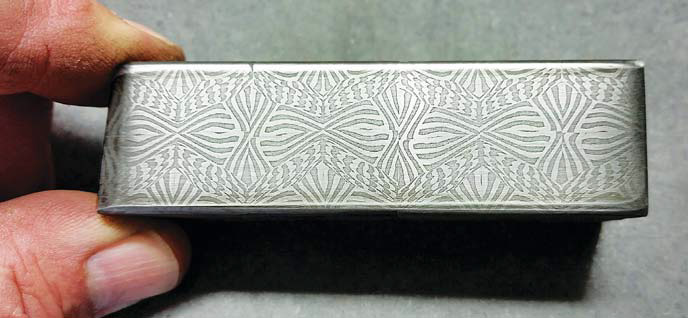
Bill Greulich followed the same steps he used to develop his pattern in clay to forge his first billet of multi-bar mosaic damascus.
Back then I was working in an art foundry full time pushing a lot of hours, so I had very limited time to forge my knives and tomahawks, never mind work out new damascus patterns. At night I would work out damascus designs on paper. The weekends were often spent working hard at the forge making damascus from the paper designs.
Unfortunately, many times when I finished the mosaic damascus billet, even though some did turn out to be nice patterns, they were not quite what I wanted. Basically, when you work out designs on paper, at least for me, I felt I was shooting in the dark without night vision. I knew I had to find some answer or solution to my problem.
The Solution: Kids’ Modeling Clay
While I was thinking what would be the best solution, the answer was right in front of me. I was working on a sculpture using red and yellow wax, and that is when it occurred to me. I started cutting off a few slices of red and yellow wax and made a billet out of it. I folded, twisted and so on as I would do with steel. While the wax was not so pliable in the cold form, it still gave me the idea of what I had to do.
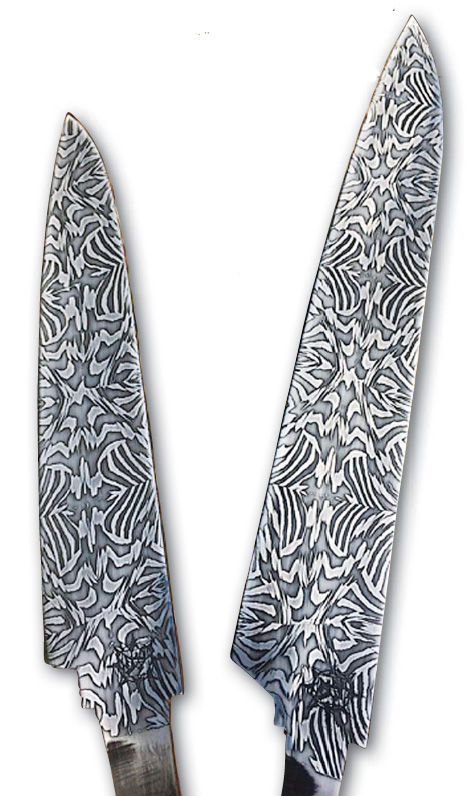
Greg Cimms forged these two blades from a billet he designed and made in the author’s Advanced Damascus class.
The next day during lunch break I ran out to the arts and craft s store and bought two boxes of multi-colored clay, the kind kids used to play with or use at school. I was very excited for my new finding and anxious to see how well it would work.
I made my first multi-bar mosaic clay billet that turned out better than expected in allowing me to preview the mosaic damascus designs. Making clay damascus does not mean you will like every pattern you create, but it is still a lot more efficient and easier on the pocketbook than forging all day long to find out the design is not what you wanted.
I could hardly wait to show my wife Lori that I had found the solution to my problem. Over the years, I probably came up with more designs in clay than I would ever be able to forge out in steel.
A Shortcut with a Long History
That is how I got started making clay damascus. I shared this technique with fellow makers. Actually, similar techniques have been done in glass beads for hundreds of years. I have many books on Indian trade beads in beautiful designs.
As kids we used to play with marbles that also had beautiful designs in them. It just never occurred to me to incorporate any of this into my knives.
Making Clay Billets
On the first day of class I demonstrated making a clay billet and explained, step by step, what to do and what to watch for.
Next I showed the group how to take the same starting multi-bar billets, and, by using different arrangements and folds, create two or three different mosaic damascus designs.
As the students started working out their designs in clay, I asked them to write down every step they took: how many layers they started with, how many times they cut the billet, how many times they folded it, in which direction they folded, in which direction they forged, and so on. This written reference is very important if you want to recreate the design in steel.
I got such a kick out of watching grownups having fun with clay, showing off to each other the designs they had created. It reminded me of back when I started making clay mosaic damascus and how excited I was.
That day everyone seemed on a diet because no matter how often I said “Lunchtime!” no one was hungry. Finally, Lori came home from work and we had dinner. At the table the only conversation was which of their designs they would choose to forge out on the second day of class.
From the Editor: Wally Hayes is probably best known for his tactical folders and Japanese-style knives and swords, but he also offers something on the embellished side when he can.
The Canadian ABS master smith has penned a number of informative how-to stories for BLADE®, and his seminars on how to wrap a Japanese knife handle at past BLADE Shows have been some of the most popular and best hands-on demos in show history.
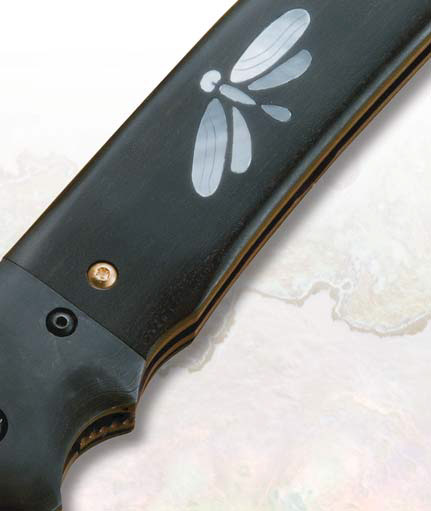
Here, he shows you how to inlay pearl—specifically, in the shape of a butterfly—into a handle. He said it’s easy once you know how.
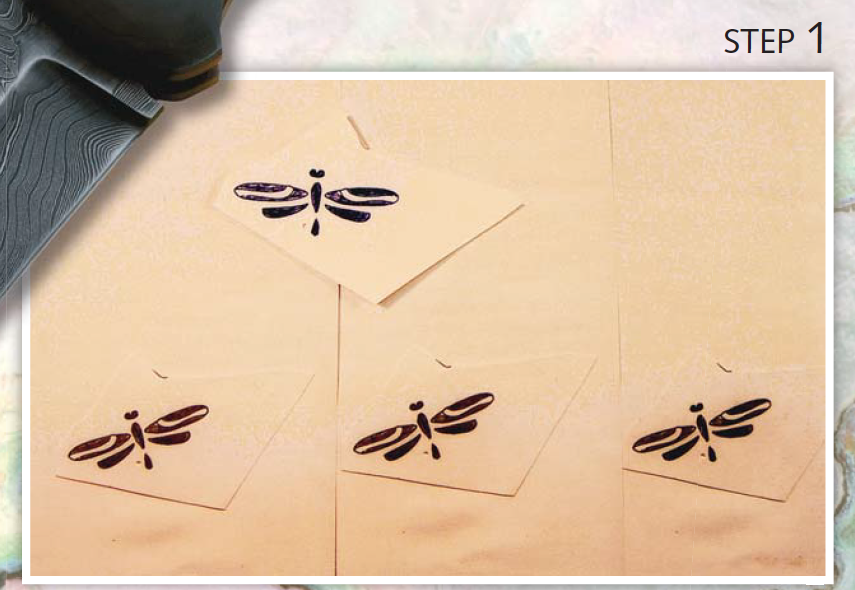
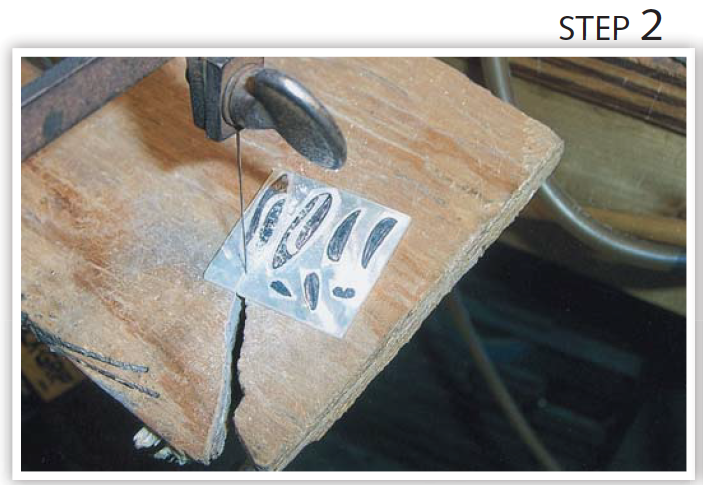
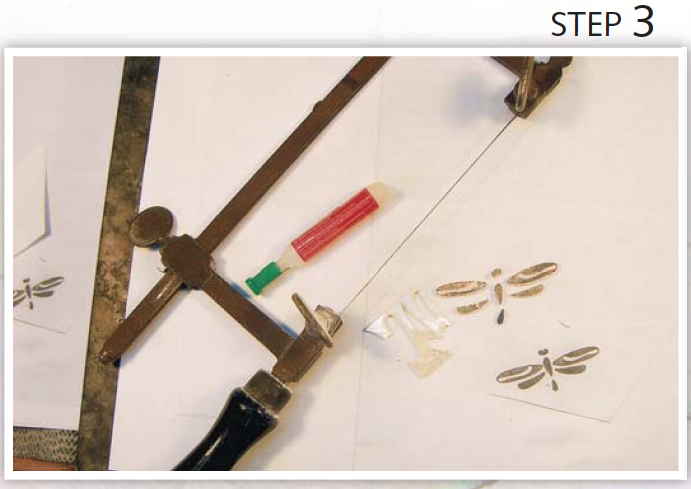
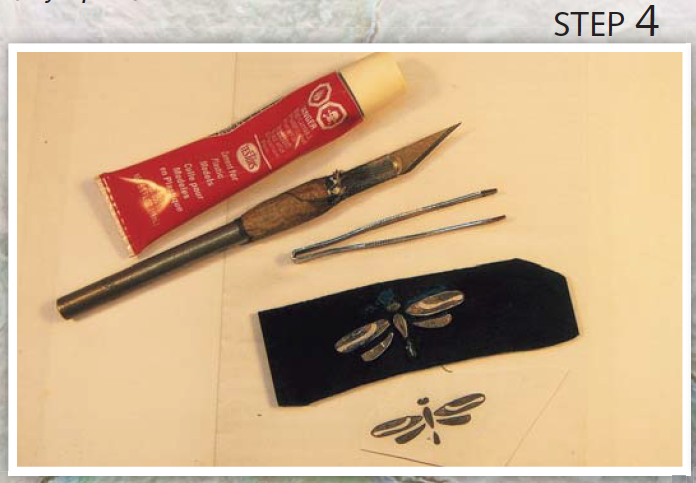
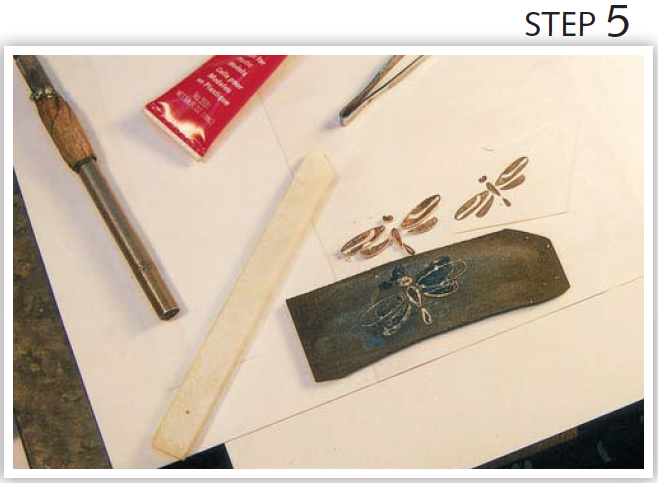
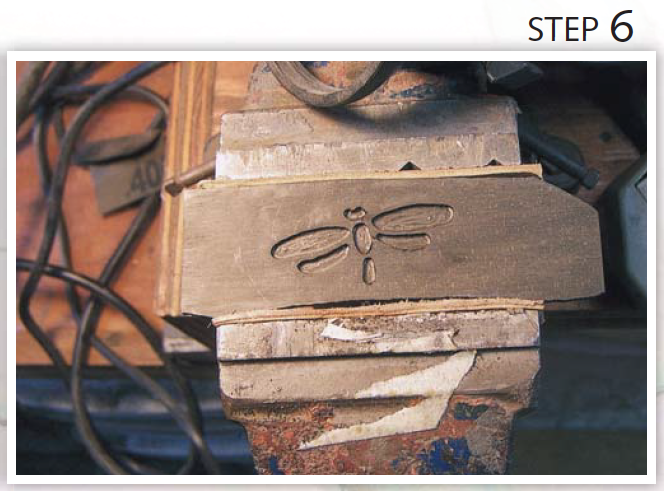
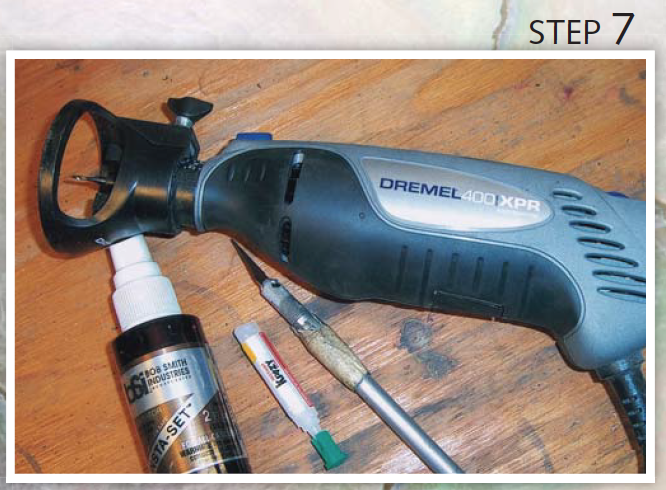
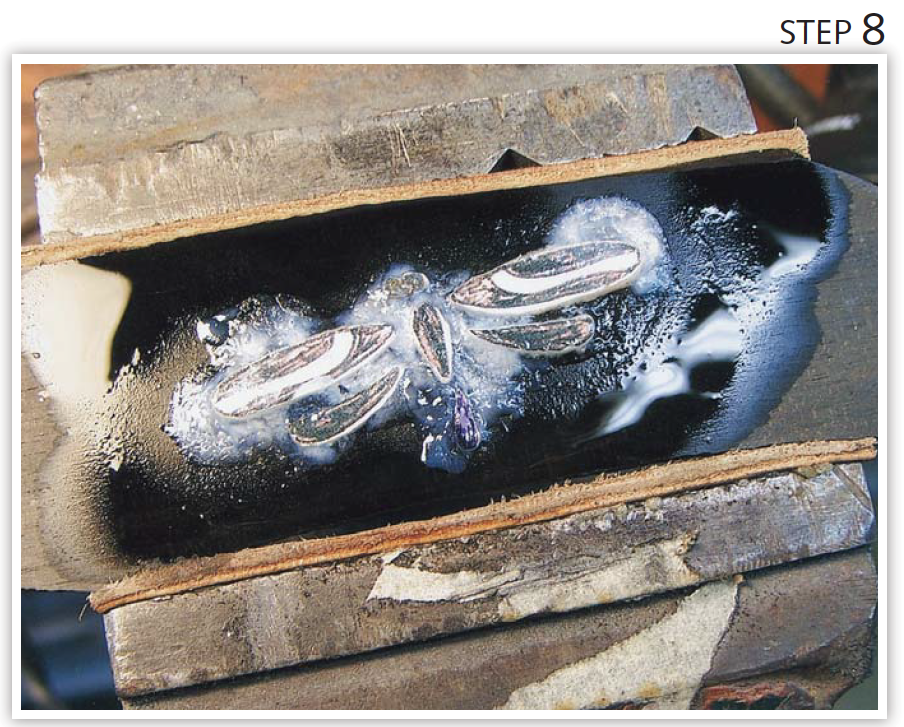
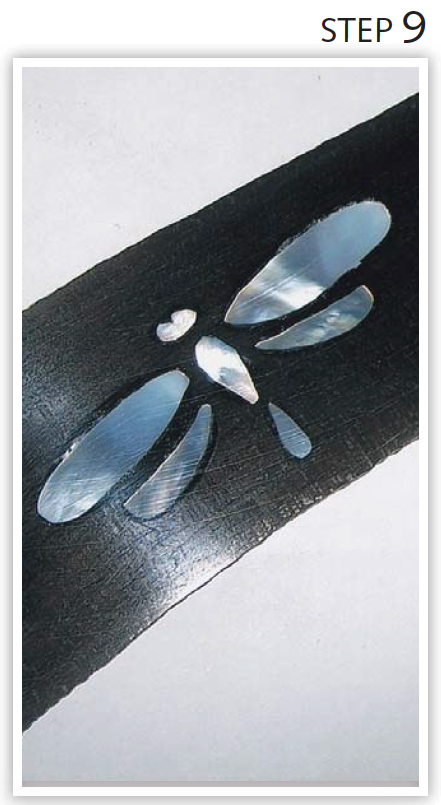
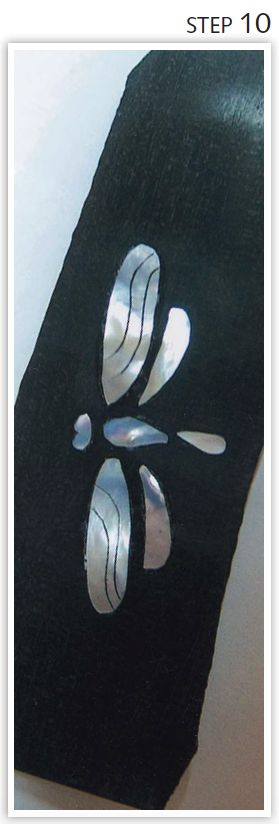
Draw your design and make multiple photocopies. I run the copies off on my printer. (Hayes photo)Cut out the butterfly parts with an X-ACTO® knife and Krazy Glue® them to the pearl. After the glue dries, I use a jeweler’s saw and a No. 2 blade to cut the butterfly parts from the pearl. (Hayes photo)At bottom right is one of the drawn butterfly designs. To the upper left of it are the cutout pearl parts arranged in the shape of a butterfly. (Hayes photo)Sand a piece of ebony or African blackwood to 400 grit. Arrange the pearl parts in the shape of a butterfly and glue them to the wood with plastic model cement. Let dry and scribe around the parts with an X-ACTO® blade. (Hayes photo)Lift the pearl off the wood and rub chalk into the scribed lines. (Hayes photo)Rout out the wood with a 1/16-inch end mill bit. I use a Dremel® Tool with a router attachment. (Hayes photo)Here are the implements I use, from top: a Dremel® Tool with router attachment, X-ACTO® blade, Krazy Glue® and Insta-Set™ spray. (Hayes photo)Place the pearl parts into the wood. Squeeze lots of Krazy Glue® onto the pearl, being sure to fill all the gaps. Freeze the glue with the Insta-Set Spray™. (Hayes photo)Let the glue harden well. Sand the pearl flush to the wood, working up from 80 grit to 1,000 grit. Buff with white compound. (Hayes photo)Engrave the pearl with a square graver and rub black India ink into the grooves. Wipe clean and you’re done! (Hayes photo)
If you enjoyed this tutorial, be sure to check out BLADE‘s other knifemaking features.
Every blade that is created by hand is something unique. The edges, curves, look and feel will never be identical to any other knife, especially when you create that knife with someone like Jason Knight.
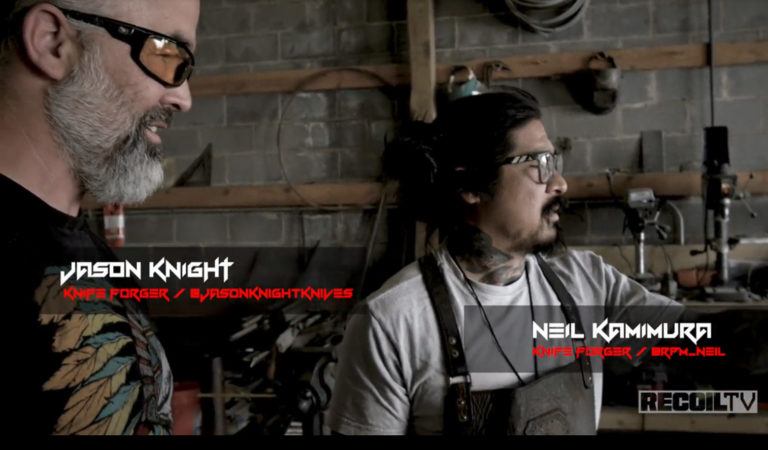
BLADE is proud to present A Knight with Neil. We followed knife forger Neil Kamimura to Jason Knight‘s own forge. We witnessed the two transform a military vehicle’s axle into a battle axe, create some badass looking kukris, and had some crazy good times in between.
Sharing his design experience with Neil, we learn a bit about Jason Knight’s crafting abilities, along with his lively persona. With these two personalities on hand, there are bound to be some shenanigans once the forging is complete.
BLADE had a blast at the Wuertz Machine Works 2019 Hammer In last month in Arizona. Check out the action with Mike Quesenberry. That’s Neil Kamimura in the beginning, too.
BLADE partnered with Recoil TV to bring you this beautifully produced mini-documentary about knifemakers at Travis Wuertz‘s annual Hammer In.
Hosted by Neil Kamimura, this 10-minute video explores the tools, techniques and talent that bring so many from so far together. It’s well worth the watch. Enjoy!
For more knifemaking videos and a lot more, be sure to visit Recoil TV.
In this video from the American Bladesmith Society, master smith Ed Caffrey details how to make mosaic damascus. This technique yields stunning steel for beautiful blades.
How to Make Mosaic Damascus: The Billet
From the video:
First, I built a 4″x4″x6″ “can” and plugged one end with piece of 3/8″ place, then laid out a stack of 1080 & 15N20 diagonally. I filled the remaining space in with 1/4″ W1 rods, then took up all the air space with 1095 powder, to which I added 10% nickel powder.
Caffrey wound up cutting the billet in half after forging for a bit. This made the halves easier to work.
How to Make Mosaic Damascus: Two Becomes Four
From the video:
Next, I forged the two halves down to about 1 1/2″ square, anneal, and mill off the can, then cut each in half again.
That will give me four pieces to decide how to orient and 4-way. Depending on what I come out with, it go to an 8- or even 16-way.
I then performed a quick clean-up of the ends with a 220 belt and an etch so I could orient everything.
How to Make Mosaic Damascus: The Trick
The “trick” to getting what you want is being able to visualize in your mind how the pattern will look after welding and accordion cutting/folding. You might be surprised at just how different a pattern will look from where it is now.
How to Make Mosaic Damascus: Welding
Finally, I face mill off the mating faces of each piece. Then it’s just a matter of placing them together and forge welding. It can be wet welded, dry welded or whatever you’d like. Each method will have an effect on the finished product.
Watch the video for full instructions on how to make mosaic damascus.
Keep Learning with This Great Download from BLADE
This video was only a taste of the richly rewarding craft of making mosiac damascus. Once you get going, you won’t want to stop creating these incredible designs.





 I was watching American Pickers on the History Channel last night, and the stars were looking at an anvil, and Mike said something to the effect of, “More and more people today are going back to the basics and learning to forge, and learning the art of glass blowing and things like that …”