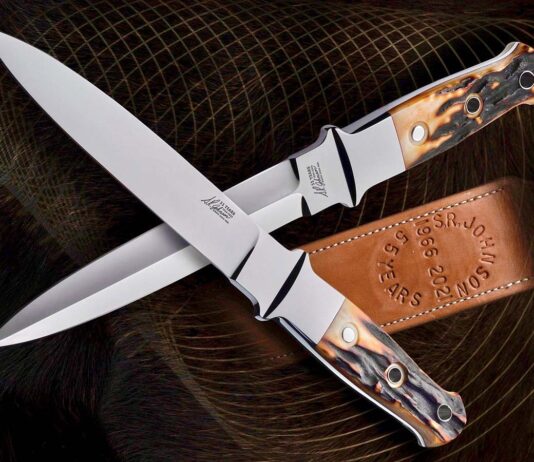
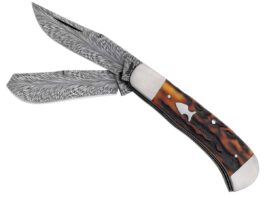
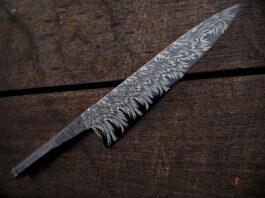
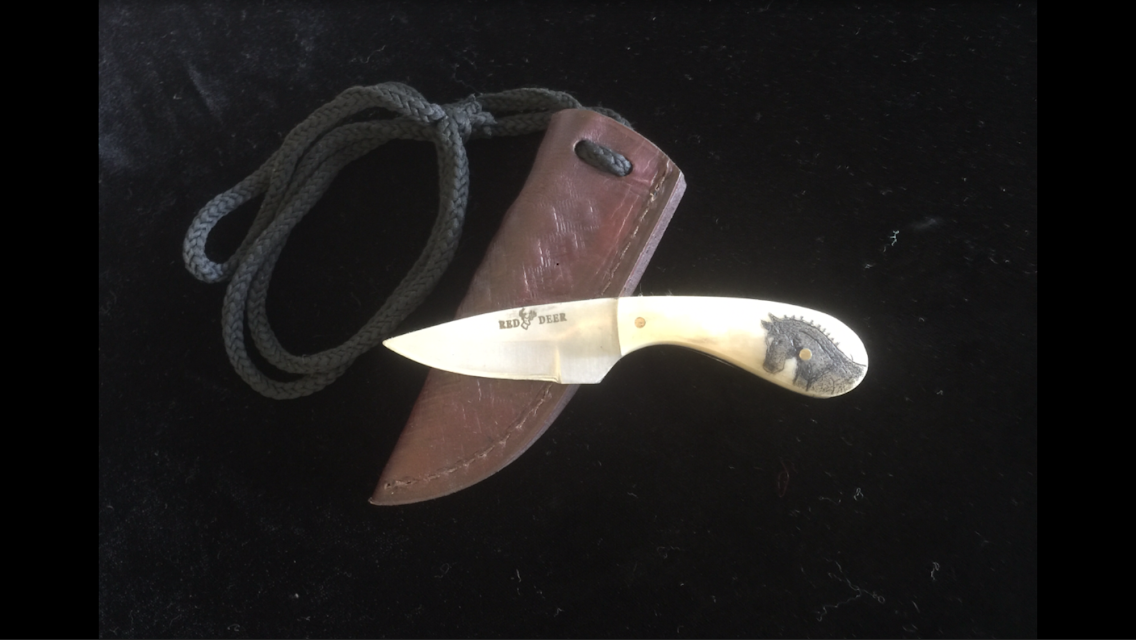
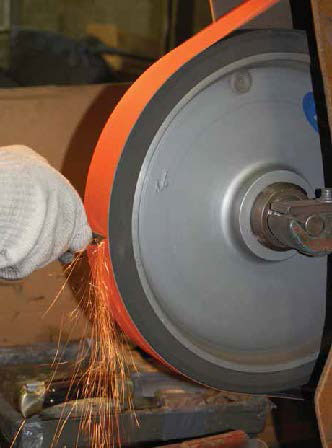
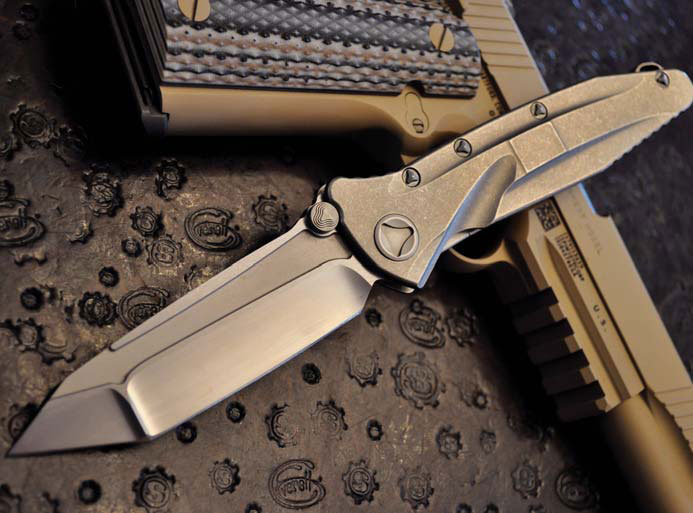
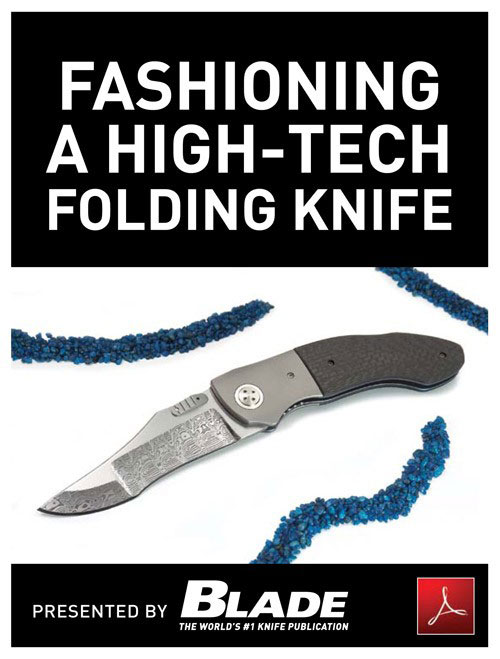
Knifemaking is the building of a knife, which includes the blade, handle and other accouterments. Blades are made by either removing metal from a steel blank via a grinder – known as stock removal – and the forging to shape of hot steel into a blade in the process known as bladesmithing. Other parts, including bolsters, guards, pommels, etc., are needed to complete the finished knife.
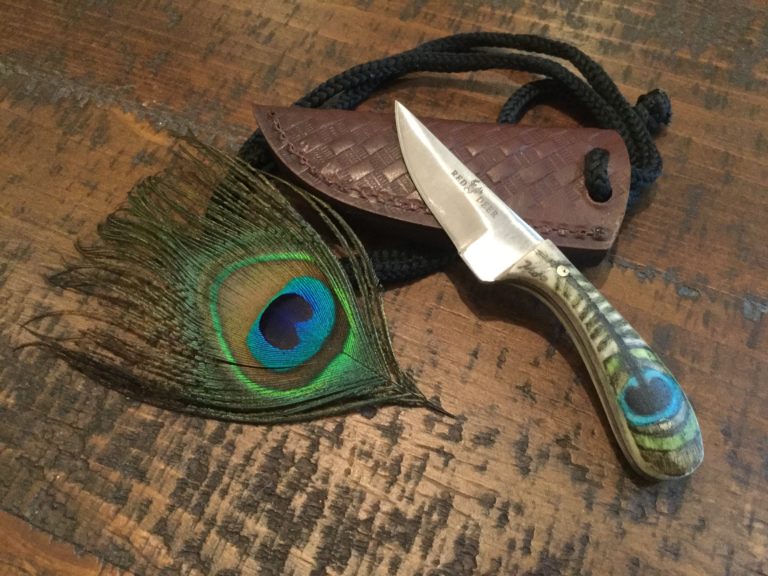
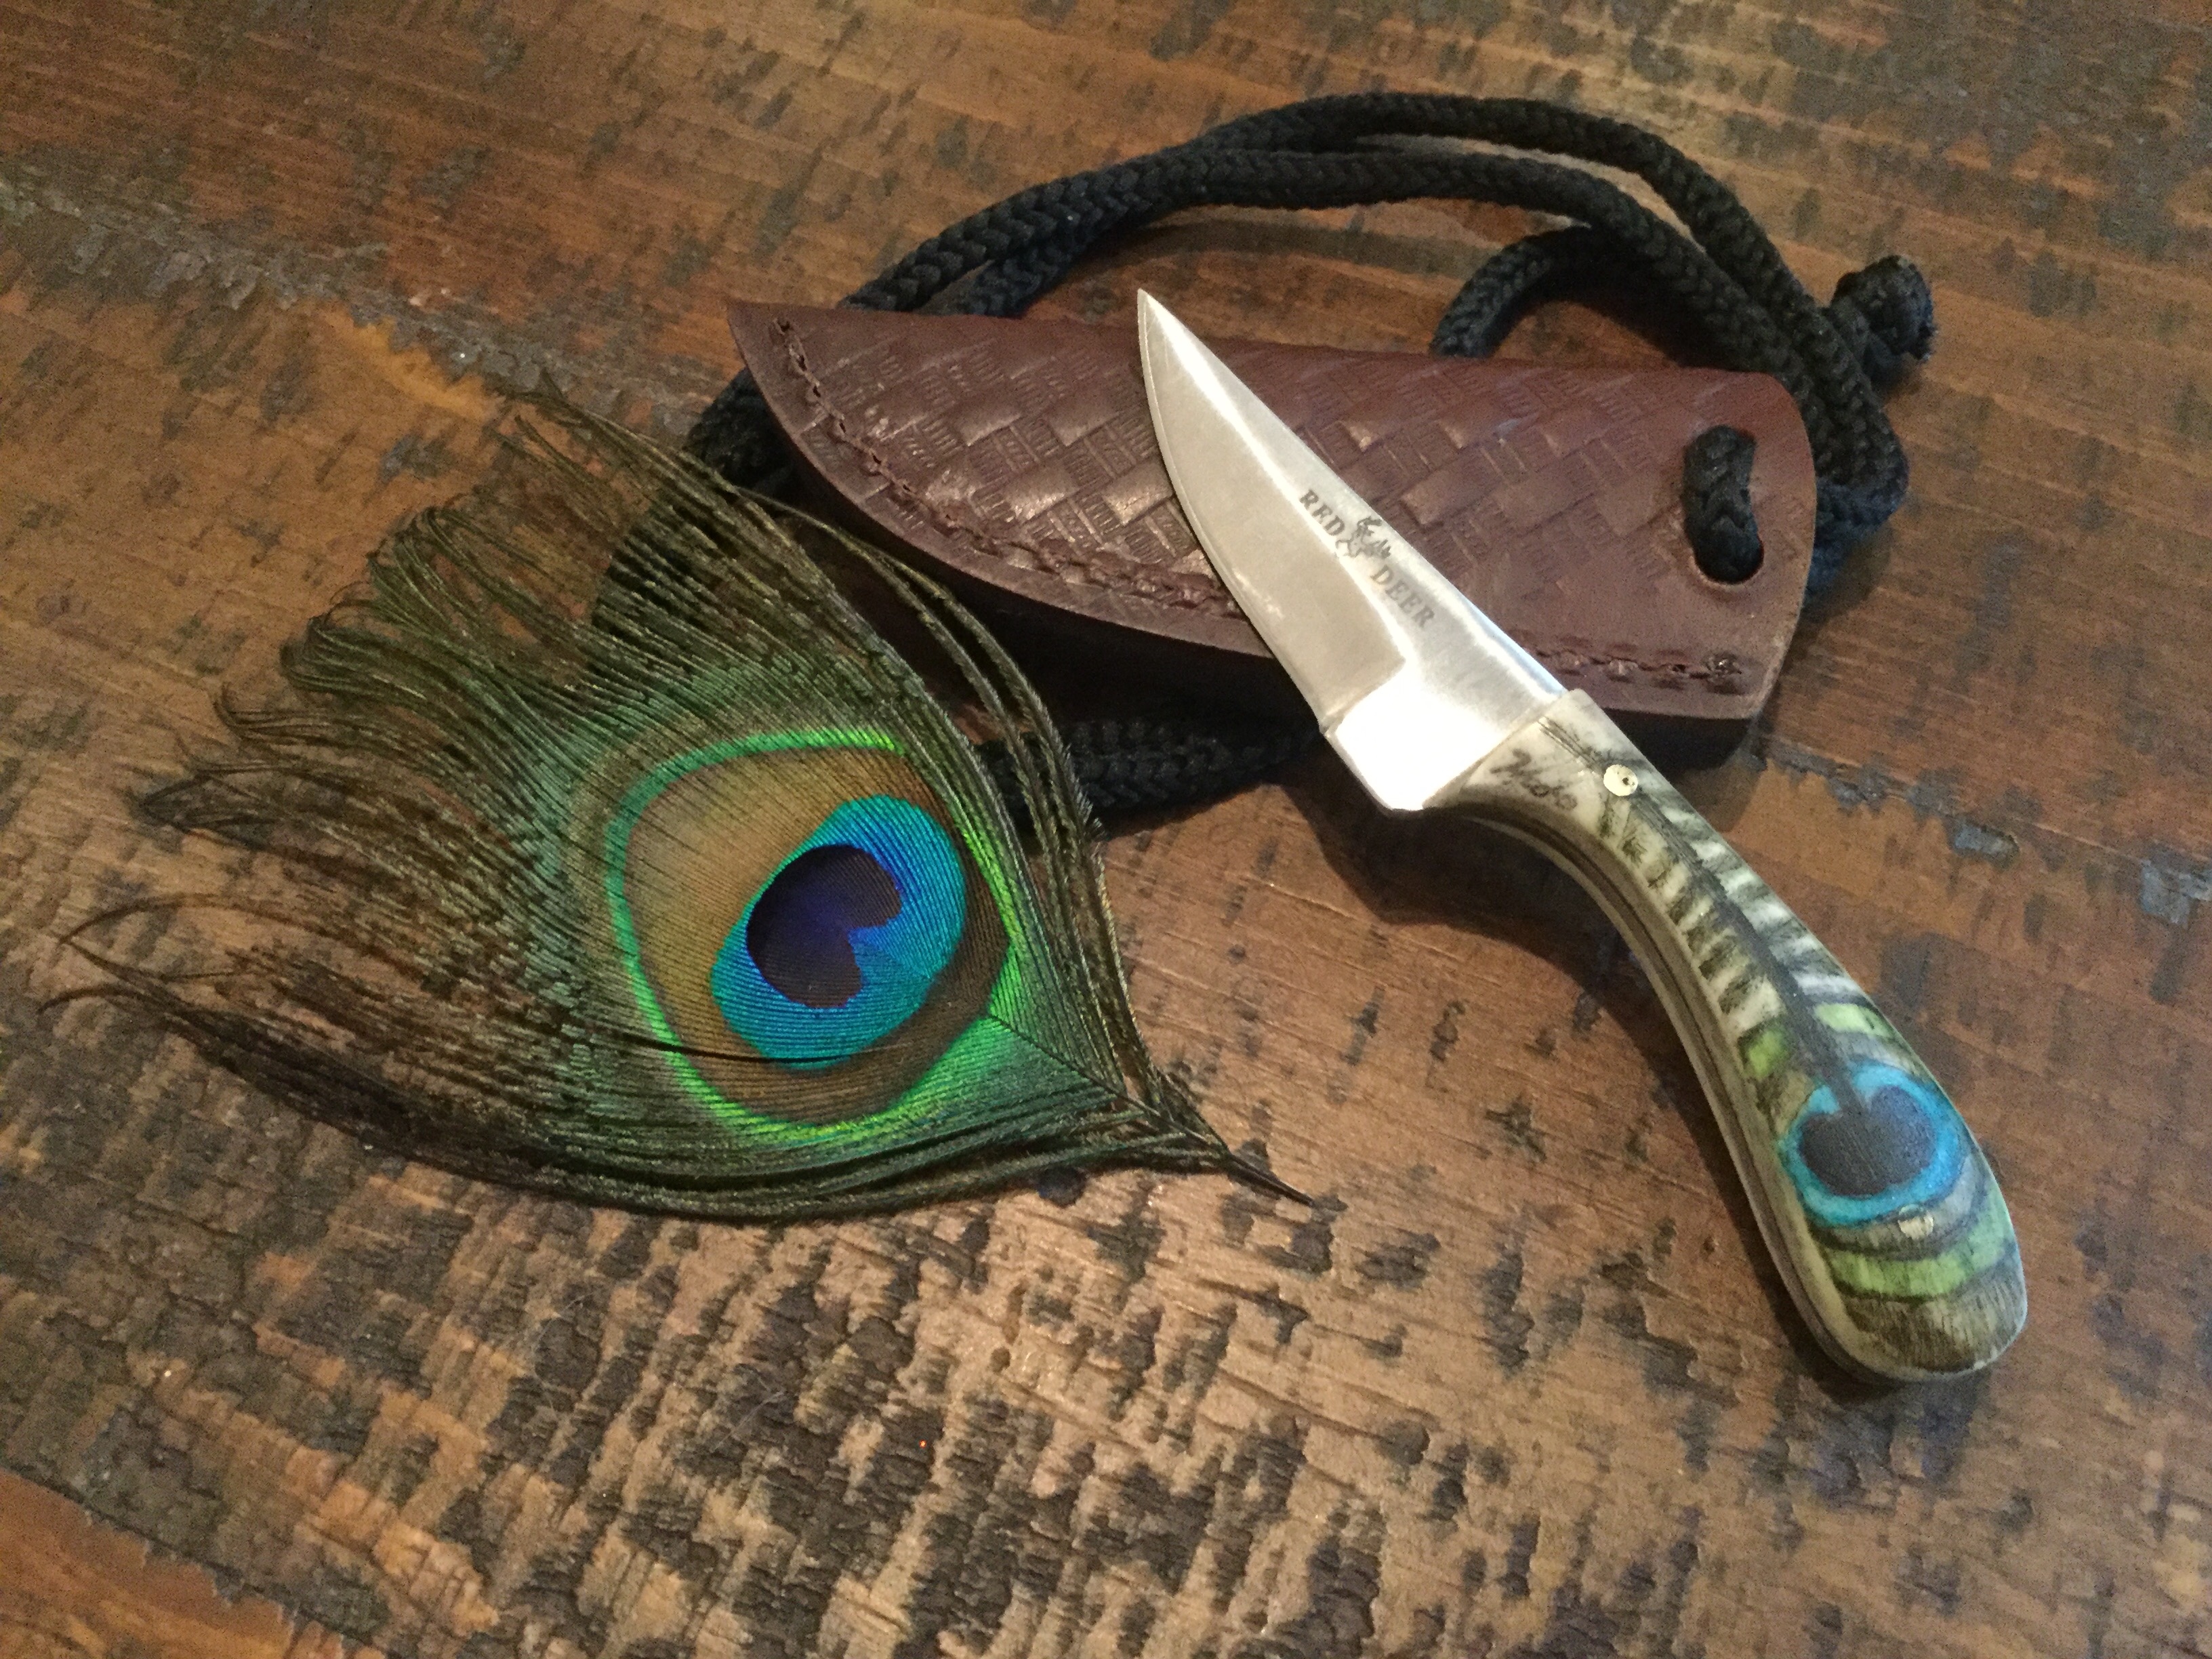
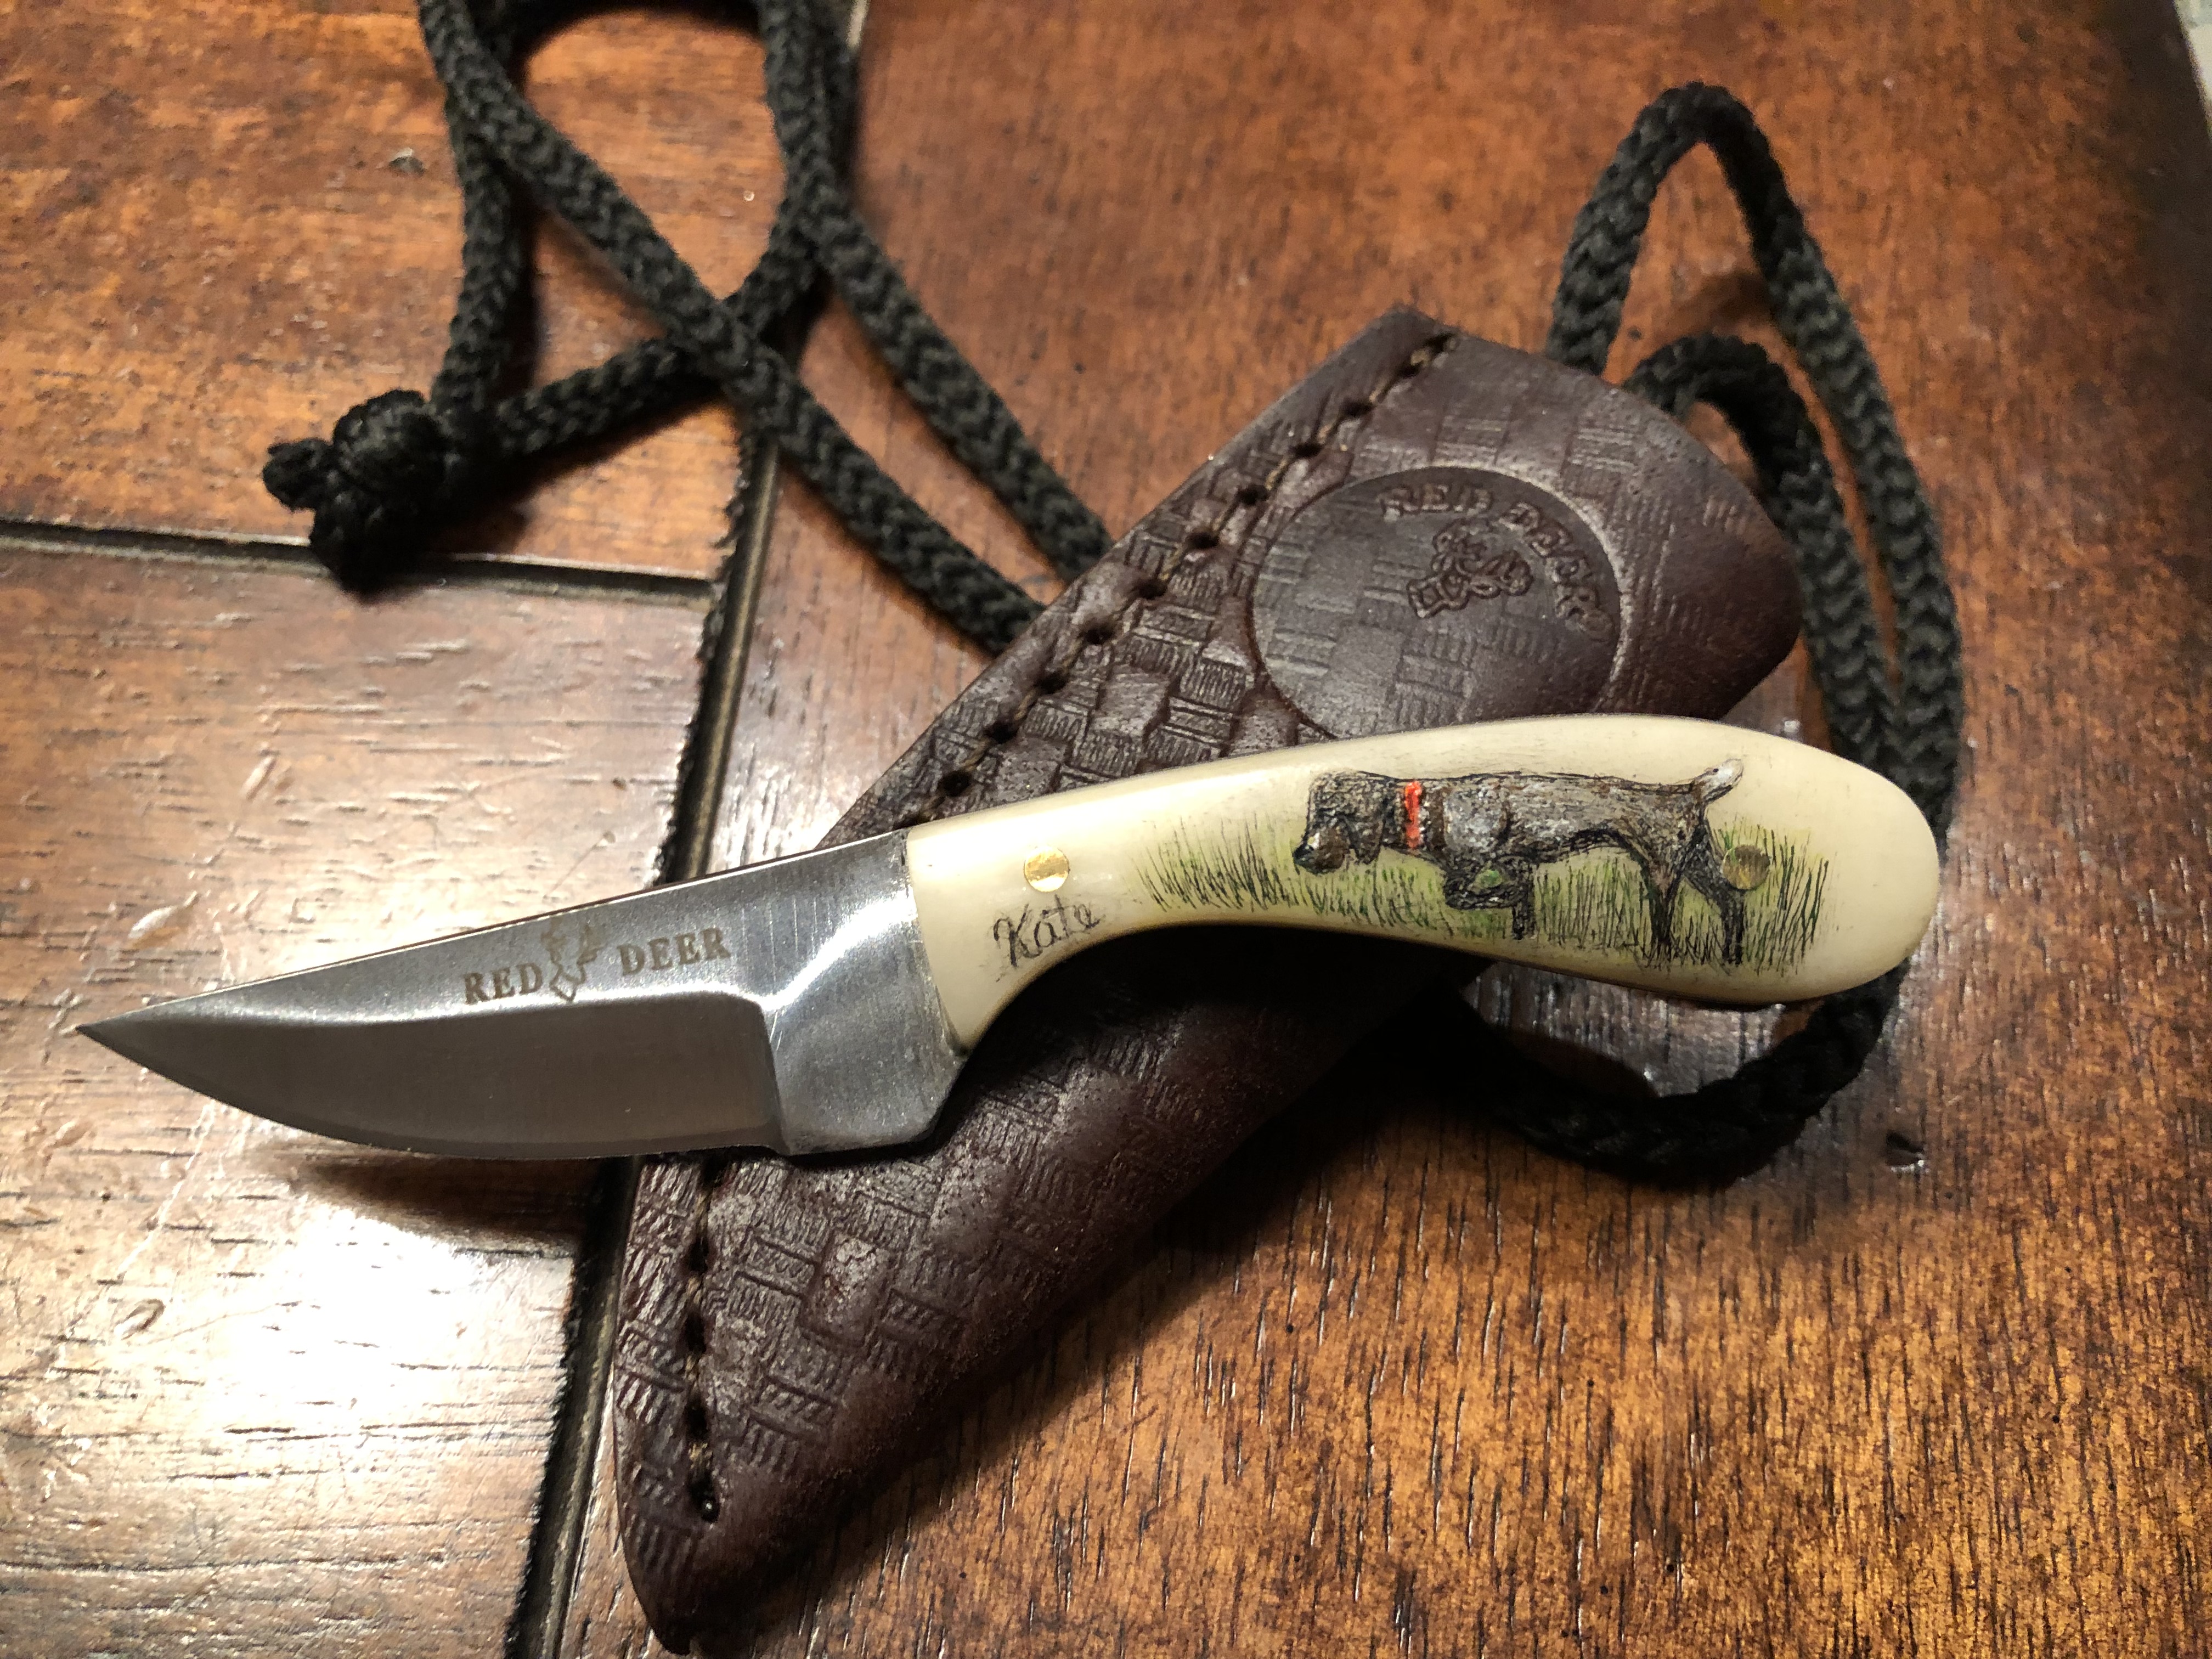
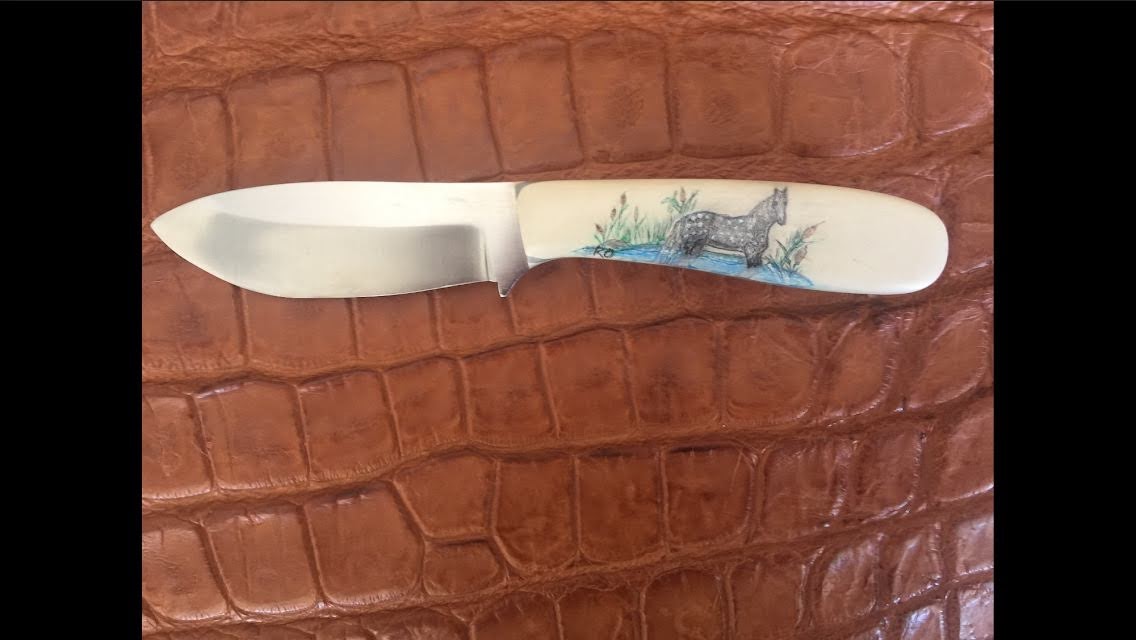
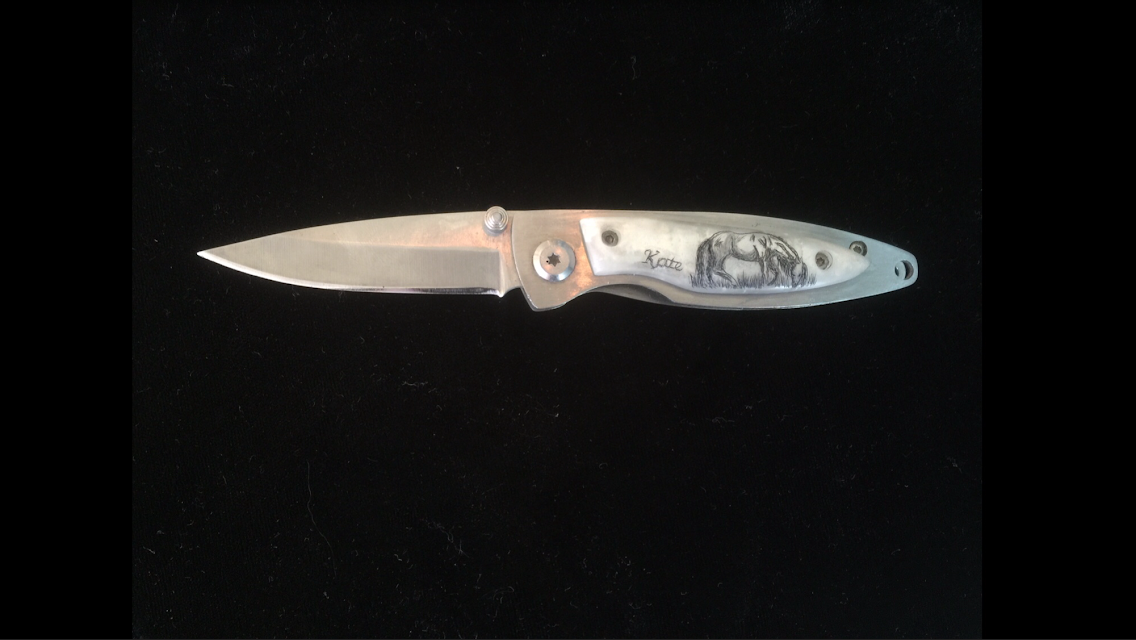
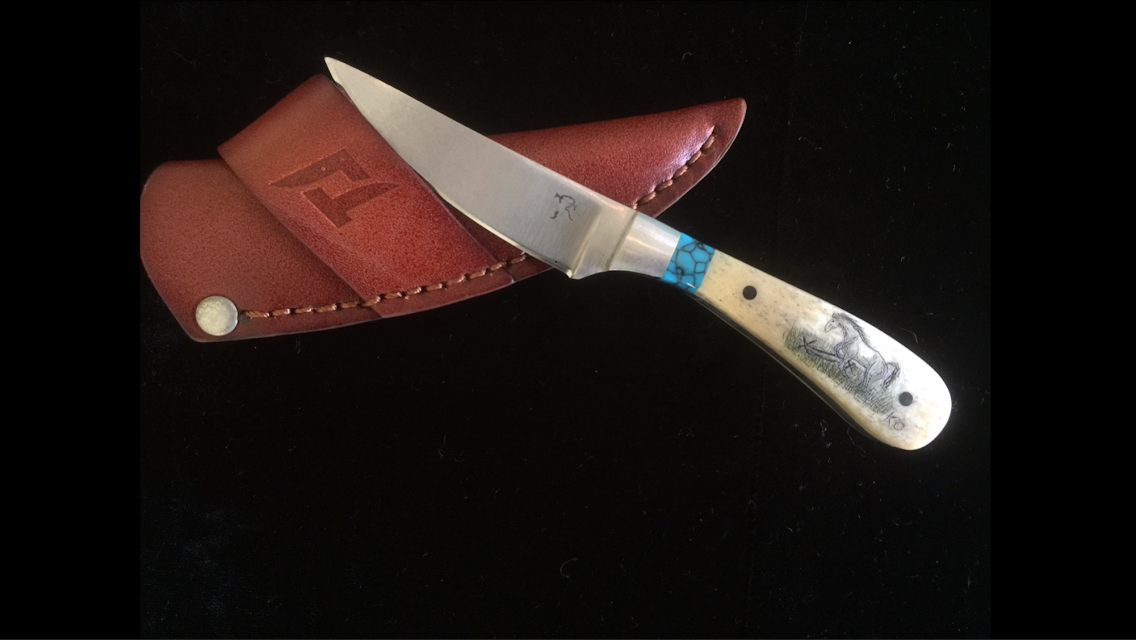
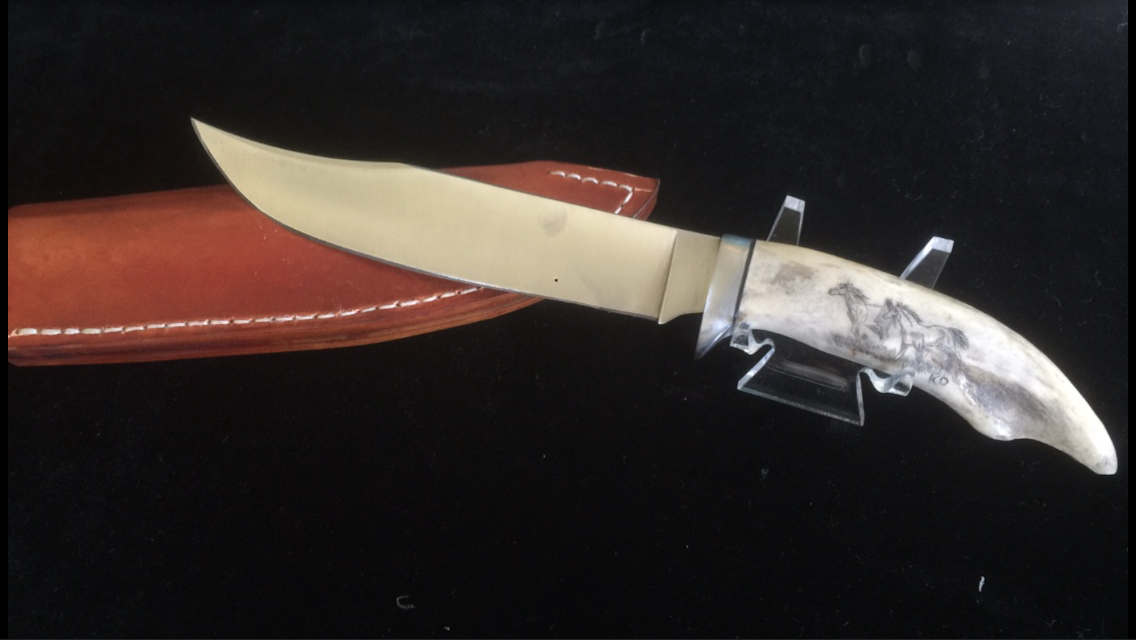
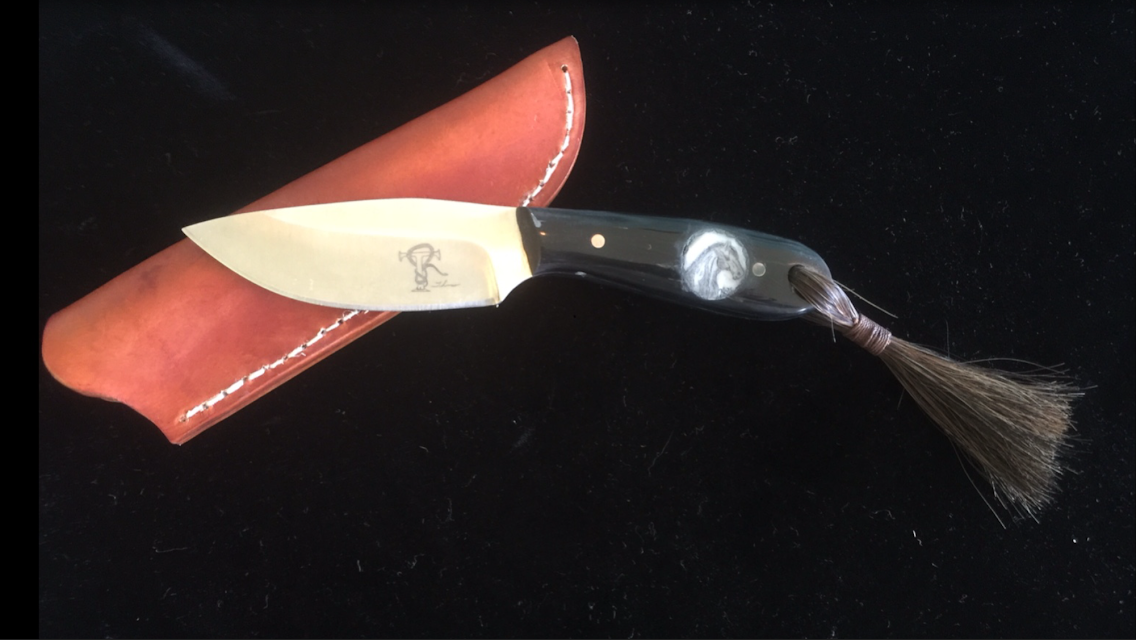
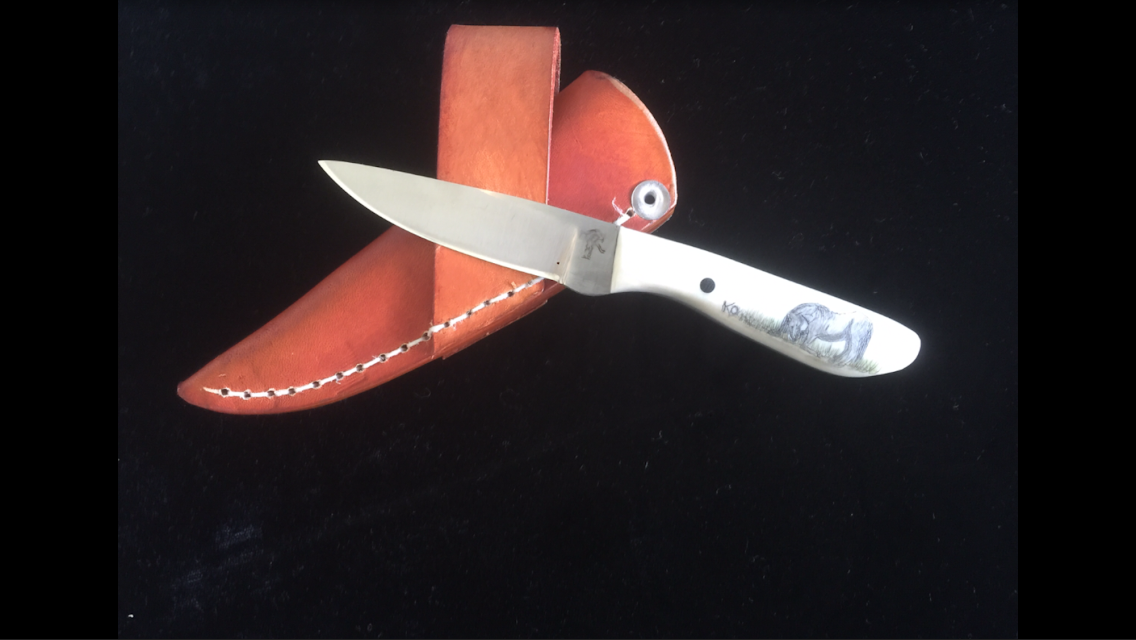
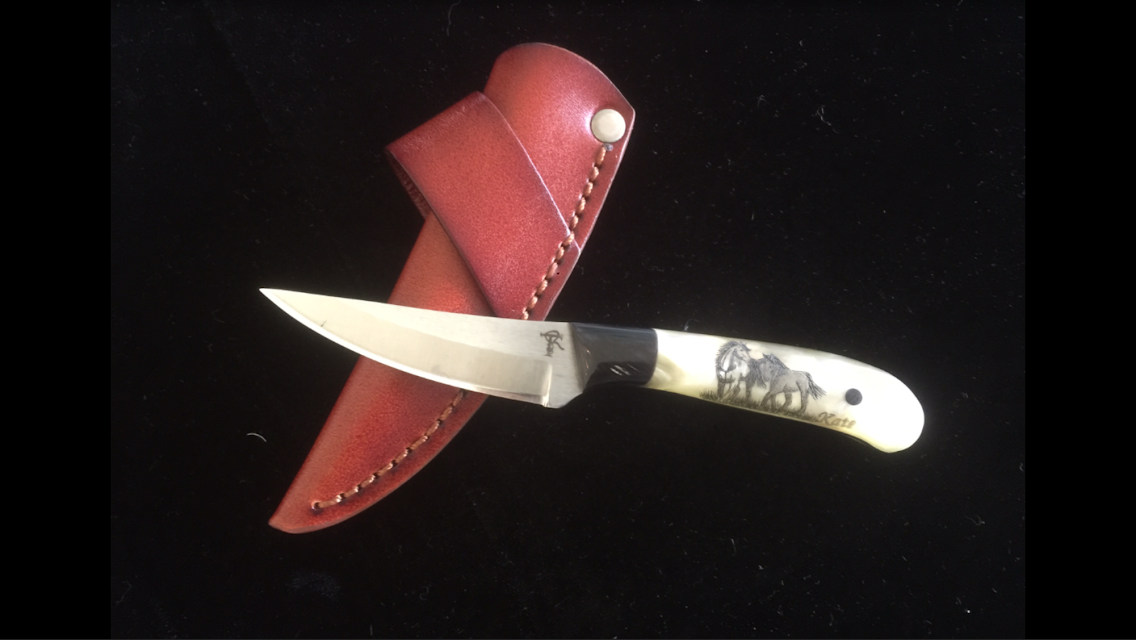
Kate Opre, of Montana, is still in high school, but she’s taking up scrimshaw in a way that’s catching the attention of many in the knife world. Who says the kids aren’t all right?
Opre wrote to BLADE about why she’s interested in this rich tradition, and she sent in some of her work. Who are we to keep such feats to ourselves? With her parents’ permission, we’re running her submission here.
How a High Schooler Came Into Scrimshaw
For Opre, the permanence of scrimshaw is part of the appeal.
“I love all forms of art, but scrimshaw is really special,” she wrote in an e-mail. “It’s a challenge because you can’t really erase; if you mess up you have to sand off the whole thing and restart.”
That requires focus, something it seems is in short supply in today’s technology-drenched world.
“It takes a lot of patience to scrimshaw. Some pieces take days, but others could take months to complete,” Opre wrote. “Not very many people know about scrimshaw anymore. Hopefully, I can have the opportunity to show people what scrimshaw is.”
She trained under Thomas and Debi Rucker (Knives By Thomas), and she makes knives in addition to handling the scrimshaw. Horses are a favorite design, and she displays her work at horse shows.
By the looks of things, BLADE expects a rewarding career to come. Keep going!
Avoiding safety complications in a knifemaker’s shop is essential. BLADE® polled some key players in the knife supply industry to see if there are any trends in motion in the area of shop safety. While everyone can agree that common sense is a good thing, and that certain stand-by items as fire extinguishers and safety glasses will always be among knife shop essentials, there has been somewhat of an evolution in this area.
Respirators for Knifemakers
“I think the biggest advance is really progress in bringing safety awareness to the knifemaking community,” observed Shanna Kemp, marketing manager at Jantz Supply. “For example, we see a marked increase in the use of respirators as makers come to understand that breathing in even small amounts of wood dust might not seem like a big deal, but over time it can really affect your lungs.”
She added that some woods, such as ebony, release small amounts of arsenic, so an increase in awareness of the dangers of particulates and resins is a good trend.
Dealing with Dust in the Knife Shop
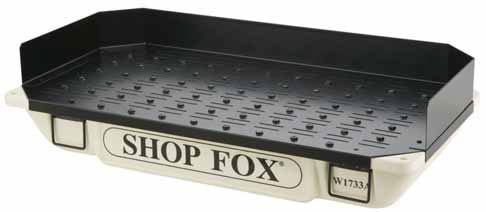
A new addition to the line of Jantz safety products is the Benchtop Downdraft Sanding Table. The 20 x 40-inch dust collection system is about 6 inches tall and connects to the maker’s vacuum system to help capture dust.
A new addition to the line of Jantz safety products is the Benchtop Downdraft Sanding Table. The 20 x 40-inch dust-collection system is about 6 inches tall and connects to the maker’s vacuum system to help capture dust.
“I feel like everyone is more conscious of their health these days than they used to be,” agreed Shannon Edgington of Knife and Gun Finishing Supplies. She said that while there isn’t anything new or cutting edge in her inventory, she definitely agreed that particulate concerns have become more of an issue.
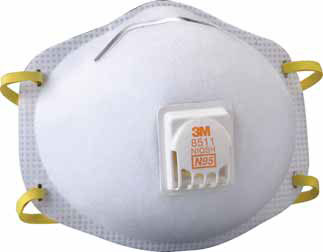
One budget solution K&G offers is the 3M N95 Respirator for Vapors that features the Cool Flow Exhalation Valve that reduces heat build-up inside the respirator.
Respirators That Don’t Need Replacing Often
The 3M Particulate Respirator N95 8511 is approved for at least 95 percent filtration efficiency against certain non-oil-based particles. Braided headbands in a two-strap design with dual point attachment help provide a secure seal. An adjustable M-noseclip reduces potential for eyewear fogging.
As buyers jump from budget-friendly dust masks to the newer, more effective respirators, they don’t have to be replaced as often.
“The technology has definitely come along so that people don’t have to replace as much,” she said. “It’s not like the old paper respirators that people are constantly replacing, which don’t filter out that much anyway.”
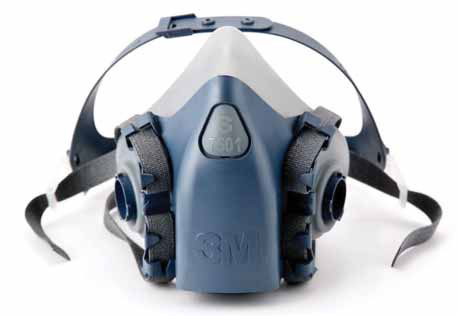
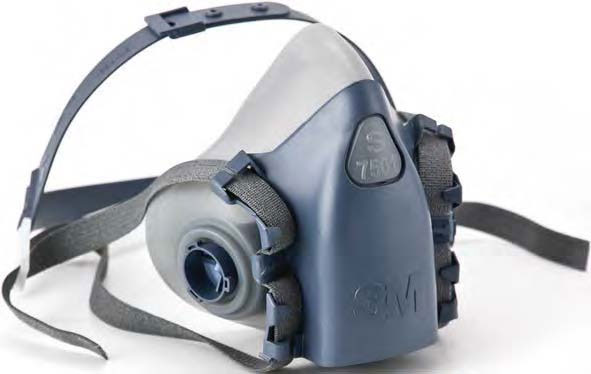
K&G and Jantz both offer the 3M 7500 Series Half-Face Respirator Mask, which features a better seal around the nose and mouth, and replaceable filter canisters for a better level of protection.
Best Respirators for Beards
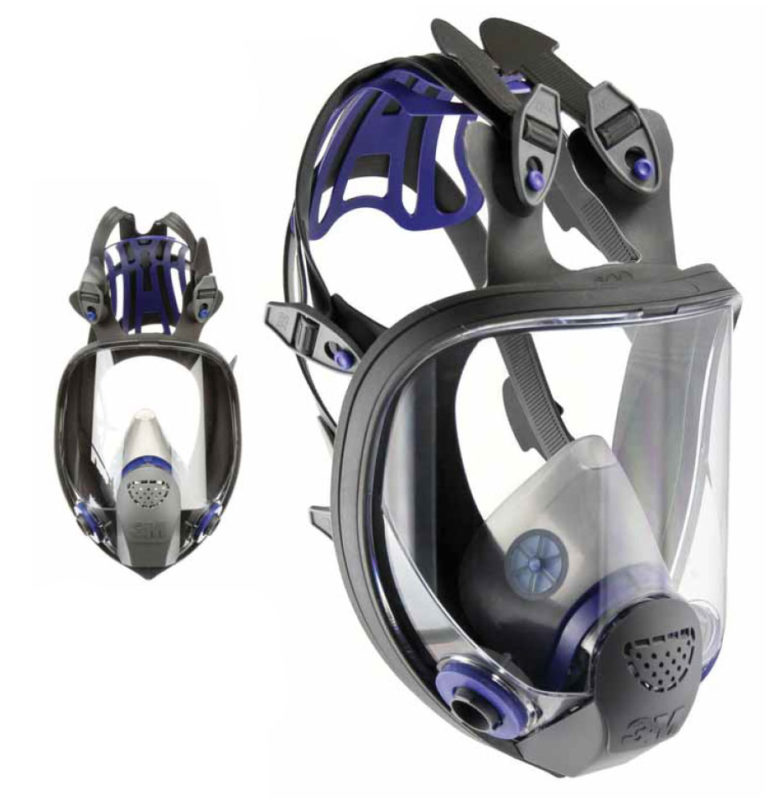
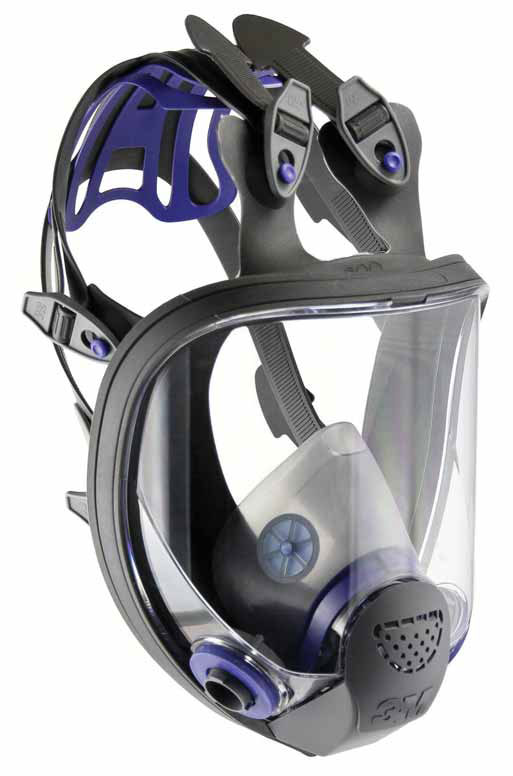
According to Jeff Mutz of Tru-Grit, the 3M Ultimate FX Full Facepiece Respirator works very well for knifemakers with facial hair. He said a lot of bearded makers have trouble getting a good, tight fit with a regular dust mask, or even the half-face respirator. The 3M Ultimate FX isn’t foolproof but it keeps out a lot more particles than the others, he noted.
In the area of high-end respirators, Jeff Mutz, product consultant at Tru-Grit, has high praise for one particular model that he said solves a couple of problems for contemporary knifemakers. For starters, he noted that the concept of “form follows function” even applies to current personal fashion trends.
“One thing I was impressed with,” Mutz said of the 3M Ultimate FX Full Facepiece Respirator, “is that it works a lot better for guys with facial hair, which is a big thing these days. I’ve seen more and more guys using the full-face respirator, so it’s apparently becoming a popular thing.”
He recalled that a lot of guys who visit his shop have longer and/or larger beards, and he noticed they have trouble getting a good, tight fit with a regular dust mask, or even the half-face respirator. The 3M Ultimate FX isn’t fool proof for those who choose to wear beards, he admitted, but the full face piece keeps out a lot more particles than the others.
“Of course, they say to create a seal you’ve got to shave off the beard, but a lot of guys aren’t willing to do that,” Mutz laughed. “So this is the next best thing.”
He recalled a conversation with Scott Sharpe, owner of Tru-Grit, about the younger generation, which seems more conscientious about safety. Scott said that when younger guys walk into his shop while he’s grinding, often they will pull their shirts up over their noses out of concern for what could end up in their lungs.
Field of View and Safety Glasses
K&G and Jantz both offer the 3M 7500 Series Half-Face Respirator, which features a better seal around the nose and mouth and replaceable filter canisters for a better level of protection.
Another good thing about the 3M Ultimate FX Full Facepiece Respirator is a better field of view. Mutz said when he wears a half-face respirator and safety glasses, the glasses interfere with the nose piece because they are not designed to work well together.
“I’ve noticed that the best way to solve that is to tuck the safety glasses under the half-face respirator, which is worse because you’re inhaling even more dust,” he explained. “With the full face, you get a large field of view and you don’t have to worry about the safety glasses interfering.”
Hand Protection Tape
Jeff Mutz recommends that if you wear hand protection, especially gloves, choose Kevlar rather than cloth or rawhide because the properties of the latter don’t play well with heat and moisture, which are both aspects of grinding in the shop. (Buck image)
Kemp said a lot of people may be surprised by two of Jantz’s best-selling safety supplies: two types of tape. The first is basic 3M Blue Masking Tape, which is used to cover the blade edge to avoid cuts from sharp edges. She added that a bandage wrap by Guard-Tex called Self Adhering Safety Tape is also popular in the area of hand protection. It is used to protect skin when grinding, sanding or polishing, while also not being as restrictive as full gloves.
However, in the area of hand protection Mutz warns against the inevitable trade-offs. He recommends that if you wear hand protection, especially gloves, choose Kevlar rather than cloth or rawhide because the properties of the latter don’t play well with heat and moisture, which are both aspects of grinding in the shop.
Mutz recalled when, years ago, he tried grinding while wearing gloves and noticed the gloves got wet when he dipped the blade into a bucket of water to cool it. The heat from the blade quickly transferred through the water into one of his hands.
“I couldn’t get my glove off quick enough,” he remembered. “I’ve rubbed my hand against a 36-grit belt before and that doesn’t feel good either. It’s kind of a double-edged sword.”
Another problem he pointed out was that makers should want to feel the steel. If it is getting warm, be aware of it and cool it off before the heat compromises the structure of the material.
Learn more about how to make knives with BLADE’s essential book.
“Especially once it’s been heat treated,” he stressed. “You don’t want to soften the steel.”
Mutz teaches knifemaking classes and discusses safety with his students. He stressed that he’s pro safety, of course, but as far as hand protection goes he’s probably not the best guy to consult.
“If you look on Tru-Grit’s website we’ve got this thing called Alligator Skin, which is a protective tape. Then you’ve got the finger guards that are made out of canvas. I’m not going to tell my students not to wear them, but these are the things you’ve got to look out for,” he concluded.
Safety in the Knife Shop is Serious Business
Safety is and should be a concern for those who spend long hours in a knife shop, and all three sources for this story agreed that common sense is the foundation, which, Edgington laughed, “over the years hasn’t always been in great supply!”
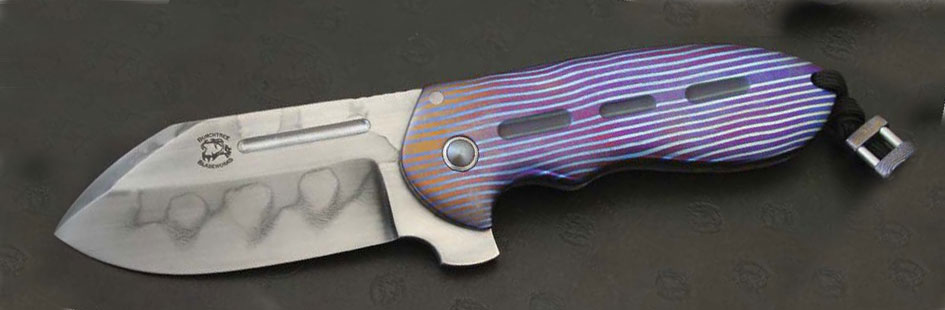
Michael Burch employed Chad Nichols’ “Stripes” MokuTi for his integral folder. The blade is 1095 carbon steel with hamon and a nail nick. Burch said the Stripes MokuTi works well on larger knives. (photos courtesy of Michael Burch)
In the northern Mississippi town of Blue Springs, in a rural area between Tupelo and the Tennessee border, a company called Chad Nichols Damascus is forging steel that is taking knives to a new level. The company’s owner and namesake, Chad is an easygoing Southerner who created a damascus product called MokuTi that boasts a stunning combination of shapes and colors.
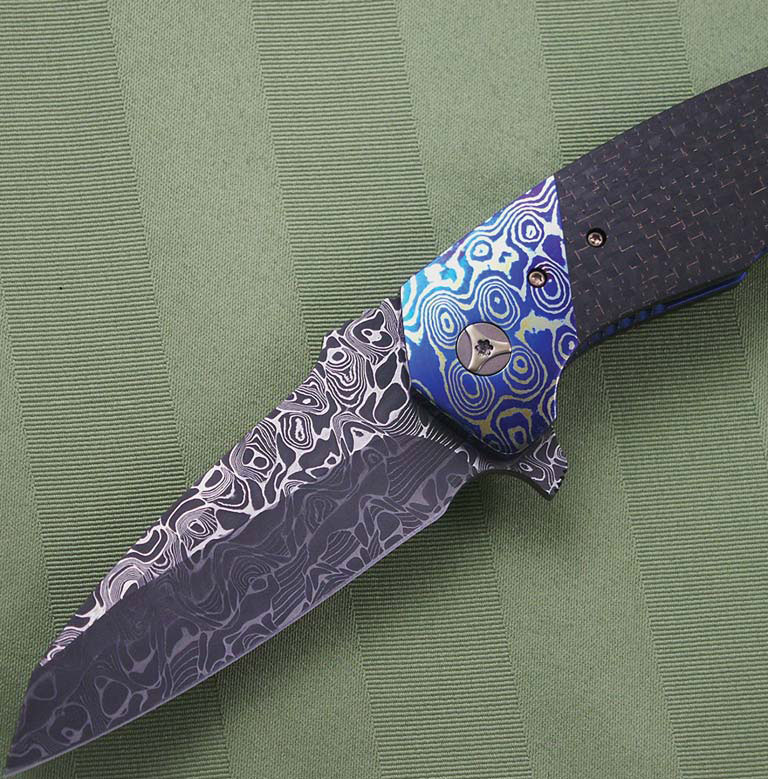
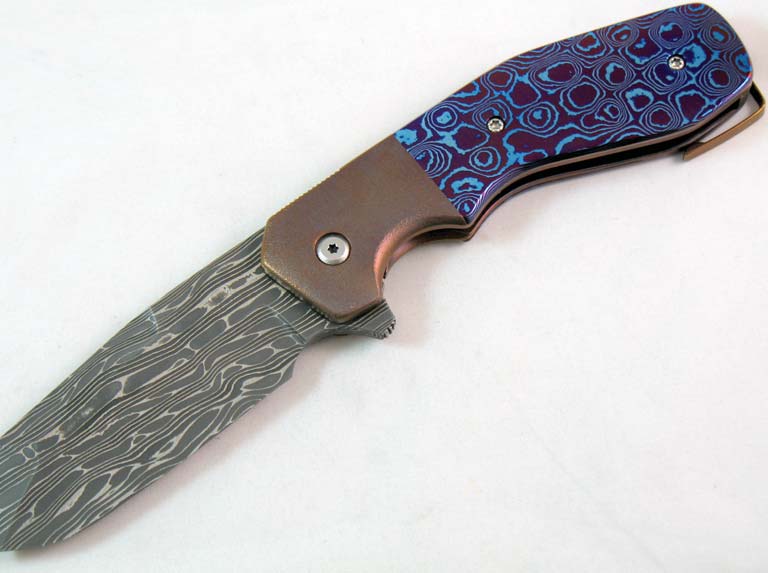
The name explains it perfectly. It is mokume that includes titanium laminates. MokuTi adds an exceptional visual boost to a knife, with swirled or mosaic tones of blue, gold, orange, silver and pink, depending on the composition of the materials used.
In his affable manner, Chad assured that Chad Nichols Damascus did not invent the colorful titanium laminate; the company just came up with a new way to achieve it—which, he noted, was not an easy task.
“We haven’t invented the wheel or anything,” Nichols said of MokuTi. “I don’t have to be the first one doing anything. I just want to be the last one doing it. We run this like a business, not an ego trip.”
Years in the Making
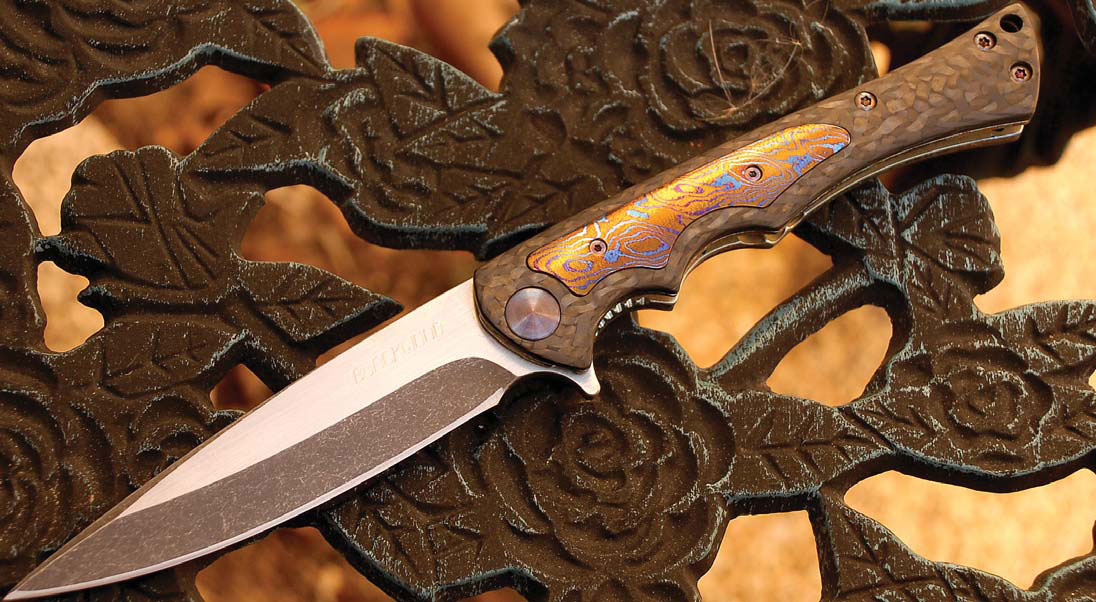
MokuTi is a great way to accent a knife with color. Neil Blackwood does it here for the handle inlay and clip of his Henchman flipper folder. The 4-inch blade is CPM S30V with a two-tone finish. His list price for a similar knife: $1,200. (photo courtesy of Neil Blackwood)
It would figure that something that looks as good as MokuTi would be difficult to produce. Nichols said it took several years to figure out.
“That’s not blowing it out of proportion,” he laughed. “I messed with it for a while, then I just put it away because I kept failing.”
He remembered getting tunnel vision trying to figure out why it was not working.
“You keep doing it and it’s insane,” he said, “because if it didn’t work the first three times and you didn’t do anything different, it’s not going to work the fourth time.”
Through trial and error he was finally able to figure out how to bond titanium with the other metals, but he is understandably tight-lipped about his proprietary secrets.
“I’m not going to tell you how we do it,” he admitted, “but there’s things we do that might seem minute to some people. However, we found those things to be critical.”
He explained a myriad of variables when bonding the layers in presses and rolling mills, including oxygen, heat and surface texture.
“Without getting into too much detail as far as bonding the layers, I’ll just say it’s tricky and it doesn’t always work,” Nichols allowed. “If I don’t make MokuTi for a month or two, I kind of count on the first two tries being crap.”
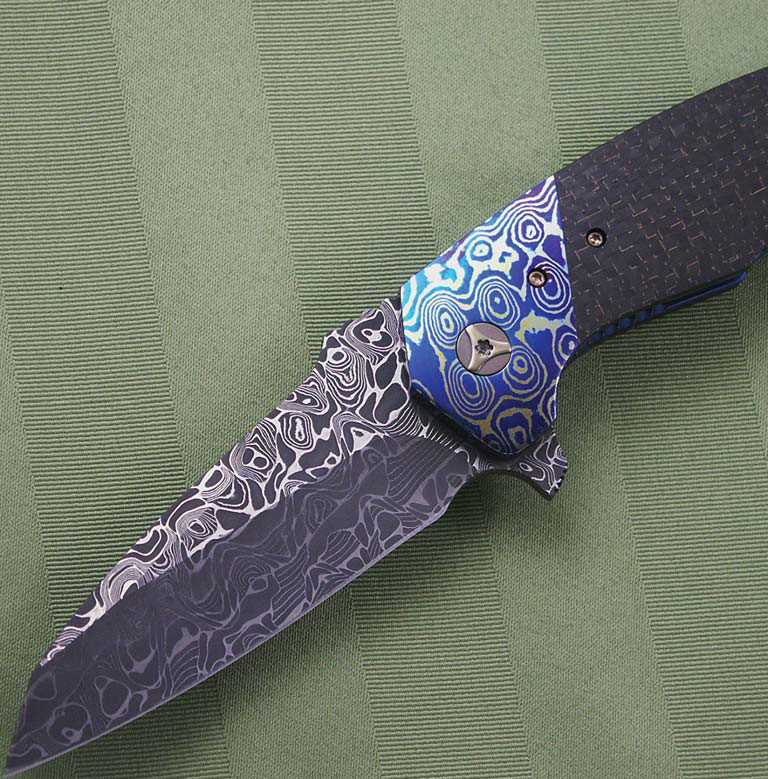
Peter Carey outfitted his Tension flipper folder with “Crosswalk” MokuTi bolsters and a blade and clip of Nichols’ “Whiplash” stainless damascus. The handle is lightning-strike carbon fiber. Carey’s list price for a similar model: $1,200. (photo courtesy of Peter Carey)
The experimental journey to fruition brought Nichols’ shop down some rocky roads.
“We recently made some MokuTi and threw zirconium in there,” he noted. “We love bonding titanium to other metals, but you just can’t do anything with [titanium and zirconium]. They just won’t bond because I guess the ductility is too different and the metals move at different rates during forging. It was a disaster, so we quit trying.”
It is all part of the ride, he said, and you cannot be scared to “just throw something in there” and see what happens.
Meteorology Matters
Another variable that affects producing MokuTi successfully is the atmosphere. While forging carbon damascus is fairly predictable, Nichols said forging MokuTi is much more complex.
“When you get into stainless and even Mokume, with the copper and brass with the nickel silver in it, and especially with the MokuTi, it gets complicated,” he continued. “What people don’t understand about forging, especially down where I live, is that with humidity of 100 percent is going to get hotter than if it’s 50 percent the next day.”
A Sixth Sense for MokuTi Damascus
Nichols searched for the words to explain his approach. Maybe it is a feeling, maybe it is a sixth sense, and maybe it is just exposure and experience.
“I hate saying this but you just get in tune with what’s going on. It’s like using the word ‘organic.’ I hate it when I have to use that word, but sometimes there’s no other word to describe it,” he lamented. “We made a new pattern a couple weeks ago called ‘Boomerang’ and some guy goes, ‘What’s it like?’ and, between groans, I said, ‘It’s very organic looking.’”
Put a Tie on that Knife
The MokuTi handle of Jon Graham’s GL Razel SS3 Bolsterlock is joined by a blade of Chad Nichols’ Iguana stainless damascus and Graham’s “Tailclip” pocket clip. Closed length: 5 inches. Graham’s list price for a similar piece: $1,400. (photo courtesy of Jon Graham)
“I’ve used MokuTi on a variety of styles,” said Michael Burch, Missouri knifemaker and owner of Burchtree Blades. “It’s like putting a tie on a knife—it just adds some class.”
Adding MokuTi as an accent is a common way to integrate the material into a knife without breaking the bank. Still, it is not cheap. The more of it the maker adds to the knife, the more it adds to the sale price.
“I charge twice as much for MokuTi bolsters as I would titanium bolsters due to the extra finishing time with polishing and heat coloring,” explained knifemaker Peter Carey. “I use MokuTi on all my folders because it’s strong and has an exotic look.”
Carey said he also uses it as an accent material on his knives, such as for bolsters, pocket clips, back spacers, thumb studs and pivot rings. He said accenting with MokuTi injects some color and flash without overwhelming the knife. A good example of employing MokuTi is as a pivot collar on a stonewashed framelock, Burch added.
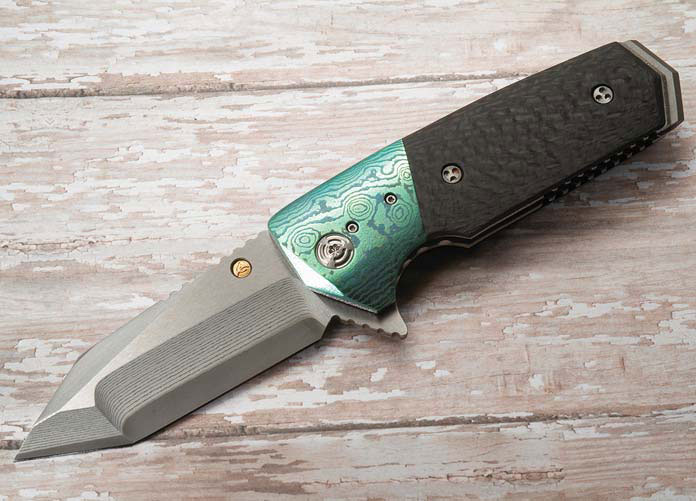
The Mini Tank flipper by Allen Elishewitz has MokuTi bolsters and carbon fiber scales. The blade is Takefu Special Steel’s laminated stainless with a VG-10 core. (photo courtesy of Allen Elishewitz)
“It makes for great contrast and can really dress up a user folder,” he observed. “It’s costly but if customers saw what went into making it, it would seem cheap.”
“It appears that everyone likes the material and it usually ends up on my higher-end knives,” Carey said. “Some of my customers ask for it as full scales or for a framelock, so I use it that way also.”
As Carey noted, MokuTi comes from Nichols Damascus as a billet that must be worked to shape and then colored.
“[Chad] usually colors it so you can see the pattern, but that gets ground off when you work it,” Carey said, explaining that it is a surface color that does not go all the way though the material. “When you get it to final shape and finish, you have to heat color or anodize it to the colors you want.”
“The other cool thing about MokuTi is dealing with Chad,” he maintained. “He’s a great guy, a friend, hard working and you can’t beat his customer service.”
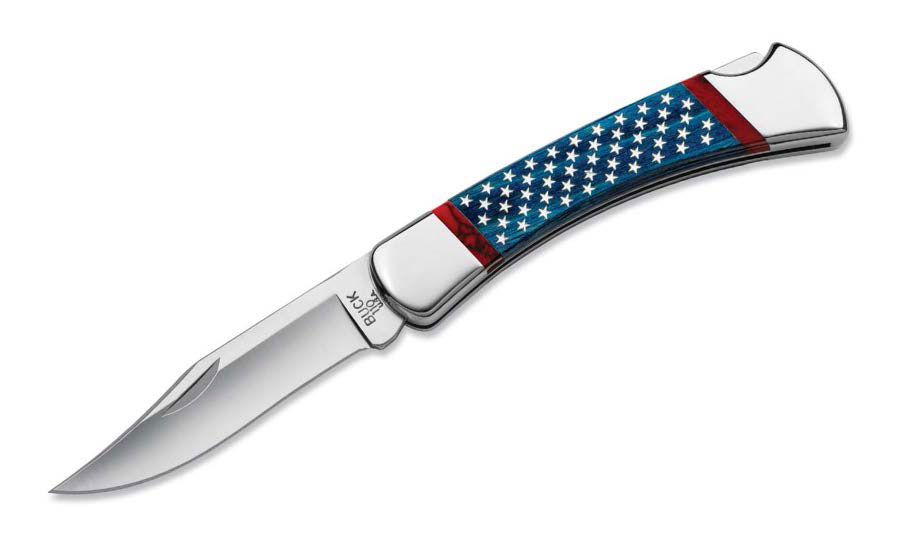
No knife says American made quite like the Stars and Stripes 50th anniversary edition of the Buck 110.
Editor’s note: All images are courtesy of their respective manufacturers.
Today’s sporting cutlery market is flooded with some very good foreign-made knives, and it may seem USA-made models are threatened in terms of quality, but nothing could be further from the truth. The American knife industry is still the leader of the pack.
USA all the Way, Even When It Gets Tough
Emerson Knives, Inc., and president/founder/custom knifemaker Ernest Emerson are unabashedly pro-American made. Emerson founded the company in 1997 on the principle of designing and building the best USA-made production tactical knives anywhere.
Along with his wife Mary, Ernest has consistently grown the company by listening to what consumers want. Emerson knives are 100 percent made in the USA, right down to the screws. Emerson is an ardent supporter of the military, law enforcement and other first responders, another good reason why it’s so important that the company’s knives be made entirely in the USA.
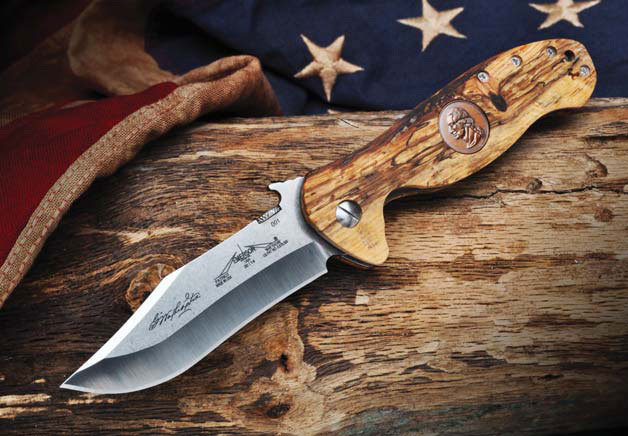
Sporting handle wood of an old oak tree from Mount Vernon inlaid with a die-struck coin of Washington’s likeness, the Patriot from Emerson Knives, Inc., is an example of the many great knives made in America.
Nonetheless, there are downsides.
“There are very few advantages in building a manufacturing operation in America,” Emerson says, citing state and federal taxes and ever-increasing regulations. It’s actually tough for a business to remain competitive here. However, I believe it’s worth the effort, restrictions and extra burden because I will do anything for America. I know my business is putting Americans to work with American wages who can earn a living in this country.”
He adds that the taxes he and his employees pay go directly to supporting the country and the U.S. military and its infrastructure.
“We have to manage our business smarter, more efficiently and more strategically to ensure a profitable and viable existence,” he stresses.
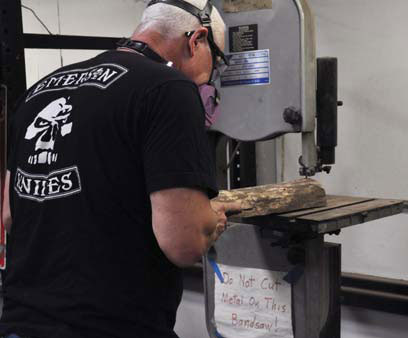
Ernest Emerson cuts a piece of historic wood at the company shop.
It’s the same attitude that makes the Commander and CQC7 models the company’s best sellers. The CQC7 is durable and comes in three sizes and two distinct blade shapes. A sexy piece with its ergonomic handle paired with a recurved clip-point blade, the Commander is a formidable cutting tool that comes in five iterations, each varying in size. Maintaining the popularity of these knives down the road is important to Emerson.
â”In order to stay viable,” he notes, “I believe the future lies in the industry’s ability to design and build knives that the consumer really wants.”
Consistency Counts
CJ Buck, president of Buck Knives, says a major advantage to having knives made in the USA is owning the integrity of the manufacturing processes.
“Consistent processes create consistently performing products,” he begins. “It also ensures product quality improvements are held as processes evolve.”
Another advantage is heightened flexibility and responsiveness.
“We can fix a design or quality issue quickly or adjust to spikes in our forecast since the partnerships between our factory and our USA vendors can be aligned immediately,” he explains.
A Buck 110 has the final edge applied at the Buck Knives plant in Post Falls, Idaho.
On the other hand, domestic production carries its own set of challenges.
“When importing, if you need to add capacity you simply contract with another factory or, on the other side, cut a factory off,” he explains. Stateside you have to invest in more equipment, people and buildings. Consequently, as Buck laments, “If you are forced to reduce your output, the pain and loss of investment is in laying workers off.”
As for the future of American knife manufacturing, Buck is optimistic.
“The United States continues to lead in innovation,” he states. “Our culture and national character give us a substantial, sustainable advantage in that area.”
“Made in the USA” Means Better Quality Control
The Socom Delta is the flagship knife for Microtech’s USA-made folders and remains one of, if not the, signature model for the company. The 3.75-inch blade is Bohler ELMAX stainless steel.
Microtech Knives built a solid reputation in the 1990s on designing and making some of the market’s most progressive production tactical folders, and continues to push the envelope. Why manufacture in the USA?
“So we are able to keep flaws to a minimum and catch mistakes early on,” reasons Hank Greenberg, the company’s custom shop manager, adding that if a company offers a solid made-in-the-USA knife with quality materials, then consumers will have no problem paying a fair price for it.
Americans build Microtech’s knives, such as the Ultratech out-the-front (OTF) auto and Socom Delta tactical folder.
Taking Care of Fellow Americans
HTM Knives is based in Forney, Texas. An acronym for Hand Tech Made, HTM was founded by knifemaker Darrel Ralph as a result of an ever-growing demand for his custom models. HTM allowed him to offer his designs to more people at a lower price and accelerated delivery times.
According to Ralph, HTM makes its knives in the USA “to take care of Americans and to take care of the people who take care of us. By having our knives made in the USA, we have total control on quality.”
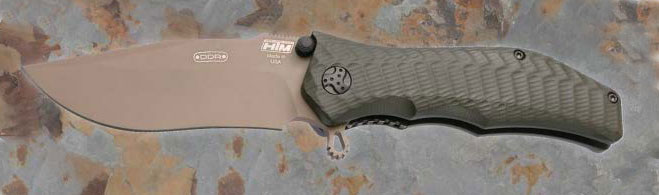
The HTM Gun Hammer includes an OD green handle of Cerakote™-coated aluminum and a “flat natural earth” blade of CPM S30V stainless. The folder comes in either an assisted opening version or with the Maxx Glide pivot bearing system.
Ralph says the Gun Hammer and Mad Maxx are HTM’s best-selling knives. Both began as full customs, so it made sense to produce them under the HTM banner. For the Gun Hammer alone, HTM offers several iterations in varying blade shapes, finishes, steels and coats.
“The military likes both knives and guns made in the USA,” Ralph notes. He says his Gun Hammer and 18 X-Ray automatic are among HTM’s best sellers with military customers. The company also offers designs by such makers as Kirby Lambert and Greg Lightfoot.
Ralph indicates there is a 23 percent scrap rate for knives made overseas.
“You have to figure in for that rate,” he says of foreign-made knives. By having their knives made in the USA, he reasoned, the HTM brain trust has total control over the processes, and can rectify any production issues that might arise before they become a problem.
When it comes to the advantages of knives made in America, Ralph says U.S. companies have access to the best steel and high-end materials.
It should come as no surprise then that Ralph says there is a huge upswing in companies manufacturing knives stateside. He specifically cited Buck Knives, who has been returning some models to “made-in-USA” status after previously being off shore produced. He also noted a growing trend of custom makers offering mid-tech/semi-production knives.
“They are growing the American market instead of stealing from it,” he observes. “That’s what we need in the knife industry.”
Celebrate American Craftsmanship with This Essential Book
Making knives can be gratifying, but it can also be dangerous, dirty labor that requires proper precautions. Here is a selection of gear that can make the knifemaking experience safe and more enjoyable.
If you need a reminder of what can happen if you don’t take safety seriously, read these knife shop horror stories here and here.
Reusable Respirator
Breathing in fine metal particles and wood dust can do serious damage to your lungs over time. While disposable respirators are good products, anyone who grinds and sands frequently needs a higher level of protection. As result, Jantz offers the 3M 7500 series Reusable Respirator.
“The biggest complaint we hear about respirator use is comfort and heat,” Jantz’s Shanna Kemp noted. “3M’s 7500 series solves these problems with a combination of comfort and durability.”
MSRP for both medium and large sizes: $33.95 each. The MSRP for a combination cartridge to complement the unit is $14.95.
Belt Safety Guard
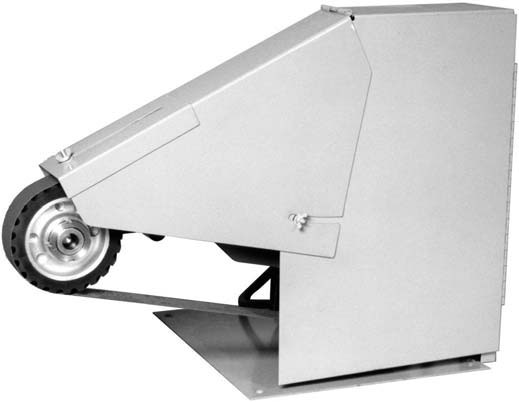
Hawkins Knife Making Supplies offers the Bader B3 Belt Guard, which features an adjustable front hood that minimizes the risk of injury if an abrasive belt should break while in use. Order by phone only. MSRP: $170 (plus shipping and handling).
Forge-Welder Safety Glasses
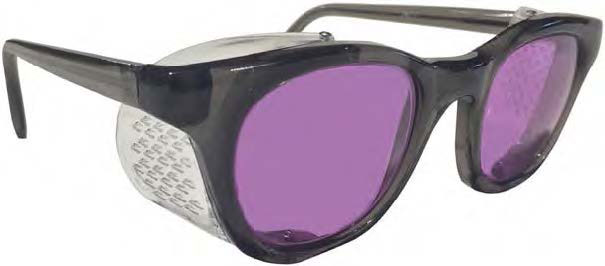
David Kayne of Blacksmiths Depot says the Didymium Glasses are the company’s best-selling safety item.
“They will save the eyes of anyone who regularly works at temperatures above 2,000°F,” he noted, “forge welding of billets for damascus in particular.” MSRP: $75.
Super Magnet
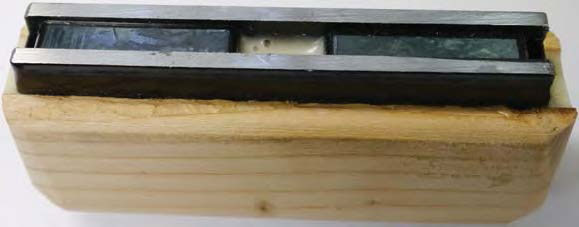
According to Shannon Edgington of Knife & Gun Finishing Supplies, K&G’s model no. WT12 magnet comes in a 5-inch size and is more than strong enough to hold small pieces of steel against a disc or belt sander.
“The magnets are great ‘finger savers’ for removing the bark or just flattening the surface of steel,” she wrote. MSRP: $19.95.
Heat-Resistant Work Apron
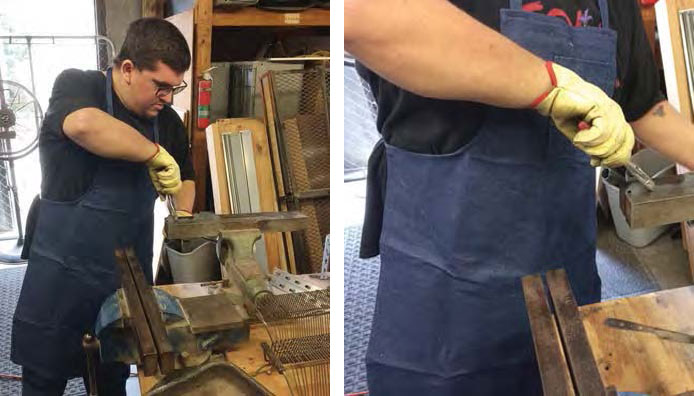
Texas Knifemaker Supply’s heat-treat technician wears the company’s heat-resistant denim work apron to shield himself from the oven’s radiant heat, as well as from the red-hot blades as he checks them for straightness before air quenching.
The heavy-duty denim is nice and thick and has a waistband cord to tie behind the back. One size fits all. The apron also protects clothes from dirt and grime. A handy pen pocket is ideal for telescopic magnets, safety glasses, etc. MSRP: $12.95.
Fresh from an extended stay in the wilderness, Zerra talked with BLADE about knifemaking, survival knives and the biggest mistake people new to knifemaking make.
BLADE: Most people know of you through Naked & Afraid. Did you get into knifemaking after appearing on that show or was this something you were always practicing?
LZ: I used to be a farrier, so I got my first introduction to knifemaking through blacksmithing. I used to mess around with steel in the forge, and that led to trying my hand at making knives. As a survivalist and outdoors person, I’ve always had a love for knives, and starting to make my own was a natural progression.
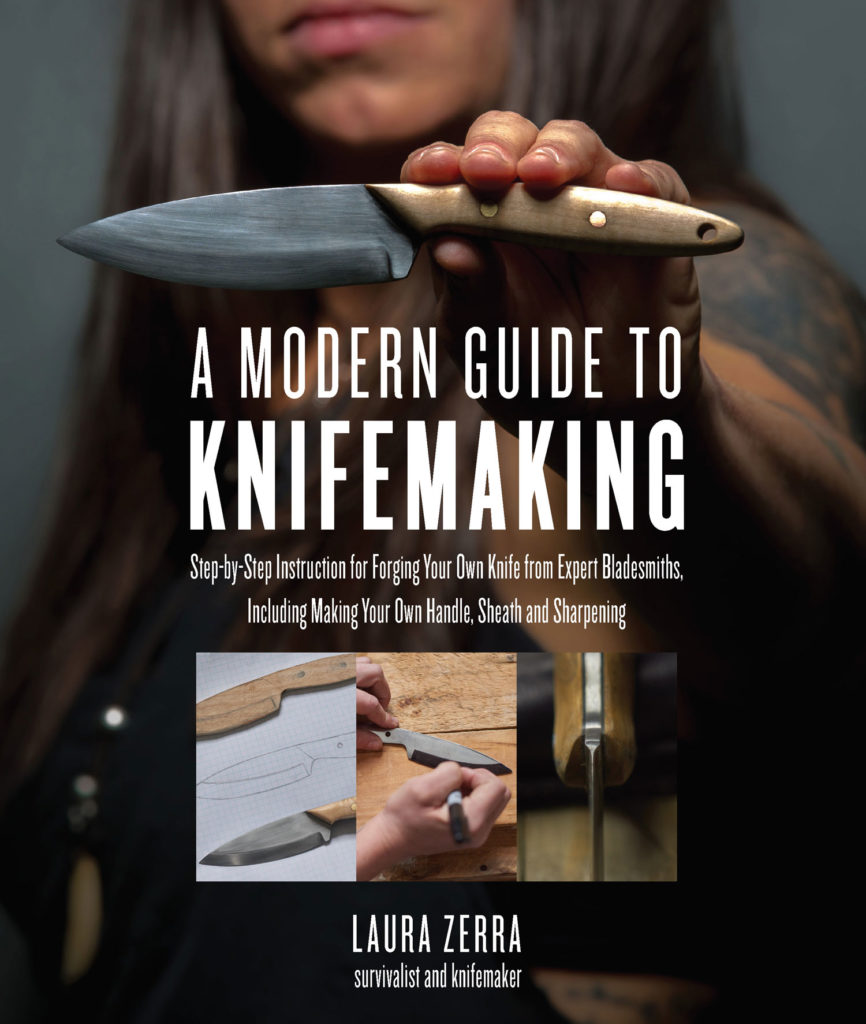
What spurred you to write your new book, A Modern Guide to Knifemaking?
I was working on outlining a survival book, and my editor saw that I’d just been at BLADE Show. We talked about the possibility of me writing a book on knifemaking. I’ve always loved knives, and have been in numerous situations where my life literally depended on my blade. I’ve also been humbled by all the legendary knifemakers I know, and I don’t have the expansive years of experience and talent that a lot of them do.
The thought of writing a book on knifemaking was really intimidating at first, but I realized that my perspective would allow to me to write a book that could really break it down for a beginner, and that my relationship with knives as a survivalist could offer some unique insight. Knifemaking is one of those skills that everyone does a little bit differently, so I wanted to interview some experts in the field and have them offer their two cents, as well.
Can someone with little knifemaking experience pick this up and go at it?
I wrote the book that I wish I’d had when I first started knifemaking. I wanted someone with absolutely no experience to be able to pick up my book and be able to make their first knife, from start to finish. While I do talk about what has worked for me in my experience, I think knifemaking is personal. I really wanted to encourage the reader to experiment with different processes as well as designs to develop their own style and find what works for them.
What’s your philosophy when it comes to knifemaking?
As a survivalist, first and foremost, my knives have to be functional and durable. A knife has to be able to complete the tasks I need it to, and I don’t want to have to worry about it breaking or losing an edge quickly when I’m depending on it for my survival. That being said, I don’t think that means it has to be unattractive; I think a functional knife can still be beautiful, and a skilled knifemaker can complete both these objectives.
Zerra says she prefers working with 1095.
What are your favorite steels to work with?
I like working with 1095 steel. I find it easy to move with a hammer, and it holds a great edge with a good heat treat. But I have to admit, I’m a sucker for damascus carbon steel. Well-made damascus really does well with that balance of function and beauty. I just love the moment of pulling it out of the etch and seeing how the pattern has played out on the steel.
What’s the biggest mistake people make when first starting out making knives?
I think the biggest mistake people make is not getting started at all. I’ve talked to so many people who have told me, “I’ve always wanted to make a knife!” but have never actually done it. Getting started can be intimidating for people, and that can be enough to prevent them from ever getting out there and doing it.
If I could tell people one thing, it would be to commit to doing it; not in a year, not when you have time, but right now. And don’t be scared of making mistakes. Mistakes are a natural part of getting into any new skill, and are an important part of the learning process; but you have to actually get out in the shop to start making them!
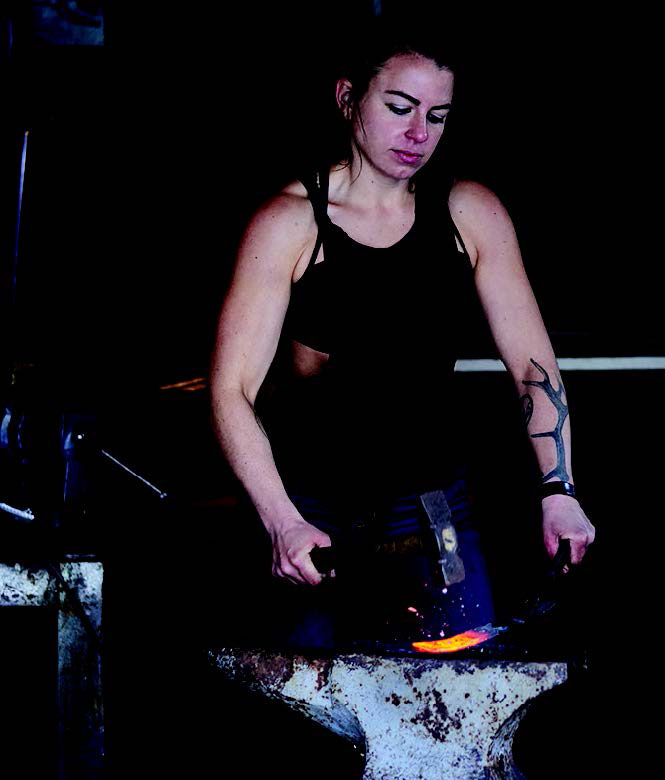
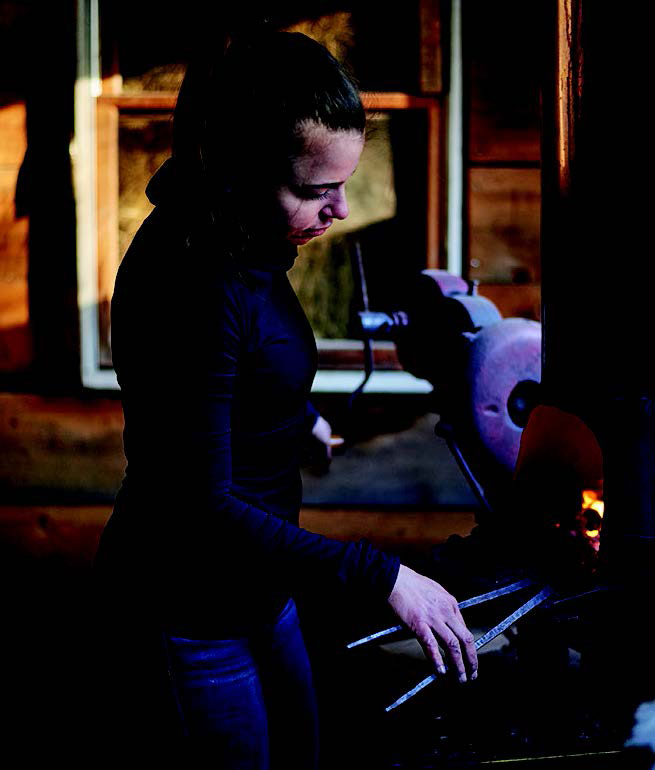
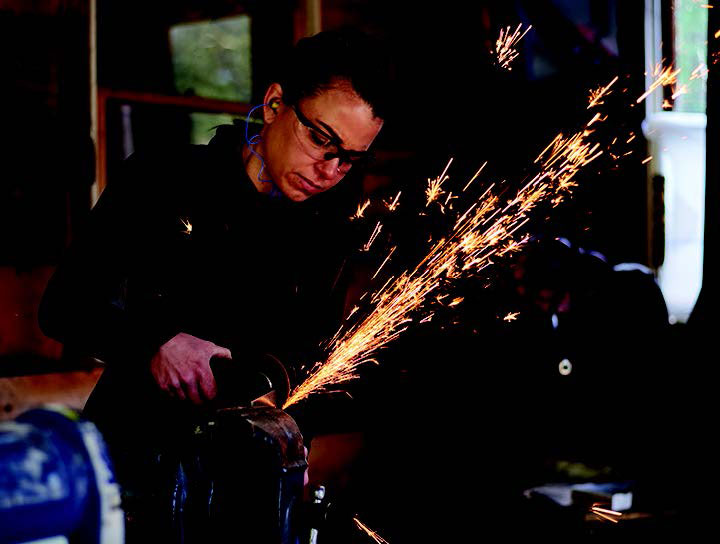
Laura Zerra, star of TV’s “Naked & Afraid,” at work in her shop. (all shop images provided by Laura Zerra)
Is there such a thing as a “survival knife” or are there only knives used for survival purposes?
I think the term “survival” is too broad to describe a specific type of knife. Where am I surviving? What’s the environment like? What tasks will I need my knife to perform?
Different circumstances will be best met with different qualities in a knife, from overall size and shape to steel choice to blade geometry. To try to make a “One Size Fits All” blade that will be the best tool for every survival situation seems like an impossible task.
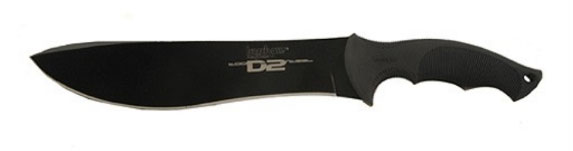
In seasons 1 and 2 of Naked & Afraid, you brought with you a Kershaw Outcast and a Diving Sparrow Mako Shark, respectively. Both of those sport big blades (10 inches and 11.25 inches). Is it safe to say that machetes are better than knives with smaller blades for survival purposes?
Kershaw OutcastMako Shark
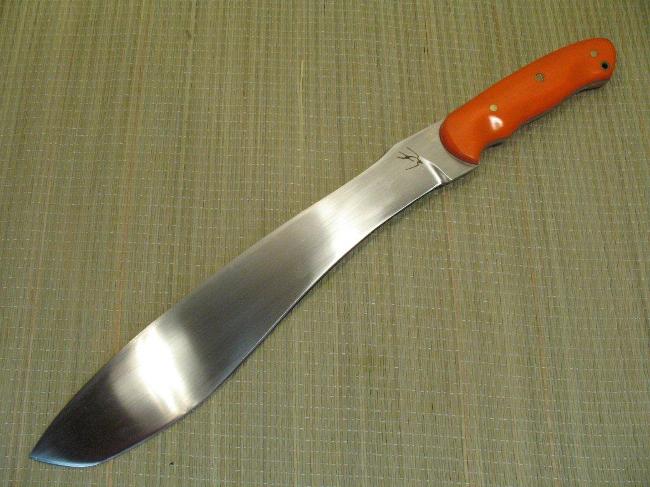
I brought those knives based on my location in the tropics. Both of those knives made easy work of cutting through a massive amount of palm leaves and opening coconuts. It’s a bit more difficult to carve trap parts or butcher meat, but it can still be done.
A machete can be used to complete more delicate tasks by changing the way you use the cutting edge; for example, when gutting small game, I hold the machete between my feet and move the animal across the blade instead of trying to move the big knife across the much smaller animal.
For jungle survival, I absolutely recommend a big blade because the of amount of material you’ll be chopping though. Put me in a desert or a deciduous forest, however, and I’m likely to bring a smaller blade; it just depends.
What’s your take on survival knives versus survival multi-tools (those 31-in-1 sorts of things)? Are those multi-tools any better than a knife that’s just a knife?
I prefer a simple knife. A multi-tool has its place in urban survival and everyday use, but I find all those extra tools and edges can limit the use of your blade and get in the way. As a primitive survivalist, I’m used to improvising with what I have so maybe that’s part of it. I know people who love multi-tools, so I guess it’s personal preference.
Careful around the grinder, warns Zerra.
In the name of safety, we run a series on blademag.com about knifemakers’ worst accidents in the shop (so that no one else repeats the same mistakes). Have you ever had an accident in the shop? What did you do differently the next time around?
Yup! When I first started using the grinder, I ground a big notch out of one of my fingers. It took a minute to start bleeding, but then it gushed for quite awhile. I had to quit for the day, because my hands were so slippery from my own blood that I couldn’t hold the blade anymore.
It definitely gave me respect for the grinder, and I was more aware of the fact that the belt removes flesh much faster than steel. I also had a shirt catch on fire from hot steel dust gathering in a fold. I’d love to tell you that I wear a leather apron now but I’d be lying.
Laura Zerra is just one of the celebrities who have attended BLADE Show. The 2018 version takes place June 1 to 3 in Atlanta. Buy tickets and find information here.
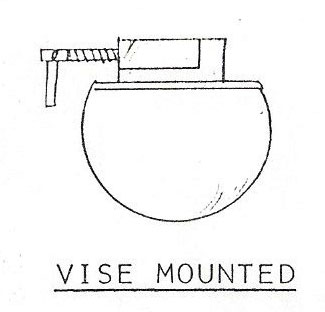
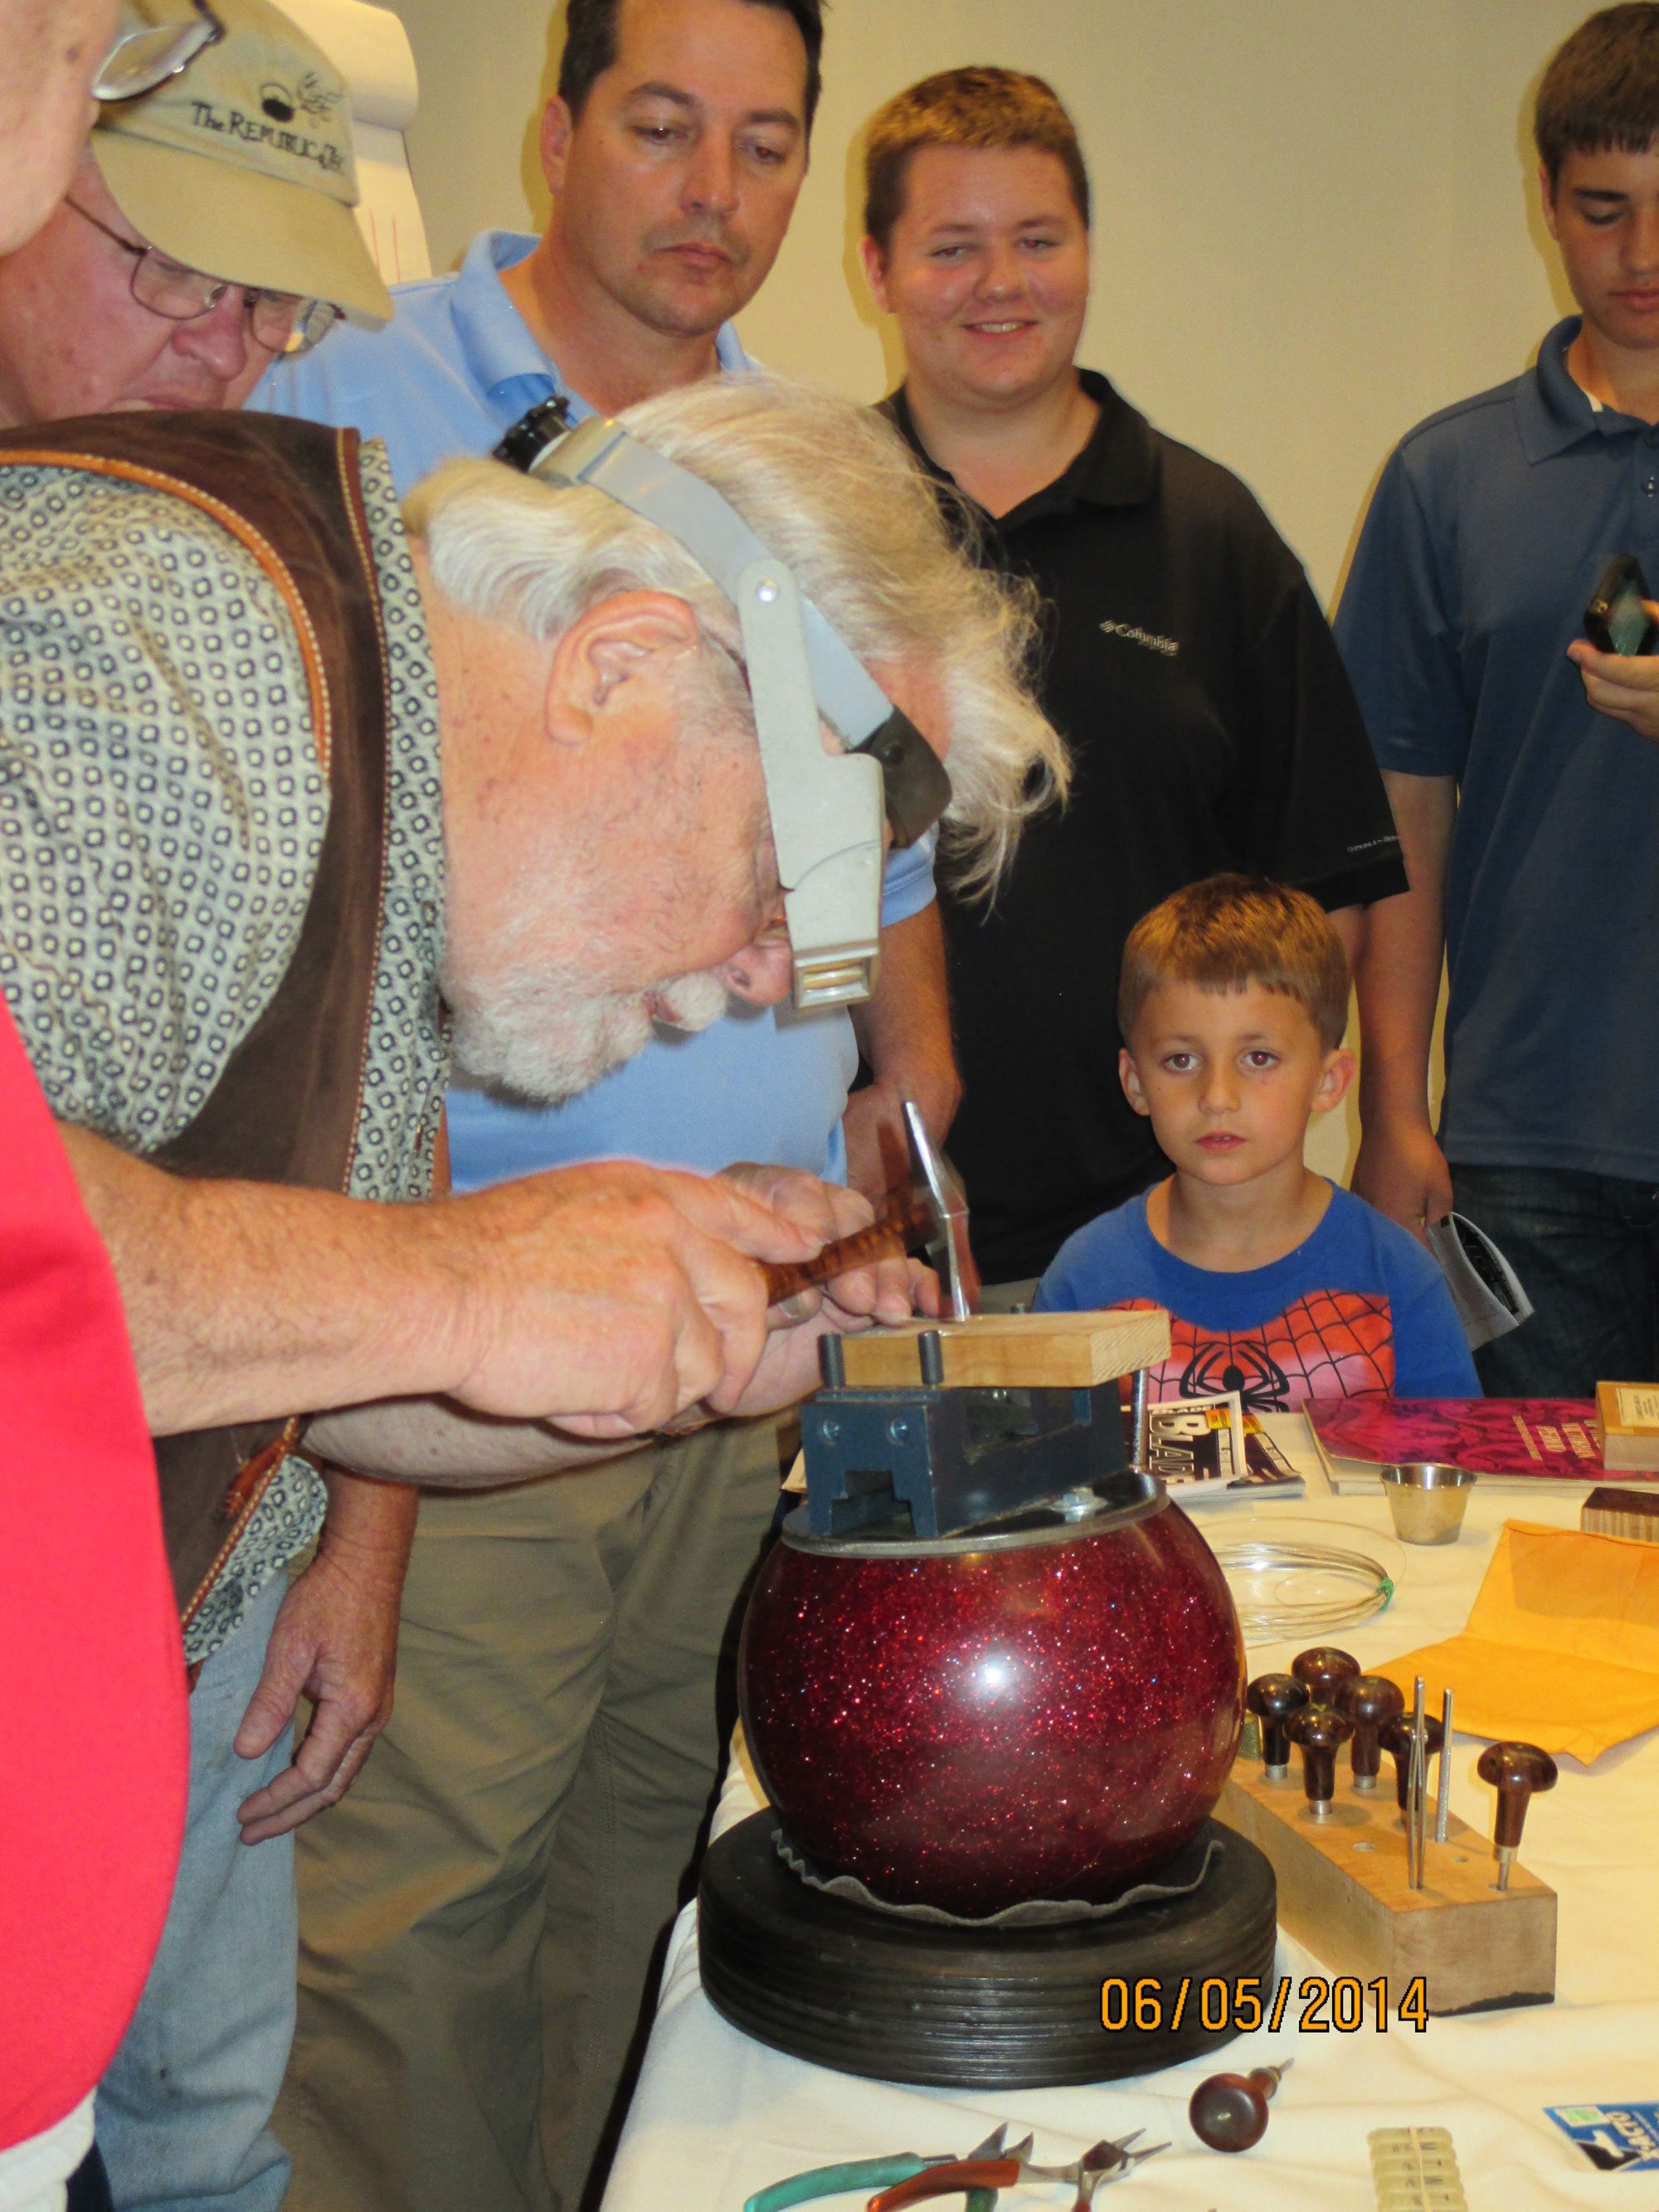
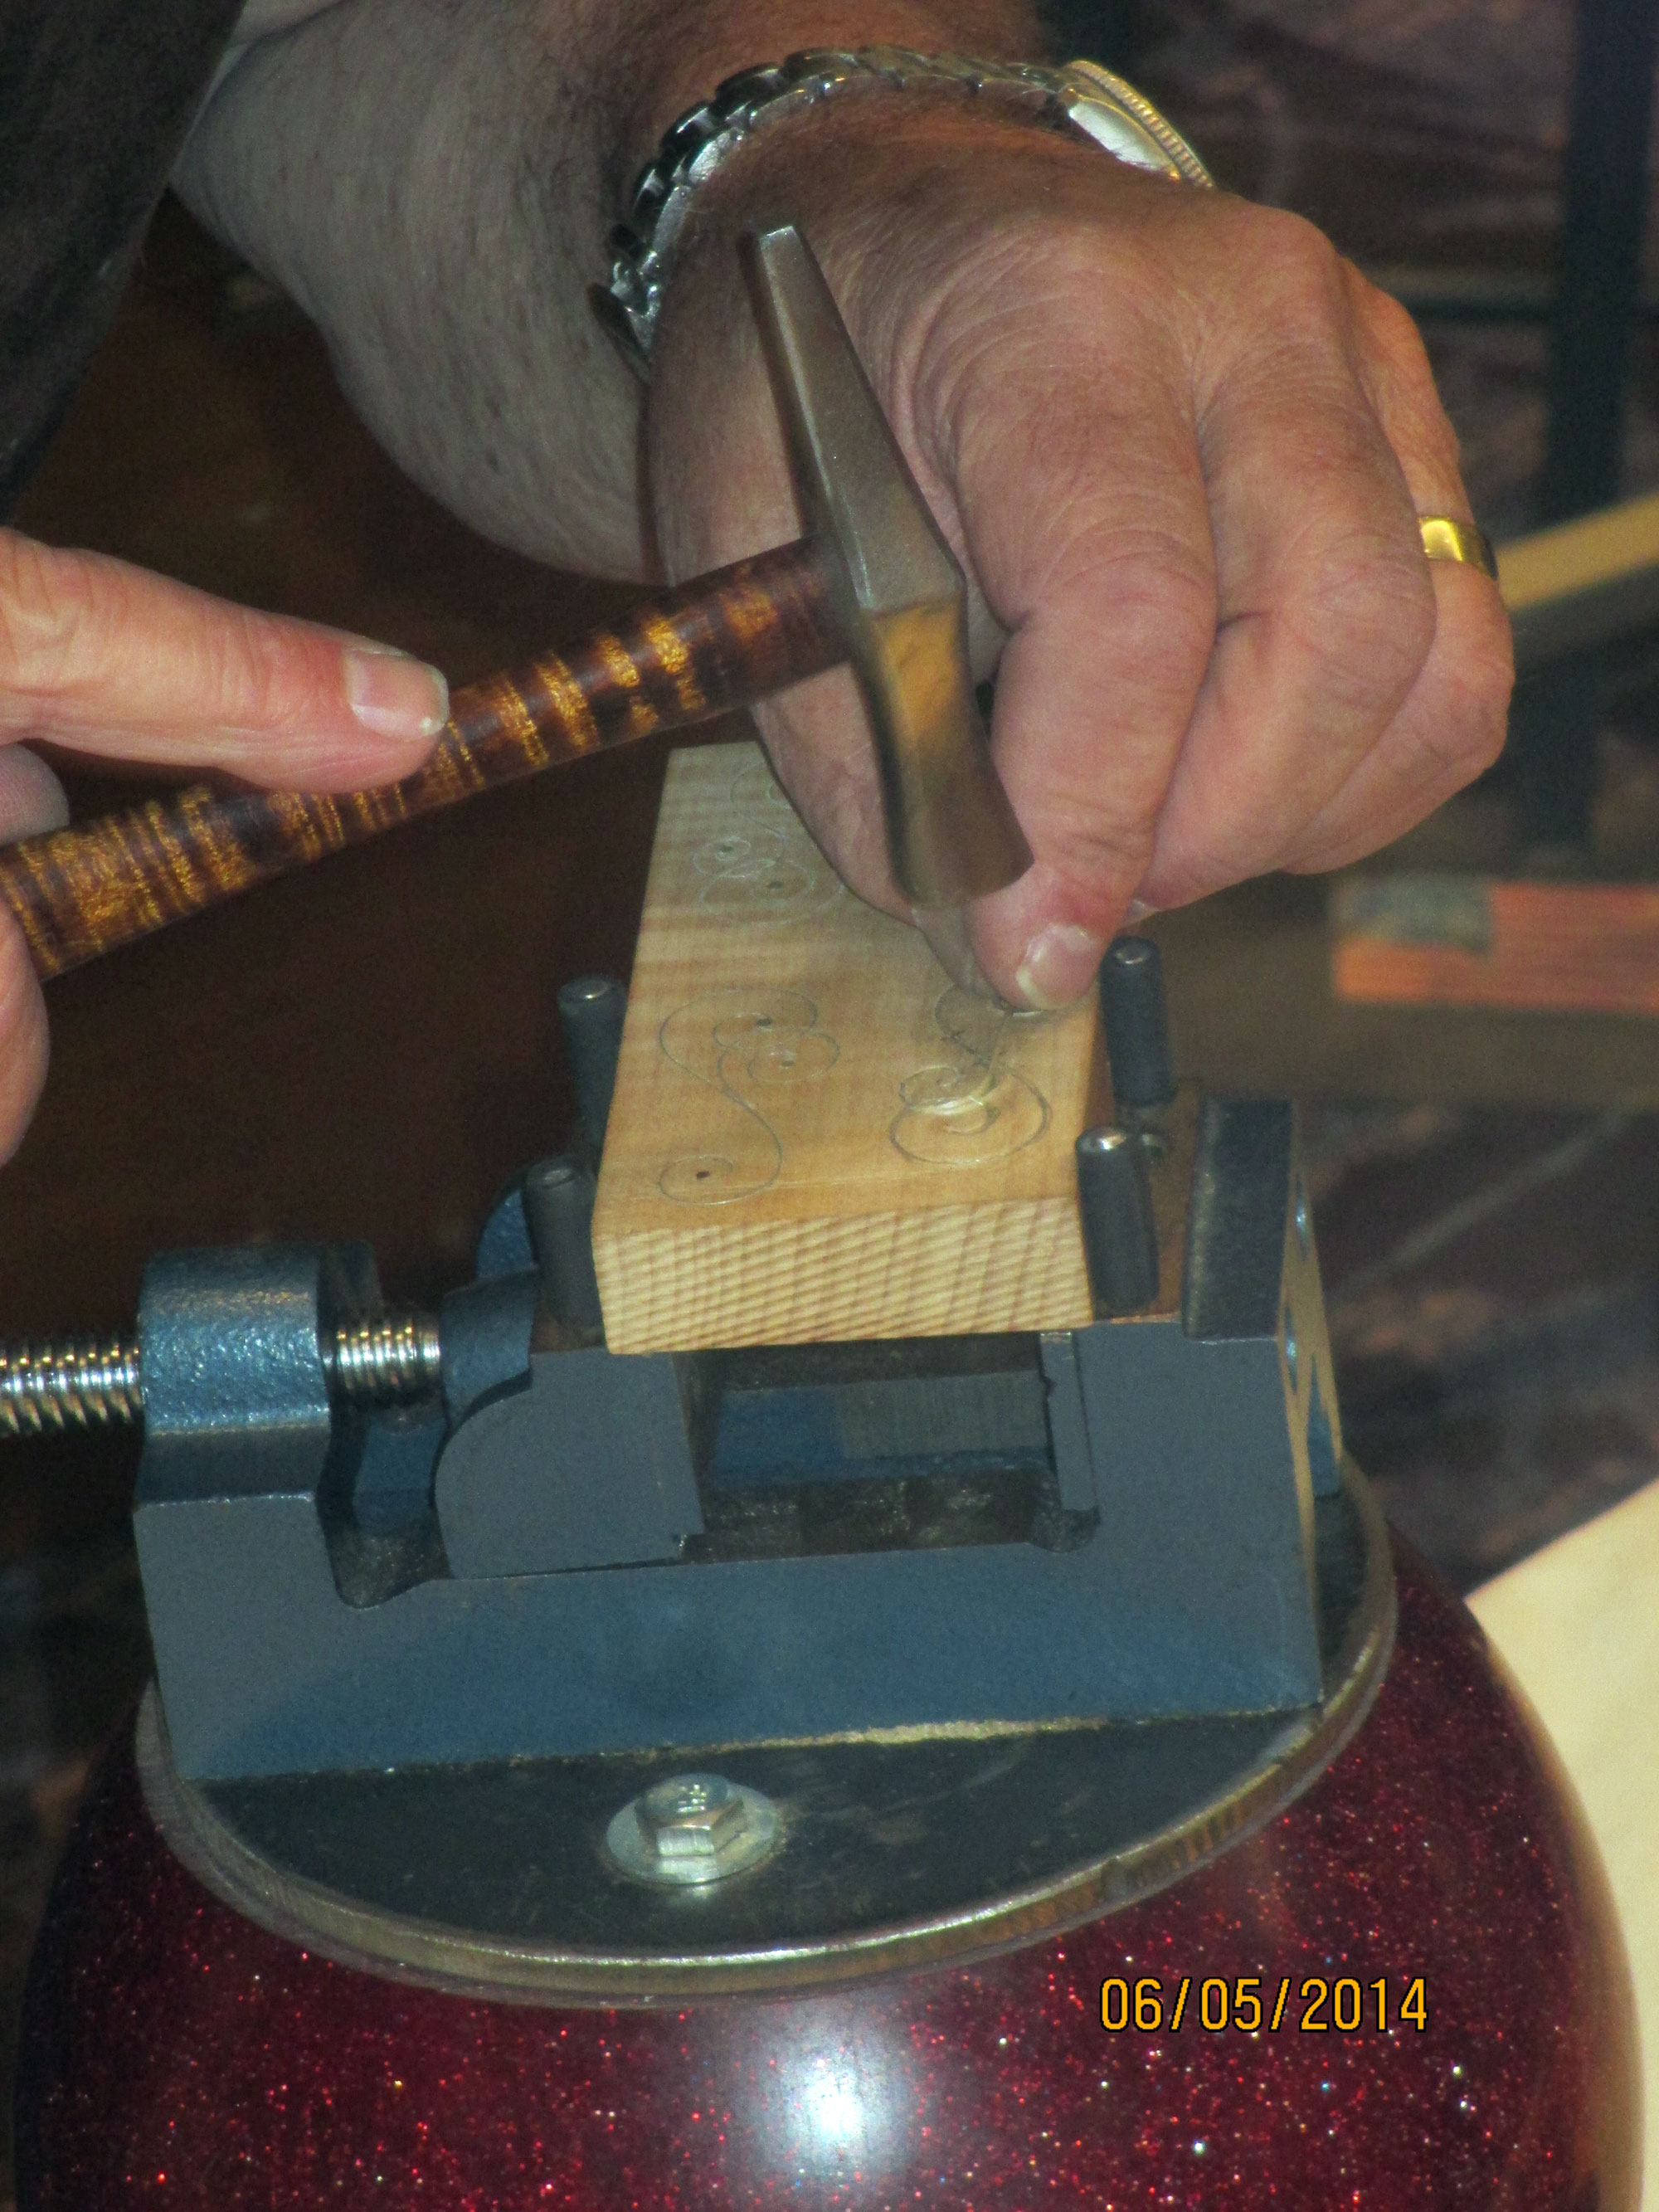
Joe Keeslar’s bowling ball vise uses a lawn mower tire for a base. A machinist’s drill press vise typically used for drilling and milling is mounted on top.The bowling ball vise holds the wood securely as Keeslar lightly hammers the silver wire during his BLADE University class at BLADE Show 2014.
According to ABS master smith Don Hethcoat, “Bowling balls make the perfect vise for knifemakers doing inlays and similar close work where you need both stability and flexibility. You can buy an old bowling ball at a flea market or thrift store for two or three dollars.”
In his own words, here are Don’s six steps.
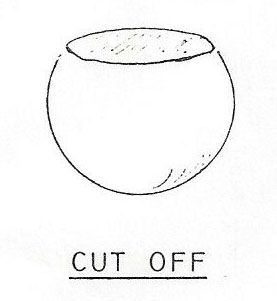
1) Saw
“Saw off about one-third of the bowling ball, getting rid of the old finger holes. I used a metal band saw but you may have other means.”
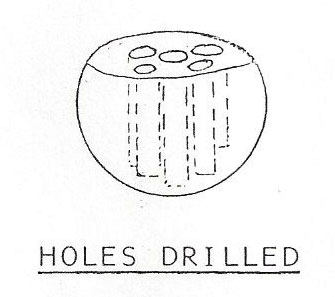
2) Drill
“Drill five holes in the flat top of the ball, one at each corner of a square with one in the middle using a half-inch drill bit, then chisel out a cavity in the center of the ball.”
3) Fill
“Fill the opened cavity almost to the top with lead shot to add weight, then seal the shot to the top of the hole with automotive Bondo® filler.”
4) Mount
“Make a round cover for the flat top of the ball using metal, wood or Formica®. Mount your vise on top of this. Mine is a machinist’s vise using its mounting system.”
5) Base
“Make a base and you’re almost done. I used a round piece of 8-inch pipe cut to 2.5 inches in depth. Fill the pipe with Bondo, cover it with Saran™ Wrap and push the bottom part of the ball into it to make an impression. Clean up the excess Bondo.
6) Fit
“Cut a round piece of suede to fit inside the round cavity so the ball can rotate freely. That’s basically it! Feel free to modify the vise to fit your own scenario.”