Knifemaking is the building of a knife, which includes the blade, handle and other accouterments. Blades are made by either removing metal from a steel blank via a grinder – known as stock removal – and the forging to shape of hot steel into a blade in the process known as bladesmithing. Other parts, including bolsters, guards, pommels, etc., are needed to complete the finished knife.
Invest in a good bench stone. You have the natural ones like the Arkansas stones and the manmade ones such as the Norton India stone. There are also the diamond-bonded stones that many companies produce.
2) Color the Edge
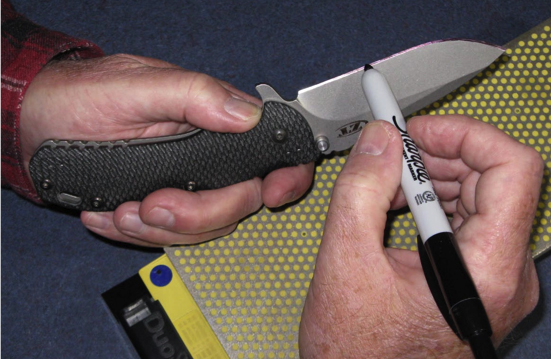
With a black ink permanent marker, color the entire cutting edge or primary bevel on both sides of the blade. The objective is to sharpen off the black ink. After you remove the ink from both sides of the blade, it will be sharp.
3) Adjust Accordingly
Take a few strokes on the stone and then examine the edge bevel. If you see ink toward the top of the bevel, decrease the angle of the blade to the stone. Conversely, if you see ink toward the bottom of the bevel, increase the angle to capture that part.
4) Remove the Ink
After you sharpen the ink from the cutting edge, you will have to remove any stray marker ink. A liquid-based adhesive and paint remover is ideal for the job. Place a few drops on a paper towel and very carefully wipe the cutting edge.
Going Forward
After you get the hang of it, skip the permanent marker step. Congratulations, you’re now a freehand sharpening pro!
Know the keys to the best handle design to enhance your knife’s performance and safe use. Following are seven:
1) According to ABS journeyman smith Dan Farr, the size of your hand is a key to arriving at the best handle for you. Longer hands require a larger handle diameter and thicker hands a smaller diameter. Wearing gloves works best with a longer and thinner handle. Remember that an eighth-inch difference in handle diameter means approximately a 3/8-inch difference in circumference.
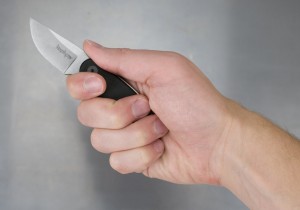
Know seven keys to top handle design. The knife is the Kershaw Mini Skinner. (Kershaw photo)
2) As for handle material, most synthetics tend to be stable, durable and often require no protective finish. Wood is strong for its weight, finishes well and adds beauty. Stag is somewhat limited in shape and size, but has good texture and adds traditional looks.
3) Contoured and formed grips are great if they fit your hand, but the more form fit the handle, the fewer people it fits. Finger grooves are an example. They are nice if they fit your fingers, horrible if they do not. Handles with a single finger groove for the index finger will generally be versatile enough to fit many hand sizes.
4) Round handles have no natural indexing for the blade edge (natural indexing refers to the ability to know where the edge is by how the handle feels in your hand rather than having to look at the edge to know where it is). Oval handles are much more useful. They index the edge to the handle and add the ability to use twisting force.
5) Curving the butt of the handle down—also known as the dropped handle—will improve purchase.
6) A palm swell allows a relaxed, comfortable handhold. It keeps your hand in the same place on the handle, provides a natural pivot point and helps with retention.
7) Guards are important safety features. A guard should blend with the contours of the grip and be strong, though in proportion to the rest of the knife.
A Knife Handle That Really Sticks With You
This Deer & Deer Hunting Drop Point Knife is a great example of a knife that gets its handle right. This hard-working hunting knife was made exclusively by the American Knife Company for BLADE‘s sister brand, Deer & Deer Hunting, and is a great pick for hunters and collectors alike.
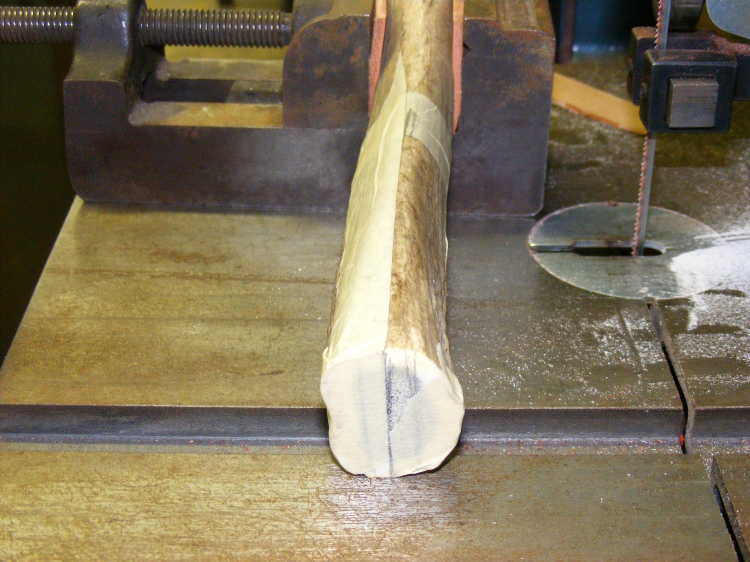
After cutting the antler section to size, cut it in half lengthwise to form slabs. Mark the centerline using masking tape along the antler’s top, bottom and ends. (photo courtesy of Joe Szilaski)
By Joe Szilaski, BLADE® field editor
1: I enjoyed reading and learned a lot from your story (page 52, July BLADE®) on using elk antler on hidden-tang knives. I have some nice elk antlers and would like to use them for the handle on a full-tang knife. You mentioned in your article that elk antler can be very porous in the center. What is the best way to go about cutting slabs from elk? (Johnny C., address n/a)
An elk rack is quite massive. Each time I hold one of these magnificent specimens, my mind wanders off to great childhood memories. I grew up in Hungary where elk were plentiful, and I was fortunate that my godfather was the forest ranger. One of his responsibilities was monitoring the elk herds, and I saw many majestic bull elks, especially during full rut season.
Elk antler can make an excellent handle for a full-tang knife. Before answering your question, I would like to tell BLADE readers what to look for when buying elk antlers for handles.
Try to buy a “seasoned” rack; otherwise, you will need to store it for a few years before use. You cannot be 100 percent sure it is a seasoned rack unless the seller knows and is honest about it. The only way to be sure is to cut into the antler and see if the core is sort of gooey or oily feeling. If so, this means the antler is still green and you should wait at least two to three years before using it. Using green antler is not a good idea because the shrinkage will be much greater. This is the case with most natural materials.
I look for an antler that feels heavy for its size. In other words, the heavier the antler, the more solid it should be. The heavier weight is a good indication the antler is less porous in the center and has a thicker outer wall. A lighter antler is usually more porous in the center and has a thinner outer wall.
Of course, the thinner wall does not mean you cannot use the antler for scales. You can but it takes a little more work. As I mentioned in the July BLADE, you must remove the porous section and fill the void with wood or other solid material.
When working with a more solid antler, by the time you grind your scales to the desired thickness and size, there will not be much porous section left to worry about—and that you can saturate with extra-thin Super Glue® in order to make it solid. Most likely you will need to repeat the application of glue a few times. Make sure the glue has completely dried before applying another coat.
As far as the best way to cut your antler, I can tell you what has worked for me. WARNING: Be safety conscious if you use tools such as a power saw.
Before cutting it, I study the rack from different angles and determine which sections would be more suitable for hidden-tang knives or as slabs for full-tang knives. I hold the different parts of the antler to find the sections that feel most comfortable in my hand. From there, I mark with masking tape where each cut will be.
After cutting the section to size, I cut it in half lengthwise to form slabs. I mark the centerline using masking tape along the top, bottom and ends of the antler (see photo above).
When positioning the antler into the vise, I use 10-ounce leather to line the vise jaws. The leather prevents damage to the antler and will result in a better grip because the soft leather will form to the antler’s irregular shape.
I use a small precision drill block to check the angle of the antler in the vise. The goal is to have the centerline positioned perfectly vertical for cutting.
Most of the time, I use a small wooden wedge to compensate for the irregularity of the antler and to help true up the centerline. If marked and cut correctly, the slabs should be similar in size and thickness, so not much effort will be required to grind or sand the scales flat.
If the antler is small, I may use a wide-faced, sheet-metal locking pliers instead of a machinist’s vise and slowly push the antler on the band-saw blade to cut lengthwise.
Only your imagination limits what you can make using elk antler. Dave Herman, my friend and ex-partner, made a knife and gave it to me as a present in 1989. It shows how creative you can be with elk antler. The handle is pieced together like a jigsaw puzzle. The top half is hidden-tang construction and the bottom half is slabs. I made a few sub-hilt fighters with similar “jigsaw handles.” It is a lot of fun but also a lot of fitting. As noted, you are limited only by your imagination—and maybe your patience.
Send your questions for Wayne Goddard or Joe Szilaski to BLADE, POB 789, Ooltewah, TN 37363-0789 [email protected]. Include a self-addressed, stamped envelope with your name and address for a personal response from Wayne, or e-mail him at [email protected]. To contact Joe by e-mail, his e-mail address is [email protected]. If you wish, BLADEwill not print your name with your question.
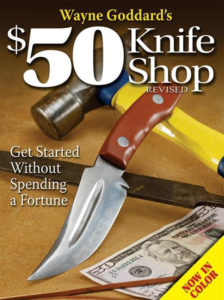
Editor’s note: This article was originally published in 2005, so be sure to adjust for inflation. That said, Wayne Goddard’s $50 Knife Shop book is the next step if you’re looking to get started on a minimal budget.
The short answer: A few thousand dollars if you want to get serious about knifemaking, and considerably less than that for hobby projects.
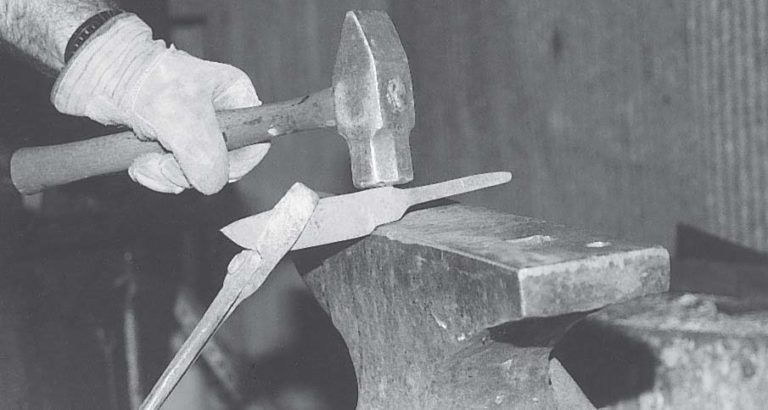
At most forging demonstrations I do, I try to use only minimal tools because I want people to see what can be accomplished with just a few basic implements—a hammer, a few tongs, a good anvil and a forge. Most folks are not set up with every type of tool that can be used in bladesmithing. As you have seen, with just a few basic tools you can make much more than just a basic knife or hawk.
Using only basic tools does require a bit more sweat. This may be fine if you are a part-time blacksmith or bladesmith, but may not be the most efficient avenue for someone trying to make a living at it. If the latter is the case, you can quickly run into thousands of dollars setting up your shop.
Next step: Learn how to get started making knives with just 50 bucks in tools in “Wayne Goddard’s $50 Knife Shop.”
For starters, if you do not already have a place to set up your forge, then the biggest expense will be for shop space. Obviously, the space cannot be an old woodshed. Keep in mind that you are working with hot metal and fire, and that you need to set up the forge where the metal sparks will not fly where they could cause trouble.
The room also will need good ventilation, no matter if your forge uses gas or coal.
If you already have such a place to use as your forge room, then you can start setting things up. Your next biggest expense will be the forge itself, either gas or coal. I recommend a gas forge because it is cleaner and you have more control of the heat. Such a forge could run about $600.
You need a good anvil; my preference would be at least a 125-150 pounder. You will need a sturdy worktable with a quality, heavy-duty vise, a bench grinder, and a few well-chosen tongs and hammers. This will be all you need to do most of your bladesmithing.
However, whoever told you that you can spend thousands of dollars setting up a shop with all the tools was not pulling your leg. Power hammers, various dies, a drill press and other tools of the trade will make your work easier. Specialized knifemaker’s grinders from Burr King, Bader or Square Wheel will cost you but will be worth the investment.
You could write a whole book on tools that would make your life easier and your pocket emptier. Visit a well-established blacksmith shop and you will be surprised how much tooling will be there. Of course, you do not have to purchase everything at once, but over the years as time and funds allow, you probably will.
My opinion is that you do not have to spend thousands of dollars to set up a shop where you can create a great variety of beauty and function. However, if bladesmithing is your chosen trade, to not invest in the equipment that will save you time and sweat is not a smart option.
Like they say, you need to spend money to make money.
A hot movie knife can still take on a life of its own, but the shift toward video games in entertainment is changing the relationship between knife enthusiasts and screen time. Global video game revenue was estimated at $108.9 billion in 2017. That’s more than the movie and music industries combined.
With numbers like that, it’s no wonder that some of the newest, and youngest, collectors to commission custom knives draw inspiration from popular video games.
Here’s one example.
Making The Far Cry 4 Video Game Knife
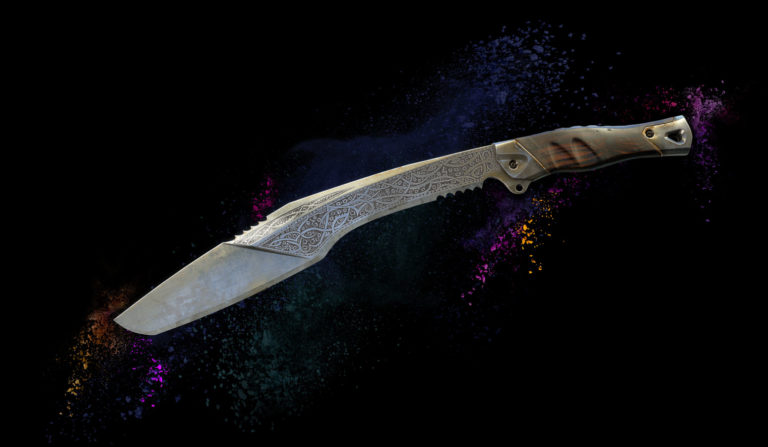
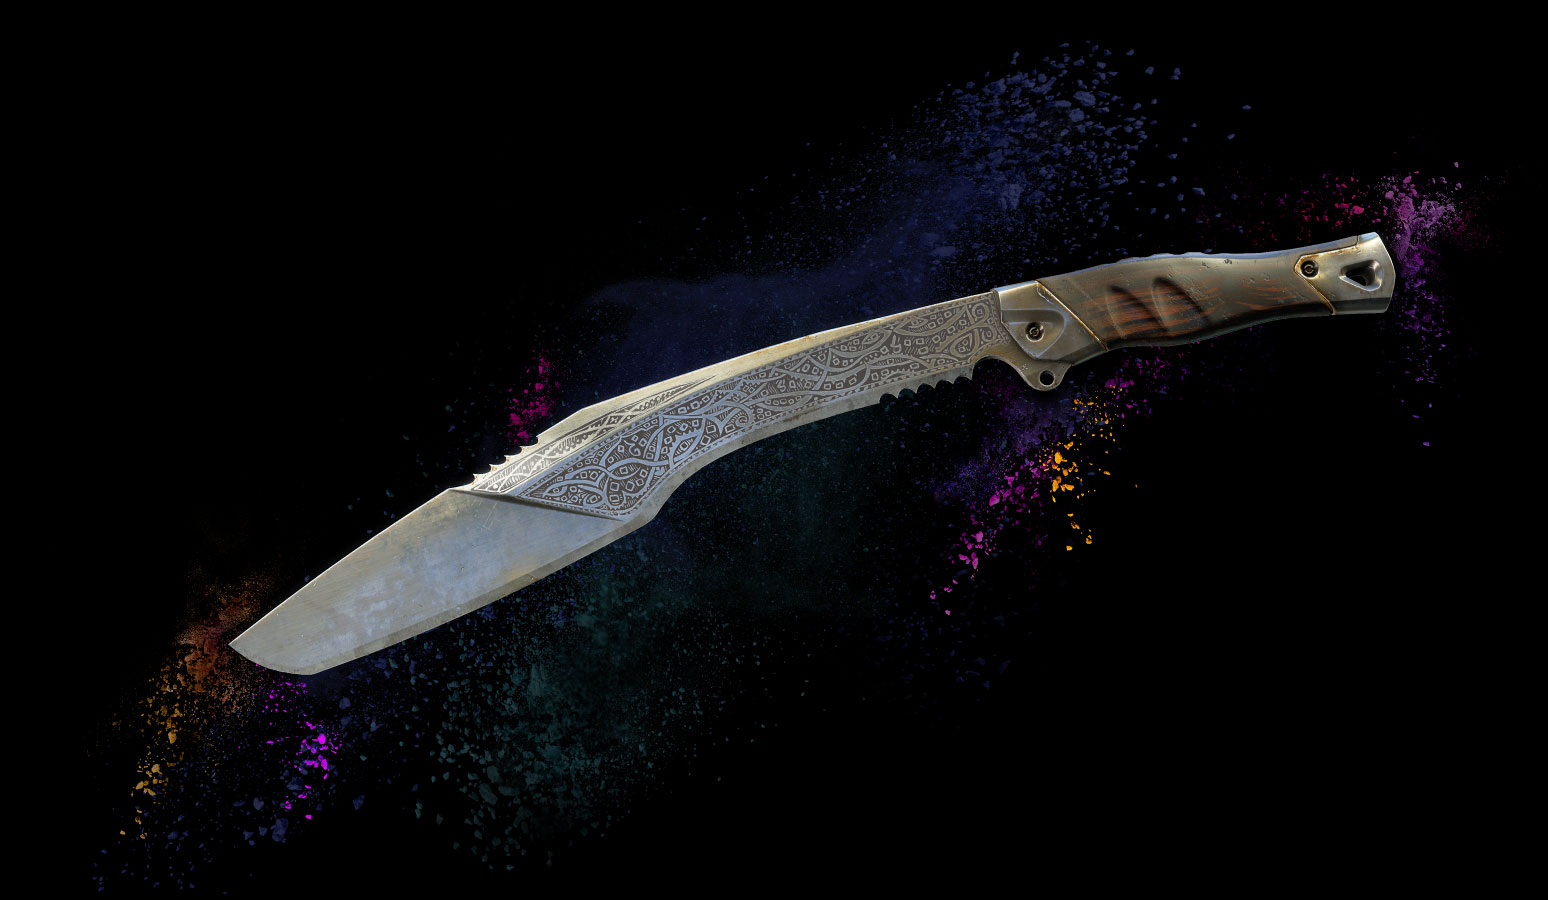
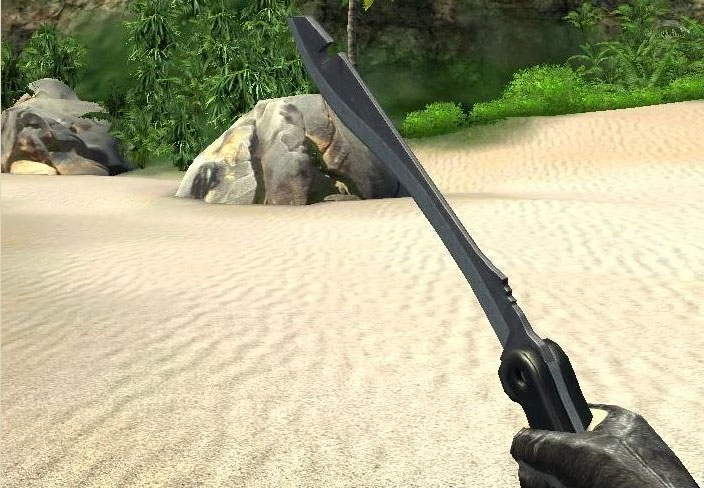
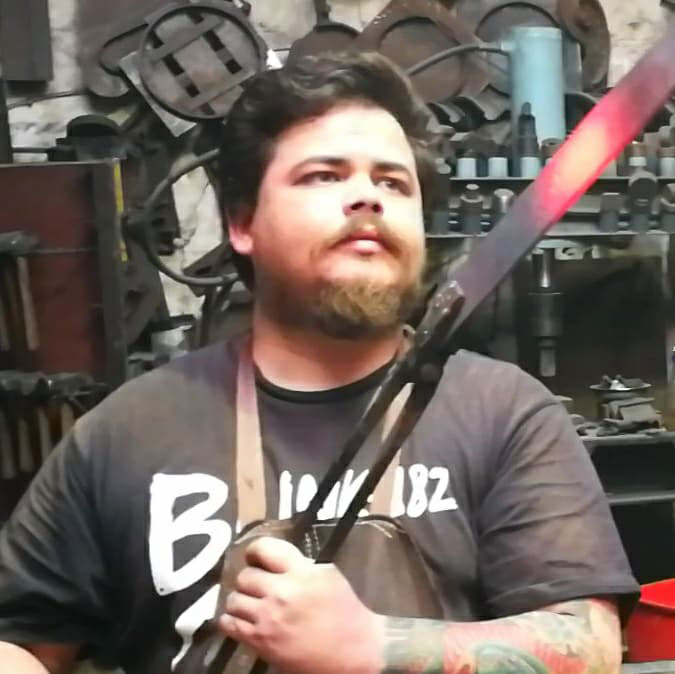
The knife featured in the “Far Cry 4” video game. (image via farcry.wikia.com)The knife in “Far Cry 4” is wielded from a first person point of view. (image via farcry.wikia.com)Tim Flack, a knifemaker from Capetown, South Africa, received a commission for a knife featured in the video game, “Far Cry 4.” (image via Facebook)
Tim Flack, of Flack Handmade in Capetown, South Africa, recently received a request to recreate the knife featured in Far Cry 4, an action-adventure video game. The knife is inspired by the real-world kukri, although the iconic bend in the middle of the blade isn’t as pronounced.
This presented a challenge for Flack. Unlike movie knives, which follow physical specs, there wasn’t a template to work from. The knife only exists in the video game, although the Extrema Ratio KH is often cited as the inspiration.
Flack filled this gray area with his own creativity.
“I gave it a more practical look and feel,” Flack said in an e-mail.
It helped that the collector commissioning the knife acknowledged there was wiggle room.
“[The client] wanted the blade to look aged and battle used,” Flack said. “This was a challenge, as it’s been drilled into me that fit and finish is everything. So using fine belts I put nicks into the blade after heat treat, and then left it in a 10-percent ferric chloride solution for 20 minutes.”
The rest of the build followed along the same lines.
“The [stink ebony] handle was also, after the bolsters an pommel were peened on, left in ferric for five minutes and then neutralized in soapy water and bicarbonate of soda,” Flack said. “The handle was then saturated in sure glue and buffed, and then scuffed and sanded to age it.
“The ‘engraving’ was cut from vinyl and then transferred onto the blade with a nine-volt battery and some salt water on a Q-tip.”
It took three grinds to finish the O1 blade’s edge: a full flat that turned into a hollow, and a convex on the tip. The overall length of the completed knife came in at 370mm (14.56 inches).
Worth the Challenge
Flack acknowledged that the knife was a challenge to create, but that it was worth it in the end for both maker and collector.
“I’m really happy with how it came out,” he said.
Collecting Video Game Knives
The collectibility of video game knife reproductions should follow the path already set by movie knives. These are display pieces that appeal to built-in audiences. They should retain value so long as the game is popular.
How that translates into returns decades down the road is yet to be seen, since video game sequels are regular. Far Cry 5 is slated for release in March.
However, there’s no doubt that this segment of knife collecting is here to stay.
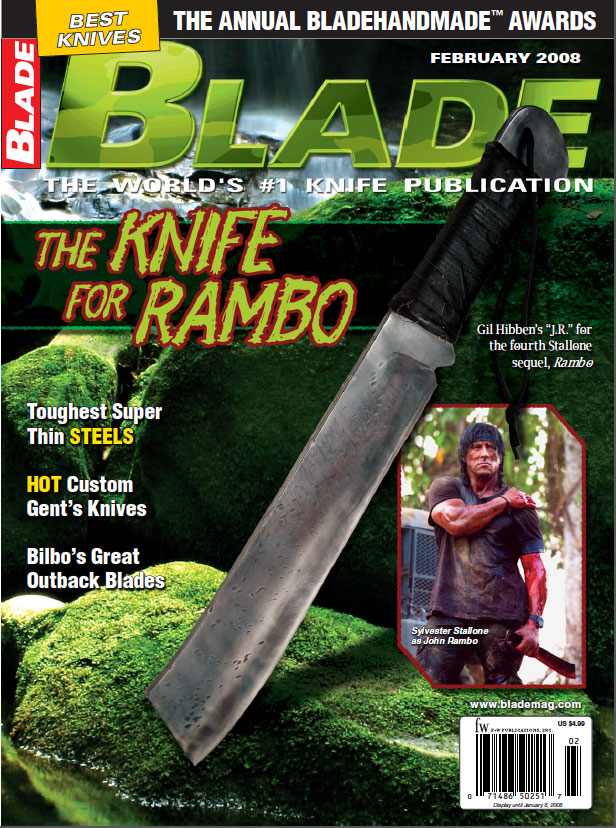
Editor’s Note: This article originally appeared in the February 2008 issue ofBLADE magazine, which you can download here.
Over a quarter century after John Rambo burst onto the big screen and changed cutlery history forever, it is near time for the character created by author David Morrell to cut a worldwide cinematic swath with his indomitable knife once again.
As BLADE® was going to press, the fourth installment of the Rambo movie series, Rambo (aka Rambo IV) a Lionsgate film, was due to be released at movie theaters on Jan. 25, 2008. Sylvester Stallone wrote the screenplay, directs and stars in the movie that finds Rambo living a secluded life working as a snake catcher in Thailand some 26 years after Rambo first appeared in First Blood.
Rambo Knives: A Brief History
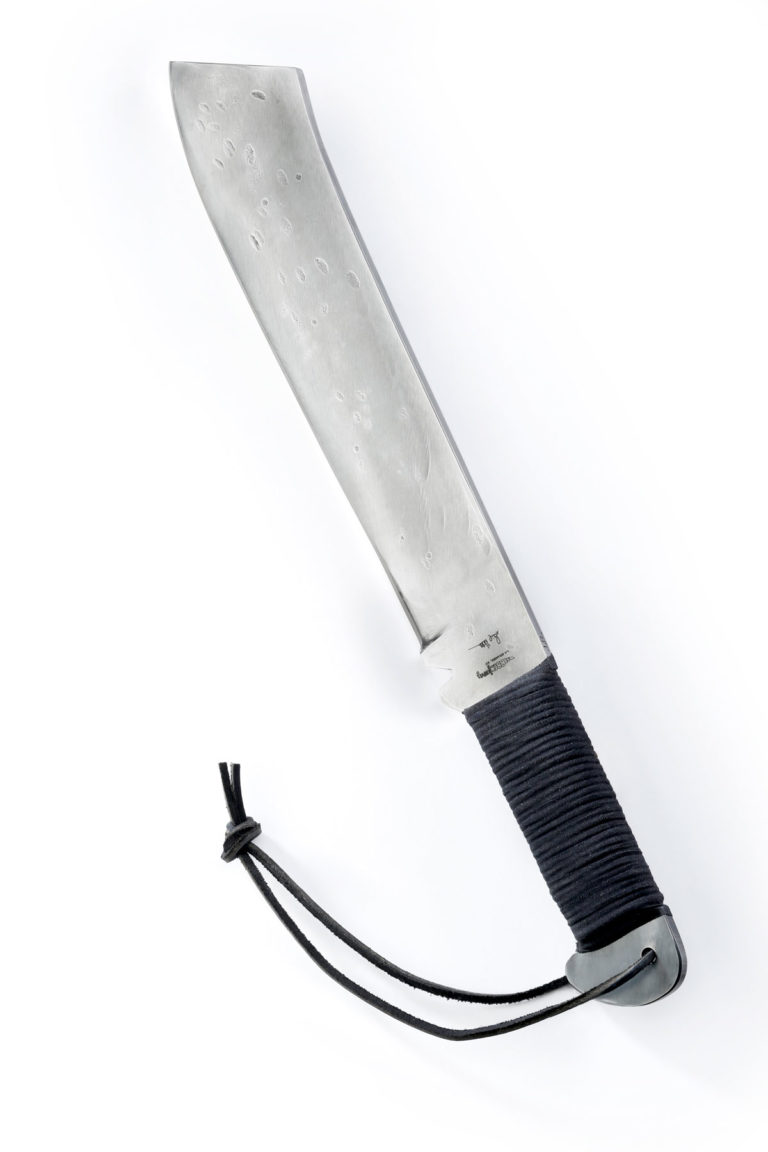
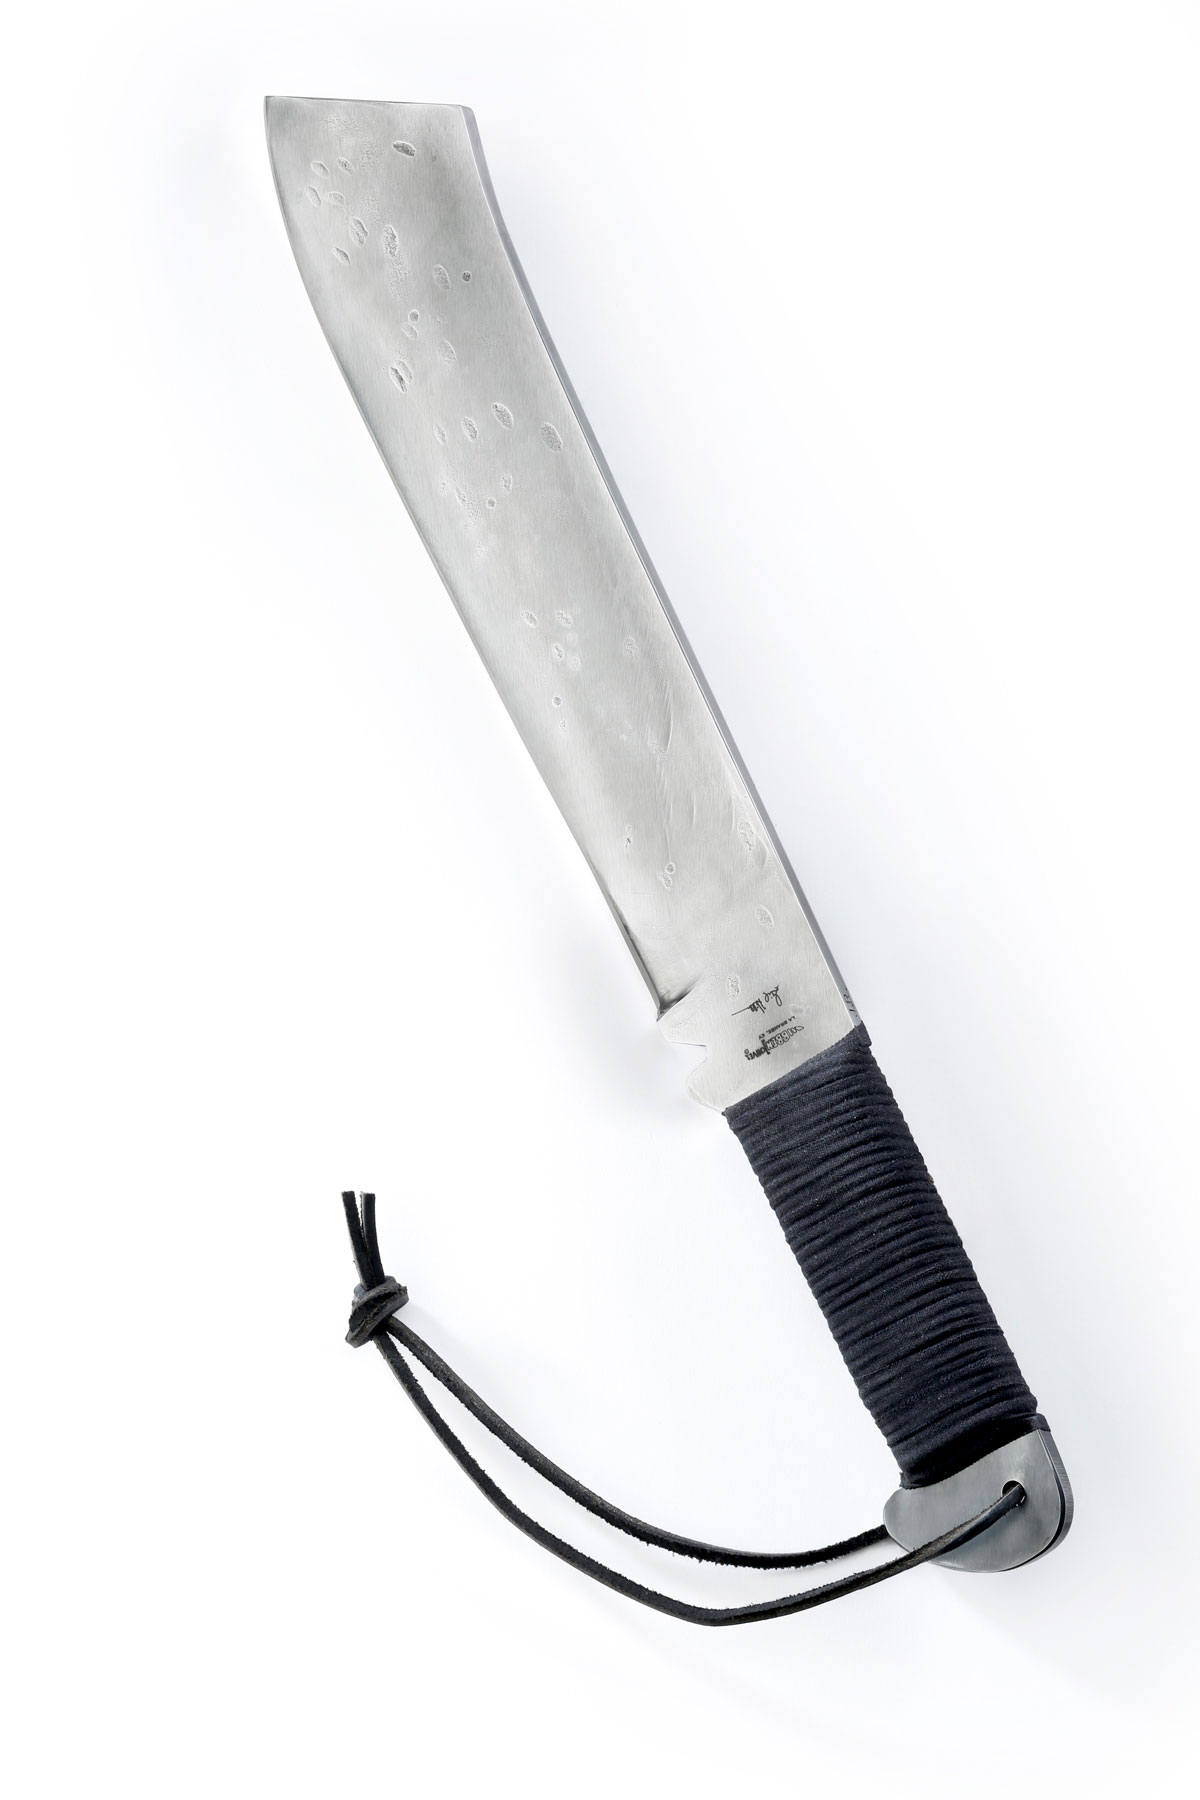
An isolated shot of the “J.R.,” the knife designed by Gil Hibben for the fourth Rambo film.
For Rambo III (1987), Stallone called on Cutlery Hall-Of-Fame knifemaker Gil Hibben to create the knife.
A Series of False Starts
For Rambo, Stallone once again called Hibben to help create a new knife for the movie. Stallone had a basic idea of what he needed and the knife was written into the script as an integral part of the movie. Hibben made at least five prototype versions of the piece before finally arriving at the design that will be used in the film.
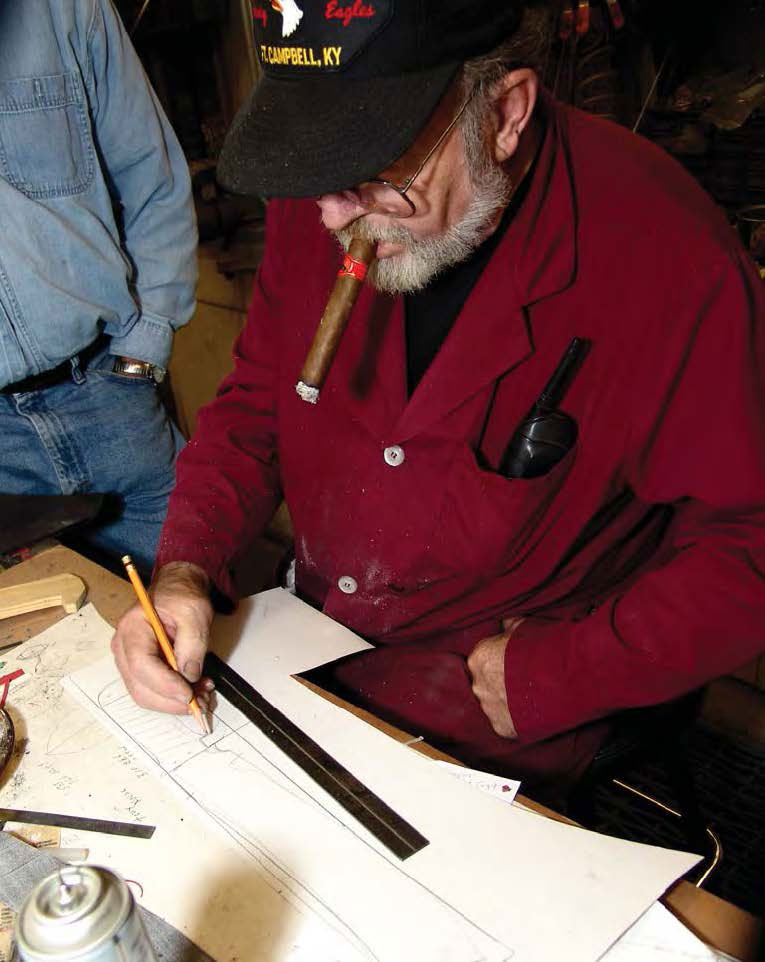
In October 2006, Hibben began designing the knife. At first, the blade exhibited characteristics of the Rambo III model.
Hibben designs the knife in his shop in LaGrange, Kentucky. (photo by the author)
“My first one had a slot in the blade [as in the Rambo III knife] but in a machete or old Chinese sword design,” Hibben recalled. He also made a modified version in which he removed the top lug of the guard.
Stallone reportedly liked the blade design but said it was “too perfect.” He wanted something much more crude looking, as if it had been pounded out quickly from the limited resources Rambo has at his disposal in the movie.
It was back to the drawing board for Hibben.
“The blade size was originally 10 inches and Sly faxed me some pictures of some of the knives he’d seen from the cutting competitions,” the Cutlery Hall-Of-Famer explained. “He liked that style, so I made one up. It evolved from a 10-inch blade to a 12-inch one. It evolved from several sizes and shapes until I got what he liked.”
To make it authentic, Hibben forged the next few prototypes from pieces of a truck leaf spring. Since there was agreement on the basic blade design, next came the question of the handle and finish of the knife.
Hibben thought about what materials might be available to the character in the movie. He considered leather, wood, paracord, tape and even seat-belt webbing for use on the handle. The second prototype had a wooden grip wrapped in green paracord and an enclosed sheath. Hibben also made a third prototype with a leather-wrapped handle.
Again, the studio said it needed something more crude looking.
There’s Crude, and then There’s CRUDE
Sylvester Stallone, seen here playing John Rambo in the fourth movie in the franchise, holds Hibben’s final version. (photo by Karen Ballard from Rambo®, a Lionsgate film)
Prototype number four was a very simple design with a cord-wrapped handle. Hibben made one with green cord and one with black cord. It was close to being right, but the finish was still too slick to have been quickly forged as it is in the script.
Finally, Hibben decided that, considering John Rambo’s skills and experience and the materials that the title character would have available, the knife would have a cord-wrapped handle, perhaps covered with tape for additional grip. The blade would be marked with depressions from the hammer blows from being forged quickly without time or resources to put a fine finish on the blade.
“So I took it out of the heat treat and beat the heck out of it,” Hibben recalled. “I really made it look like Sly made it.”
Following the Rambo knife tradition, it would be a large, heavy blade with a thick spine. Assuming that Rambo would not have time or materials to make a new sheath but would still have the sheath from his previous knife, he opts to cut the end of the old Rambo IIIsheath to accommodate the larger blade and broader tip of the new knife. This is the knife and sheath in Rambo.
Rambo IV Knife Specs
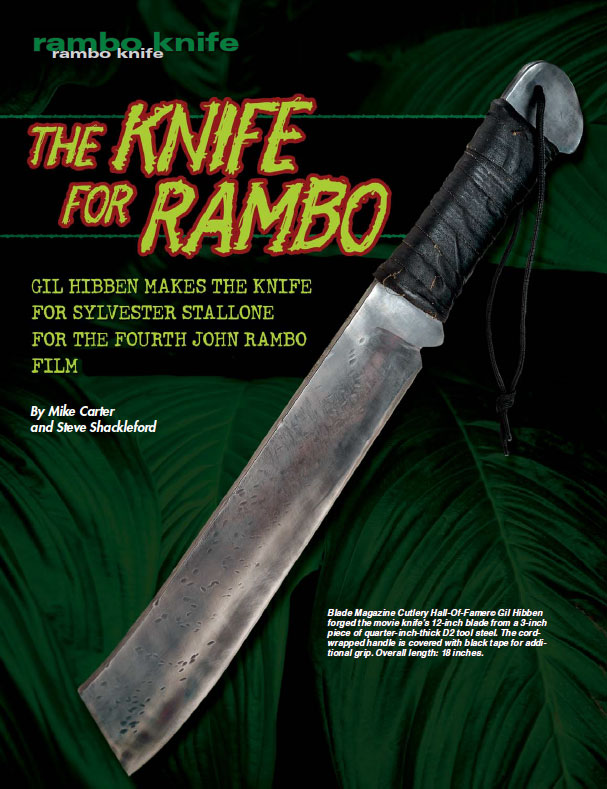
The final version, the “J.R.,” appeared on the cover of the February 2008 issue of BLADE. Click to download the issue.
The 12-inch blade is forged from a 3-inch piece of quarter-inch-thick D2 tool steel. As you might imagine, such a knife is somewhat heavy—2 pounds worth—so Hibben made some lightweight aluminum versions for Stallone to use when need be for safety’s sake during filming.
Since the movie was shot in the corrosion-inducing environs of the jungle, Hibben said he put Renaissance Wax on the non-stainless D2 to protect the blade from rust.
“There was a lot of rain there,” he noted. “Luckily they got out before the monsoons hit.”
The cord-wrapped handle is covered with black tape for additional grip. Eighteen inches overall, the knife comes in the modified Rambo III sheath.
Collector Pricing Reference
At press time (in 2008), Hibben was offering a handmade version of the knife in all the original materials—though with nicer sheaths—for $1,250. It is called the “J.R.” There will be 100 in all, with 25 of them already having been sold.
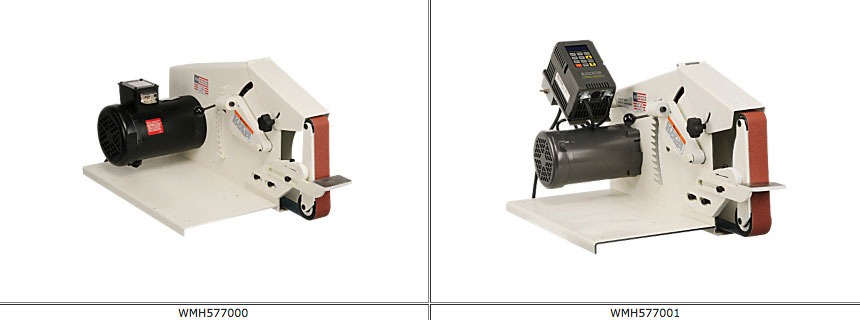
Two variations of the Wilton Square Wheel Grinder. (Images courtesy of Southern-Tool.com)
The variety and types of belt grinders available today is tremendous. Without a doubt each individual has his/her favorite machine. Although all are very good, we always wish that we could make them do more, or modify them to better fit how we each do things in our shop(s).
I have used every grinder out there at one time or another, and have chosen the Wilton Square Wheel as my favorite. The most attractive feature for me is the ease and speed of changing attachments.
As it comes from the factory or dealer, there are a few draw backs that can be irritating to a knifemaker. Below are a few modifications I have made to increase versatility and production in my shop.
Specs
The machine is set up to run either 110VAC or 220VAC. As delivered it is set up to run at 110VAC, I highly recommend setting it up to run on 220VAC. There is a world of difference in the power and smoothness of the machine from 110 to 220. (My machine had change over instructions located inside the switch housing.)
Slow Down
(All images by the author unless otherwise noted.)
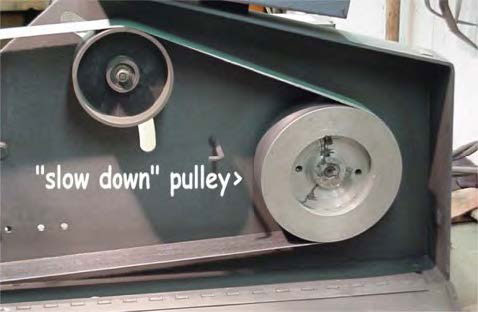
If you did not purchase a variable speed machine, get a “slow down” drive pulley. As it comes from the factory, the Wilton Square Wheel has a 10″ drive pulley that runs the machine at 4600 SFPM (surface feet per minute) Before they were offered commercially, I had one made at a local machine shop. Mine is 7″ dia, and slowed the belt speed down to 2950 SFPM.
By slowing the machine down, it may seem at first that your progress is very slow, but your grinds will come out much nicer, and you’ll get a lot more mileage out of your belts.
Flat Platen Attachment
Next we turn to modification of the flat platen attachment. As it come from the factory, and with the way the platen attachment is cast, there is simply not enough room or tracking adjustment to allow one to create plunge cuts on the left side of the platen (as you are facing the machine).
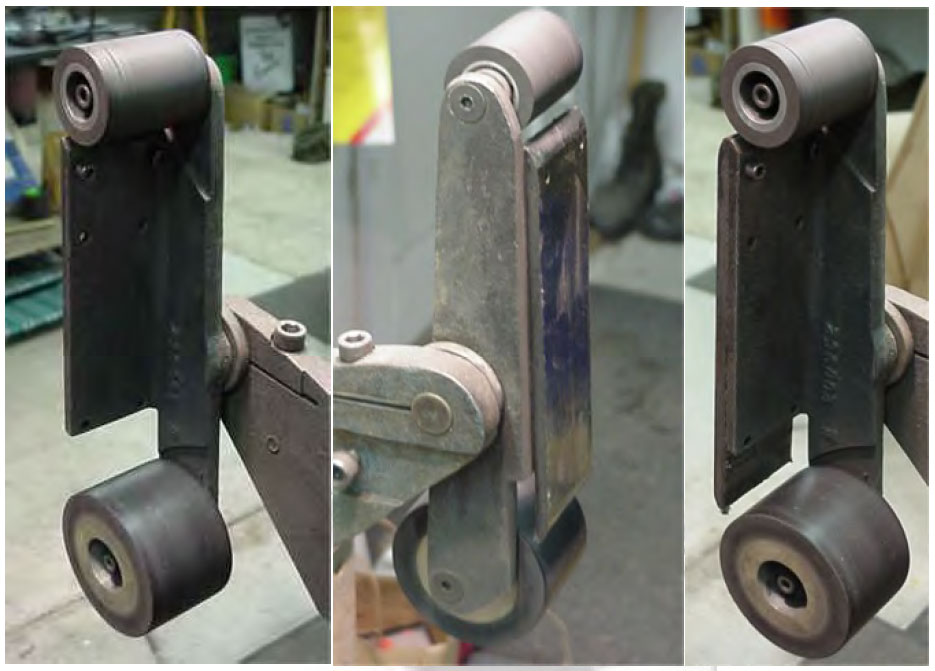
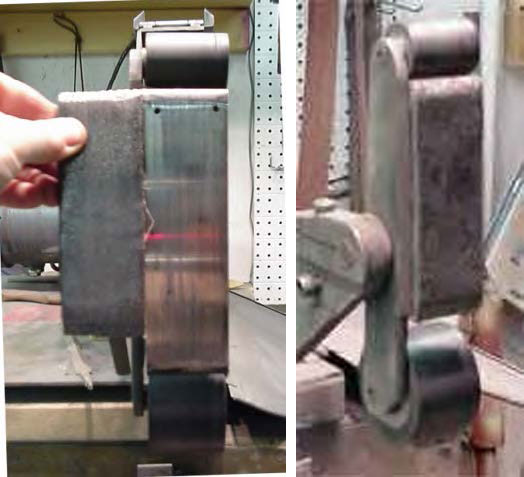
It took me a while to work this one out, but the solution is a simple fix. I created a platen that bolts onto the existing platen. These “add on” platens are nothing more than a piece of 1/4″x 2″x whatever length you want (up to the original 8″) that the belt “rides” over. This will give you plenty of room for plunge cuts. In the photos below you can see how I drilled two holes in the casting, and use two socket head bolts (10-24 thread) to secure the “add on” platen.
The easy way to do this is to remove the contact wheels and use a set of vise grips to drill the holes for threading, and then enlarge the holes in the casting to accept the socket head bolts.
Modify Platen Lengths
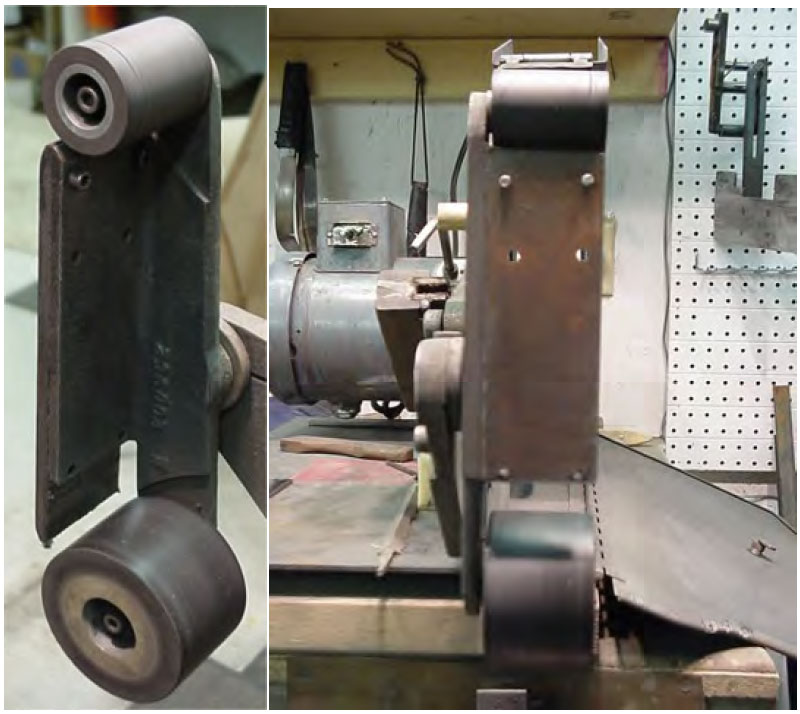
For those who were paying close attention to the photos above, the platen may have seemed shorter than it should be. This brings us to one of the best improvements. Remove 2″ at the bottom of the factory platen casting. This gives an area that is ideal for convex grinding.
Platens can be made in different lengths, for various applications. The above photo on the left shows two different platen sizes, the large for flat grinding, and in the right photo, the shorter platen is in place for convex grinding. Below is a close up view of the setup I use for convex grinding. It’s easy to get carried away and use too much pressure, so nice and easy is the key. You can control the amount of convex with a combination of belt tension, and the amount of pressure you apply to your work piece.
Using the Short Platen
I seldom use the 8″ wheel, with the exception of profiling blades. The long flat platen, I use for flattening, and tapering, the shorter platen is used for convex grinding.
If you have made modifications, and are willing to share your ideas, let me know in the comments.
NOTE: Since first writing this article, I have trashed the idea of using Graphite canvas for a platen backing. This material wears too quickly, causing uneven grinds and just general mayhem. I now use “pyro-ceram” or tempered glass on all my platens. The platen MUST be flat, and the glue used to attach the glass able to withstand heat (I use AccraGlass) but it will improve you grinding 10 fold.
Keep Learning About Knife Grinding with This Download