Knifemaking

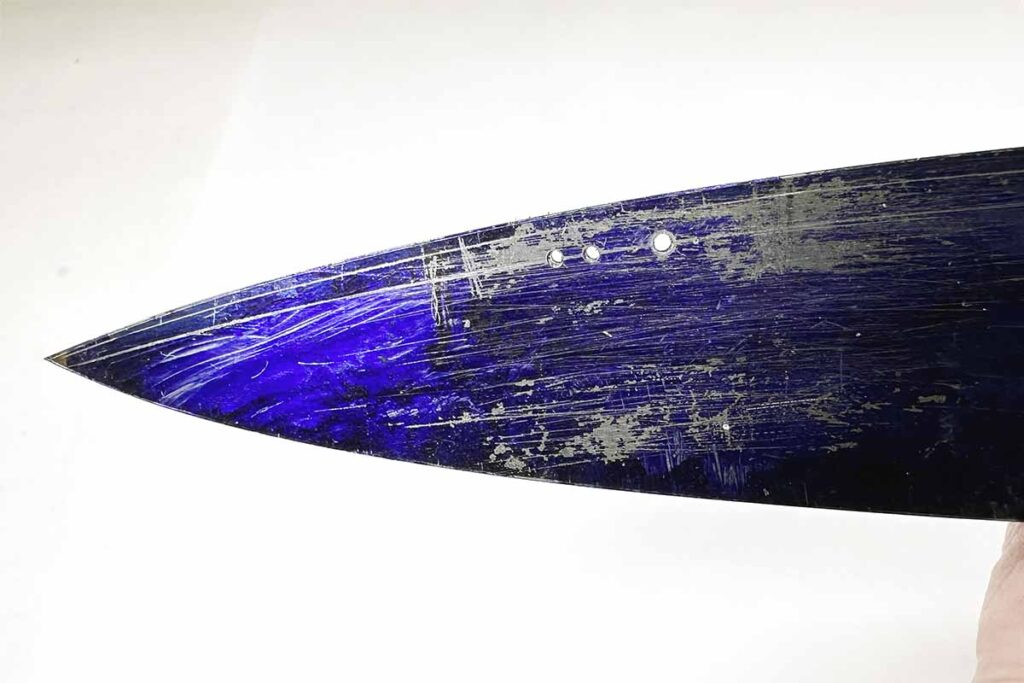
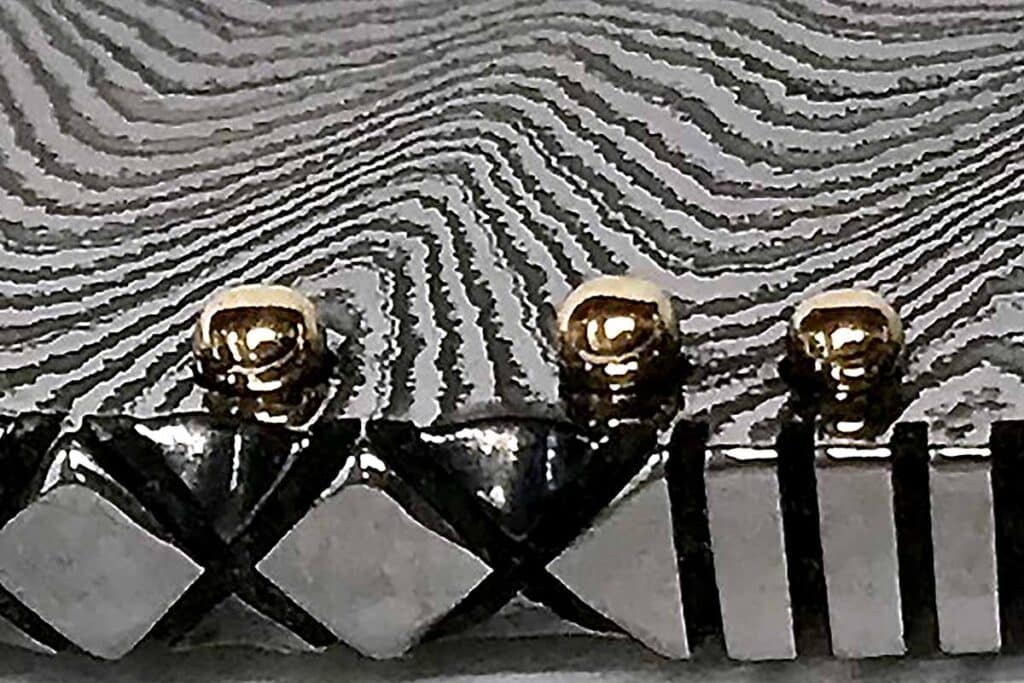
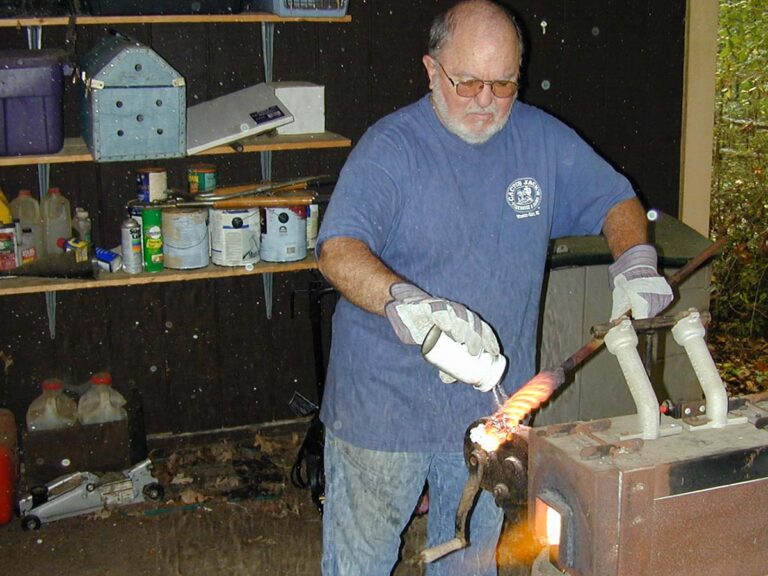
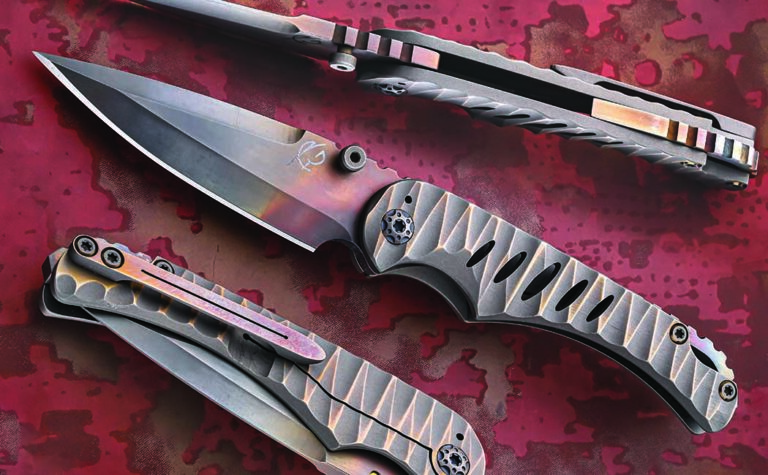
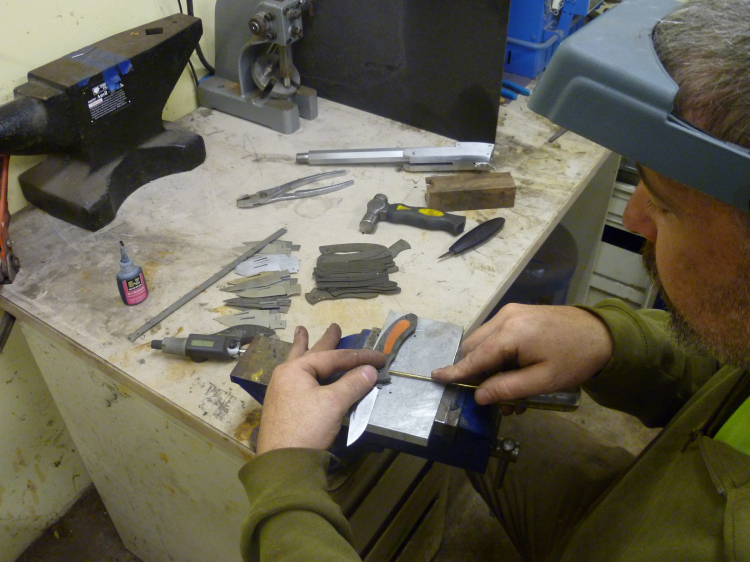
Knifemaking is the building of a knife, which includes the blade, handle and other accouterments. Blades are made by either removing metal from a steel blank via a grinder – known as stock removal – and the forging to shape of hot steel into a blade in the process known as bladesmithing. Other parts, including bolsters, guards, pommels, etc., are needed to complete the finished knife.

Featured Knives – – Knife Collecting – – Tactical Knives – – Survival Knives

Stag Handle: Custom Knives That Are Bad To The Bone

Rough as a mountain ridge and ready as razor-sharp edge, nothing beats stag handles—especially on these custom stunners.

Stag is to knives what red is to rover, rock is to roll and John is to Wayne. It’s the total package in looks, feel and tradition. Sambar, axis, popcorn or whatever the type or style, when it comes to knife handles, stag has it all.


Stage Handle Yelle
Jeremy Yelle: Takedown pocket bowie

You can almost see and smell the popcorn popping on the popcorn stag of Jeremy Yelle’s takedown pocket bowie. The guard and fittings are 416 stainless steel fire-etched and textured black. Blade and overall lengths: 4.5 and 9 1/8 inches. (Joyce Frasier image edit)


Stage Handle Walle
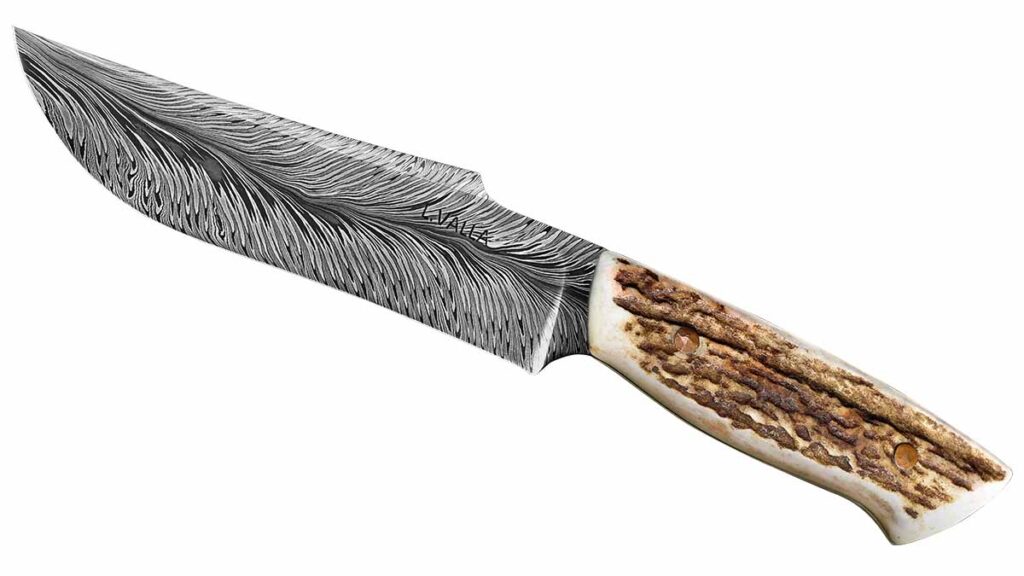
Liam Walle: Full-tang fighter

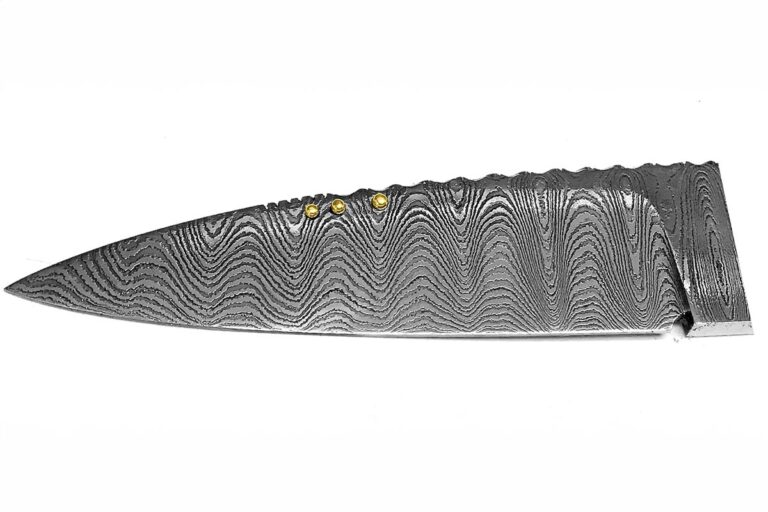
ABS apprentice smith Liam Walle opts for deer antler scales with copper pins for his full-tang fighter. The 5.7-inch harpoon blade is 2,340 layers of feather damascus in 1084 carbon and 15N20 nickel alloy steels. Overall length: 10.4 inches. (Jocelyn Frasier image edit)


Stage Handle Szymanski
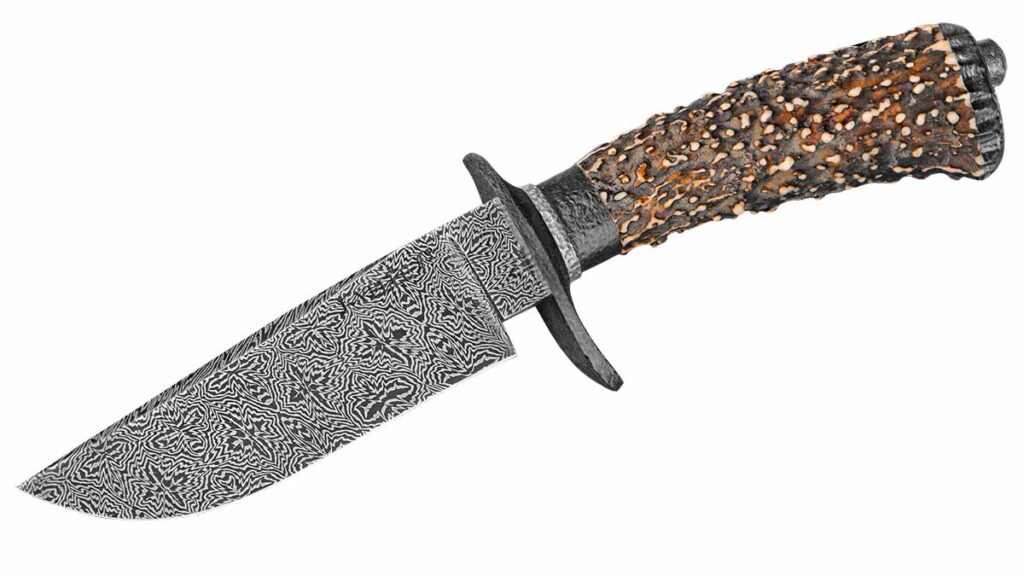
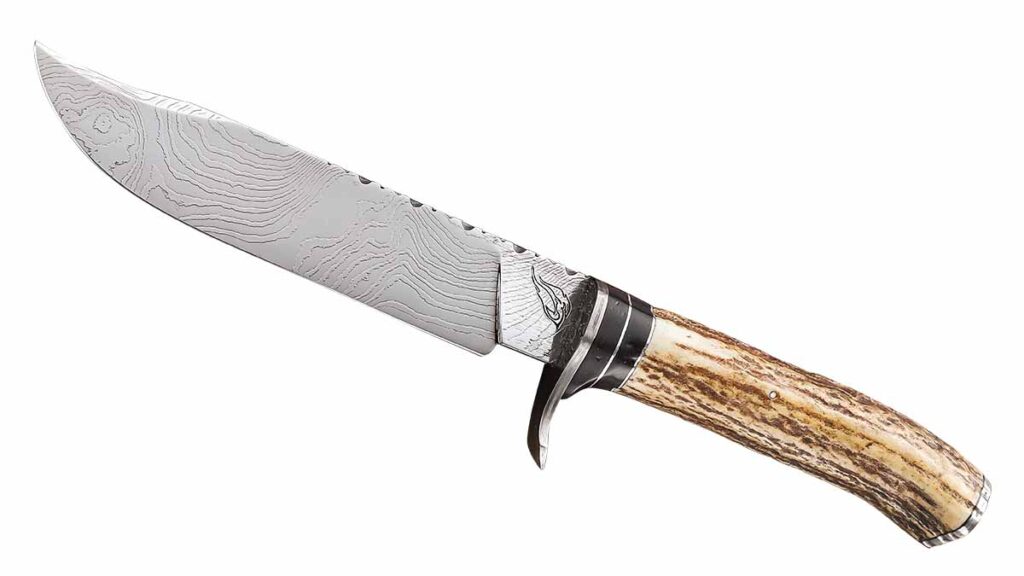
Cowboy Szymanski: Bowie

Axis stag and ebony spacers comprise the handle of a bowie by Cowboy Szymanski. Blade steel is an accordion twist damascus of 1095 carbon and 15N20 nickel-alloy steels. The bolster is raindrop pattern damascus. Overall length: 11.75 inches. (SharpByCoop image)


Stage Handle Rhea
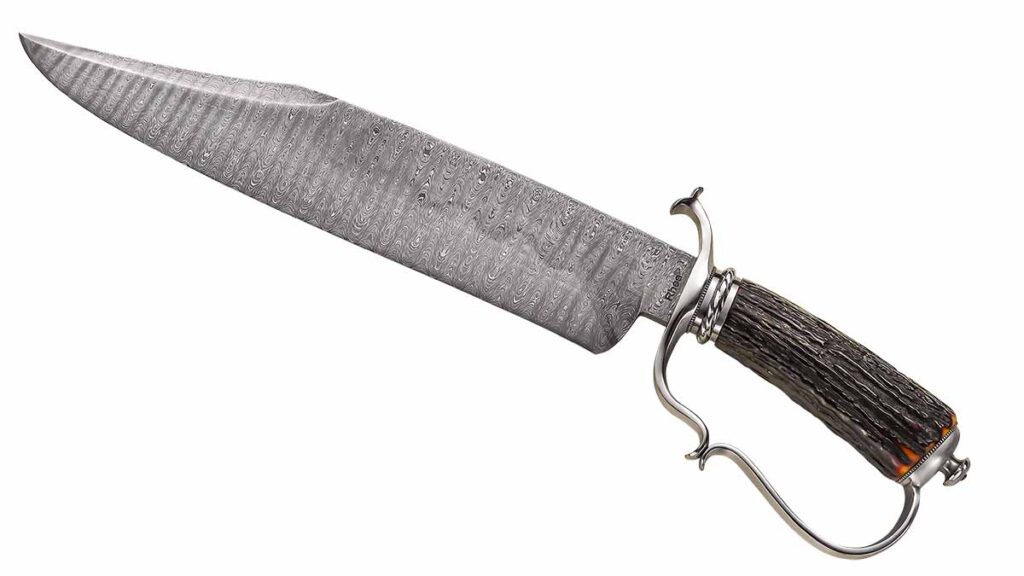
Lin Rhea: D-guard bowie

A stag handle and a blade of ladder-pattern damascus in 1084 carbon and 15N20 nickel alloy steels help complete ABS master smith Lin Rhea’s D-guard bowie. The sheath (not pictured) is by Cody Rowe. (SharpByCoop image)


Stage Handle McCright
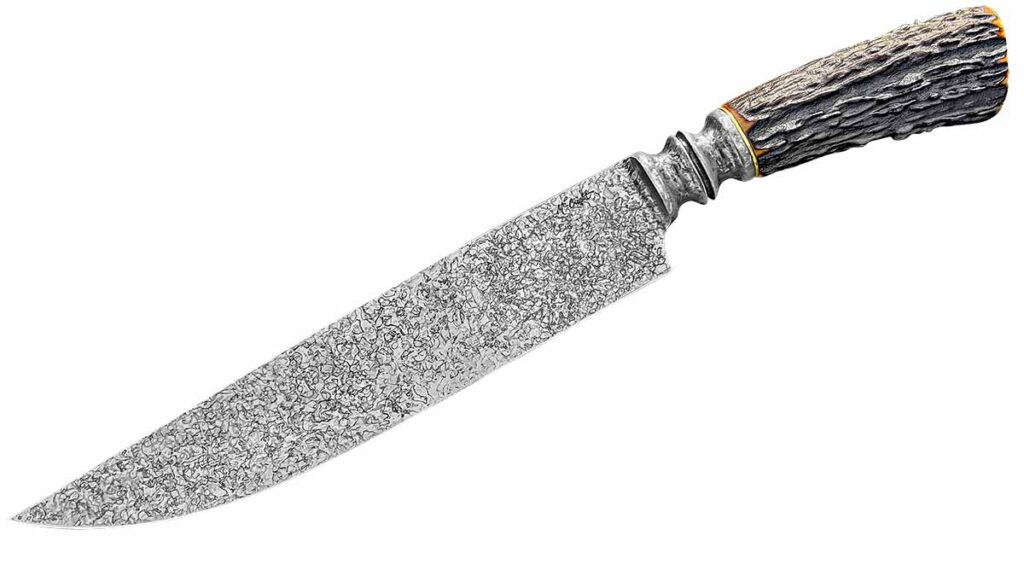
Erik McCright’: Camp knife

The dark Sambar stag—not to mention the fancy ferrule connection between handle and blade—of Erik McCright’s camp knife screams 19th-century Sheffield. The 8.75-inch blade is 52100 ball-bearing steel with a forced patina. (Jocelyn Frasier image edit)


Stag Handle DavisD
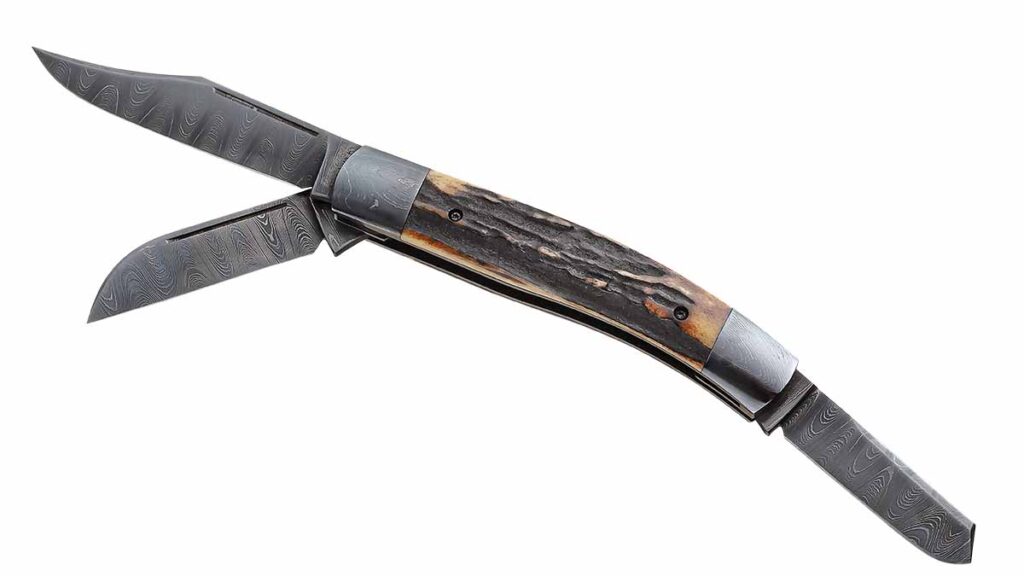
David R. Davis: Slipjoint

David R. Davis chose Sambar stag and pattern-welded blade steel from Alabama Damascus for his stockman. Blade lengths: 3, 2.25 and 2.5 inches. Blade grinds: flat. Closed length: 4.25 inches. His price for a similar knife: $1,100. (SharpByCoop image)


Stage Handle Mille
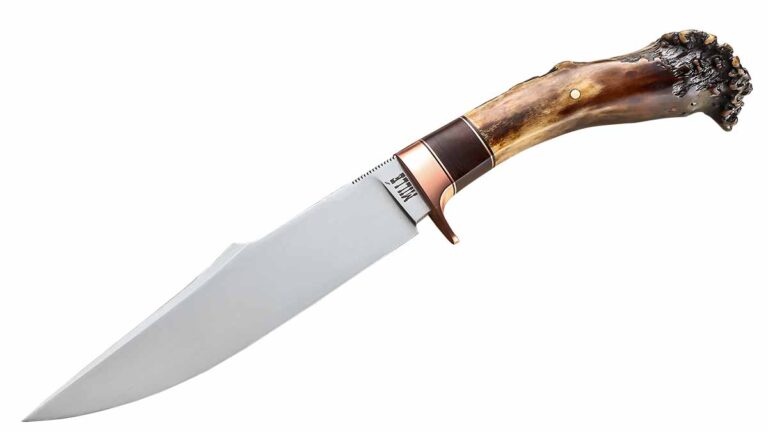
Adam Millé: Classic hunter

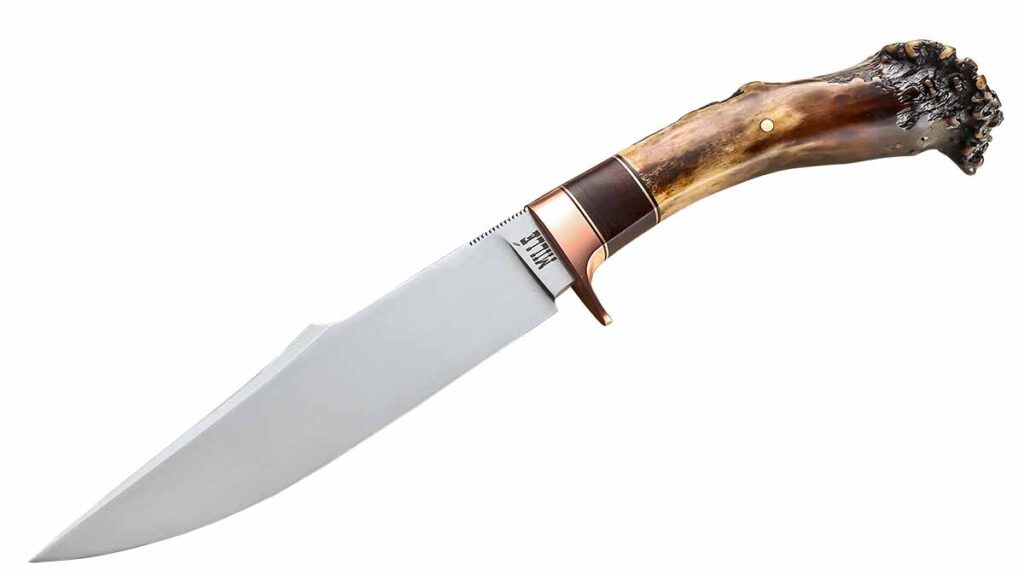
Crown stag and vintage Micarta® complete the handle of Adam Millé’s classic hunter. The bolster is copper. The 6-inch harpoon blade is W2 tool steel. Overall length: 11.25 inches. The handmade leather sheath (not shown) has python snakeskin inlay. (SharpByCoop image)


More On Custom Knives:

How To: Dellana Dots Opening System

0

Dellana tells how she created and makes the Dellana Dots opening assist system—without a lathe.

Editor’s note: Full-time knifemaker Dellana created her Dellana Dots blade-opening assist system in 1994. The system consists of one or more elements raised above the surface of the blade to provide a gripping surface when opening a folding knife. Dellana Dots can be made using different techniques depending on your skill set. They can be any shape, from round to geometric to even gem set. There can be any number or shape of the Dots. Dellana most frequently makes them as round beads. In this tutorial, she shows how she does it.

Dellana Dots were invented for the same reason many things have been invented—a desperate need to solve a problem!

In 1994 I was a very new knifemaker studying under the mentorship of the great ABS master smith, Jim Schmidt. I was working on my second lockback folding knife, one of my own design. All was going well until I realized that the blade sat too far into the knife when closed because of the thickness of the handle scales. Due to my inexperience, I had not considered the scales’ thickness. It was evident that it would be very difficult for the knife to be opened without effort and annoyance.

Three Dellana Dots
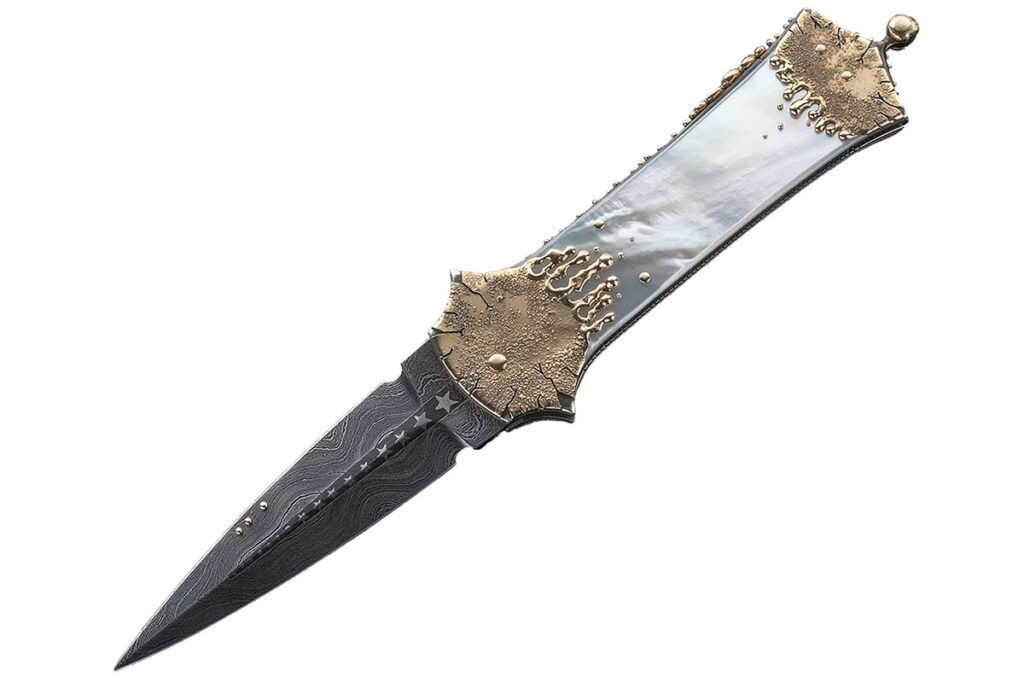
Three Dellana Dots blend in perfectly on the blade of Dellana’s Magick lockback folding dagger in her Meltdown knife series.

What to do?

The obvious solution was the commonly used nail nick, the ditch grooved into the blade for a thumbnail to try to grab ahold of. I have always disliked the functionality—who else has broken or bent back a fingernail when trying to use one?—or the look of nail nicks. One of them would definitely not be visually appealing with the rest of the design of my knife, and that was unacceptable to me. So, I used my 17 years of experience as a goldsmith to figure out an acceptable solution.

I had used raised beads on many of my jewelry designs as decorative elements and thought that a raised bead might give enough surface area for a fingernail to grip—but how was I to attach the bead to the blade’s surface? The soldering that I would normally do would not work in this situation due to the blade needing to be heat treated. I thought that drilling through the blade and riveting might work if I could leave enough of one side of the rivet high enough above the blade surface to get a good grip.

I had never seen anything like it done on a blade before and wondered if there was some unwritten rule against that sort of thing. I decided to take the knife to Jim, explain the problem and my solution, and see what he thought.

Dellana and Jim Schmidt
The author with her mentor, the late, great ABS master smith Jim Schmidt.

Jim was a man of few words and his silence after I explained the issue was a bit nerve wracking for me. After what seemed an interminable amount of time he said, “That’s a great idea and I’m going to steal it. But I’ll call them ‘Dellana Dots.’” And that’s exactly what he did.

And there you have the story of how the Dellana Dots came to be. They have proven to be a popular solution for many makers of folding knives ever since.

Materials & Tools

I most often use an asymmetrical three Dellana Dot system because I find that configuration visually appealing with most of my designs. Here’s how I do it.

First are the materials and tools. You’ll need:

Materials to make the dots
The materials and tools you’ll need.
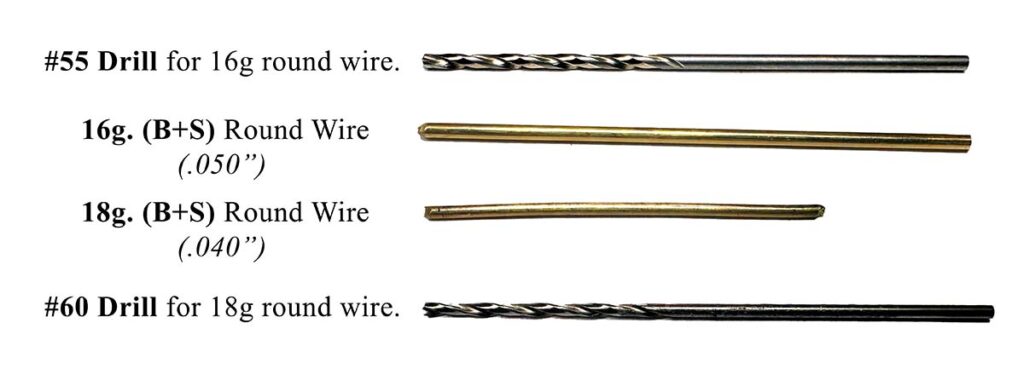
  • Pin stock (B&S Gauge): 16g. (.050”) 14k yellow gold round wire and 18g. (.040”) 14k yellow gold round wire.
  • Drills: #55 (16 gauge) and #60 (18 gauge).

Getting Started

Pro tip: Preparation is the key to creating anything efficiently and well. The more thorough the prep, the easier, faster and better the final process and end result will be.

Step 1: Mark and drill the holes for the Dellana Dots’ round wires before grinding the bevels (Images 2 and 3).

Holes drilled into the blade
The holes have been drilled in the blade.

Special Note A: If you grind the blade bevels before heat treatment, countersink the holes so the spheres sit down below the surface of the blade to avoid anything catching on them.

Special Note B: If you grind the blade bevels after heat treatment, drill the holes prior to heat treating and use diamond drills (dental burrs) to countersink the holes after grinding.

I countersink the holes on the front side (where the spheres will be) deeper than on the back (riveting) side. This allows the balled end of the wire to sit below the surface of the blade bevel to keep it from snagging on anything.

Step 2: Finish the blade. Make sure the blade is fileworked, etched (if damascus), blued and polished prior to riveting the Dellana Dots in place.

Step 3: Double check that the wire fits through the drilled holes.

Step 4: Melt the ends of the wires to form spheres. I use a Smith Little Torch with propane and oxygen. This takes a bit of practice to know the correct heat and timing needed to form a smooth, round, symmetrical ball. As always, practicing first can be very helpful.

Step 5: Check the size and fit of the balled ends in the countersunk holes. Make sure that the previously drilled and countersunk holes in the blade allow the balled ends of the wires to sit down into them. This will ensure that nothing can become snagged under the spheres.

Step 6: Polish the balled ends of the wires. Doing this now will result in a better final appearance as well as save time. If you wait until after the Dellana Dots are set, it is difficult to get the dark oxide created during the melting process polished off the balled ends without affecting the blade finish. (Don’t ask me how I know this.)

Prep Blade For Riveting

Cover the back side of the blade
Cover the back side of the blade with the tape locating the holes over the wires.
  • Insert the wires through the blade, ensuring the balled ends protrude on the blade’s front side.
  • Cut off the wires on the back side of the blade not flush with the blade. Leave a little excess to file to the appropriate height for riveting.
  • Make two sections of three layers of masking or painter’s tape big enough to cover the entire blade.
  • Put one section of the tape over the front side of the blade covering the balled ends of the Dellana Dots. This will protect them during riveting and reduce clean up time.
  • Mark the hole locations on the second section of tape (for the back side of the blade). Make holes through the tape with a hole punch for the wires to go through.
  • Cover the back side of the blade with the tape locating the holes over the wires. This will protect the blade when filing and sanding the wires to the correct height.

Prep Dots For Riveting

Peel off the third layer of tape, leaving two layers of tape on the blade.
Peel off the third layer of tape, leaving two layers of tape on the blade. This leaves the perfect height of wire to form the rivet head.

Pro Tip: To get the correct height of wire for a perfect rivet head every time:

  • File the wire down flush with the three layers of tape;
  • Sand to 800 grit;
  • Remove any burr, and;
  • Peel off the third layer of tape, leaving two layers of tape on the blade. This leaves the perfect height of wire to form the rivet head while still protecting the blade during hammering and clean-up.
  • Rivet The Dots

Rivet The Dots

Hammer around the edges of each filed, sanded wire on the back side of the blade to spread, dome and secure the head of the rivet.
  • I use the ball side of a chasing hammer to rivet the wires;
  • Place the balled heads of the tape-covered Dellana Dots (the front side of the blade) on a polished steel anvil. Hammer around the edges of each filed, sanded wire on the back side of the blade to spread, dome and secure the head of the rivet.

Polish The Rivets

Polish the hammered heads of the wires, removing any sharp edges as you do. The author uses a small wheel with White Diamond-type compound and her Foredom hand piece for the task.
  • Leave the tape on the blade to minimize the polishing compound mess and cleanup time and effort;
  • Polish the hammered heads of the wires, removing any sharp edges as you go. I use a small wheel with White Diamond-type compound and my Foredom hand piece to do this.

Polish The Dots

The finished rivet heads as they should appear on the back side of the blade  and a closeup of the finished Dellana Dots.
The finished rivet heads as they should appear on the back side of the blade and a closeup of the finished Dellana Dots.
  • Carefully remove the tape from both sides of the blade. Save the front-side tape until after you’ve ensured that the balled ends on the front haven’t been deformed and don’t need reshaping and re-polishing. If they do need reshaping and re-polishing, use a hole punch to cut away the tape around the balls and reapply the tape. This will minimize any polishing compound mess and save time in the long run.
    Clean the polishing compound from around the rivets and, if necessary, the Dellana Dots as well.Pro Tip: I cut down a welder’s acid brush so the bristles are really short and stiff. This works perfectly for cleaning the small, hard-to-reach areas. Then:
  • Clean the whole blade with lacquer thinner;
  • Wax the blade, and;
  • The riveted side of the Dellana Dots should be very smooth and only slightly domed above the surface, with no sharp edges.
  • And that’s how you make Dellana Dots without a lathe!

More On Knifemaking:

Remembering Tim Britton: Rest Easy Marine

The knife community lost one of its last members from the golden era of knifemaking with the passing of George Miller “Tim” Britton, who died after a short illness on December 9. He was 85.

A veteran (1959-65) of the United States Marine Corps and known as North Carolina’s first professional knifemaker, Tim began fashioning knives in 1971. Early on he specialized in small personal and fancy boot-type knives and assorted fixed blades and wound up his career making all manner of classic slip joints.

He appeared in early ’70s issues of The American Blade and later in BLADE®. He learned about knives and how to make them from Jim Mustin of Cajun Knives and BLADE Magazine Cutlery Hall-of-Fame® members Frank Centofante and Blackie Collins. Other influencers were Tim’s knifemaking contemporaries such as Cutlery Hall-of-Famers Ted Dowell, Jimmy Lile and Bob Loveless and well-known makers Rod Chappel and Bob Dozier. Tim was an admirer of Chappel’s handles and those of Bill Luckett, too.

Britton’s career spanned the early days of O1, 440C and D2 for blade steels to today’s CPM grades.

Tim specialized in classic slip joints, this one in BG42 stainless steel, Fiji fire pearl and 24k-gold inlay. Closed length: 3.25 inches. (Eric Eggly/PointSeven knife image)

“I started with O1 in 1972 and Blackie Collins talked me into 440C,” he once told BLADE. “Peer pressure … Ted Dowell, Frank Centofante, Jimmy Lile and Bob Dozier had settled on D2. [Today’s steel] leaves them all in the dust.”

No matter the steel, its proper heat treatment and also edge geometry, not to mention comfortable handles, were of critical importance to Tim.

“Buying a knife from a reputable maker should be simple,” he once observed. “My questions would be steel type, Rockwell hardness and what kinds of tools the maker has in his shop. I’m a dinosaur.”

A colorful character known for speaking his mind, he spent time as a member of The Knifemakers’ Guild and the ABS.

“Forging is a macho trip,” he once stated. “I fancy myself a smithy in times past.”

He understood well the importance of effective marketing, regularly running one-third page color ads in BLADE, and he demanded the most in return from them. He also loved the BLADE Show and was a regular exhibitor along with Deb, his wife of 26 years.

Rest easy, Marine, and semper fi.

Remembering Others The Knife Industry Has Lost:

Cool Custom: Shane Magnussen’s Sinnsyk

Finding Inspiration During the Covid-19 pandemic, Shane Magnussen Created The Sinnsyk With The Help Of His Fans.

The long days of the COVID-19 pandemic may be mostly past us, but the cabin fever drove many people crazy. However, for some, those days inside proved to be a cauldron of creativity. For one knifemaker in Arizona, the creative juices flowed forth and gave birth to a one-of-a-kind knife. 

Shane Magnussen was looking for ways to keep from going bonkers during the pandemic and found one with his “personal renaissance challenge.” 

The challenge consisted of him sketching one new knife design per day for 75 days and then putting them all up for a vote on social media. The folder winner was his Sinnsyk model.

Who Is Shane Magnussen?

Shane Manussen
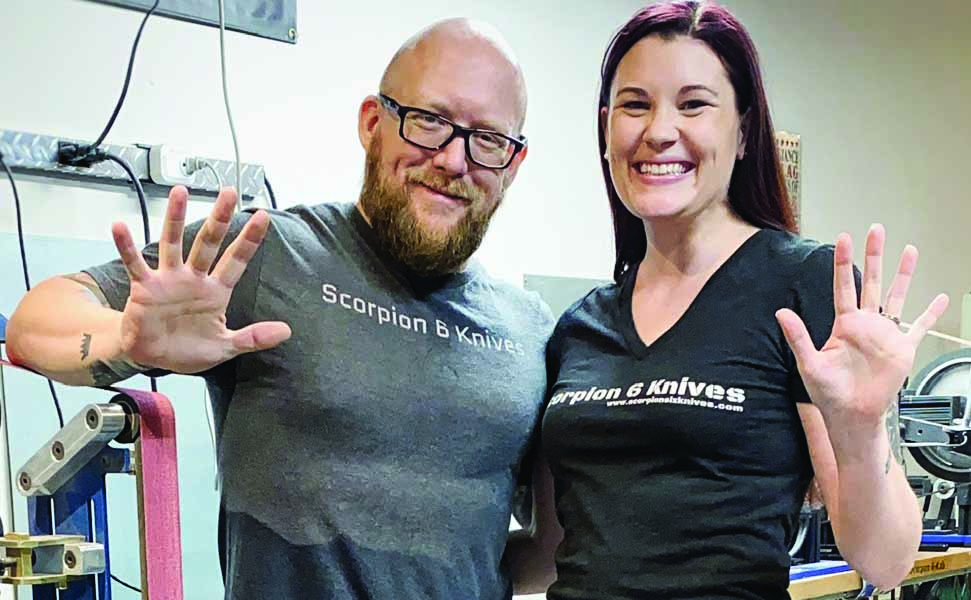
Shane Magnussen—here with wife Katie in the shop—said the lock, detent and bearings all fit tight on his Sinnsyk folder. In the right lighting, you can see the electro-anodized blade through the elliptical handle holes.

Shane is a former serviceman who led over two dozen successful operations in Afghanistan for the United States Army. After receiving an honorable discharge, Shane went into the automotive field and worked in numerous parts of the industry. 

Eventually, he began working at a knife manufacturer and caught the knifemaking bug. From writing manuals about free hand grinding to innovating custom finishing methods Shane gained the experience needed to launch his own knife company, Scorpion 6 Knives.

What Is The Sinnsyk

Shane is first-generation Norwegian and sinnsyk is Norwegian for insane or crazy, which most people have been driven at least half during the troubles. His wife, Katie, helped with the zig-zag texturing on the titanium handle, which they did on a half-inch wheel of a Travis Wuertz TW-90 grinder. 

The elliptical holes are a standard Shane design and enhance looks, lightweight and texture. The line down the center of the electro-anodized pocket clip serves as a kind of truss to keep the clip from grabbing neither too tight nor too loose.

Sinnsyk Knife Specs

Knife: Sinnsyk

Knife type: Folder

Blade length: 3.66 inches

Blade steel: Nitro-V stainless

Blade pattern: Spear point

Frame: Grade 5 titanium

Lock: Framelock

Closed length: 4.94 inchesMaker’s price for a similar knife: $1,200

For more information contact Shane Magnussen, Dept. BL3, 914 W. Belmont Red Trail, San Tan Valley, AZ 85143 [email protected].

Read More

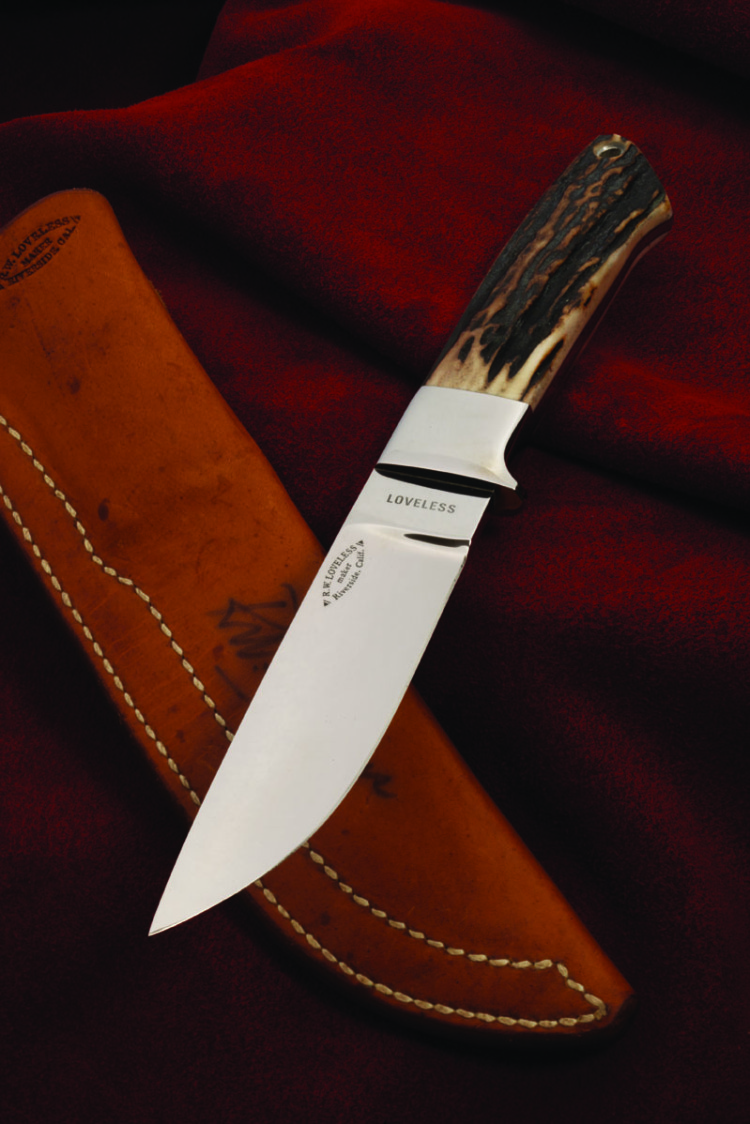
Knives Of Summer: Make ‘Em The Loveless Way

It’s a long, hot summer—so why not fill the time by reading Knifemaking with Bob Loveless and learn how to make knives the way the legend himself did?

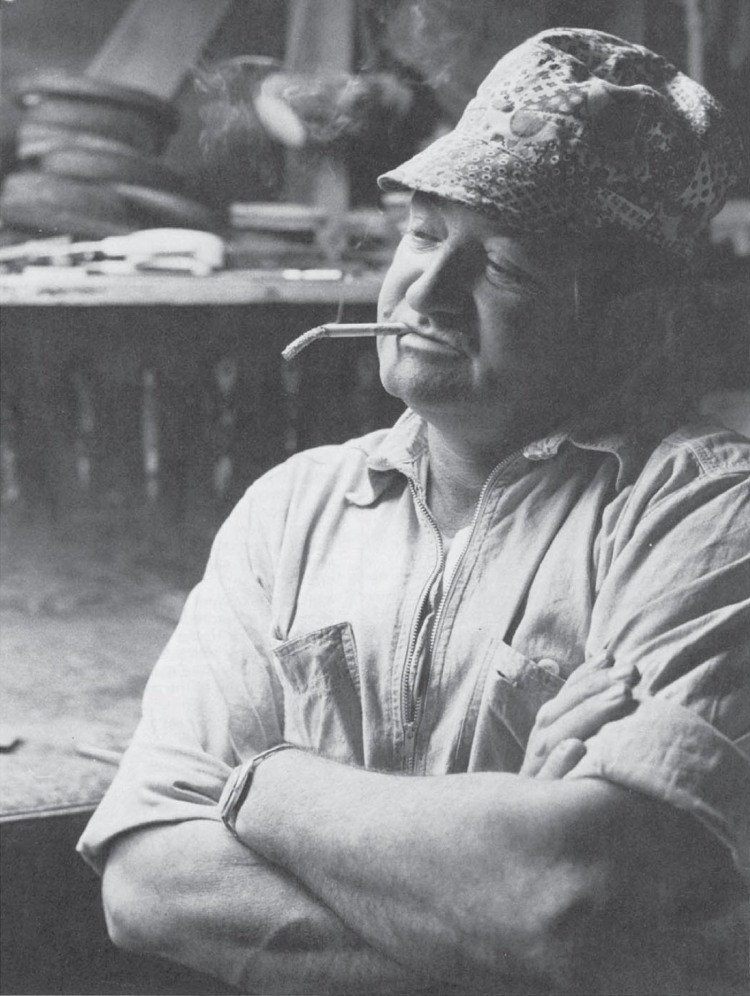
    Durwood Hollis knew Loveless and visited the Loveless shop many times. Hollis wrote the book and takes you through making knives the Loveless way in word and color pictures, including the tools, blade, handle, sheath and edge work, and much more. There are also chapters on knife care and the people who worked with Loveless over the years, as well as color pictures of some of Loveless’ greatest knives, including some of those from the John Denton collection.

    For more info on how to obtain your copy of Knifemaking with Bob Loveless, click on http://www.shopblade.com/knifemaking-with-bob-loveless/?r+ssfb062912


For more on the latest knives, knife legislation, knifemaking instruction, knife trends, knifemakers, what knives to buy and where and much more, subscribe to BLADE® Magazine, the World’s No. 1 Knife Publication. Click on http://www.shopblade.com/blade-magazine-one-year-subscription-us/?r+ssfb062912 for more information.

A Revolution in Slip-Joint Construction

Unlike the traditional pocketknife in which the backspring rises and falls when the blade is opened and closed, the backbar of Tom Ferry’s model equipped with the Everflush Spring (top) remains flush when the blade is opened and closed. Ferry (above) works on a model with the mechanism in his shop.

The Everflush Spring takes the traditional pocketknife folding mechanism to the next level

By Lorien Arnold

As the traditional slip joint experiences a rebirth in favor among knife enthusiasts, there is increasing room for innovation in the knife’s classic, time-tested construction method.

    Enter Tom Ferry and Mike Vagnino.

    Innovators and educators, they have forged their paths in steel. Developing techniques and learning new skills, while at the same time teaching others, the two have collaborated on a concept that incorporates a generations-old method for assembling a slip joint, while bringing it into new worlds of materials and technology.

    “[An] idea evolved from the desire to engrave the backbar of slip-joint folders,” Ferry began. “The reason this was all but impossible before was that slip-joint backbars or [back]springs are heat treated, making them difficult to engrave, and, due to timing issues, [the engraving] was not easily done prior to heat treatment.

     “I had been bouncing the idea around trying to come up with a solution. One night while opening an automatic knife I noticed the internal kicker spring, which in many ways is similar in placement to a slip-joint spring. After doing some preliminary drawings, I contacted Mike for his input and assistance in developing the mechanism further. By sharing and combining forces, we cut the development time in half and have created a great working mechanism.

    “In total there have been at least five variations of the spring,” Ferry continued, “and Mike has taken the development further by creating the first multi-blade slip joint with the [new] mechanism. Mike coined the name the Everflush Spring because the backbar is always flush with the top of the handle.”

     You will notice the knives with the new spring in the accompanying photographs do not always correspond in form to the classic interpretation of the slip joint. Sporting titanium liners, bolsters and backbars, carbon fiber handles and high-alloy stainless blades, materials more common in the tactical category can be used to constitute the knives. To that end, the Everflush Spring allows for a completely solid handle configuration.

    The standard slip joint, whose backbar is a spring and must be free to move, can develop play on either side of the spring. The Everflush Spring design can incorporate pivot bearings for an action that is smooth with a crisp half stop. “The Everflush Spring is unlike common slip joints where the blade causes the spring to rise and drop as you rotate the blade from the open to closed position,” Ferry observed. “This innovation allows the opportunity for engraving of the backbar as well as eliminating the timing of the blade to the handle, as all the timing is internal.

    “[By] splitting the backbar in half, thus creating a lower spring upon which the blade rides and an upper tang stop which stays flush with the handle, the backbar does not need heat treatment. This allows a wider range of material choices and embellishing options.”

    Being intrinsic with the backbar, the lower spring diminishes the pressure exerted upon the pin, which traditionally would be used as the spring pivot. This allows the use of more exotic or fragile handle materials without fear of them cracking at the pin. In addition, the mechanism provides the potential for assembling a slip joint using threaded fasteners that allow for easy cleaning and pivot-tension adjustments.

    “The major disadvantage is that this design will not easily fit or adapt to many traditional designs,” such as folding patterns with three or more blades, Ferry noted. “The internal spring takes up more room and thereby creates issues with designing a knife for it.” Conversely, it challenges makers to devise new designs, which is always good for the knife industry.

Tango Foxtrot Knives

Ferry responded to the changing market with the creation of Tango Foxtrot Knives LLC, which he characterizes as his “new venture into the realm of semi-production knives” of his design.

    “The first knife from Tango Foxtrot is a tactical slip joint with the new mechanism, but I will also be introducing other models and types of knives in the future,” he said. “Tango Foxtrot Knives was conceived years ago but the timing never seemed to be right for me to proceed with the venture.

    “As with any new design or product, you can never be sure how it will be received by the buying public. Mike and I unveiled the Everflush Spring at the 2011 BLADE Show (www.bladeshow.com) and it was very apparent the design was a success, with both of us selling out of those knives prior to the end of the show’s first day. With the confidence of having innovated a great product, I decided to launch Tango Foxtrot Knives. The company’s first release was the prototype version of the T-1 folder at the 2011 USN Show, and again the design went over well.

“I am currently in production of the T-1 slip joint with the Everflush Spring,” Ferry maintained, “as well as designing other models of fixed blades and folders to develop a line of semi-production knives of my design. The components for the knives will be made out of shop, but all final assembly and fit and finish will be done in my shop. Most will be everyday user knives, but there will also be the occasional dressed-up model featuring my hand engraving.”

Another Level

The knife business tends to reward those who contribute to it. Moreover, there is always a connection to the past, as every maker builds upon the innovations, techniques and styles of those who came before. It is a rare cutler who introduces something completely new. It is an even rarer one who can take an innovation and bring it to the next level. There is always another level and, through Ferry and Vagnino’s innovation, the cutlery industry may be getting a peek at the next one.

    For more information on the Everflush mechanism, contact Tom Ferry at [email protected] or www.tomferryknives.com , or Mike Vagnino at [email protected] or www.mvknives.com.

For more on the latest knives, knife legislation, knifemaking instruction, knife trends, knifemakers, what knives to buy and where and much more, subscribe to BLADE Magazine, the World’s No. 1 Knife Publication. For subscription information click on http://www.shopblade.com/product/blade-magazine-one-year-subscripti…?r+ssfb031712#BL1SU.


Secrets Of The Shop: Steve Schwarzer & Bob Terzuola

0

Schwarzer’s blister busters and Terzuola’s effective efficiencies.

Editor’s Note: Jim Hammond has been a full-time knifemaker since 1977 and a member of the Knifemakers Guild since 1978. He was the first maker to work with CRKT and has many well-known designs to his name. This is the first of an ongoing column in which he uncovers the tightly held secrets of master knifemakers.

Welcome to Secrets of the Shop, where we dive deep into specific techniques and tips highlighted in the work of premier makers and knife smiths. While trade secrets often imply guarded formulas, for knifemakers, they are keystone discoveries that hone processes and perfect craftsmanship. This column seeks to turn these unrevealed secrets into shared solutions.

Popping Blisters

A veteran ABS master smith and BLADE® Magazine Cutlery Hall of Fame® member, Steve Schwarzer is probably best known for his pioneering work in the canister method of forging mosaic damascus. He is considered one of the finest instructors and ambassadors of the forged blade and of mosaic damascus, teaching at seminars and hammer-ins on the subjects for decades in Europe, South Africa, the USA and elsewhere.

During welding, a cold shut—a spot of incomplete merging of steel—can produce a trapped-gas bubble known as a blister. The spots where these void occur heat at different rates than the surrounding material and turn black. Often caused by worn and cupped dies, these blisters typically form along the billet’s perimeter.

Steve’s solution to addressing blisters is as follows:

  • Release the Gas: Punch a hole directly into the blister.
  • Flux and Forge: Drop borax into the hole and use a small rounding hammer to forge the area, pressing air out of the seam to recreate a uniform weld.
  • Refinement: Check the surface for flatness. Steve utilizes belt and stone surface grinders to achieve trued flats and maximize uniform contact.

To prevent blisters, Steve welds the edges of a billet before the center using a radiused fullering die. Going this route is less prone to create blisters than a flat die, though more apt to distortion. This technique was vital when Steve and Neil Kamimura created a million-layer billet that was folded rather than stacked, requiring the resolution of numerous small cold shuts.

Mosaic On A Budget

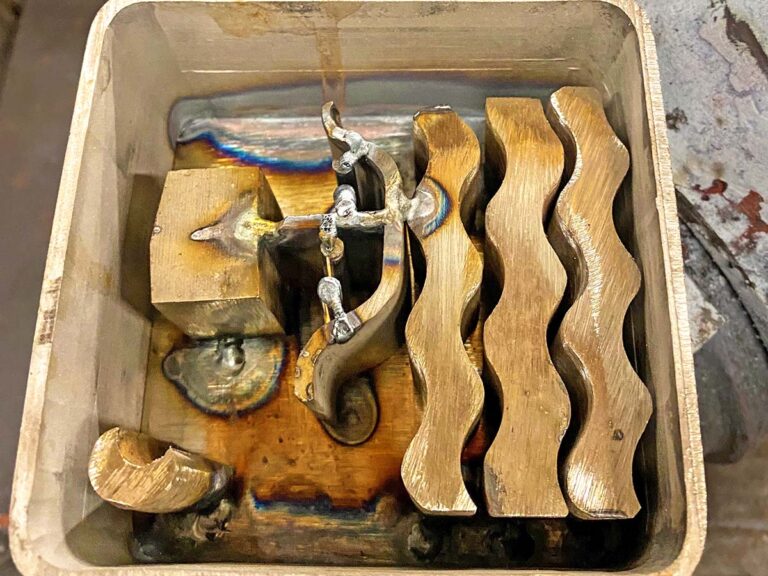
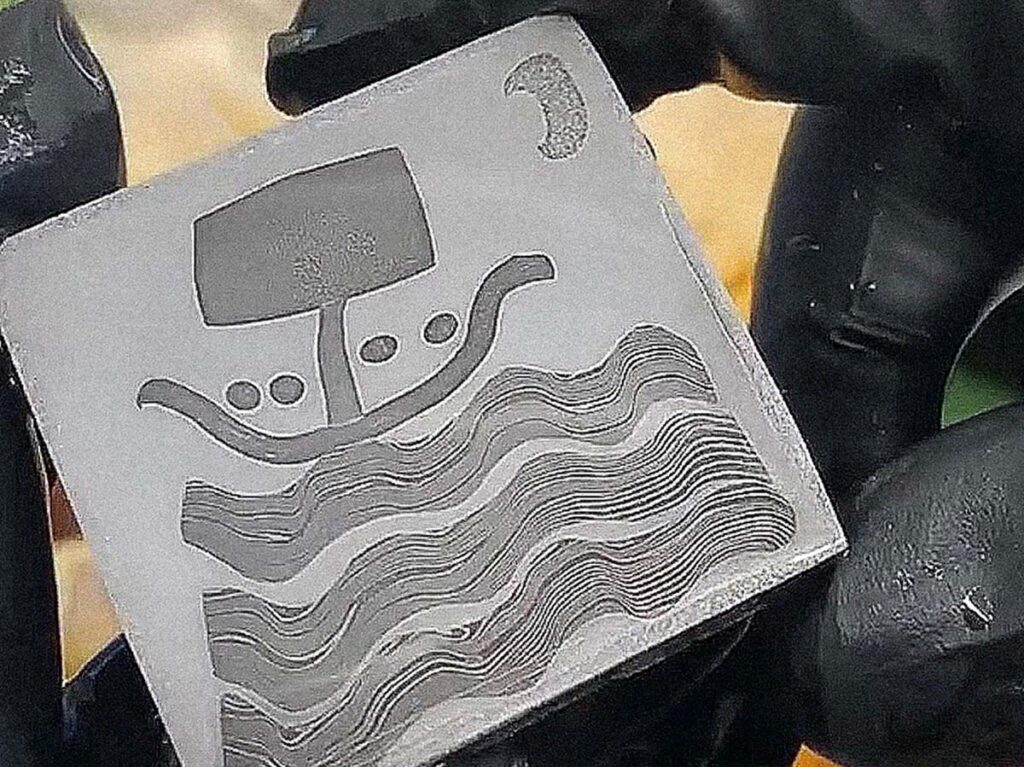
Schwarzer uses what he calls a “tiling” process with his canister damascus, sawing off the end to expose the image, and forge-welding them side-by-side to maximize the visual impact across the blade’s surface. (Steve Schwarzer image)

While CNC and EDM equipment can create intricate designs, a more affordable approach involves the sintering process of canister welding damascus, a method originated by Steve and Daryl Meier.

Steve’s canister process is as follows:

  • Composition: A square canister is preferred to maintain the image’s shape using flat dies. Content determines the pattern—solid metals form the primary image, while powder fill creates the background.
  • Preparation: Both ends must be welded shut to exclude oxygen.
  • Release Agents: To free the billet from the canister, Steve uses white spray paint; the titanium dioxide acts as an immediate release agent, oxidizing upon heating. Other options include White Out and stainless-steel foil.
  • Sintering: Steve recommends a soak time of at least 30-plus minutes. Expect a size reduction of roughly 30 percent as micro-spaces between particles collapse.

To expose the end-grain imagery, Steve uses what he calls a “tiling” technique. Band sawing sliced off the billet exposes the faces of the pattern. Then, forge-welding them side-by-side, he maximizes the visual impact across the blade’s surface. Note flat grinds are customary with this process, as deep grinding can distort the integrity of the imagery, especially with twisted materials.

For New Makers

Steve offers two foundational tips for those entering the craft. First bit of advice Schwarzer makes is to, “Avoid unknown materials, even if they’re free.” Without knowing the composition of “mystery steel,” you can never accurately repeat your results. He also suggests makers define their own path, saying, “Don’t chase anybody else’s dreams. Chase your own.”

Cutting Coupons

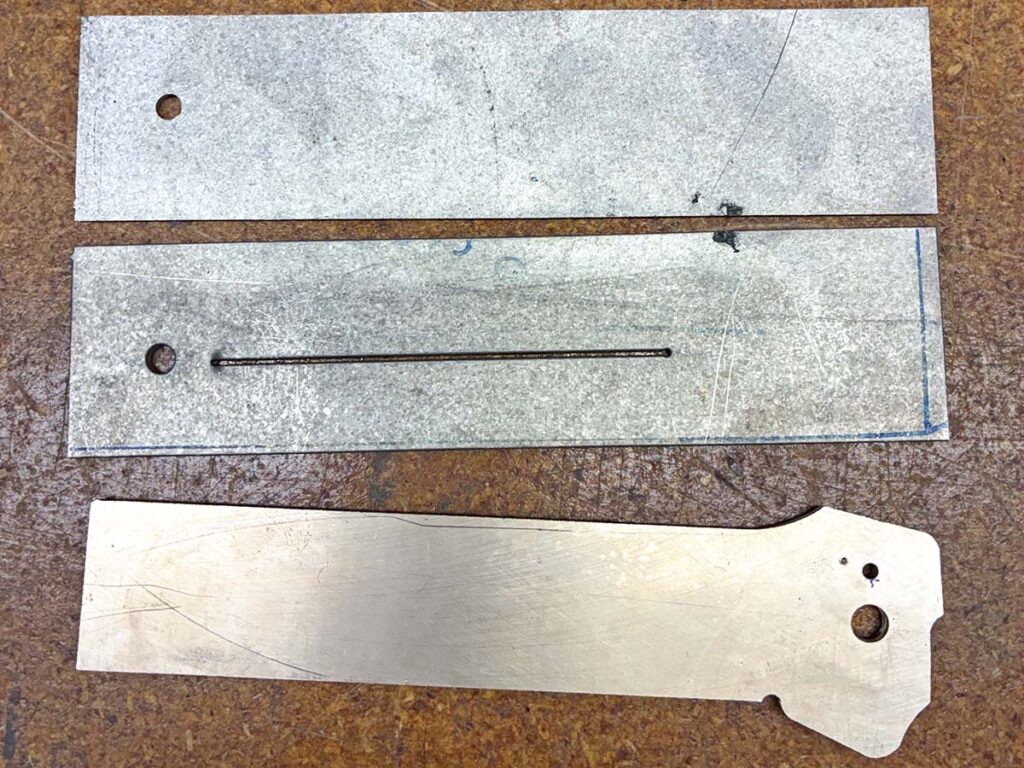
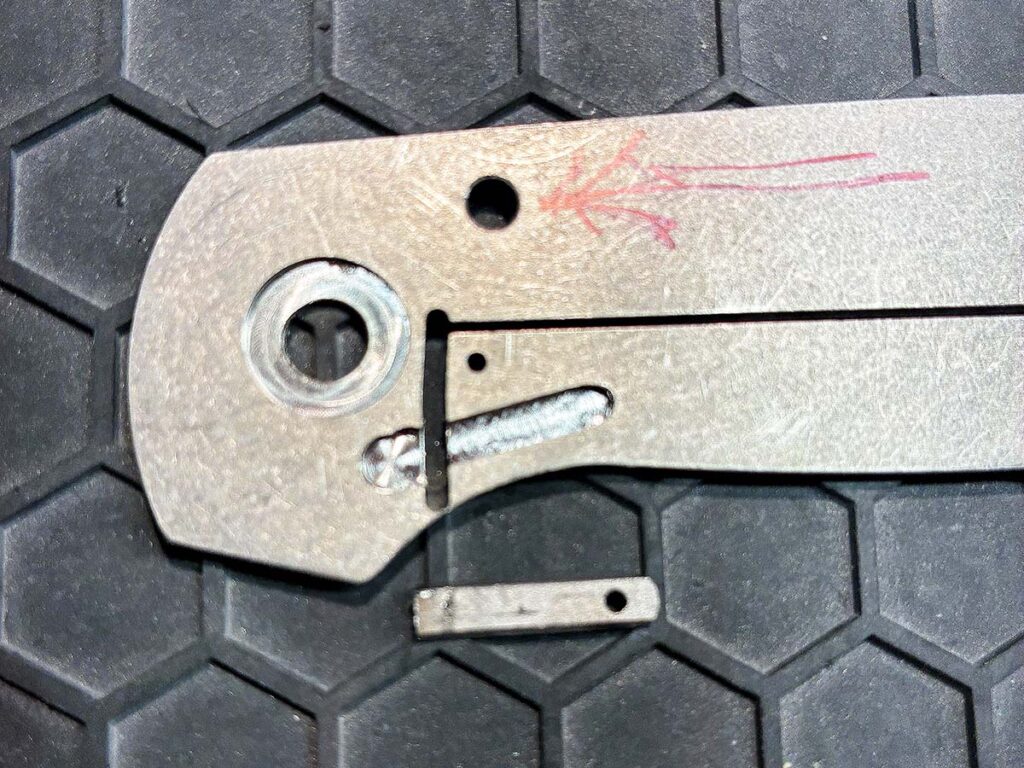
Bob Terzuola was a pioneer in using lasers and waterjets in his manufacturing process. Among the efficiencies he incorporated in using these tools was cutting what he calls “coupons.” These are simply uniform blade blanks and liner sections. Keeping a load of these on hand speeds up the manufacturing process, while maintaining the integrity of the knife. (Bob Terzuola image)

Known as the “Godfather” of the tactical folding knife, Bob Terzuola has been a full-time maker since 1980 and was inducted into the Cutlery Hall of Fame in 2023. His longevity in the craft stems from a blend of old-school design and modernized production efficiency. Terzuola was a pioneer in the mid-’80s, becoming the first maker to utilize laser cutting for components. Today, he uses waterjet cutting to create generic rectangular blade blanks and liner sections, which he calls “coupons.”

For the blade blanks, Terzuola profiles the rear area with the lock face, thumb ran and pivot/stop pin holes (roughed to 80 percent diameter). The rest remains rectangular, allowing him to incorporate any pattern with minimal grinding. Bob has his CPM 154 stainless steel blanks commercially surface ground to 0.135-inch before heat-treating them himself to HRC 59. For the liners—0.080-inch titanium in our discussion—the coupons are left square, containing only the pivot hole and the horizontal slot for the locking spring arm.

Notably, Terzuola grinds his blades after they are hardened. He argues grinding annealed steel can lead to warping during heat treat and causes the belt to gouge material. Grinding hardened steel, by contrast, is like slicing meat with a razor blade rather than digging dirt from a hole. Despite these modern efficiencies, he said he remains a “pencil-and-paper guy,” eschewing CAD for hand-drawn patterns to maintain design commonality.

Finishing Simplified

Despite modern efficiencies Terzuola has incorporated into his manufacturing process, he remains traditional in his designs. That is, he avoids CAD, instead using pencil and paper to hand-draw all of his knives. (Bob Terzuola image)

Bob’s finishing process for CPM 154 is remarkably lean. He utilizes a 90-durometer smooth-face rubber contact wheel and a simple two-belt sequence. First, he does a rough grind with an 80-grit ceramic belt, then finishes with a 3M Trizact A16 (1,200-grit) belt.
He specifically avoids 60-grit belts, noting that their mesh size is twice as large as 80-grit, creating scratches that are twice as deep and significantly harder to clean up. To ensure blade-lock longevity, he now uses a heat-treated 440-C stainless steel insert in the titanium spring arm. This provides a steel-on-steel lockup, eliminating the wear issues common with titanium.

For New Makers

Terzuola encourages beginners to find their own niche and not get locked into a single model. He emphasizes mastering the fundamentals with hand tools: learn to tap holes, use files and sharpen twist drills. He and I agreed, new makers should also gain proficiency with mills, lathes and surface grinders to be old-school efficient rather than purely CNC-reliant.

Read More:

Advertisement

Must Read Articles

Read this before you make a knife

Knifemaking 101 – Read This Before You Make a Knife

  by Wayne Goddard My experience has taught me that there's nothing like digging in and getting started. I've often said the hardest part of the...
how to forge damascus steel

How to Forge Damascus

Advertisement
Advertisement