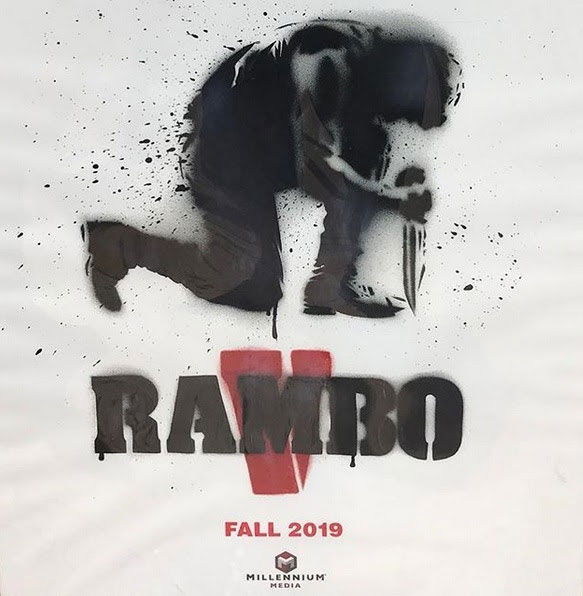
After years of being as mythical as its title character, the fifth movie in the Rambo franchise, Rambo V, is slated for a fall 2019 release, according to Deadline:
In the fifth episode of the franchise, when the daughter of one of his friends is kidnapped, Rambo, who has been working on a ranch, crosses the U.S.-Mexican border and quickly finds himself up against the full might of one of Mexico’s most violent cartels.
Sylvester Stallone confirmed the announcement on his Instagram account:
A post shared by Sly Stallone (@officialslystallone) on
Upon release, it will mark 11 years since the previous installation, 2008’s Rambo. It will also be the second in the franchise with a title that mercifully follows the logical sequence of releases (First Blood [1982], First Blood: Part 2 [1985], Rambo III [1988], Rambo [2008], Rambo V).
Another False Start?
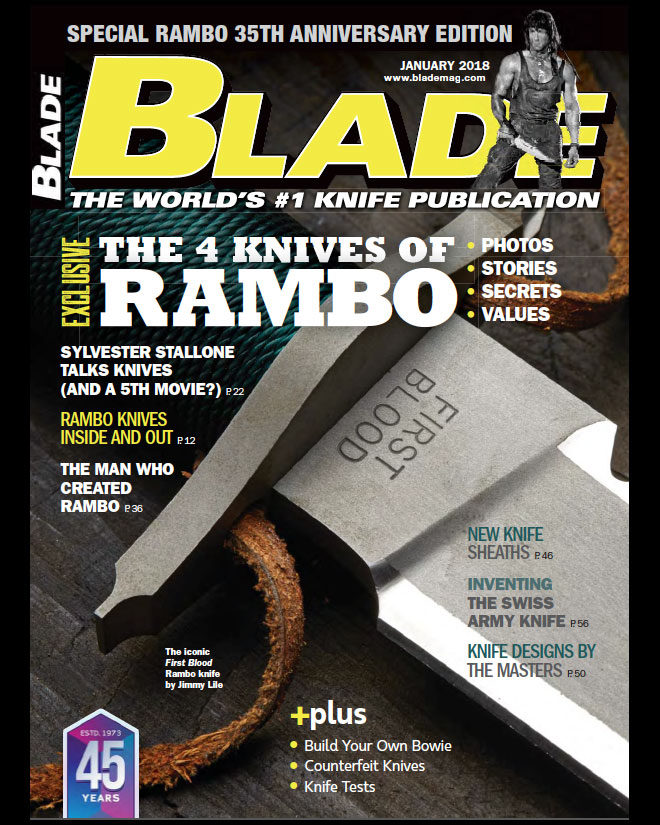
That’s if it releases. The only proof of life is the movie poster and some press. Stallone was non-committal when BLADE pressed him about it last year, saying only, “Never say never” (read the full interview here).
Even Rambo’s creator, First Blood author David Morrell, expressed his doubts when the news broke today.
Don’t know if this is true about a fifth RAMBO film. The author of the source material is always the last one to find out. Every six months there’s an announcement along these lines, but DEADLINE HOLLYWOOD is reputable.https://t.co/Ju58qX8KSU#RamboV@DEADLINEpic.twitter.com/4eC7uOisQ0
Time will tell. That the announcement comes during the Cannes Film Festival could mean this is only a play to see whether investors will bite. A little hype from the fan base, by way of a poster release, couldn’t hurt those prospects.
Who Will Make the Knife?
Cutlery-Hall-of-Fame® member Gil Hibben made the knives for RamboIII and Rambo, but it’s not clear whether he will be back for a third time. Regardless of who makes the knife, it’s encouraging to see the poster feature a blade. Sourcing the knife won’t be an afterthought.
Even if the movie is financed and starts production, it may be a while before the knifemaker is selected. Not only would the commission need to be negotiated, but Stallone himself will have to sign off on the design.
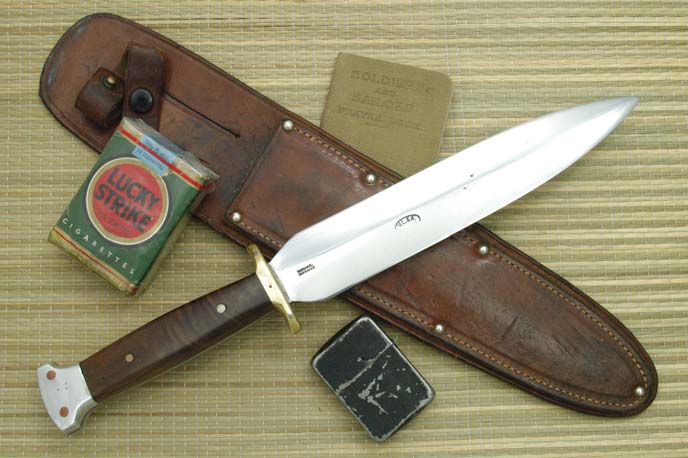
Cutlery-Hall-of-Fame® member James Lile created the iconic knives for First Blood and its sequel, First Blood: Part 2.
Stay Tuned
BLADE will report on developments as they occur. Keep an eye on the movie’s IMDB page, too.
Can’t Get Enough Rambo? Download BLADE‘s Rambo Issue
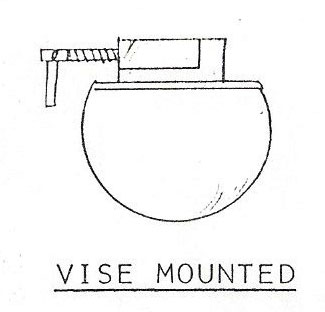
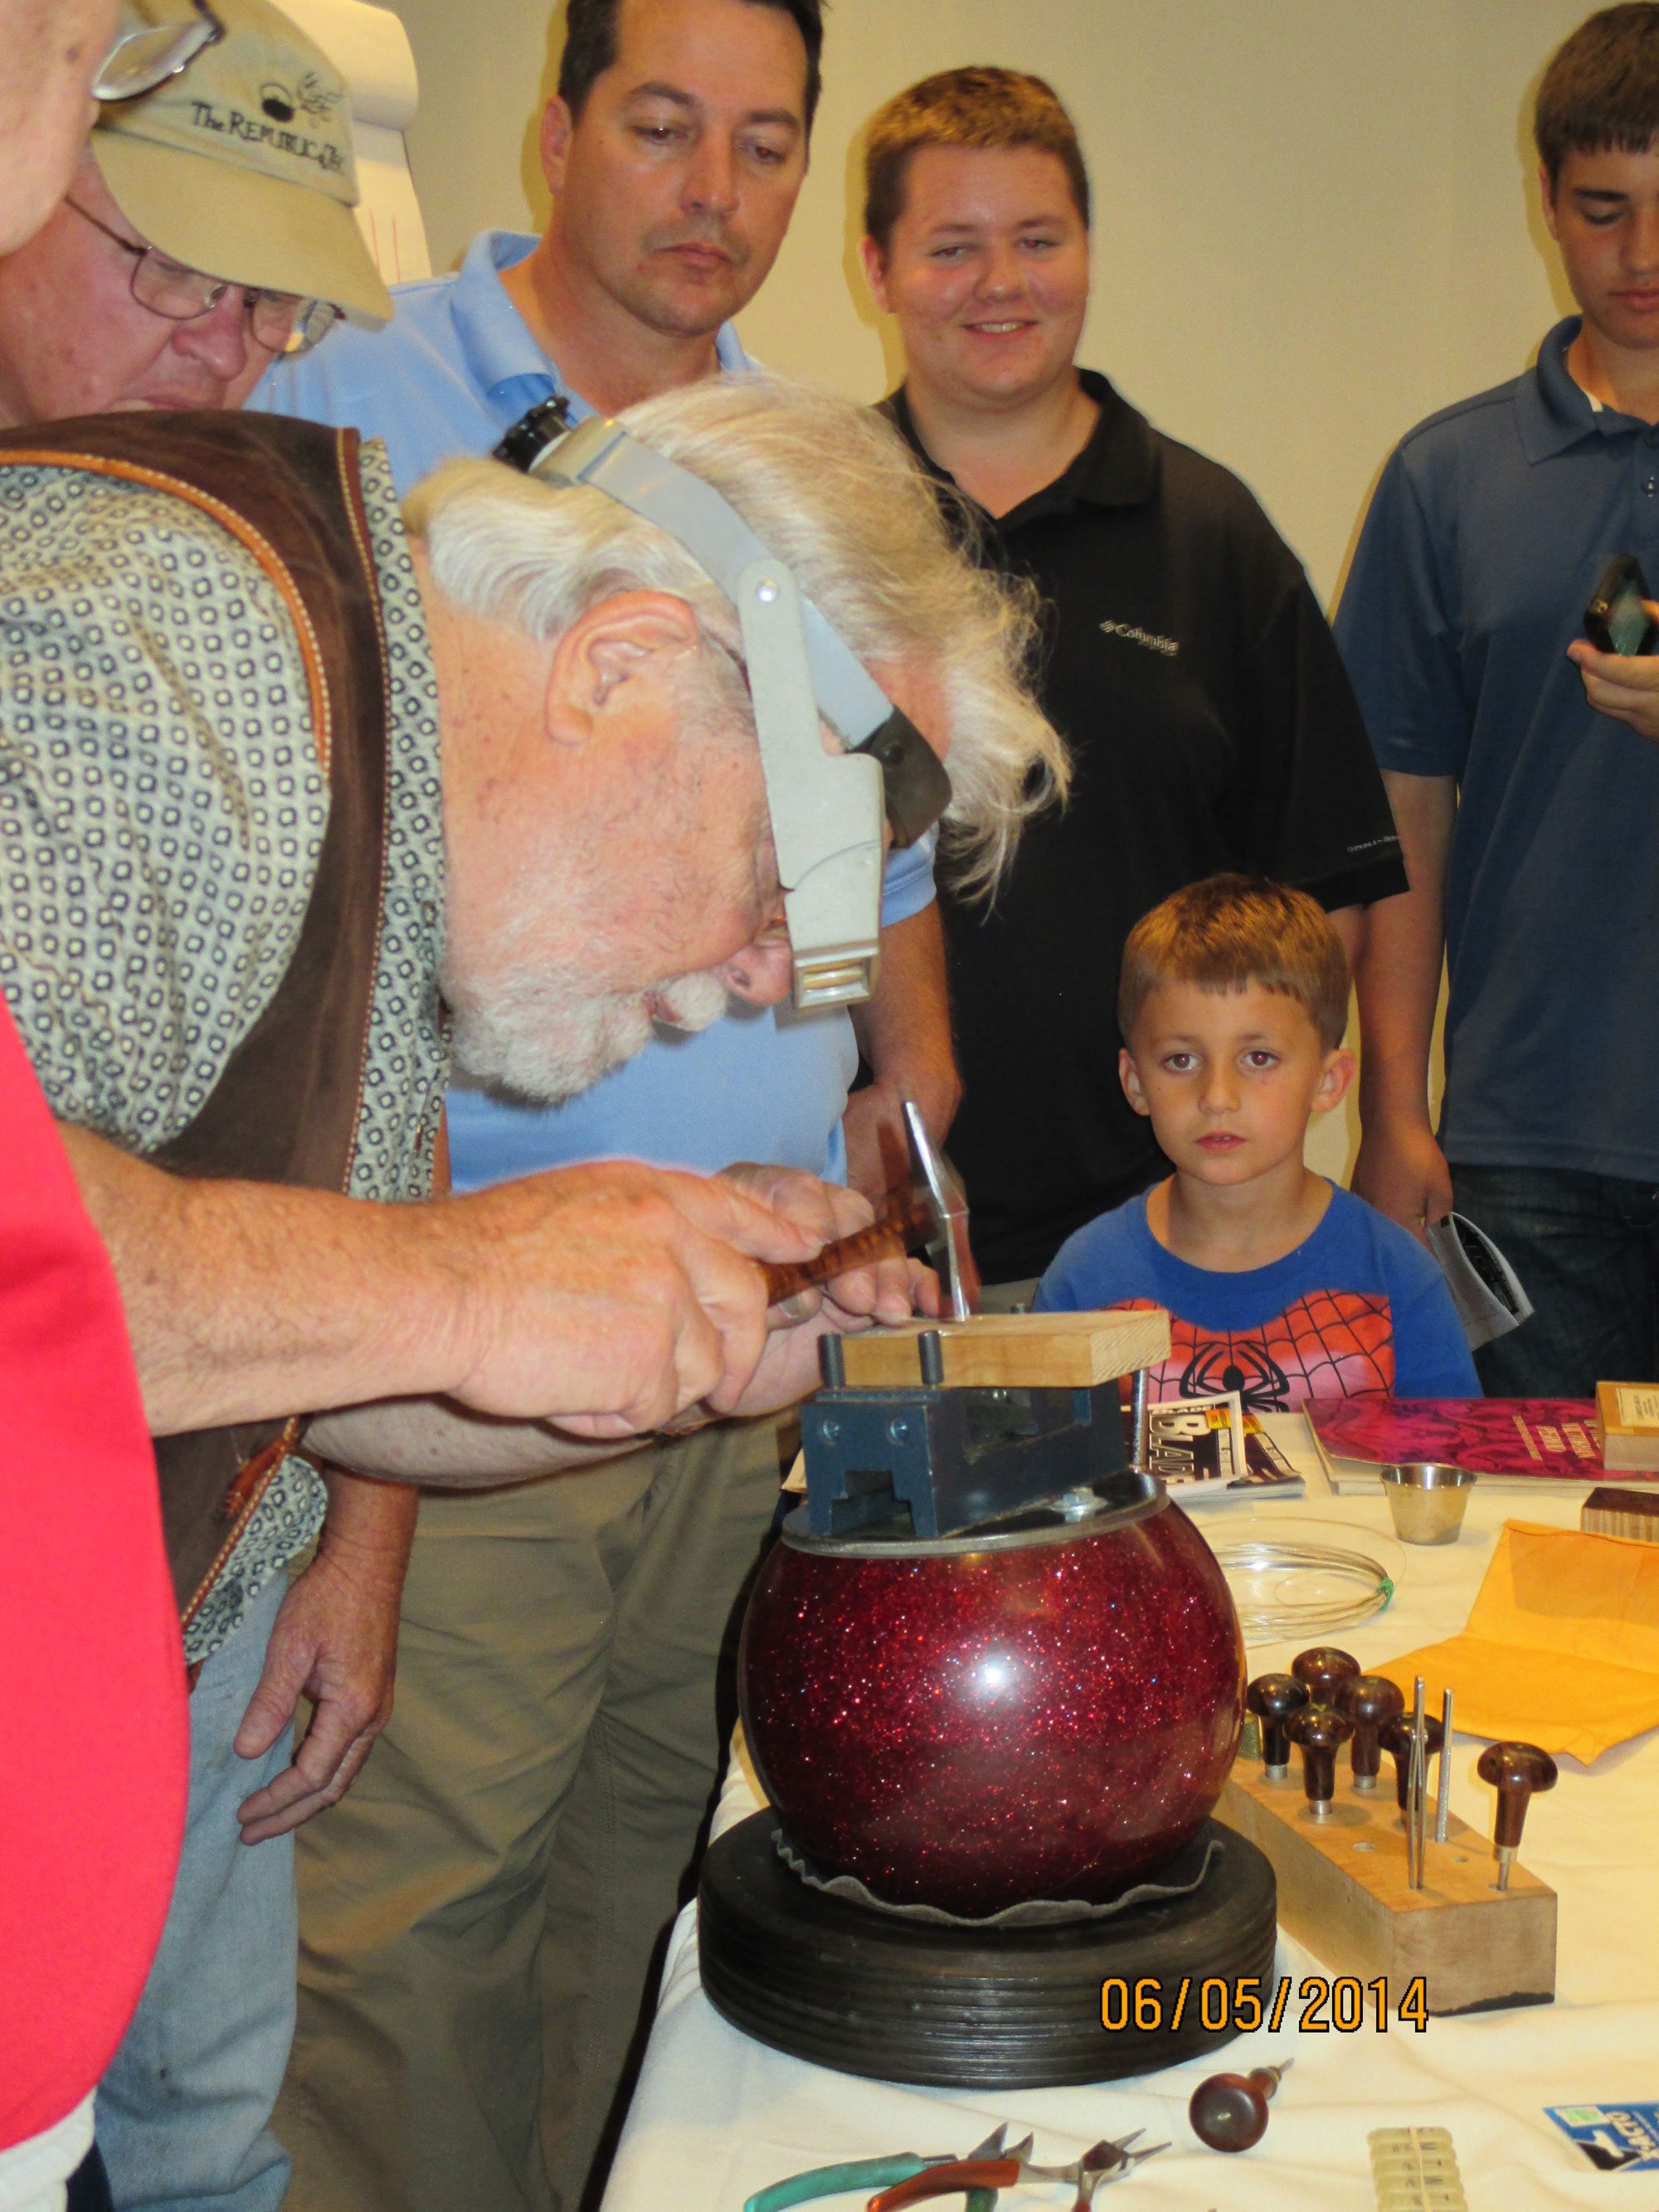
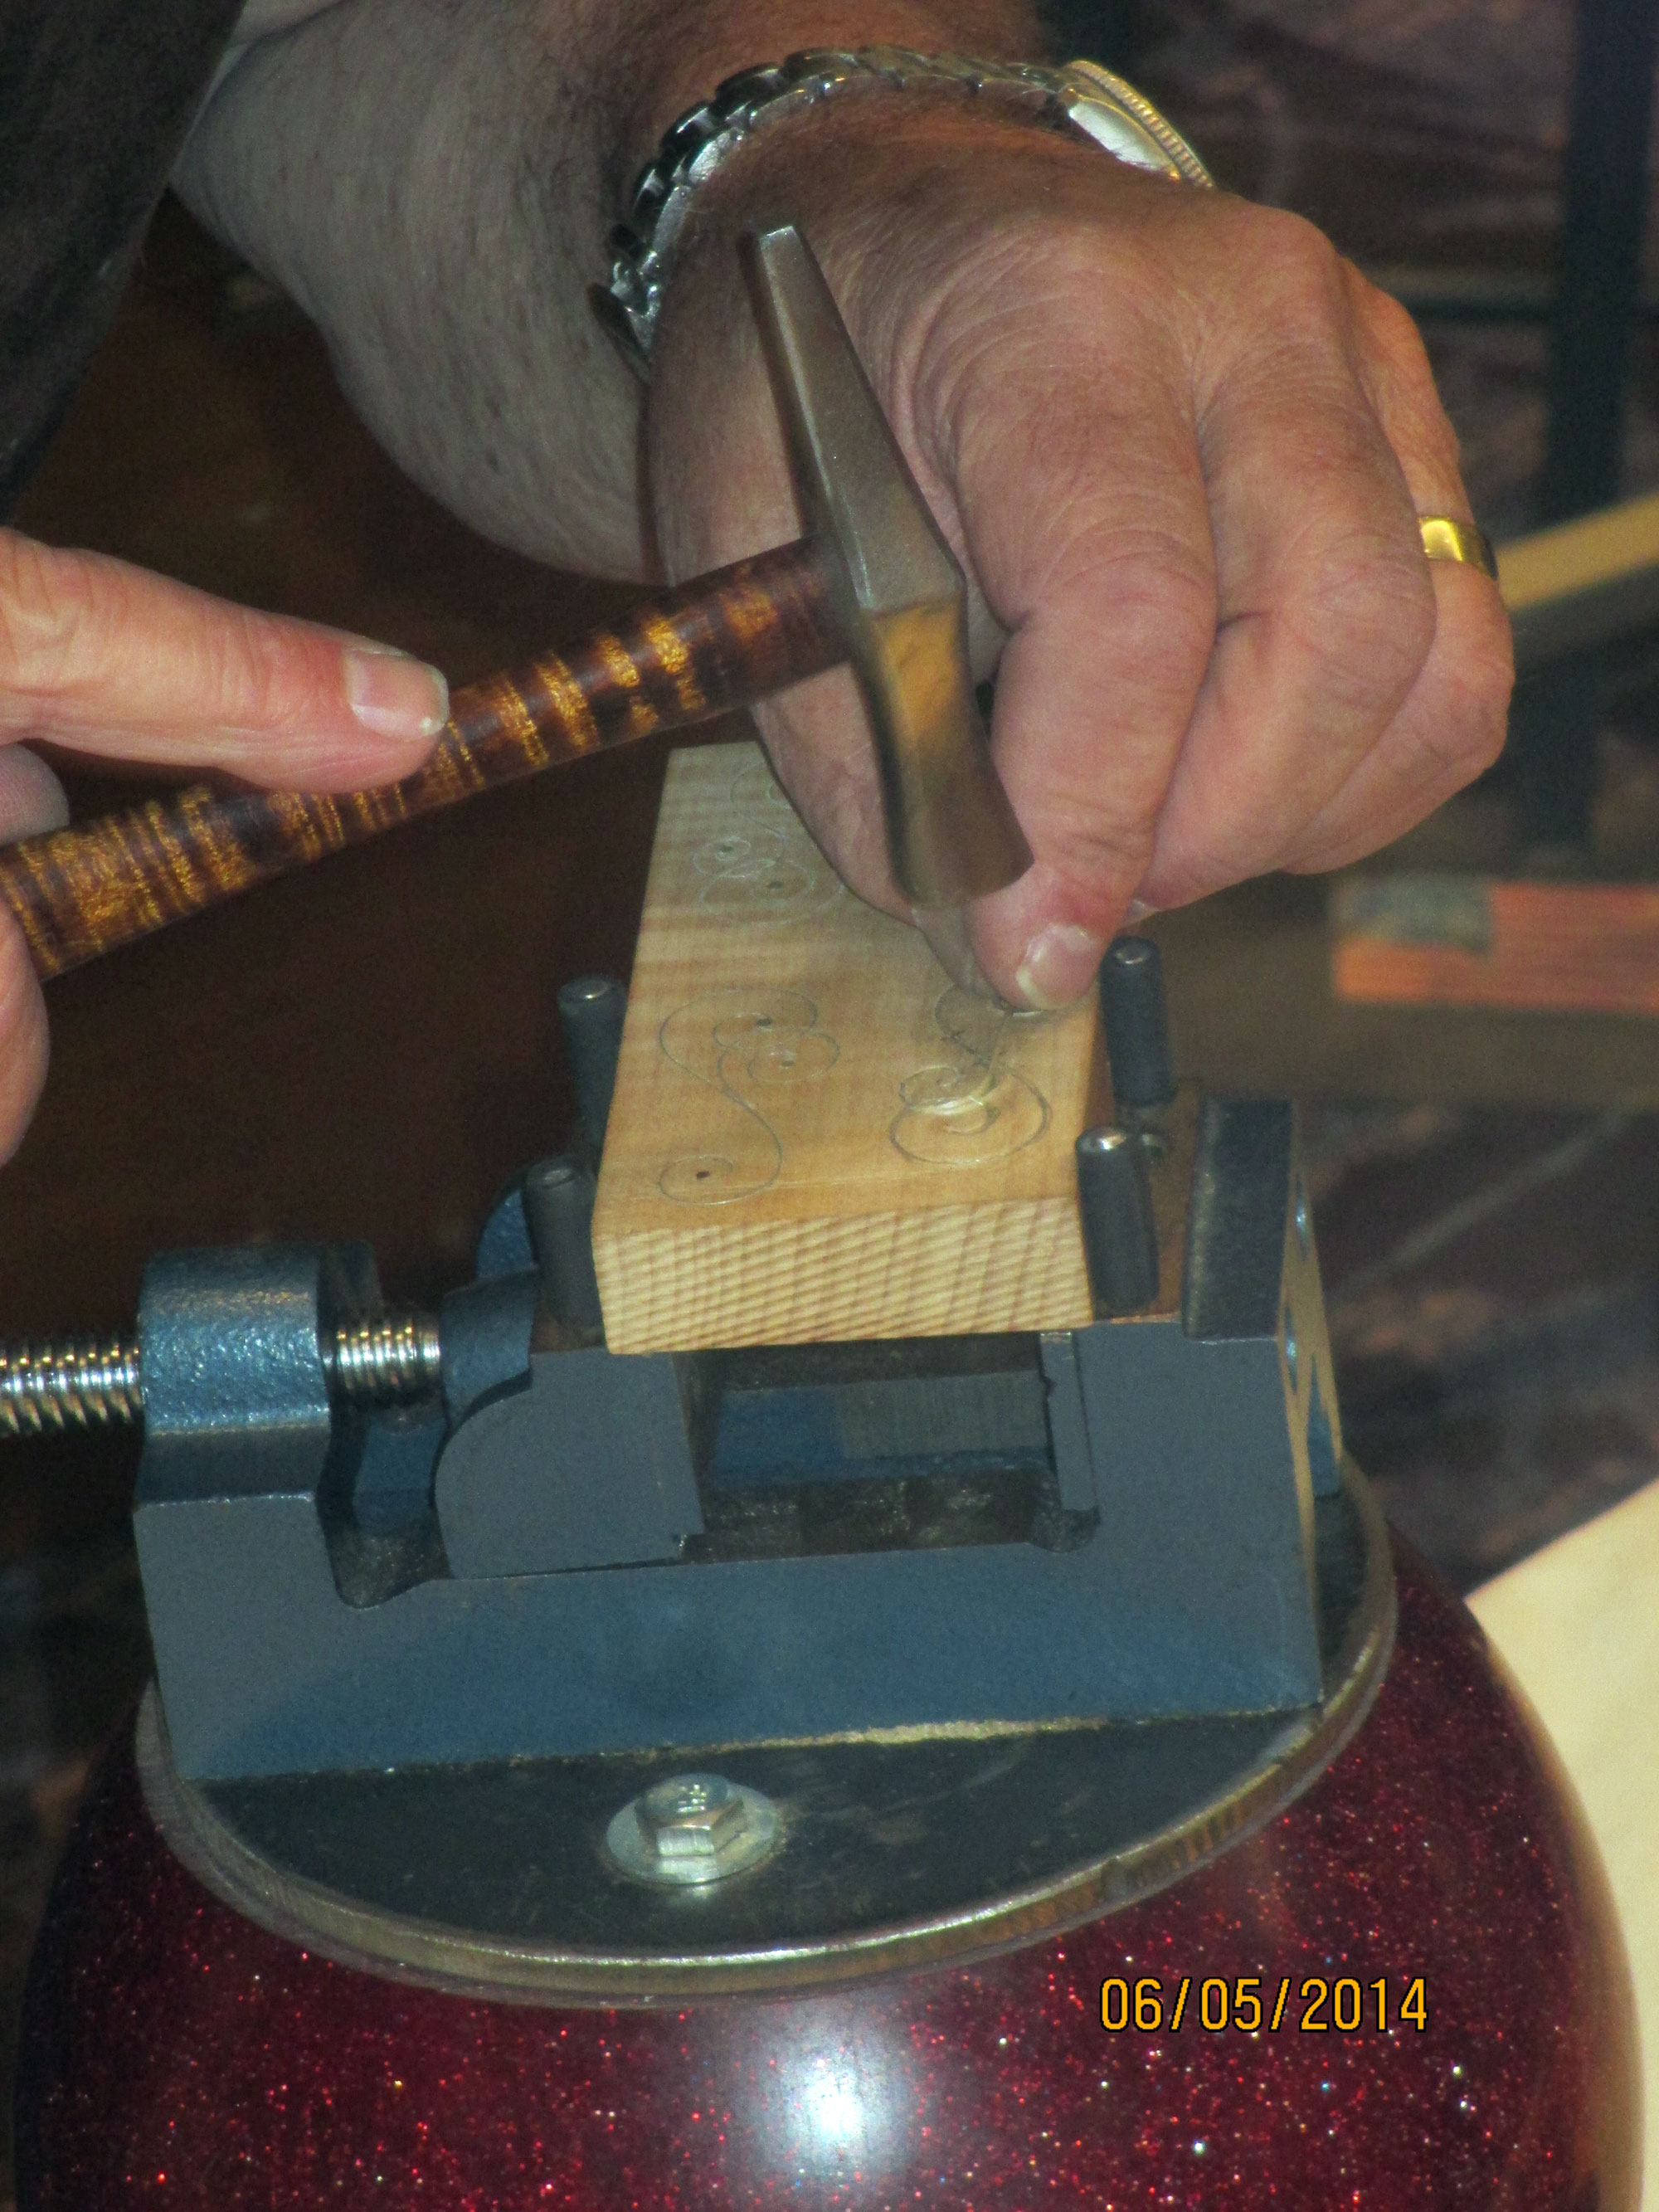
Joe Keeslar’s bowling ball vise uses a lawn mower tire for a base. A machinist’s drill press vise typically used for drilling and milling is mounted on top.The bowling ball vise holds the wood securely as Keeslar lightly hammers the silver wire during his BLADE University class at BLADE Show 2014.
According to ABS master smith Don Hethcoat, “Bowling balls make the perfect vise for knifemakers doing inlays and similar close work where you need both stability and flexibility. You can buy an old bowling ball at a flea market or thrift store for two or three dollars.”
In his own words, here are Don’s six steps.
1) Saw
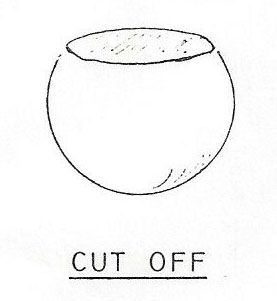
“Saw off about one-third of the bowling ball, getting rid of the old finger holes. I used a metal band saw but you may have other means.”
2) Drill
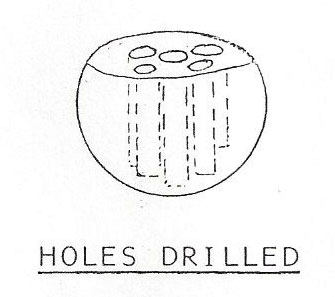
“Drill five holes in the flat top of the ball, one at each corner of a square with one in the middle using a half-inch drill bit, then chisel out a cavity in the center of the ball.”
3) Fill
“Fill the opened cavity almost to the top with lead shot to add weight, then seal the shot to the top of the hole with automotive Bondo® filler.”
4) Mount
“Make a round cover for the flat top of the ball using metal, wood or Formica®. Mount your vise on top of this. Mine is a machinist’s vise using its mounting system.”
5) Base
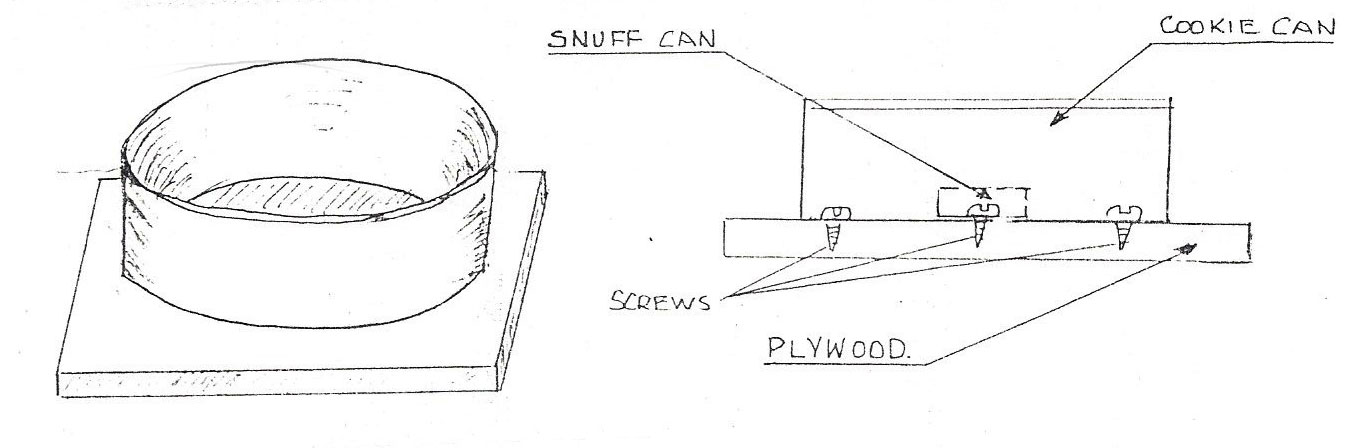
“Make a base and you’re almost done. I used a round piece of 8-inch pipe cut to 2.5 inches in depth. Fill the pipe with Bondo, cover it with Saran™ Wrap and push the bottom part of the ball into it to make an impression. Clean up the excess Bondo.
6) Fit
“Cut a round piece of suede to fit inside the round cavity so the ball can rotate freely. That’s basically it! Feel free to modify the vise to fit your own scenario.”
Hogue Knives to Launch SIG SAUER-Branded Automatics
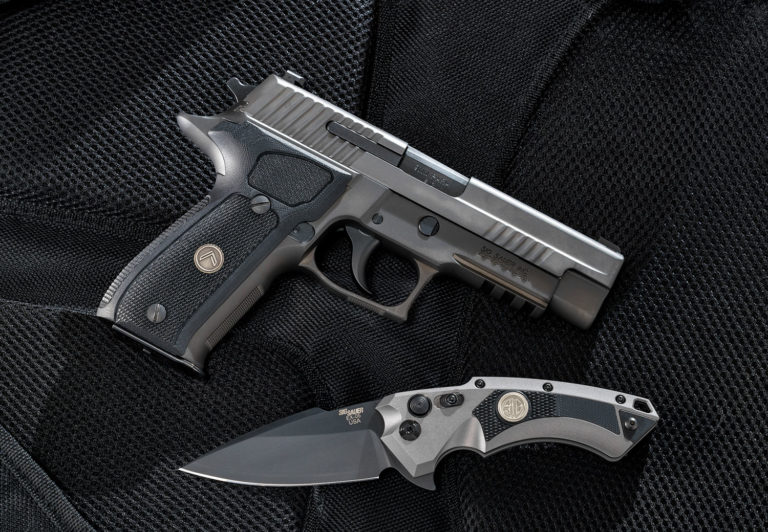
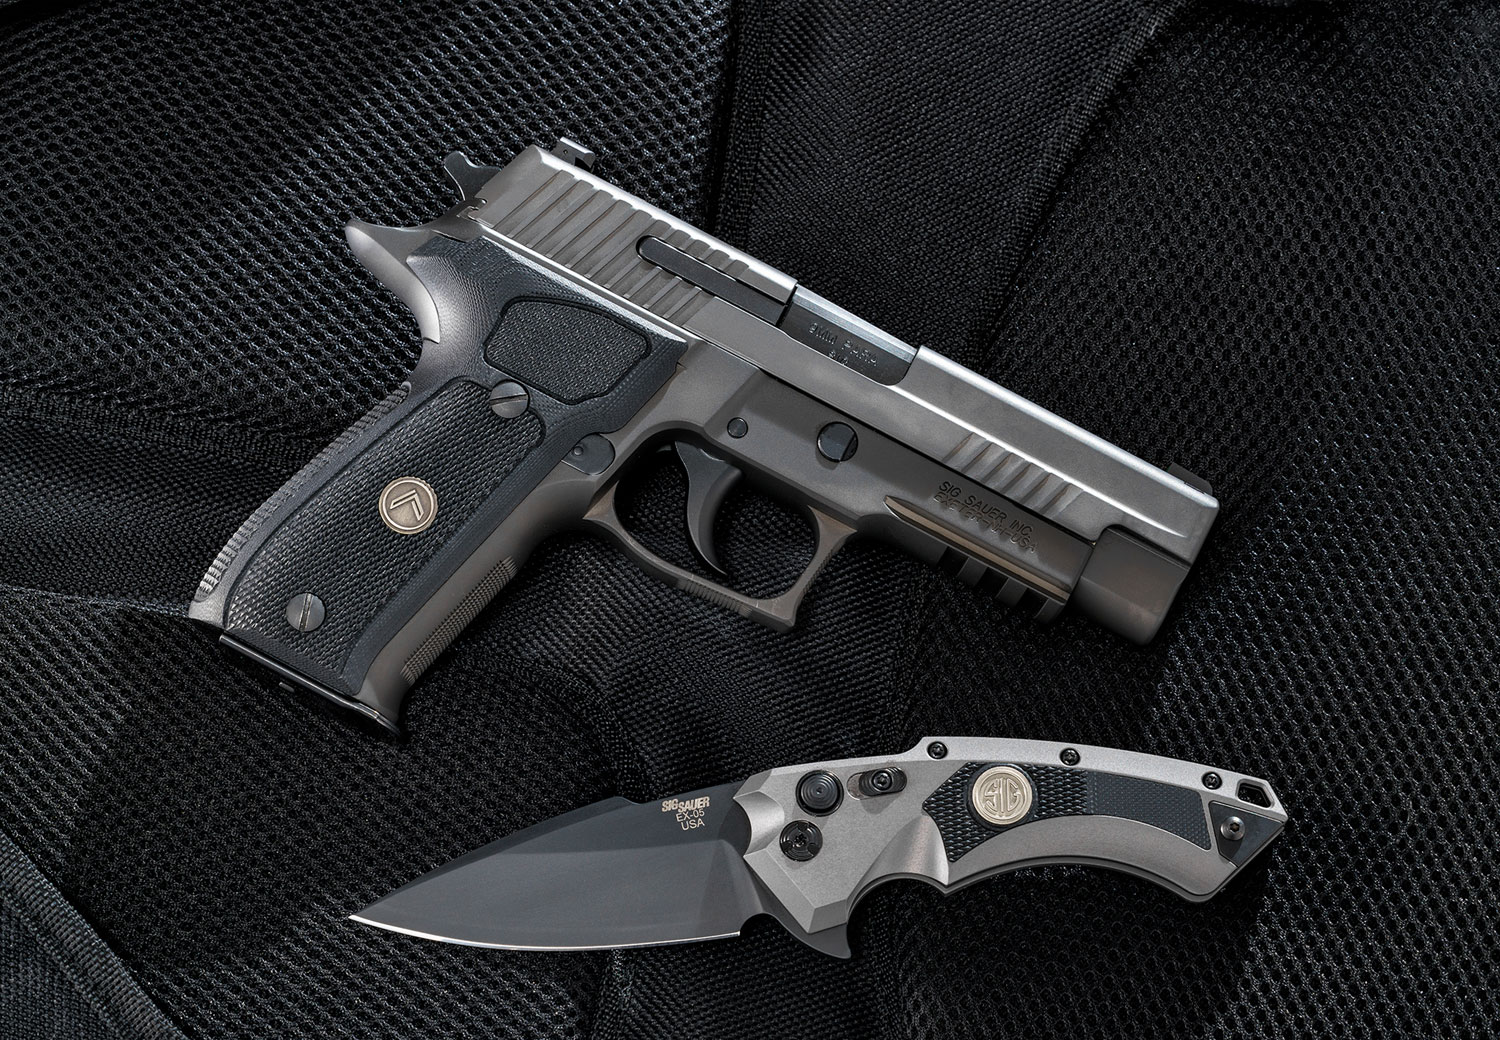
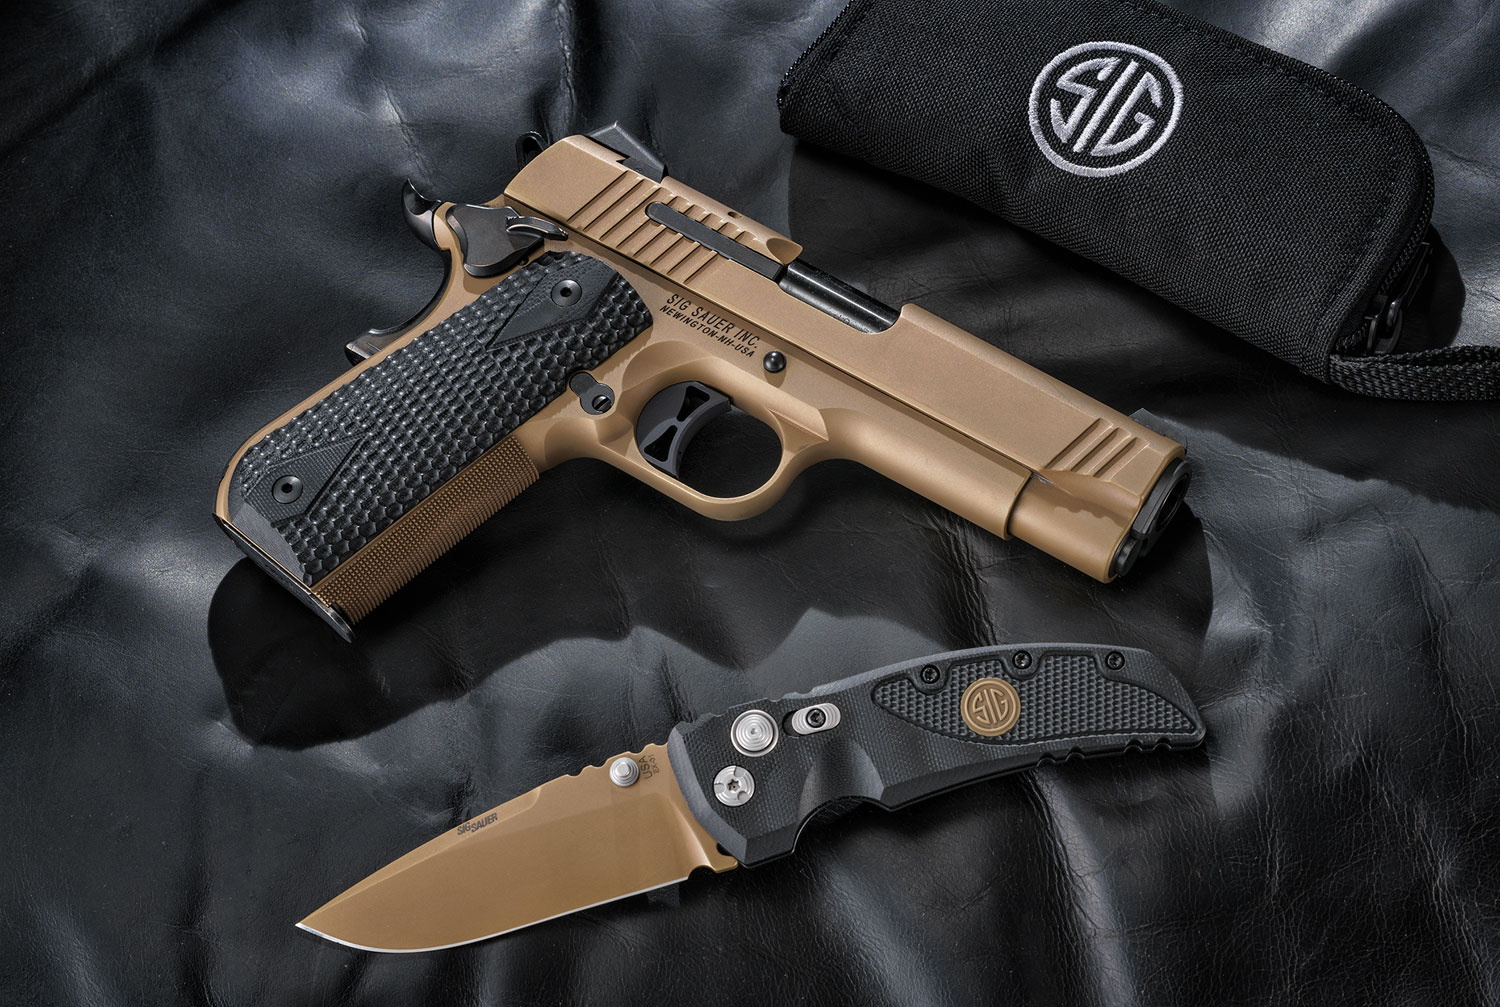
SIG SAUER, best known for its firearms, is once again teaming up to produce a line of knives, this time with Hogue Knives. It’s a natural partnership, since Hogue already produces G10 grips for SIG’s pistols.
From Hogue:
All of HOGUE’s “SIG” marked knives pair with the popular styles of the SIG SAUER firearms Hogue produces grips for. Each have the familiar “SIG” mark either machined in G10 or inlayed with a circular medallion. Hogue’s popular X5, EX-04, and EX-01 knives (both manual folding and automatic variations) are available to match SIG SAUER’s Emperor Scorpion and Exclusive Series Firearms including the Legion Series. Hogue’s EX-02 flippers are available to match ASE, Extreme, Scorpion, and Emperor Scorpion firearms. Finally, the Hogue EX-F01 has matches to SIG SAUER’s Stainless Elite and Exclusive Series firearms.
Hogue knives are made in the USA. MSRP ranges between $199.95 and $279.95.
Sweetening the deal is Hogue’s exclusive stake to all SIG automatic knives.
SIG previously partnered with Ernest Emerson and Rick Hinderer.
RAT Worx‘s new X-Factor knives don’t mind if you’re right- or left-handed. This new line of ambidextrous automatics uses a roller chain that pivots on a ceramic ball bearing for fast action. Buttons on either side of the handle will deploy the blade, although only one can be pressed at a time.
From RAT Worx:
The blade is opened with the help of a roller chain and 2 dual nested counter wound springs, down the spine of the handle. The knife can easily be swapped to right or left handed use. The pocket clip is fully ambidextrous for right- or left-hand use as well (You have to modify the knife to switch it to left hand use by removing a couple of screws.)
Also notable is that the identifying information is hidden in the handle design.
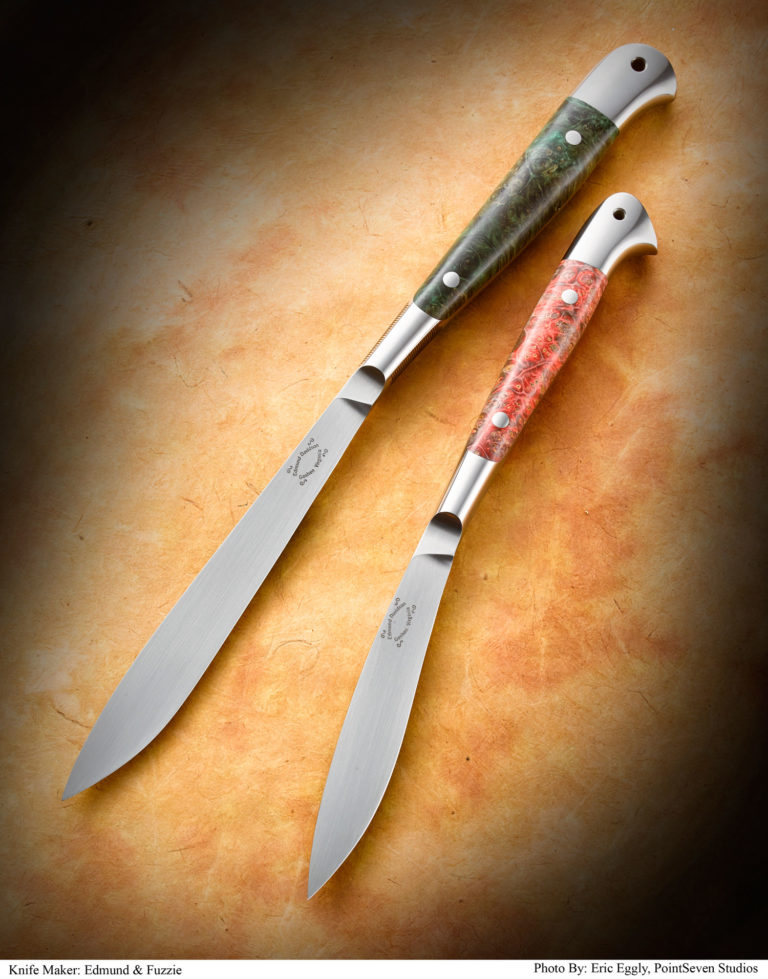
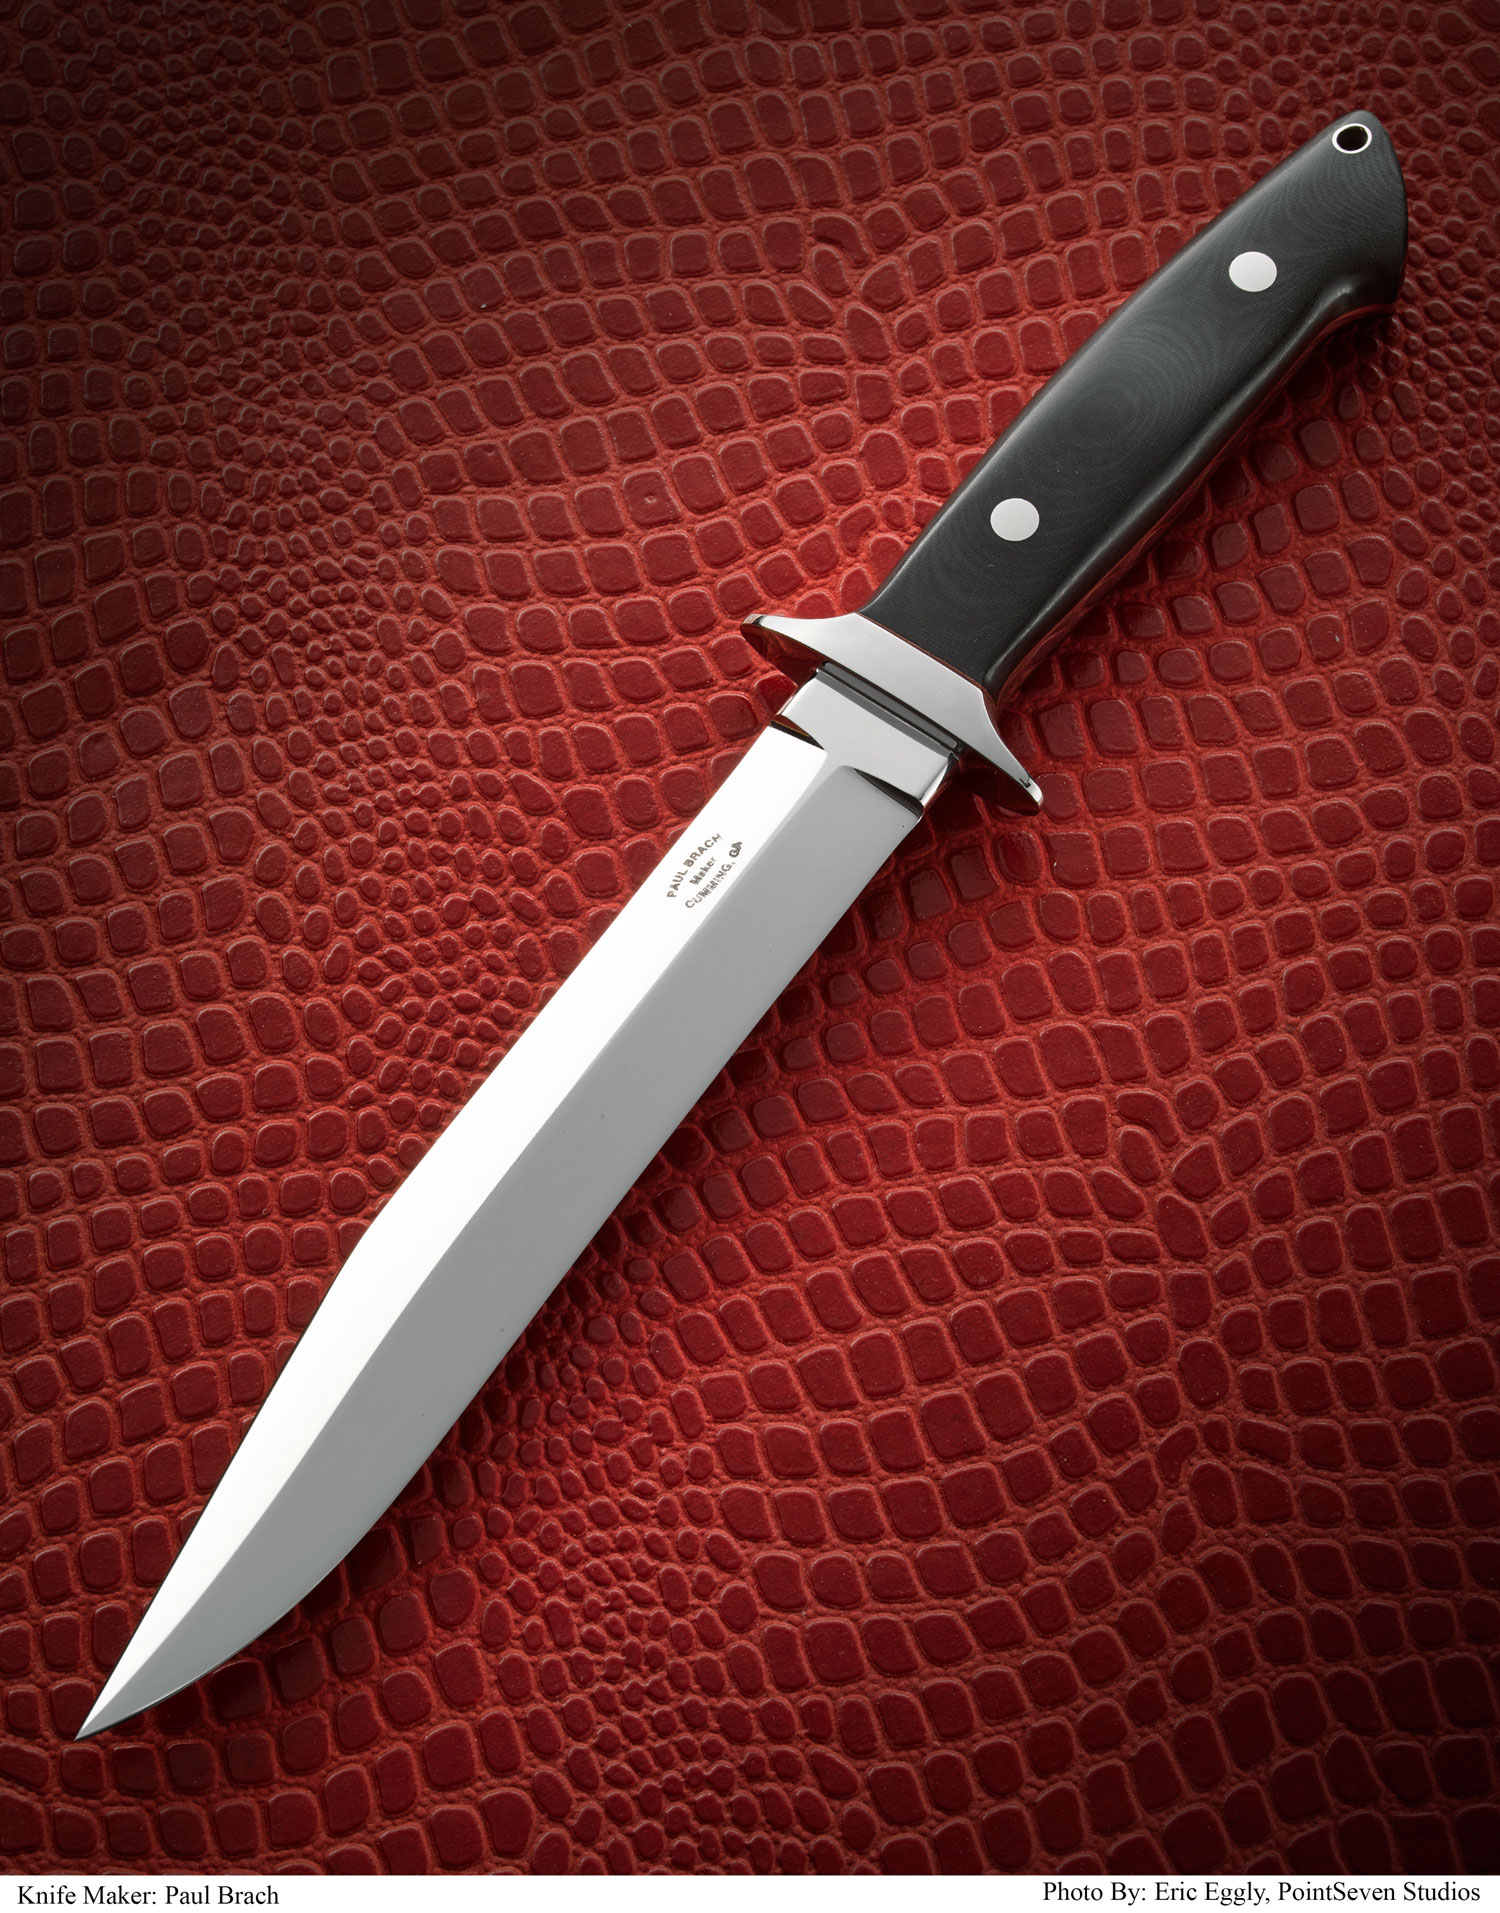
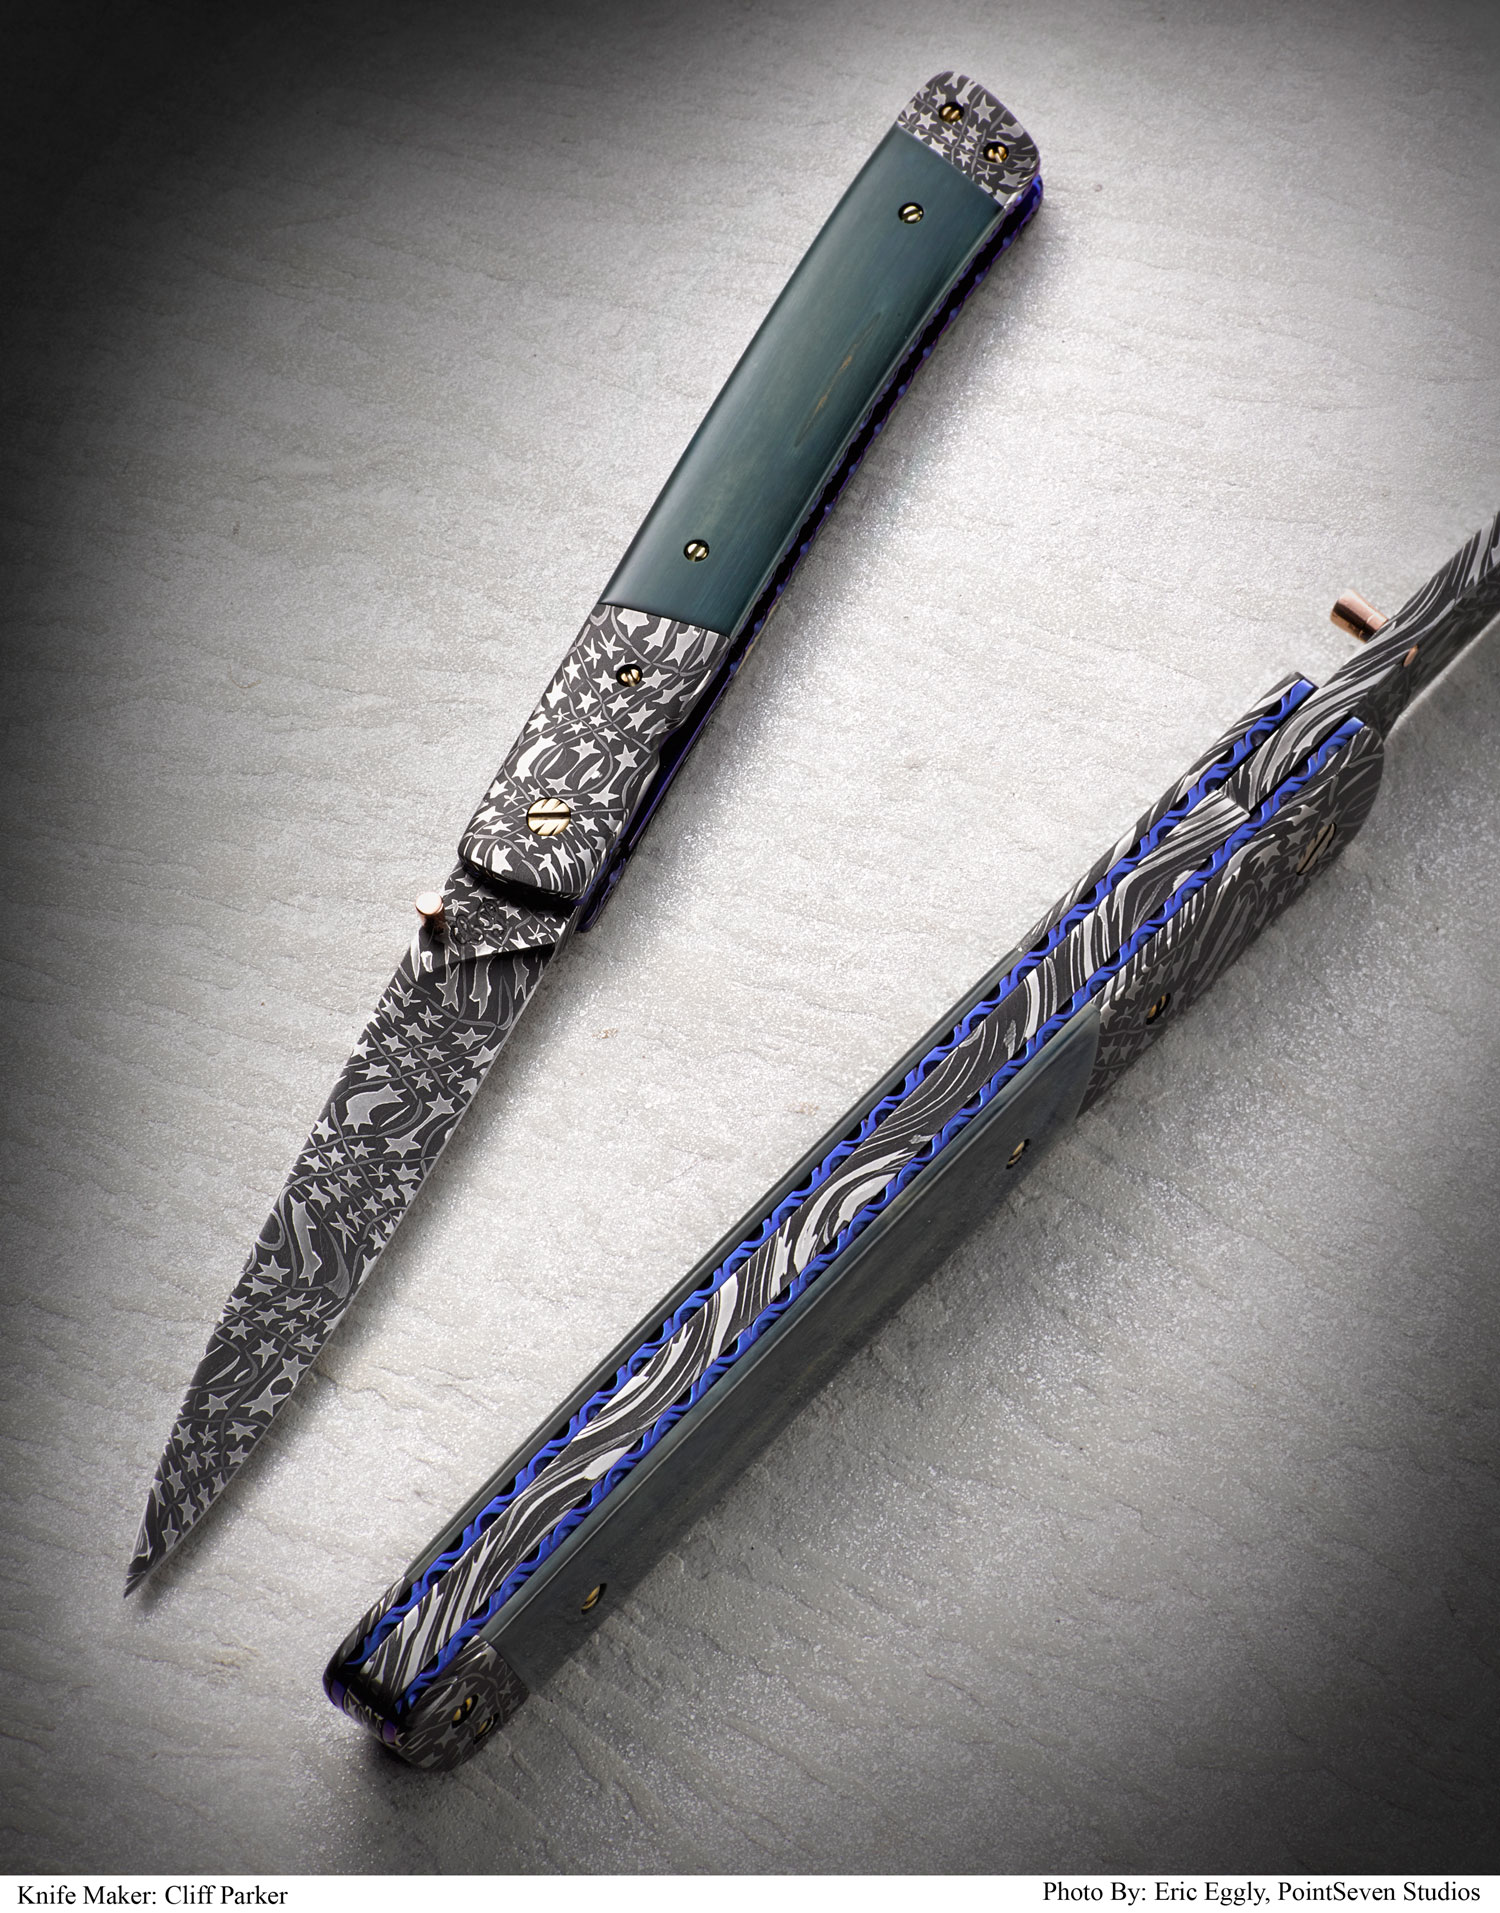
There’s something about things that are slim and pointy that bespeak of sharp. Think your grandma’s hatpin, ice picks, that nasty hypodermic needle at the doctor’s office when you were a kid, etc. Lean knives can be keen, too. Here are a few. (Click on an image for a larger view.)
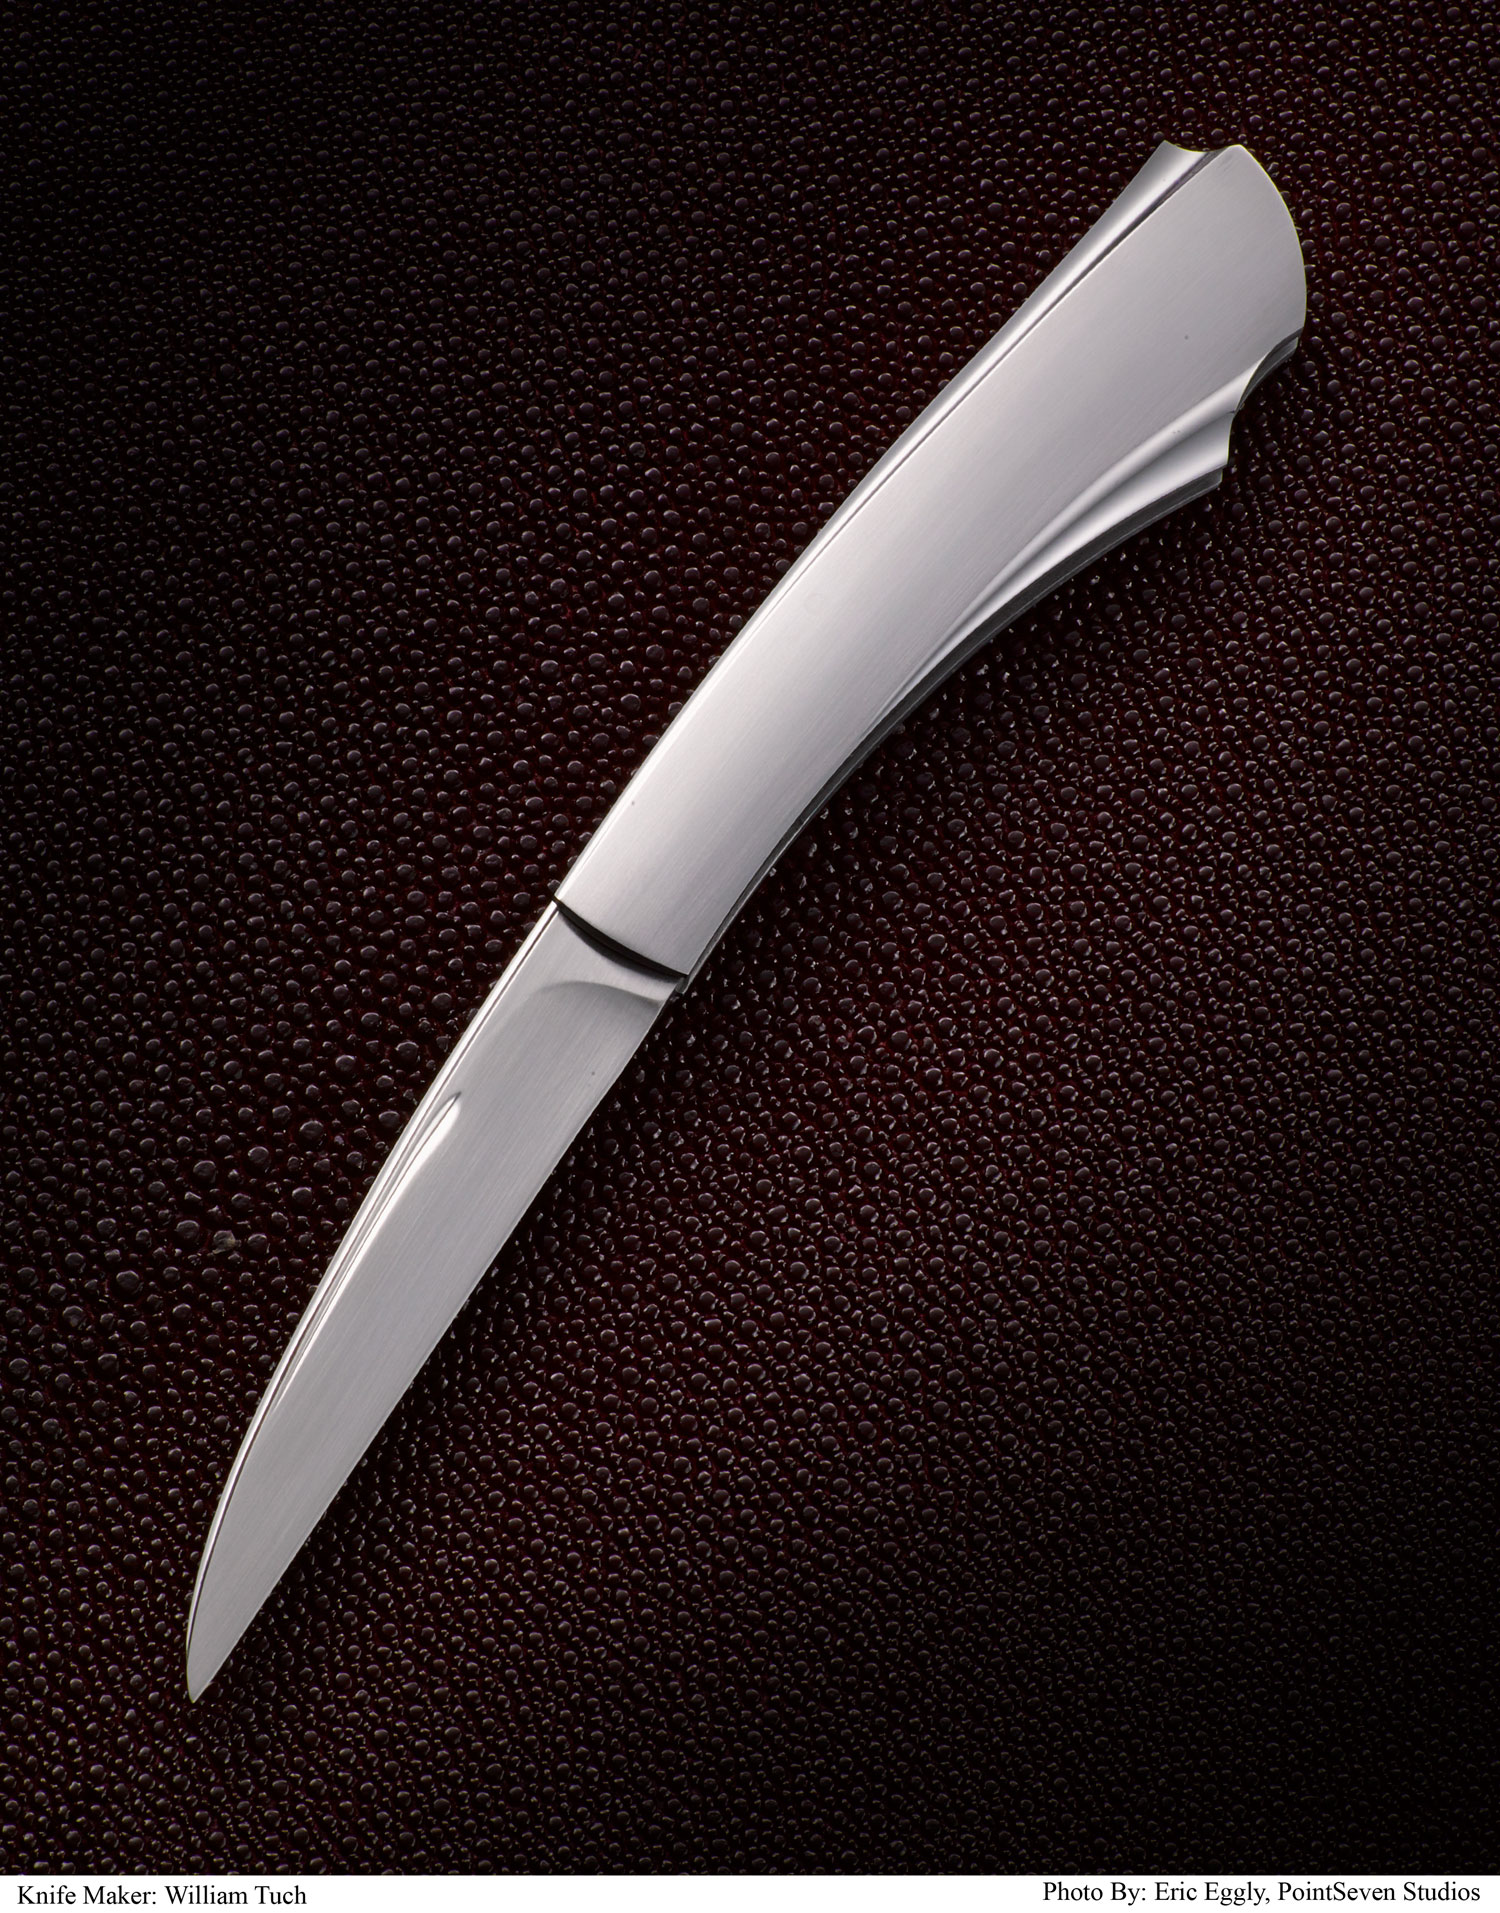
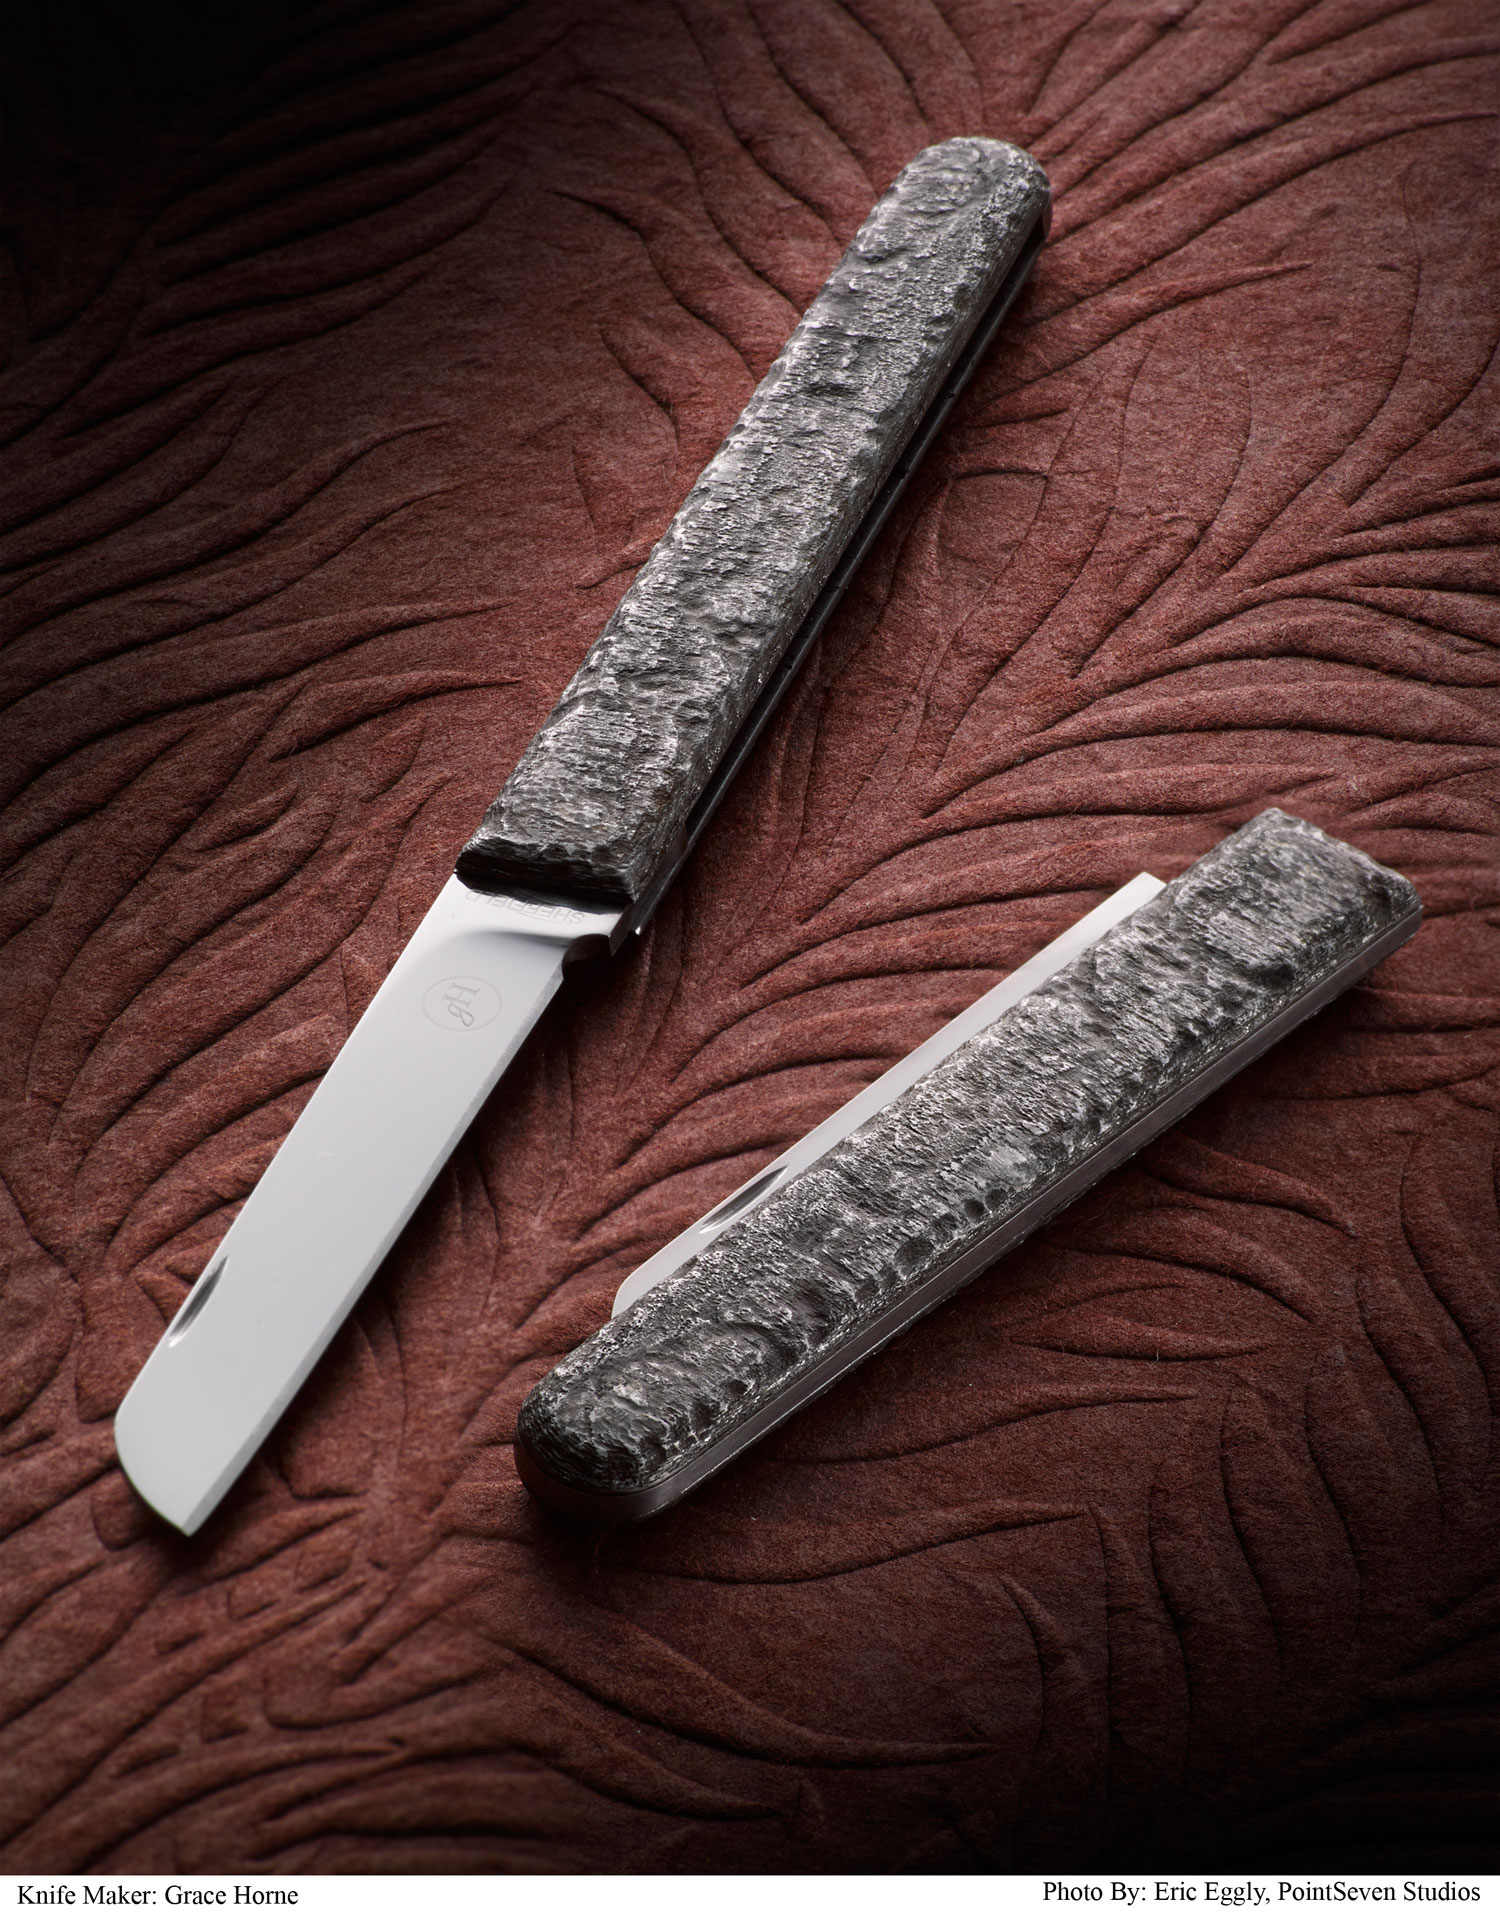
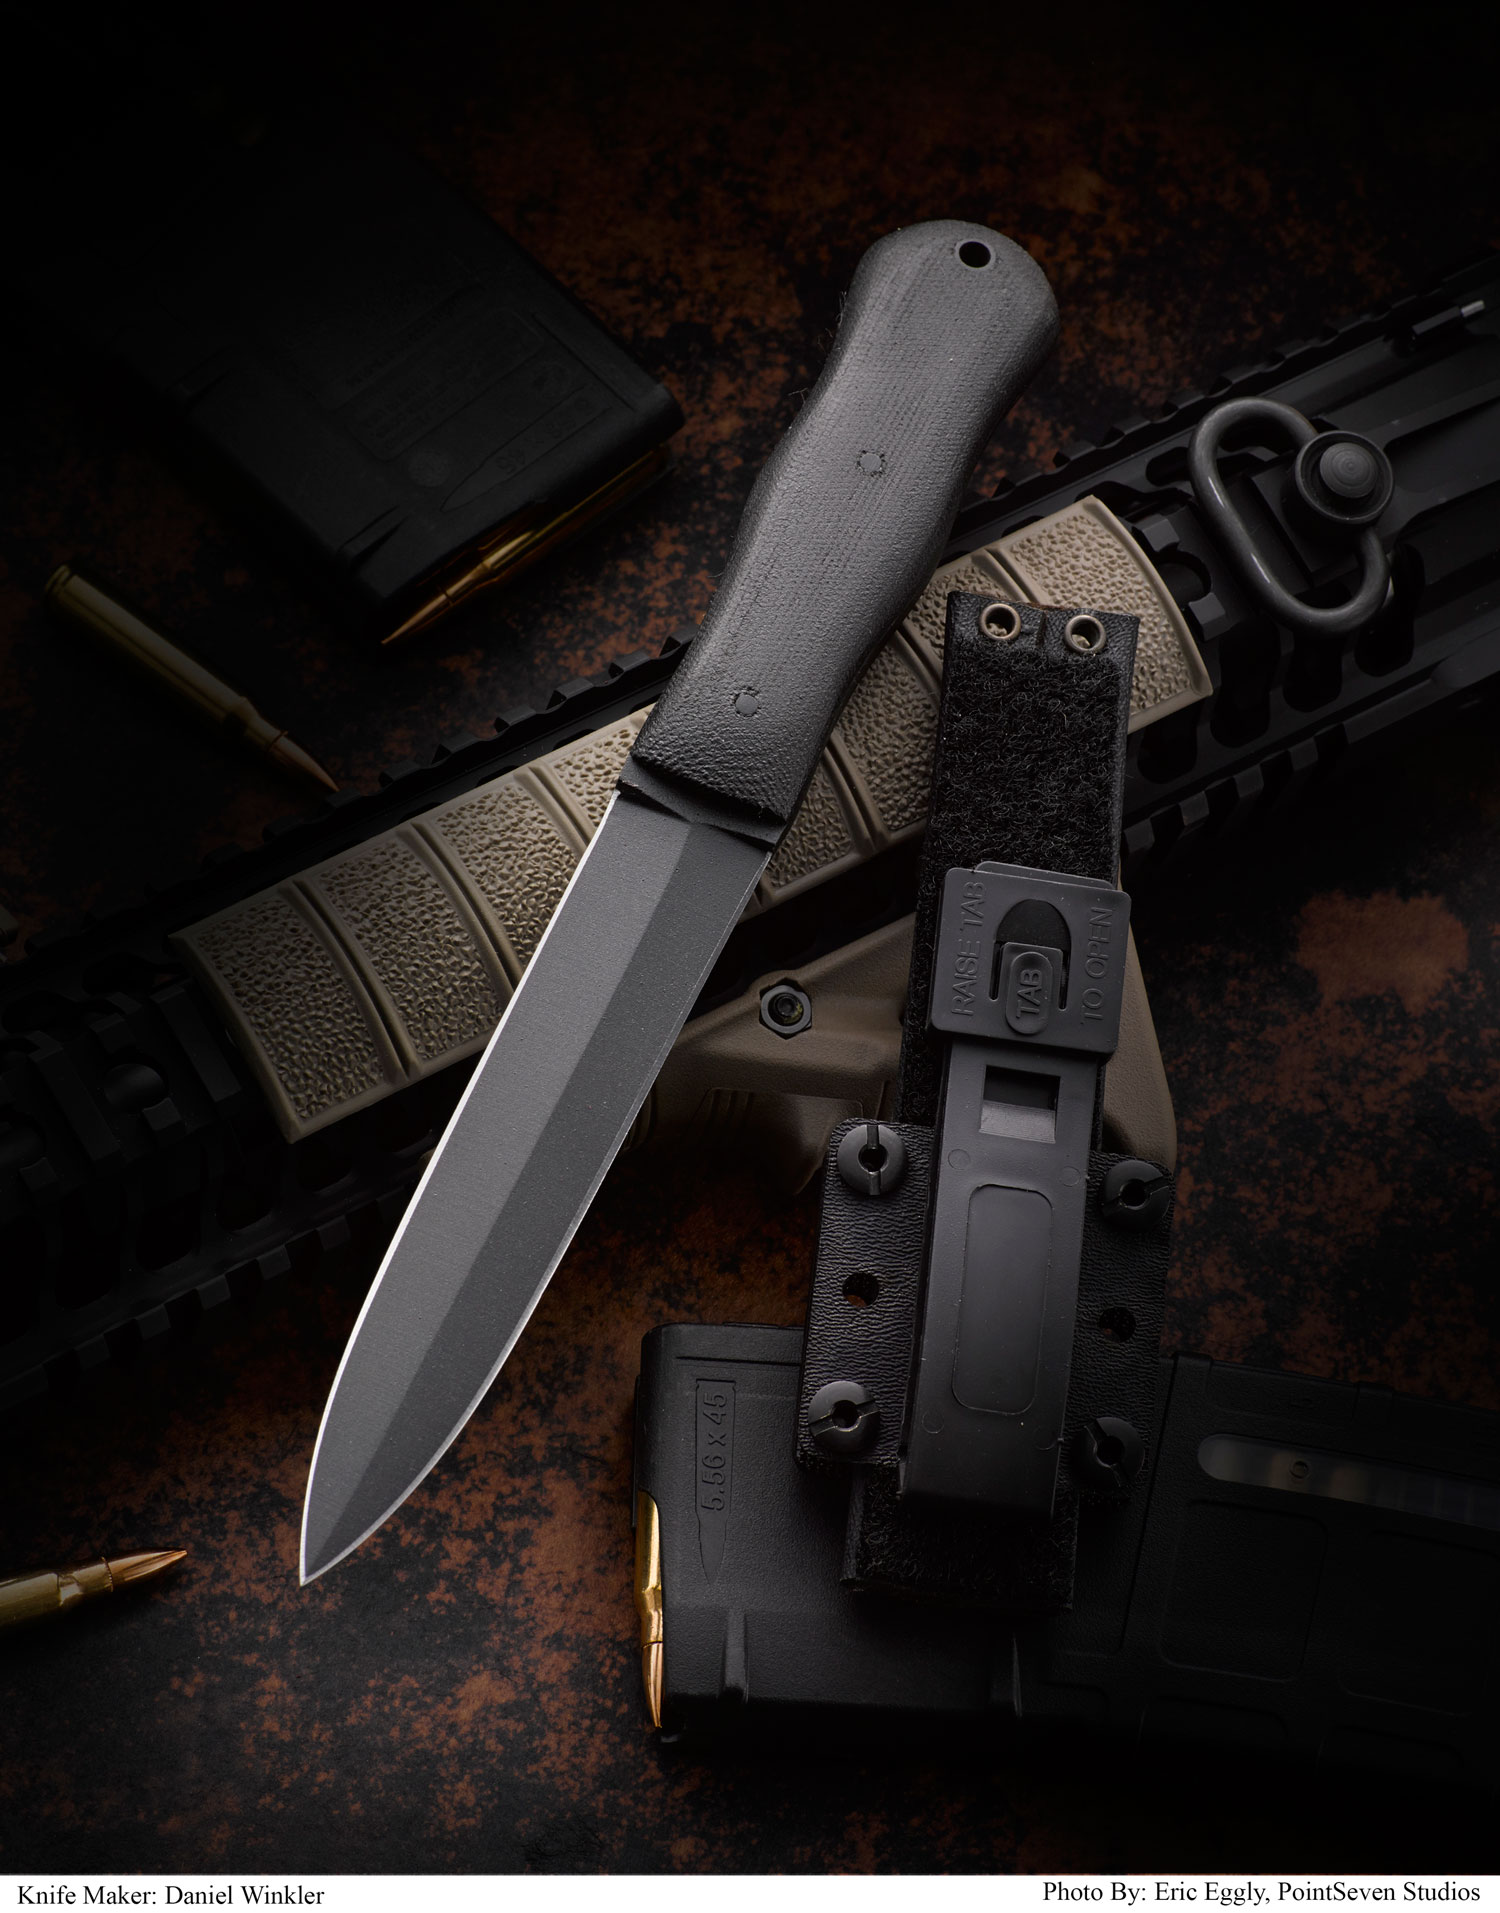
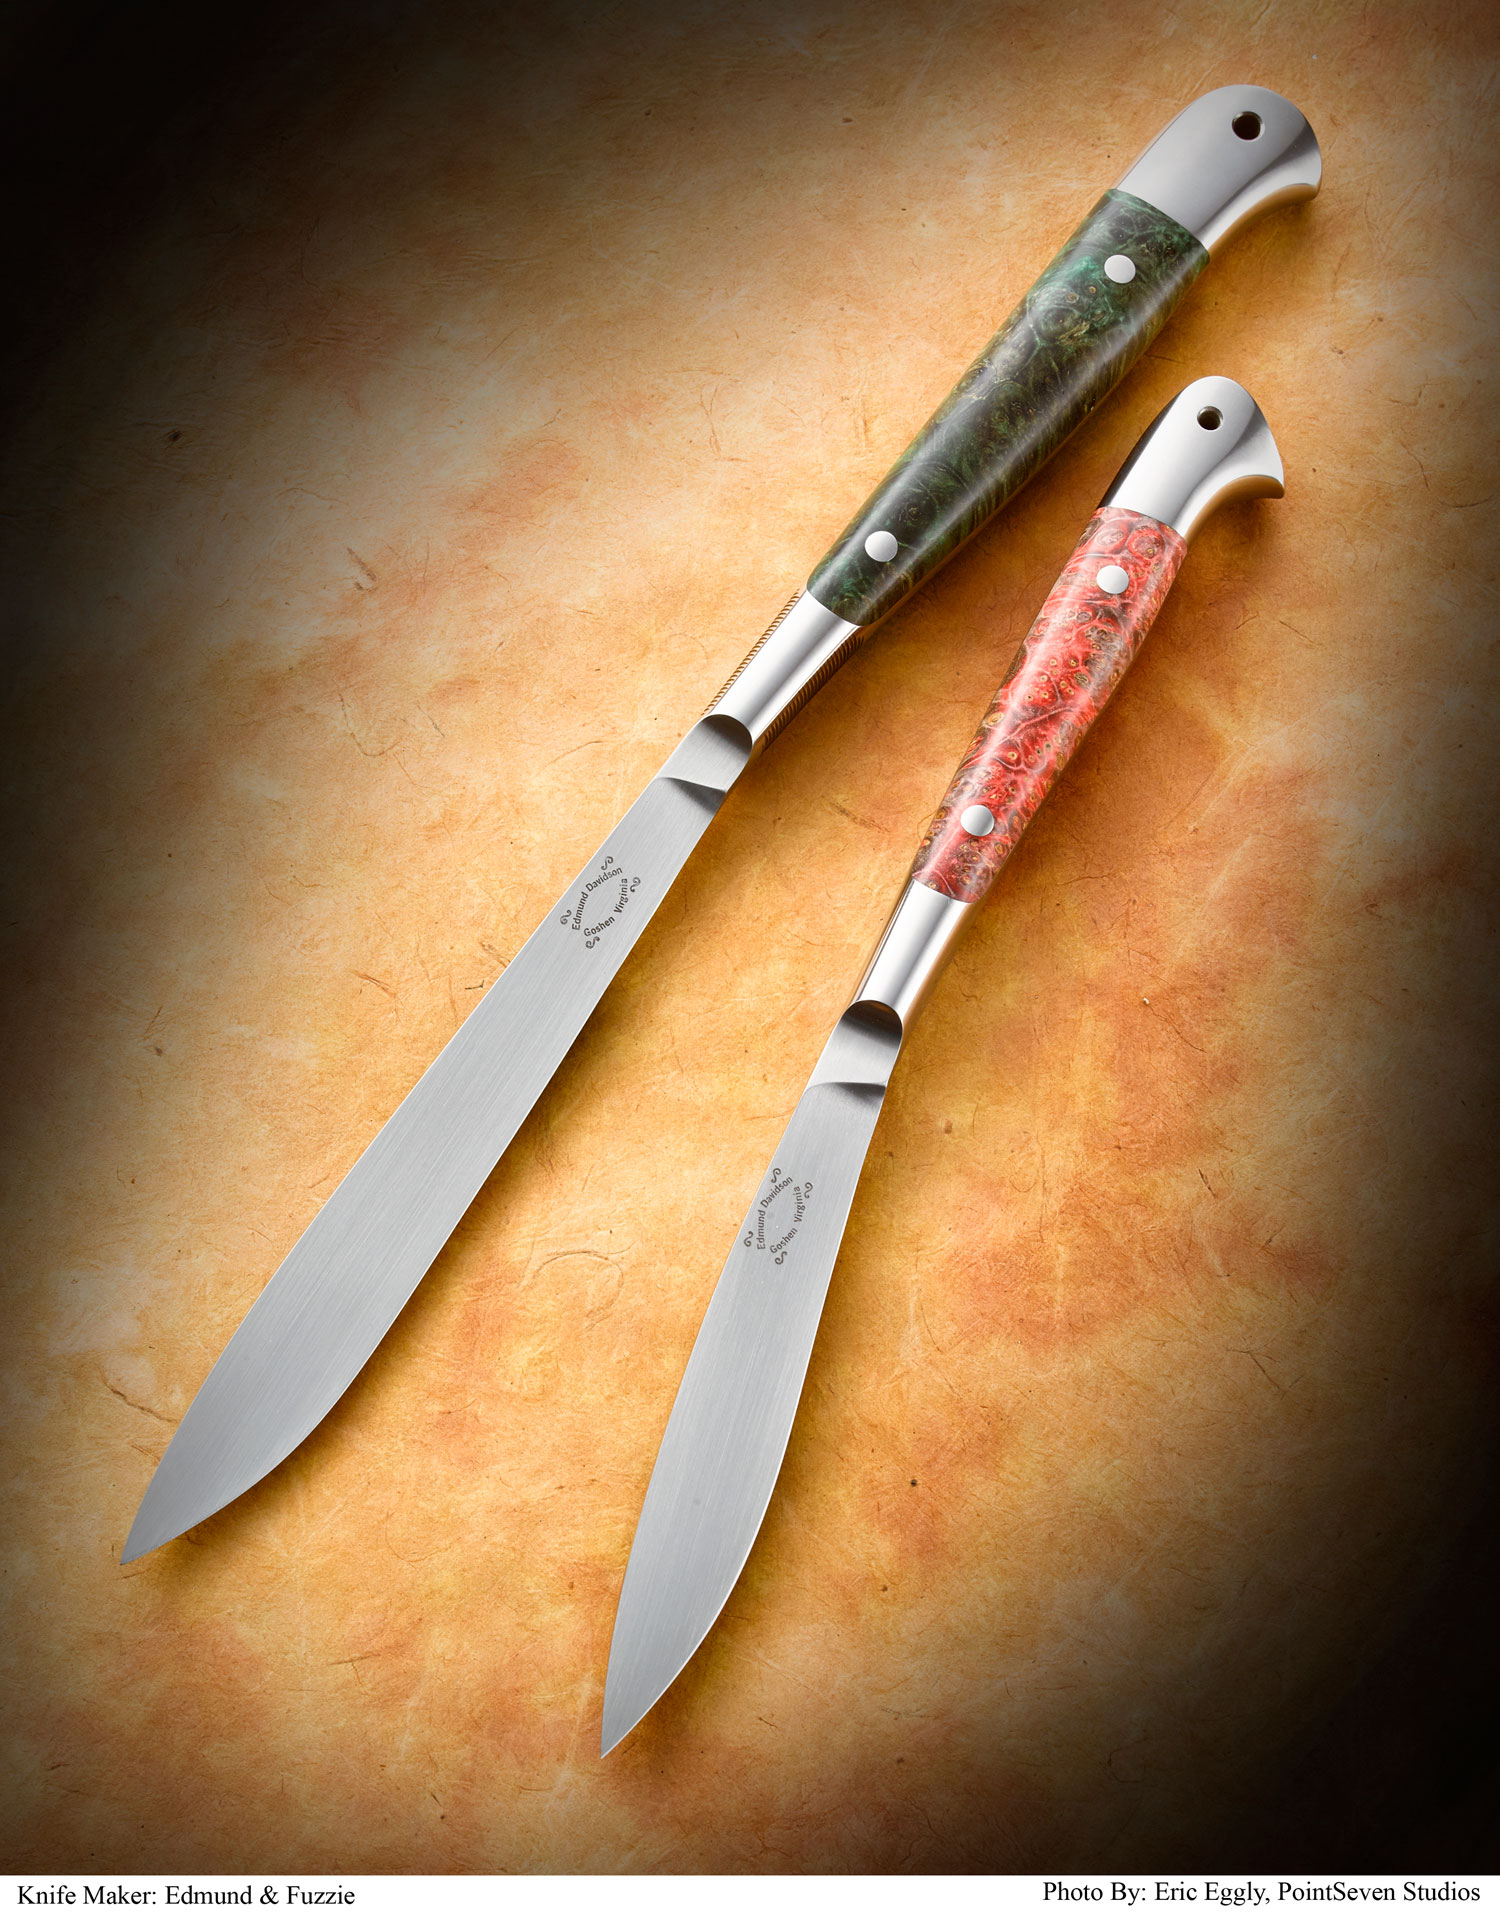
Paul Brach’s reproduction of a Bob-Loveless-style fighter looks leaner than most in a black Micarta® grip and 8.5-inch blade of CPM 154 stainless. Overall length: 14.5 inches.Cliff Parker gets a whole bunch of his mosaic damascus of 4600E, 1084 and nickel in the 3-inch blade and bolsters on either side of a svelte mammoth ivory handle. The thumb stud is 18k gold. Approximate closed length: 3.75 inches.Bill Tuch offers up one of his sculpted-handle folders in a thinner-than-usual version. The 3.5-inch blade is ATS-34 stainless and the handle is 416 stainless. Approximate closed length: 4 1/8 inches.Grace Horne revisits one of her favorite folder designs in a handle of wrought iron. The 2.5-inch modified sheepfoot blade is RWL-34 stainless steel. Approximate closed length: 4 1/16 inches.A dagger from the Winkler Knives II line by Daniel Winkler would appear to draw inspiration from any number of classic combat dagger designs. It comes with a conventional synthetic sheath (not pictured).Edmund Davidson’s long integral features a 6-inch blade of CPM 154 stainless in a hand-rubbed finish and a black-ash-burl handle. Overall length: 11.5 inches.
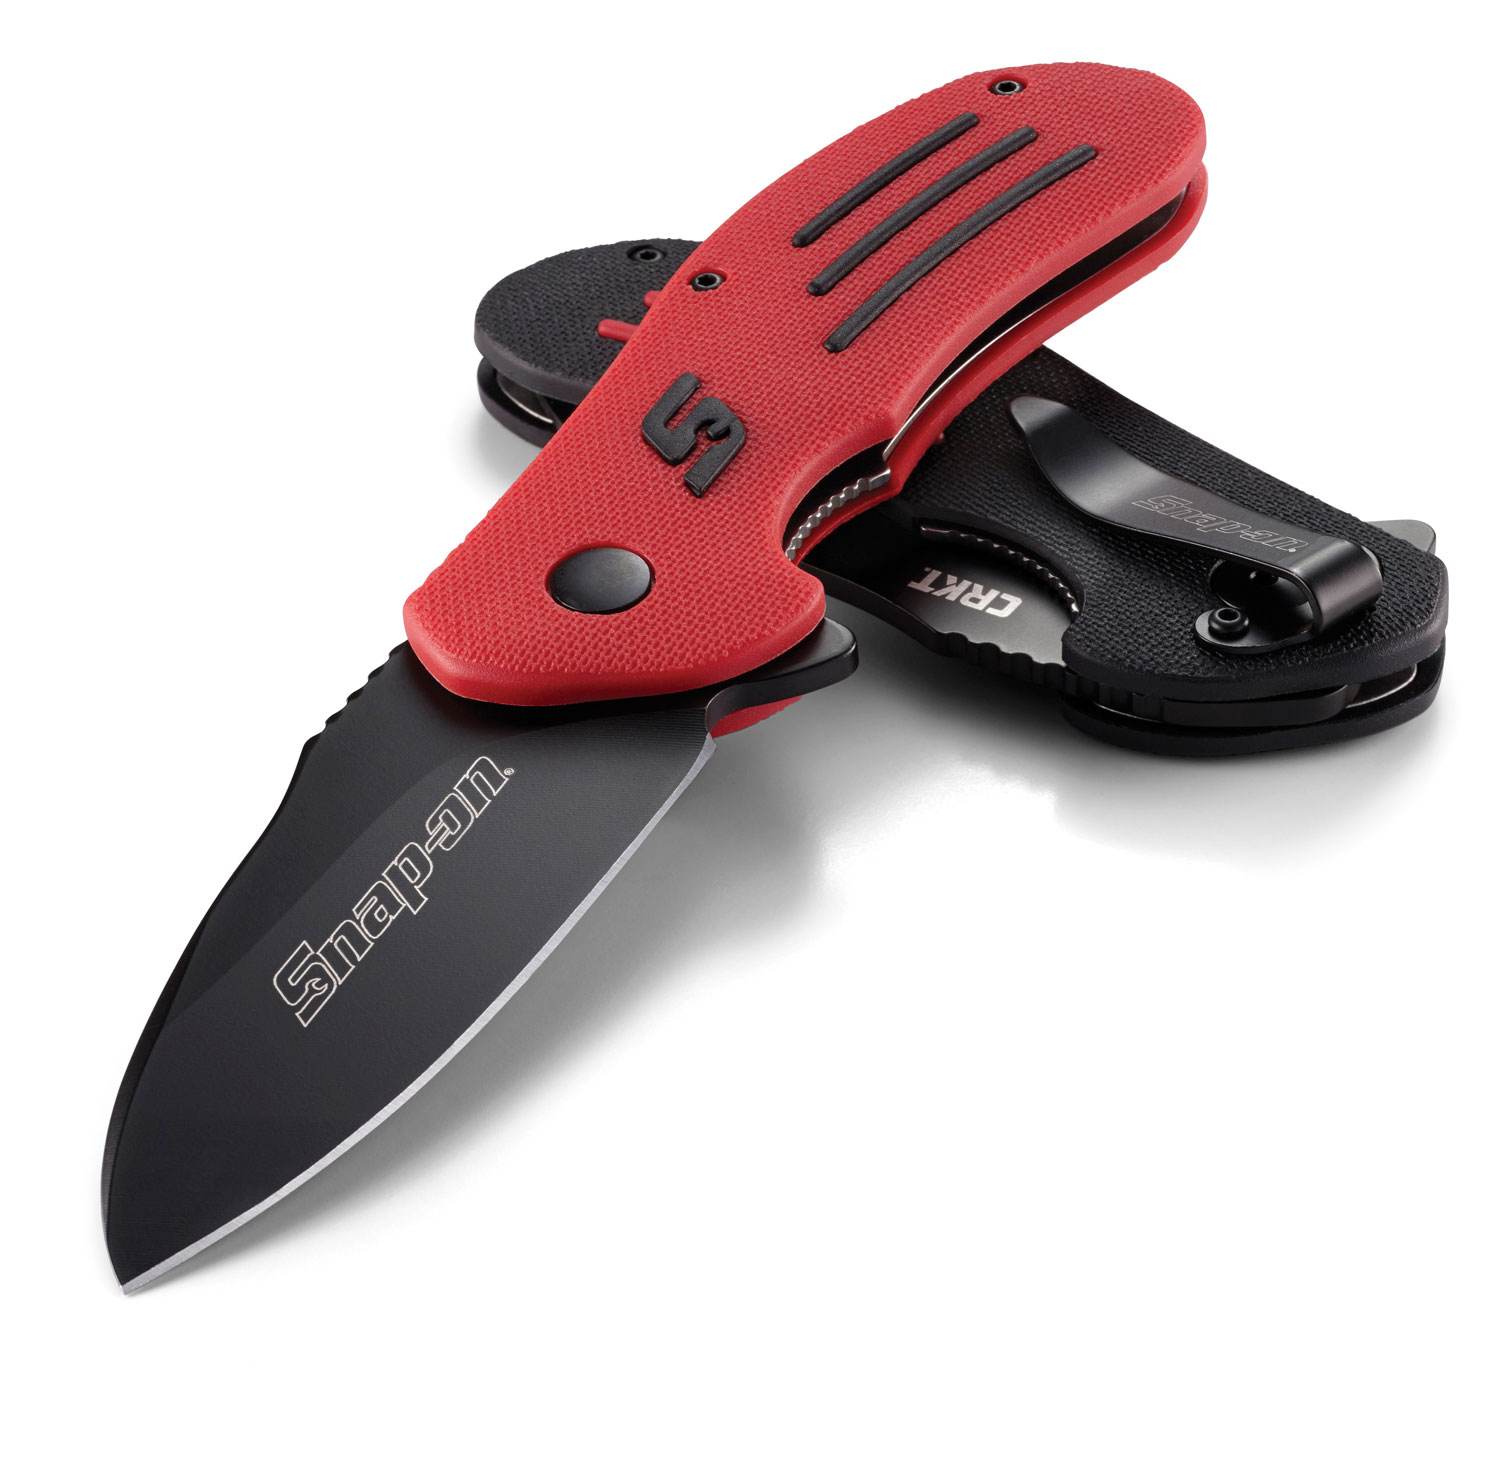
As rugged as the mechanics who use it, this overbuilt pocket knife features a modified drop point blade that’s built from stainless steel. It’s tough enough to cut hose but still precise enough to strip wiring. Meanwhile a black corrosion resistant coating keeps the blade intact no matter what you put it through in the shop.
Blade Steel: 1.4116
Blade hardness: 55-57 HRC
Blade Thickness: 0.120” (3.0 mm)
Blade Finish: EDP
Blade Length: 2.75” (69.85 mm)
Closed: 4.125” (104.76 mm)
Open: 6.875” (174.63 mm)
Weight: 6.2 oz. (175 g)
Handle: Glass-Reinforced Polypropylene with TPR Insert
For a minimalist with an appetite for big adventure. Jesper Voxnaes’ Scandinavian backyard is filled with fjords, punctuated by mountains, and sliced by surging rivers. So when he sets out to design an outdoor knife, it’s crafted to perform. Everywhere.
Editor’s note: In addition to a good blade, one of the best survival tools you can carry is a .22 pistol. Check out our sister site GunDigest.com for the Top list of best .22 pistol options.
Keep Up on New Knives with a BLADE Magazine Subscription
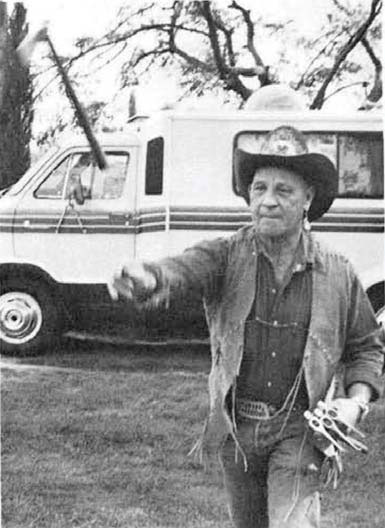
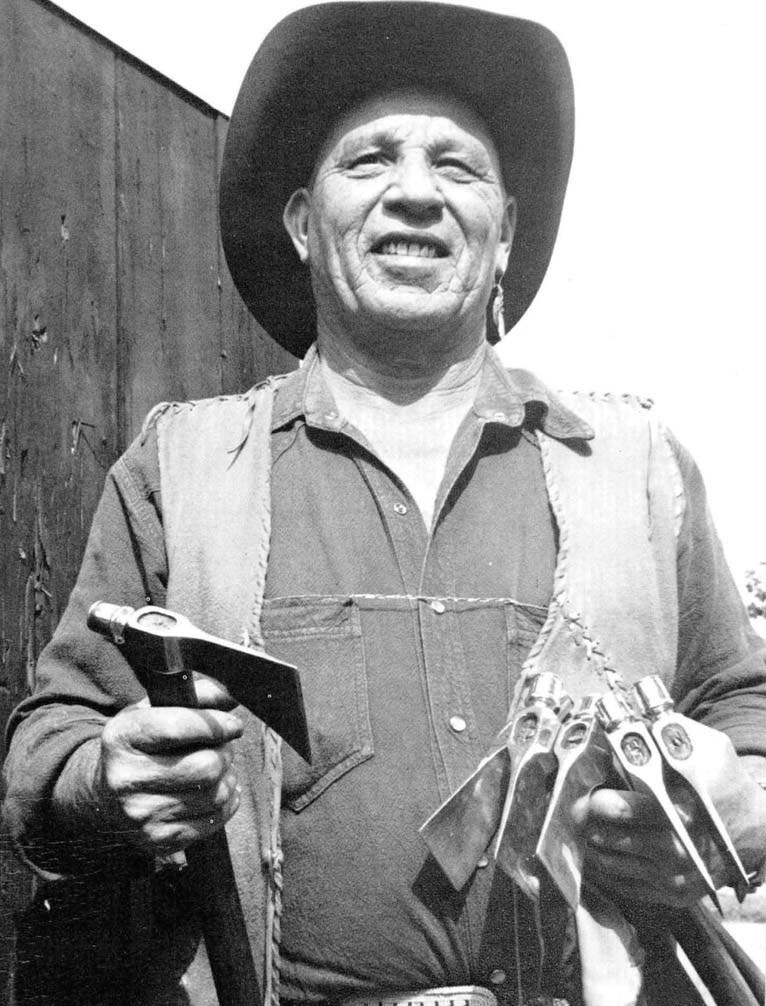
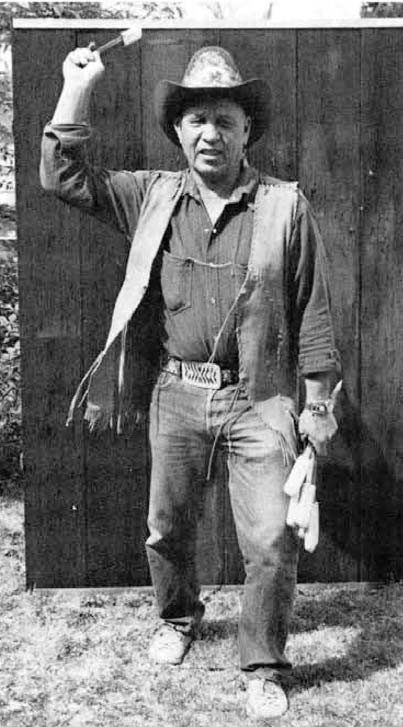
George E. “Skeeter” Vaughan (Grey Otter) was a sergeant in the Army’s U.S. Moccasin Rangers during World War II when he eliminated a German sentry with a prodigious knife throw on a snowy night in 1944.
George E. “Skeeter” Vaughan holds the distinction of making the most fantastic knife throw in recorded history—and considering the circumstances surrounding his legendary feat, he most likely will maintain his grasp on that honor for a long time to come.
An American Cherokee Indian whose given name was “Grey Otter,” Vaughan was a member of an elite Army unit called the U.S. Moccasin Rangers, all 15 members of which were American Indians especially gifted with excellent night sight. At the age of 19 he enlisted in the U.S. Cavalry in 1942, and later landed with his unit on Omaha Beach two days after D-Day in June 1944. Two weeks later the Moccasin Rangers were formed.
On a snowy November night in 1944, Skeeter and five other members of the Moccasin Rangers were given the assignment of knocking out a German bunker with pillbox on the Siegfried Line to make way for an American advance. Belly down in the snow behind the bunker concealed on the brow of a hill in a small stand of timber about 35 yards away, Vaughan and his men were faced with the problem of how to neutralize the emplacement.
Skeeter contracted trench foot during the war and doctors recommended his feet be amputated. He went AWOL from the service hospital and returned to his old unit, asking to be put on active duty rather than lose his feet. His request was granted. He was wounded five times and decorated profusely. He was the only member of the Moccasin Rangers to survive the war. He passed away in 1989.
Outside the bunker was a German sentry with his back to the hill where Vaughan and his men were positioned. The sentry had to be eliminated—and eliminated silently so he could not warn the other German soldiers. There was too much open ground for one of the Rangers to cross it and silence the sentry, and a gunshot would alert the enemy.
A sergeant and commander of the patrol, Vaughan was asked by one of his men if he could take out the sentry by throwing his bayonet/knife. As a boy, Vaughan had lived on Indian reservations and was taught all about weapons by his grandfather, old Limping Bear, a Cherokee born in the Smoky Mountains of Tennessee. Skeeter’s training included throwing knives and tomahawks, and he had put that training to use prior to the war hurling hawks and 16-inch knives made from old bayonets in performances at rodeos and in “Doc Willetson’s Big Medicine Show” that toured the West.
However, that training was about to undergo a test like no other.
As adept as he was at throwing knives, Skeeter was believed to be the world’s best at throwing hawks. His model of preference was a pipe hawk.
Skeeter crawled from the timber as far as he dared and stood, hoping he would not be spotted. The sentry’s back was still toward him. Skeeter threw the knife with a high trajectory, aiming about three feet above the sentry’s head. The knife turned silently over and over in its long, downhill pinwheel flight. The sentry dropped without a peep face down in the snow.
Considering the distance thrown—later measured at 87 feet—it was probably the longest successful throw in battle in the annals of knife throwing.
Later in life, Skeeter found acting roles in Happy Days, Gunsmoke,The Six Million Dollar Man, Magnum, P.I. and Revolution, per IMDB. He died in 1989.
Video Re-enactment
To get a better feel for what happened on that snowy day in 1944, here’s a re-enactment. Remember that Skeeter only had one chance to get it right.
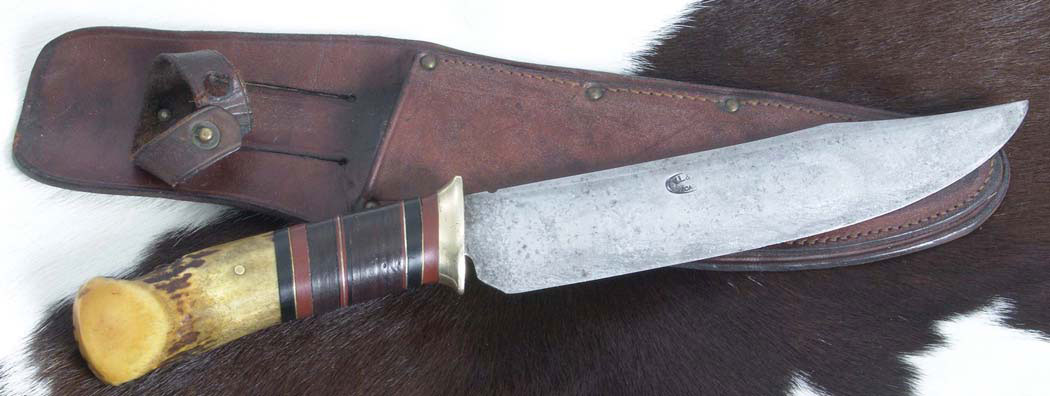
According to Dr. Jim Lucie, Scagel made sheaths for most of his knives and axes, though there were exceptions, such as when he supplied knives to some retailers. His sheaths ranged from simple but functional to ornately embossed. (Mike Carter image)
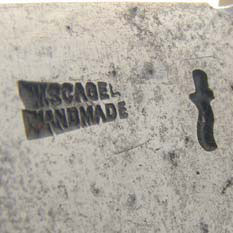
Scagel stamped many of his blades “W. SCAGEL” over “HANDMADE” and with the image of a kris knife. (Mike Carter image)
Scagel’s influence resonates across the decades as knives and knifemakers have taken their cue from his mastery of the curve and the spacer, his interpretation of the lines, fit and finish of a knife that stands the test of time, setting a standard for others to follow. Born in 1873, Scagel lived to the age of 90, and during his lifetime proved himself a master metalworker. His wrought iron adorned the windows of banks and other buildings in the city of Grand Rapids, and he participated in bridge building as well. His first knives were made in lumber camps in the Great Lakes area of the USA and Canada, with the earliest examples dating to around 1910.
Th rough the years Scagel made his imprint as a custom knifemaker, selling his wares through Abercrombie & Fitch during the 1920s, raising the profile of the custom knife with his recognizable style of stag and spacer handles. His friends at Brunswick Corp. kept him supplied with scrap pieces of Bakelite (the first manmade plastic and first true synthetic), wood, ivory and fiber from the manufacture of pool tables and bowling balls for use as spacers. He made bowies, hunters, fighters, folders and hatchets that have become coveted collectibles fetching high prices at auctions and private sales. His kitchen knives were second to none, and his paired carving sets were expensive masterpieces.
Meanwhile, those who appreciated a tough working knife that had a distinctive look gravitated toward custom knifemaking. Among them was legendary Cutlery Hall-Of-Famer Bo Randall, who became a protégé of Scagel. In turn, Randall influenced the likes of Cutlery Hall-Of-Famer Bob Loveless and so many others—and the legacy continues to grow.
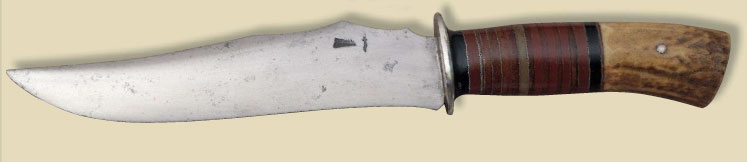
William Wales Scagel’s personal hunting knife features a silver-mounted guard and a silver cap at the end of the stag. His signature is on the obverse side of the blade. (image from the 1996 Pictorial Calendar of William W. Scagel Knives; knife from the Dr. James Lucie Collection)
Scagel, the Man
Dr. Jim Lucie, Scagel’s longtime friend and personal physician, remembers a matter-of-fact kind of guy.
“He was sometimes quite opinionated,” recalled Dr. Lucie, who achieved status as an ABS journeyman smith in his own right. “He shunned publicity and did not like the public eye, and he was critical of some types of people. He was an atheist by choice and didn’t mind stirring the pot about something. If he liked you, and I spent many delightful hours with him, he would go to hell and back for you. If he didn’t, you only got one chance to take advantage of him.”
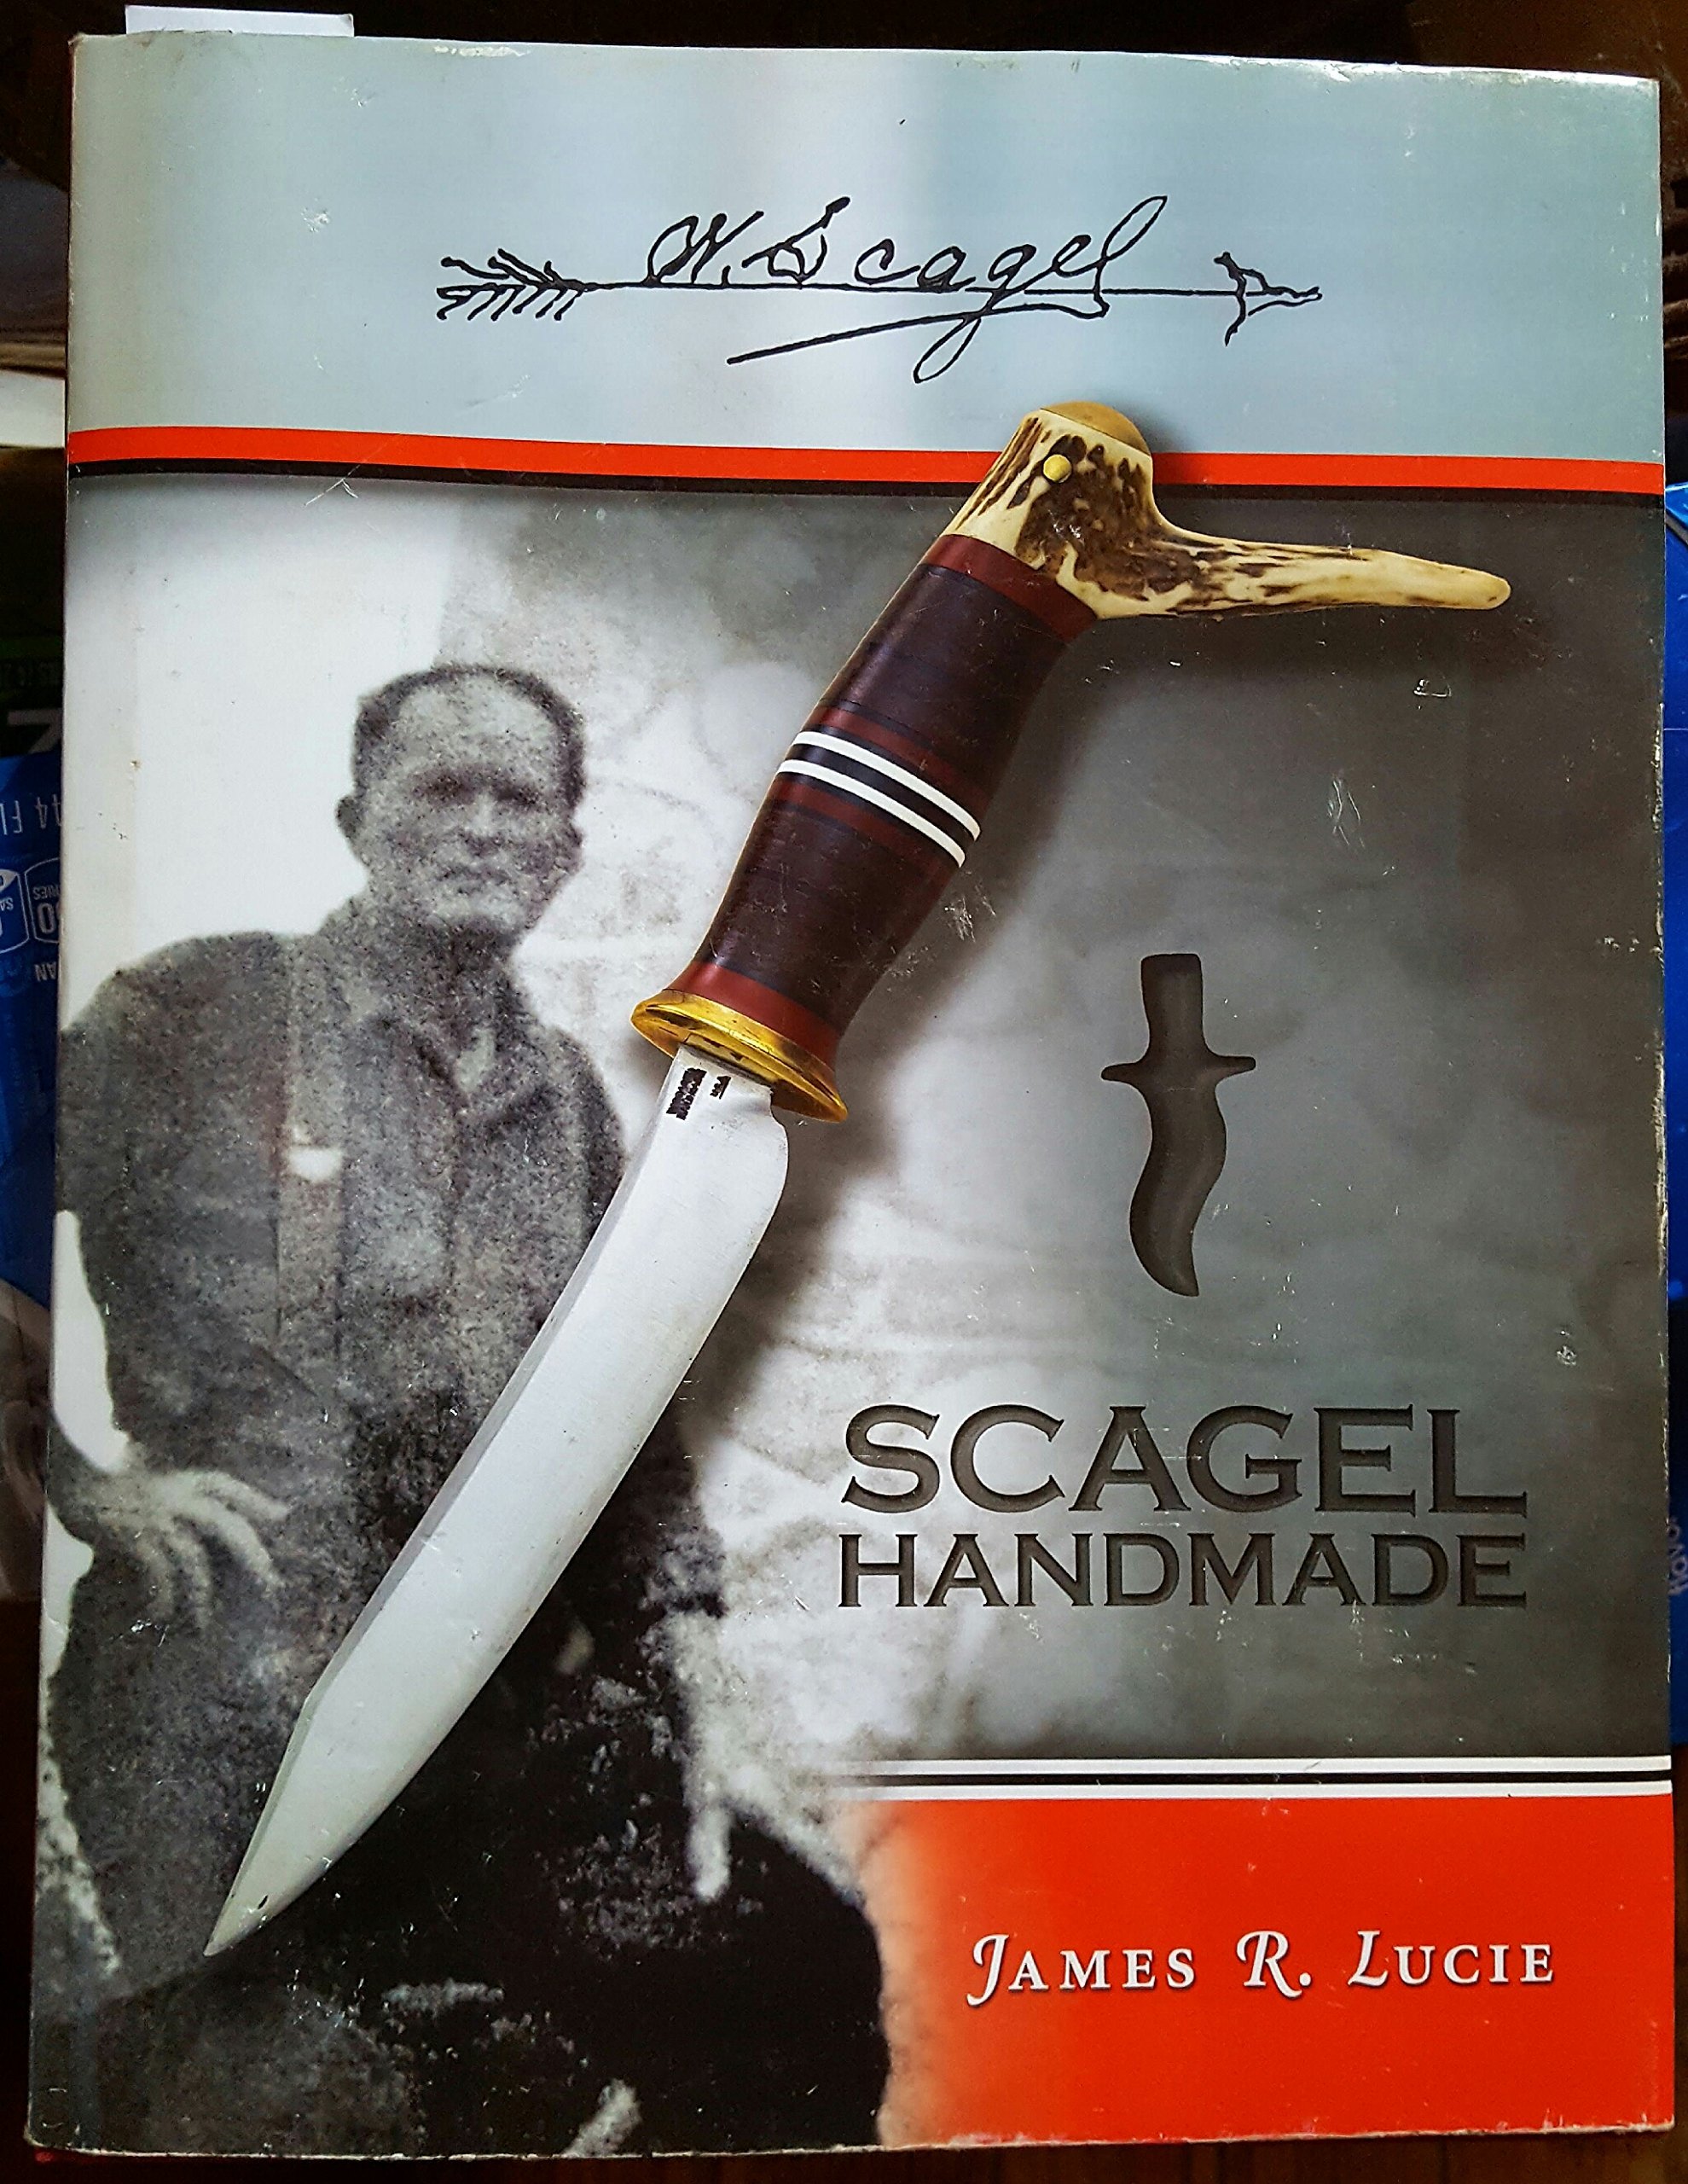
Published in 2010, Scagel Handmade by James R. Lucie is the quintessential book on Scagel. Famous for being reclusive, Scagel had few pictures taken of himself. The fuzzy one on the cover of Lucie’s book is one of the only known pictures of the famous knifemaker.As Lora Schwarzer noted, alternating brass and leather spacers with deer antler at the other end comprised Scagel’s signature stacked handle. (Mike Carter image)
The author of the quintessential book on the subject, Scagel Handmade, published in 2010, Dr. Lucie calls Scagel a “genius with metal work. He was a pioneer. He got Bo Randall started, and the first knives Bo made were around 1937-38, I believe. Scagel’s knives have been copied more than anybody else, more than even the Bob Loveless drop point.”
Scagel’s work has often been imitated, sometimes with dubious results. At other times, however, the style has been replicated with precision. ABS journeyman smith Lora Schwarzer worked in a hospital with Dr. Lucie, who introduced her to Scagel knives.
“Dr. Lucie helped me get started, and I wanted to do Scagel-style knives,” Lora remarked. “They are pretty and easy to hold. They feel good in your hand, and none of them are the same, basically. He might have done a few sets that match, but that was not the norm. The spacers are different and the antlers are different, and they are pretty with their curves and colors.”
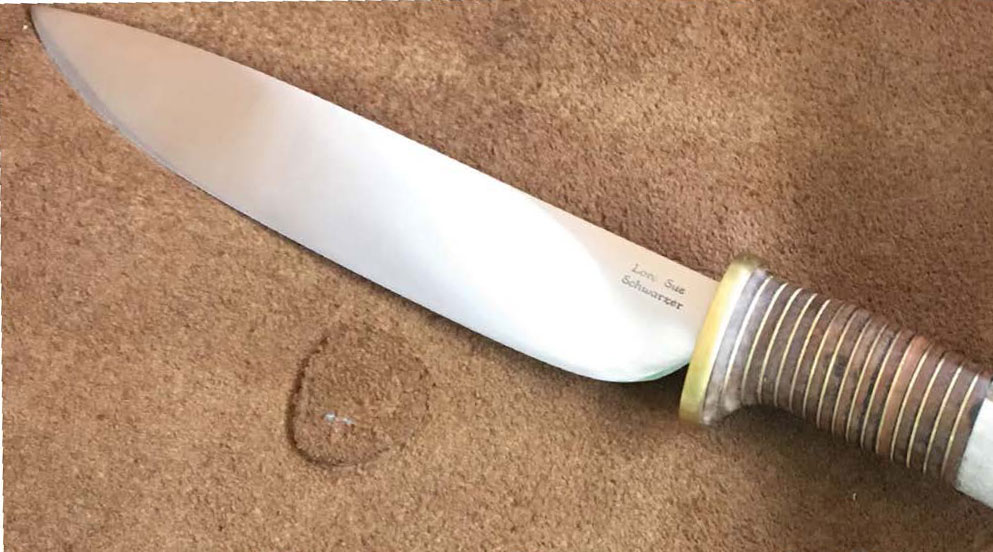
Schwarzer started forging in 1996 and has made many Scagel repros since then. Her current work includes a couple with 1084 tool steel blades, brass guards, and leather, fiber, brass, copper and bronze spacers. Her favorite Scagel knife is an unmarked piece.
“If someone brought him a piece of steel,” she explained, “and asked him to make a knife for them, he would do it but not mark it because he didn’t know what kind of steel it was or where it came from. I got this one from Dr. Lucie, who got it from the person Bill originally made it for. Its handle is alternating brass and leather spacers with deer antler at the other end. That was his signature stacked handle.”
One of the great stories Lora likes to tell about Scagel involves a lady who regularly visited the local grocery store. In those days it was common to wrap purchases in brown paper and tie them with string. The lady struggled to break the string, so Scagel made her a miniature knife, which Lora has seen and is pictured in Dr. Lucie’s book, to cut the strings.
“Another thing I know is that Bill Scagel had a kind heart,” she added. “During the polio epidemic in the 1950s, he built braces for people without charging them.”
ABS journeyman smith Lora Schwarzer’s Scagel repro is a work in progress and includes a blade of 1084 carbon steel, brass guard, and brass and leather spacers. She stated she needs to “drill and put in the pin and final finish the handle.” Overall length: 12 inches. (Schwarzer image)
Scagel Knives
Gordon White of Cuthbert, Georgia, has been collecting Scagel knives for about 30 years. Gordon sees the historic significance of Scagel’s body of work as a big reason for his lasting interest.
“Well, the knives are just so unusual and different,” he said, “and he is the father of handmade knives and the first person in the 20th century to start making a custom handmade knife. He forged everything he made, and the unique fact that he made his own machinery and equipment and did everything by hand tells me that there has really been nothing like Scagel before or since.”
According to White, one of Scagel’s most innovative tools was used to place the spacers on the knife handle and then press them together, followed by the stag or brass butt that was then pinned in place. Scagel hatchets in mint condition are difficult to find because they were meant for use, and those who bought them put them to work steadily.
Louis Chow owns three World War II Scagel daggers. Two are forged carbon steel with full-tang handles slabbed in wood. The construction of the guards is unusual with a wrap-around opening to fit onto the tang. “It’s just another aspect of Scagel’s work,” Chow said, “something different.” (Louis Chow image)
Unlike other custom makers who can point to a mentor or individual who helped launch their careers, collector Louis Chow says Scagel stands alone.
“He was unique, you could say, because in my opinion I don’t think Scagel was too much influenced by anyone else in the beginning. Still, there were great knives being made before Scagel. For some reason, he was somewhat of a hermit and didn’t research what other guys were starting to do. Of course, those famous makers had the power tools necessary to make precision knives. Scagel used whatever he had on hand, a small generator and grinder. He didn’t have anything to go by as a sample, no publications to refer to. So, he basically did what he thought a hunter or bowie knife would look like.”
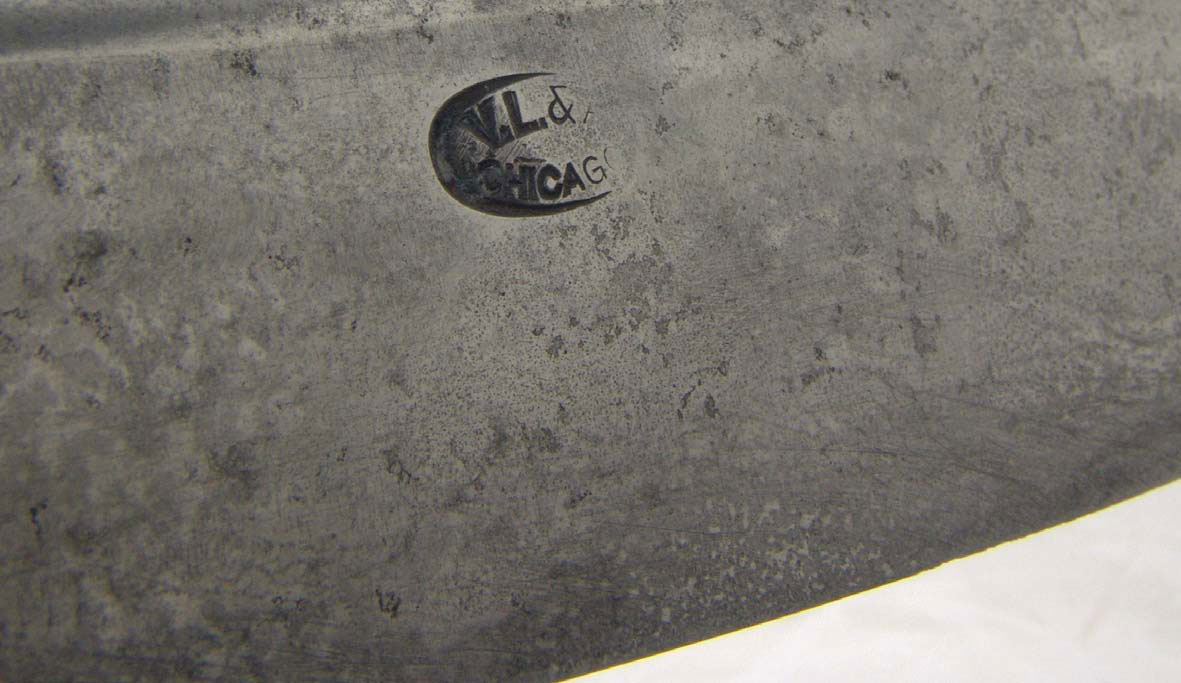
In addition to making knives beginning circa 1920 for retail giant Abercrombie & Fitch of New York, Scagel also made knives for retailers Von Lengerke & Detmold of New York and Von Lengerke & Antoine of Chicago. The blade stamp above is on a knife he made for the latter. (Mike Carter image)
Chow is primarily a Loveless collector, and he acknowledges that the reasons for collecting a particular custom maker are varied. He agrees with White that the history of Scagel is a big factor.
“If I look back at how Loveless got started, as far back as you can go, Scagel is the granddaddy of the industry and influenced everyone else,” Chow explained. “For me, he is the source of what influenced Loveless. My preference is Scagel’s simple daggers that he made during World War II, his contribution to the war effort and the foundation of the current custom knife industry.”
Chow owns three Scagel daggers from the World War II era and a small pocket hatchet that was popularized in the 1950s. The daggers are forged carbon steel with full tang handles slabbed in wood. The construction of the guards is unusual with a wrap-around opening to fit onto the tang.
“Two of the three daggers are made like that,” Chow said. “It’s just another aspect of Scagel’s work, something different.”
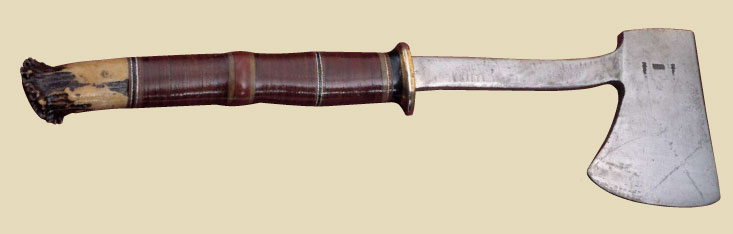
As Dr. Lucie notes in his book, Scagel’s axes are interesting and considered rare. There are two varieties: 1) general camp axes medium to large in size and quite hefty and 2) the hiking or military backpack axe, which is smaller and more petite. The one above is an example of the former. (image from the 1996 Pictorial Calendar of William W. Scagel Knives; axe from the Dr. James Lucie Collection)
Values of Scagel Knives
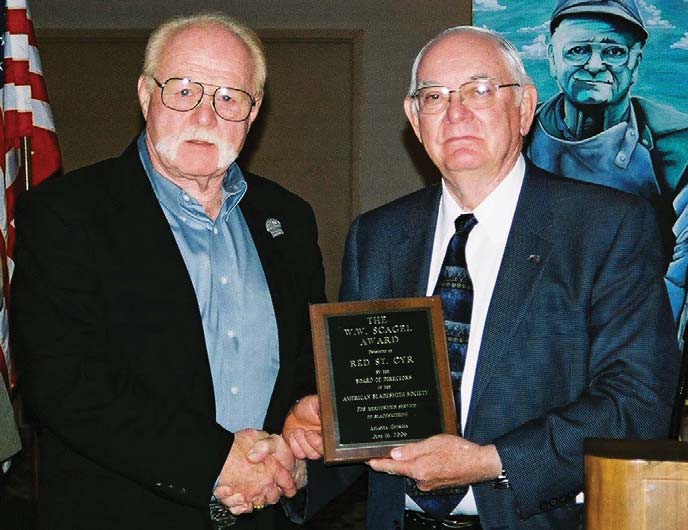
The American Bladesmith Society presents the annual William Wales Scagel Award to an ABS smith for longtime service in promotion of the forged blade. ABS master smith Red St. Cyr (left) received the award from BLADE Magazine Cutlery Hall-Of-Fame member B.R. Hughes (right) in 2006. The portrait in the background is of Cutlery Hall-Of-Famer Bill Moran.
Scagel knives remain popular among collectors, and White considers the prices paid at the 2011 auction of Dr. Lucie’s collection as evidence of the demand.
“That auction is a good meter to go by,” he remarked. “The hunters were averaging from $12,000 to the mid-$20,000 range depending on appearance, and condition has a lot to do with it. Some of them look better than others, and a high-quality sheath with good looks adds to the value. Dr. Lucie had some fighters in his collection, and they probably averaged $28,000 apiece. One fighter brought $41,400.”
Schwarzer sees continuing appeal in Scagel knives simply because there is nothing else quite like them.
“They are different, and I have been at shows and seen people really get excited about them,” she commented. “Some people like them and some don’t, maybe like pizza with thick crust or thin. It is a matter of personal preference, but Scagel knives certainly have staying power.”
Staying power, pioneer power, legendary power: They are each part of the Scagel legacy, one that is like no other in the history of custom knives.